manuals.online logo
Brands
  1. Home
  2. •
  3. Brands
  4. •
  5. Artesia
  6. •
  7. Musical Instrument
  8. •
  9. Artesia Dp-10e User manual

Artesia Dp-10e User manual

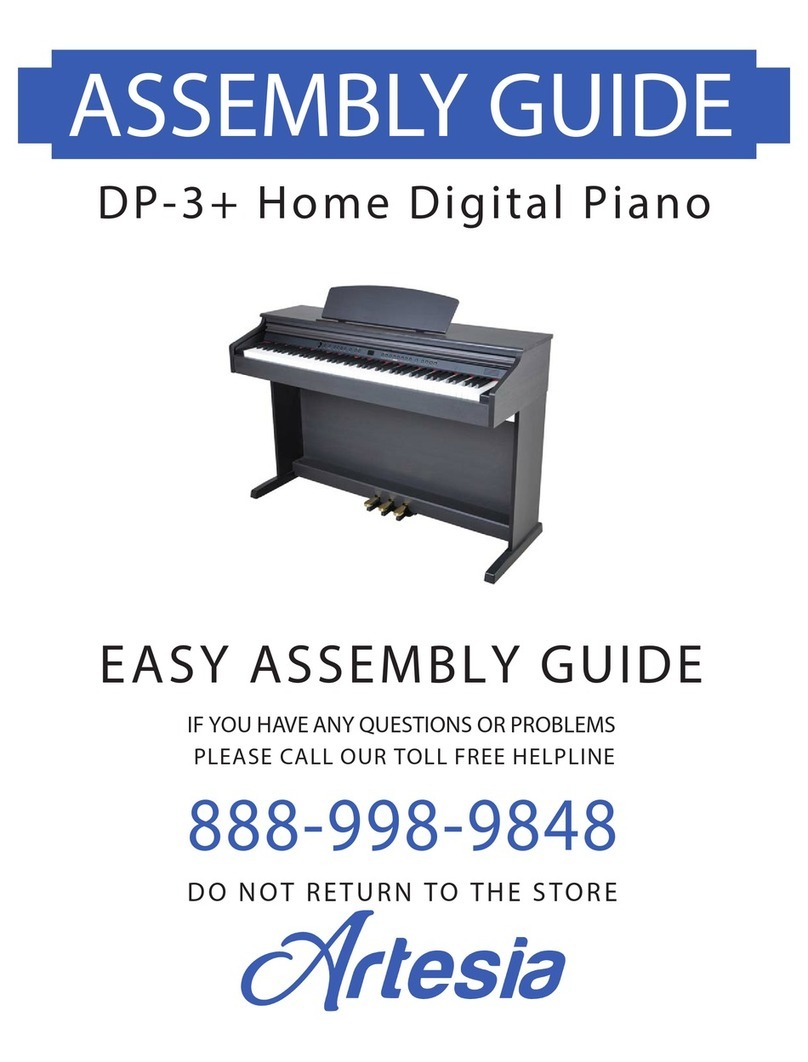
EASY ASSEMBLY GUIDE
If You Have Any Questions Or Problems
Please Call Our Toll Free Helpline:
888-998-9848
Do Not Return To The Store
Dp - 10e Home Digital Piano
ASSEMBLY GUIDE
Unboxing Your Piano.
Cylindrical Nuts (A) x 4
Foot Bolts (B) x 4
Piano Body Bolts (C) x 2
Back Panel Bolts (D) x 2
Pedal Board Bolts (F) x 4
Back Panel Screws (E) x 4
Plastic Caps (G) x 4
A
B
A
Back Panel BracketBack Panel Bracket
B
Screwdriver
Piano Body
Back Panel
Pedal Board
Legs (2)
Feet (2)
NOT Pictured:
USB Cable
Audio Connection Cable
Power Adapter
Place the four Cylindrical Nuts (A) into the holes in the
Stand Legs, with the screwdriver slot facing out. Use a
screwdriver to align the threads in the nuts with the
openings on the bottom of the Stand Legs.
Place the dowells in the feet into the appropiate holes in
the bottom of the Stand Legs. Make sure that the feet are
facing away from the back panel bracket as shown
below. Thread two Foot Bolts (B) through the foot and
into the cylindrical washers, rotating the washer to align if
needed. Firmly tighten & repeat for the other side.
1. Assembling the Stand Legs.
What’s Included
2. Attaching the Pedal Board.
3. Attaching the Back Panel and Piano Body.
F
G G
F
Starting with the right Stand Leg, align the holes in the Pedal Board
with the holes in the Pedal Board Bracket as shown. Make sure that
the pedals are facing towards the front of the Stand Legs.
Thread two Pedal Board Bolts (F) through the Pedal Board
and into the bracket. Repeat with the left Stand Leg and
tighten all bolts fully. Place the four Plastic Caps (G) over the
Cylindrical Nut openings.
EEEE
D
D
PLEASE NOTE
When lifting the piano onto its stand, be careful
not to catch/trap hands or fingers.
!
slide forward,
With help from another person, lift the piano onto the stand
and slide forwards, pushing the guide rods on the bottom of
the piano into the slots on the Stand Legs, as shown below.
Using two BackPanel Bolts (D) with washers, and four Back
Panel Screws (E) with washers, attach the Back Panel to the
stand. Please note that the pedal board is not predrilled for
the Back Panel screws, and they must be driven in manually.
C
C
4. Securing the Piano Body.
5. Connecting the Pedal Cable & Power Supply.
If you have any questions about your piano please contact us toll free at:
888-998-9848
Finish attaching the piano to the stand by using the two
Piano Body Bolts (C) to attach the bottom of the piano to
its stand.
Attach the DC Power Cord and Pedal Cable into their
connectors on the bottom of the piano as shown.
Connectors on the bottom of the piano as shown.
Bottom Rear of the Piano.
Power Pedals
Virgin (VMI) is the Parent Company of Artesia Pianos
Virgin Musical Instrument Company
P.O. Box 2908
LA MESA, CA 91943
info@virginmusicalinstruments.com
www.virginmi.com

Other Artesia Musical Instrument manuals

Artesia AP-8 User manual

Artesia

Artesia AP-8 User manual

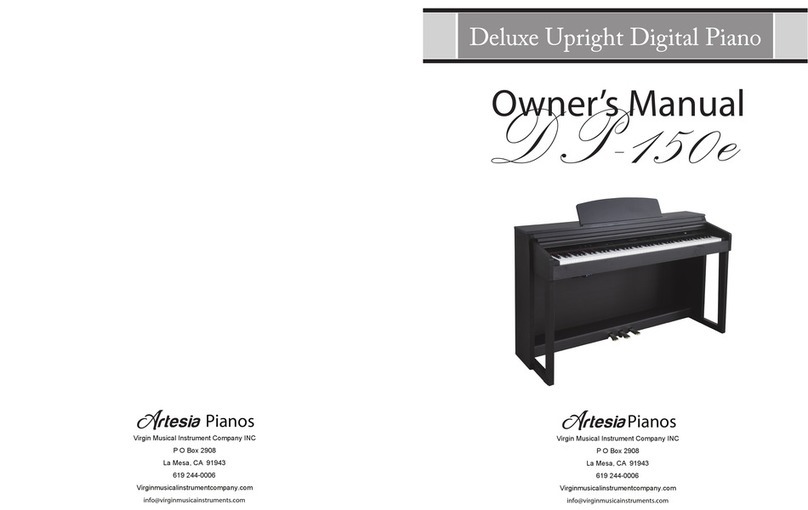
Artesia DP-150E User manual

Artesia

Artesia DP-150E User manual

Artesia AG-28 User manual

Artesia

Artesia AG-28 User manual

Artesia AG-50 User manual

Artesia

Artesia AG-50 User manual

Artesia AP-100 User manual

Artesia

Artesia AP-100 User manual

Artesia ag-40 User manual

Artesia

Artesia ag-40 User manual

Artesia PE-88 User manual

Artesia

Artesia PE-88 User manual

Artesia A-20 User manual

Artesia

Artesia A-20 User manual

Artesia FUN-1 User manual

Artesia

Artesia FUN-1 User manual

Artesia DP-3+ User manual

Artesia

Artesia DP-3+ User manual

Artesia A-61 User manual

Artesia

Artesia A-61 User manual

Artesia F-61 User manual

Artesia

Artesia F-61 User manual

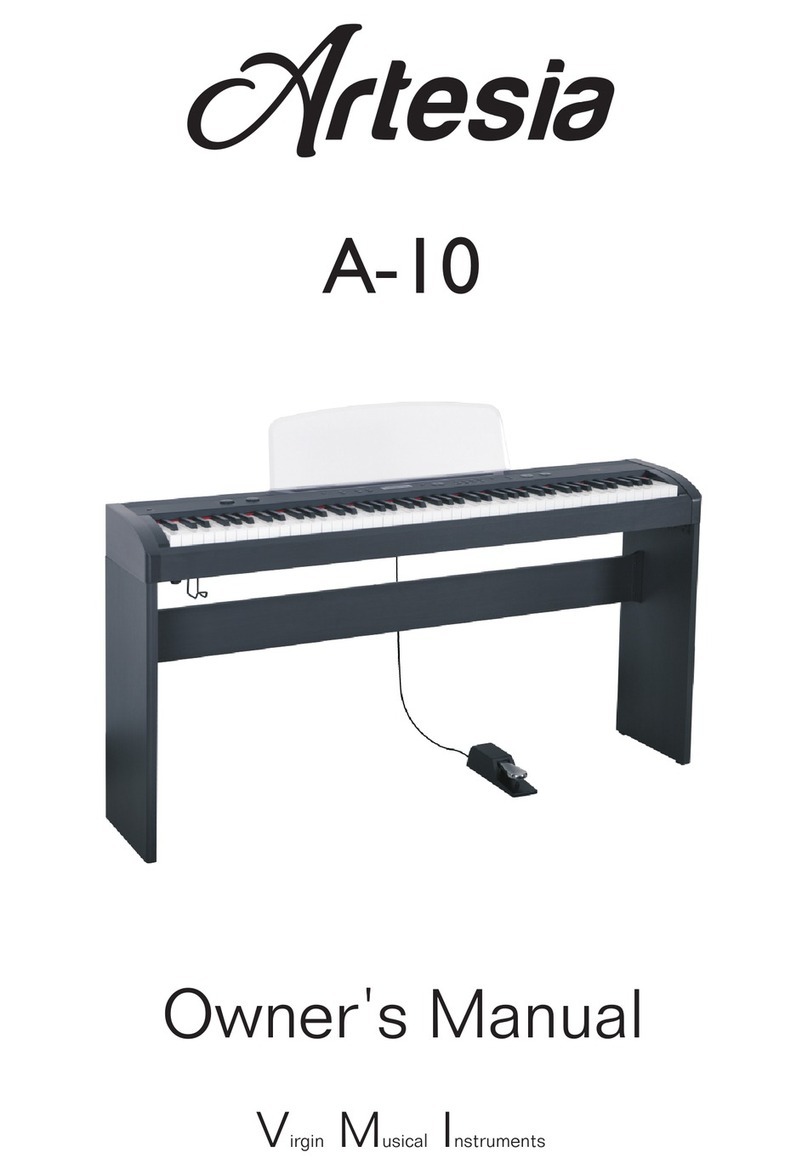
Artesia A-10 User manual

Artesia

Artesia A-10 User manual

Artesia AM-3 User manual

Artesia

Artesia AM-3 User manual

Artesia PA-88H User manual

Artesia

Artesia PA-88H User manual

Artesia DP-3+ User manual

Artesia

Artesia DP-3+ User manual

Artesia AG-41 User manual

Artesia

Artesia AG-41 User manual

Popular Musical Instrument manuals by other brands

Rhodes Piano Service manual

Rhodes

Rhodes Piano Service manual

Roland Music Atelier AT20s Midi implementation

Roland

Roland Music Atelier AT20s Midi implementation

Yamaha Artiste AR-80 Electone owner's manual

Yamaha

Yamaha Artiste AR-80 Electone owner's manual

Yamaha YC-20 owner's manual

Yamaha

Yamaha YC-20 owner's manual

Roland KR-11 Turbostart

Roland

Roland KR-11 Turbostart

Roland Music Atelier AT-10S owner's manual

Roland

Roland Music Atelier AT-10S owner's manual

Yamaha Electone B-55N Guide

Yamaha

Yamaha Electone B-55N Guide

Peavey Generation Custom operating guide

Peavey

Peavey Generation Custom operating guide

Kawai DX80 owner's manual

Kawai

Kawai DX80 owner's manual

Yamaha disklavier Mark IV Series user manual

Yamaha

Yamaha disklavier Mark IV Series user manual

Kawai MP9000 Specifications

Kawai

Kawai MP9000 Specifications

Kurzweil RE-110 owner's manual

Kurzweil

Kurzweil RE-110 owner's manual

Kawai CN24 owner's manual

Kawai

Kawai CN24 owner's manual

Yamaha DGX-650 manual

Yamaha

Yamaha DGX-650 manual

Yamaha PortableGrand DGX-203 Mode d'emploi

Yamaha

Yamaha PortableGrand DGX-203 Mode d'emploi

Clavia Nord C1 user manual

Clavia

Clavia Nord C1 user manual

Rumberger WP-1X Mounting instructions

Rumberger

Rumberger WP-1X Mounting instructions

Aras INTELLIGENT NETWORK KEYBOARD user manual

Aras

Aras INTELLIGENT NETWORK KEYBOARD user manual

manuals.online logo
manuals.online logoBrands
  • About & Mission
  • Contact us
  • Privacy Policy
  • Terms and Conditions

Copyright 2025 Manuals.Online. All Rights Reserved.