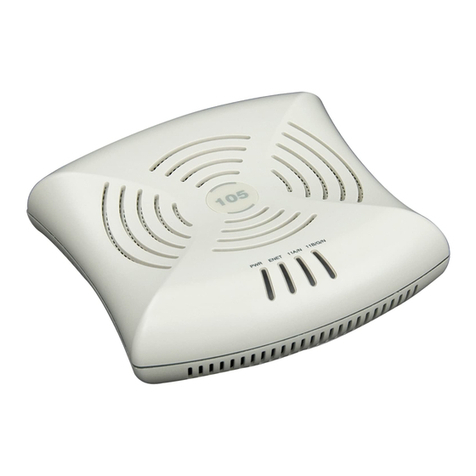
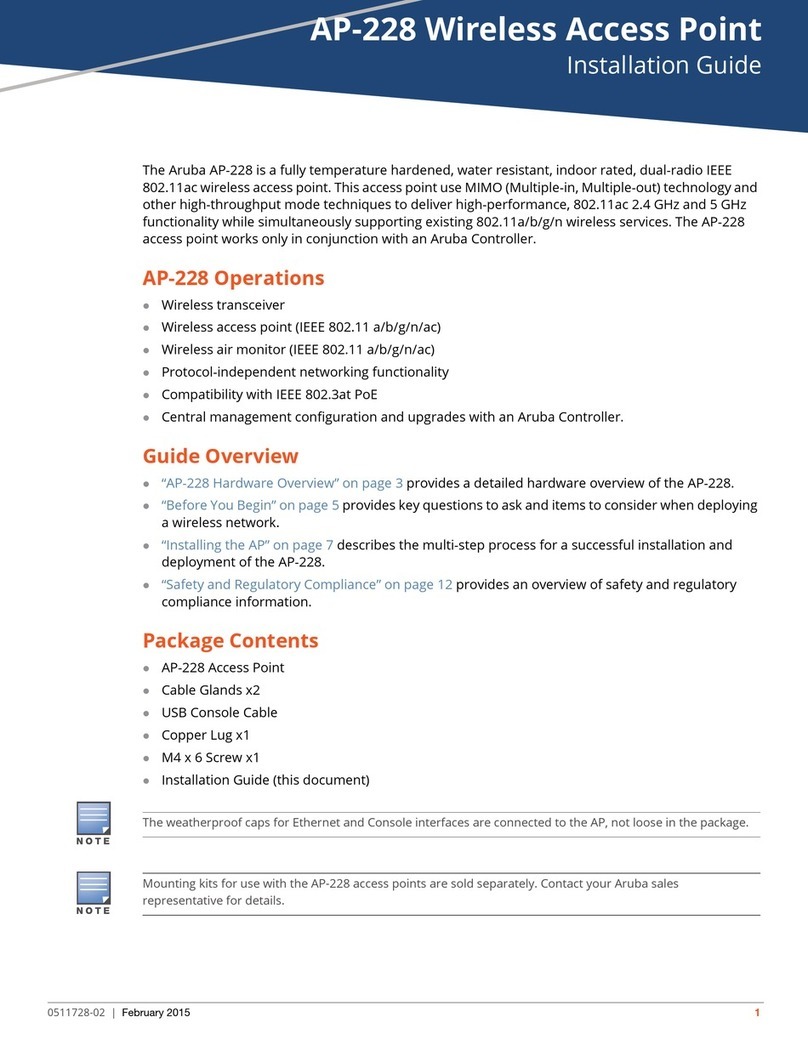
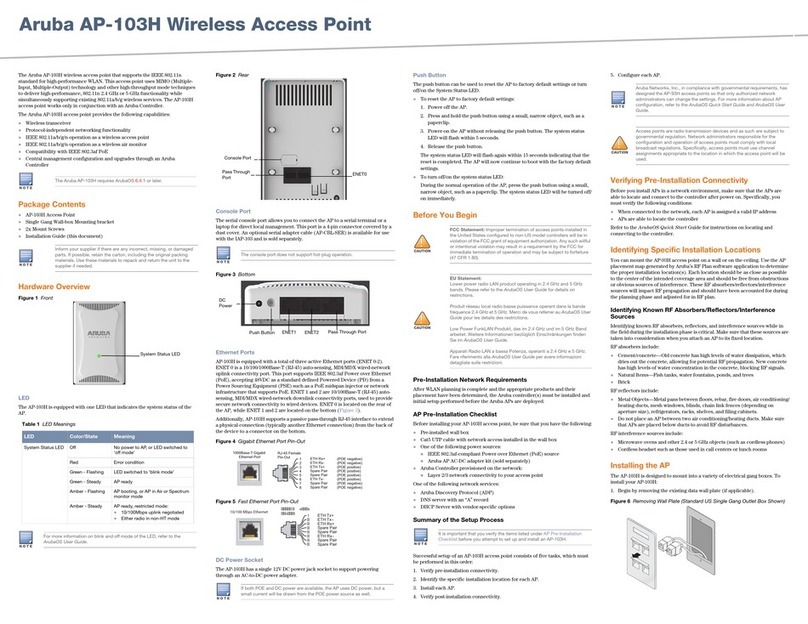
Aruba Networks AP-80 MB User manual
Other Aruba Networks Wireless Access Point manuals
Aruba Networks
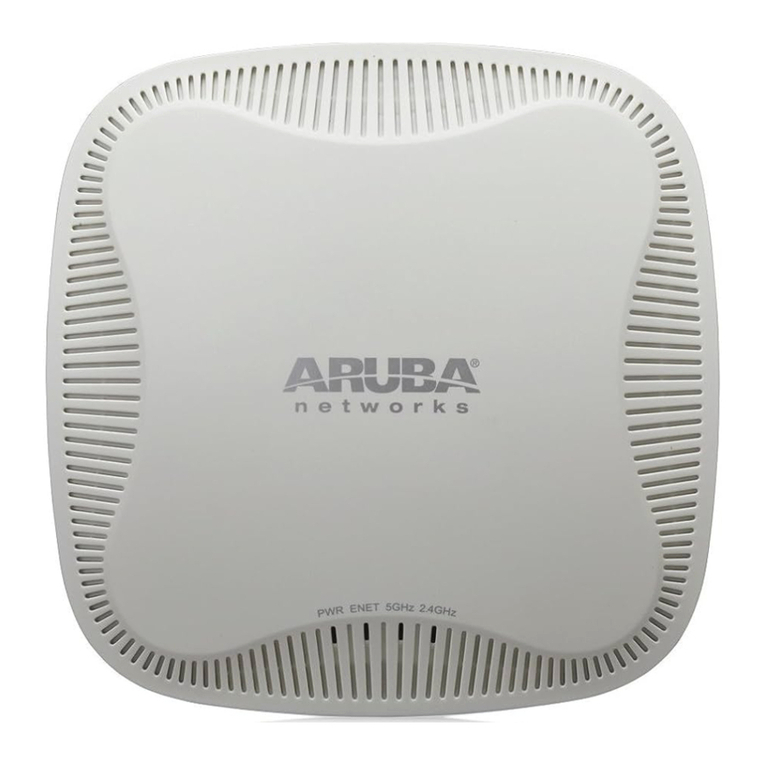
Aruba Networks AP-103 User manual
Aruba Networks
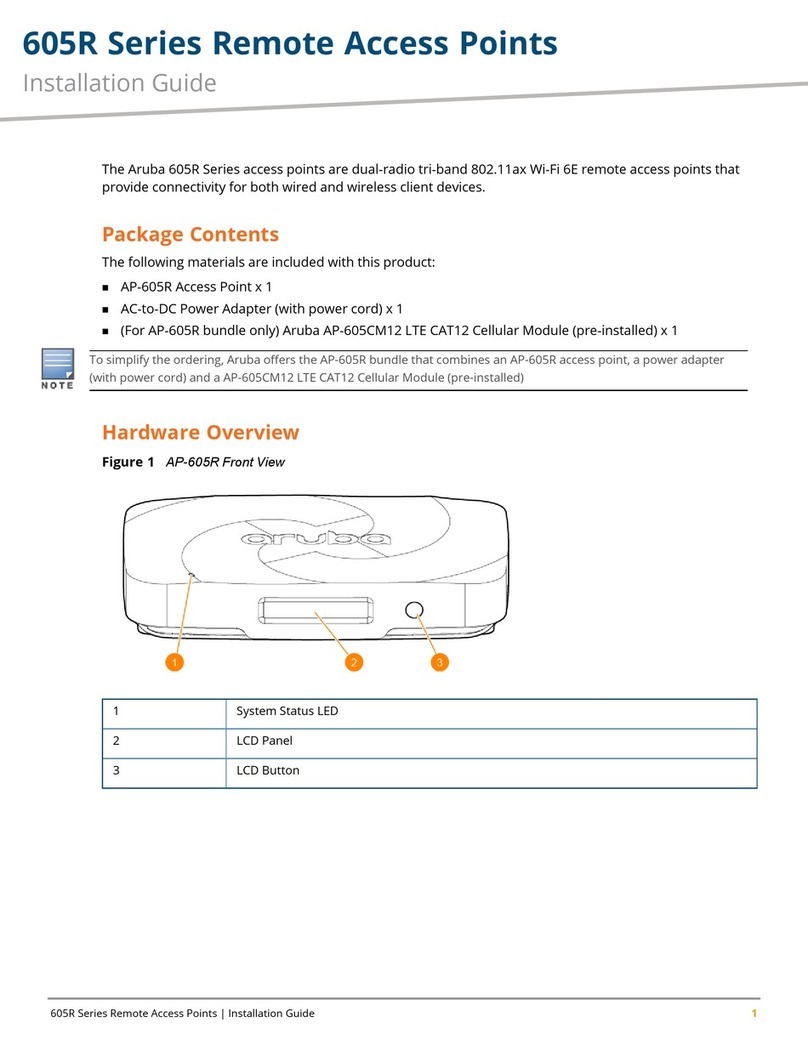
Aruba Networks 605R Series User manual
Aruba Networks
Aruba Networks RAP-5 User manual
Aruba Networks
Aruba Networks AP-324 User manual
Aruba Networks
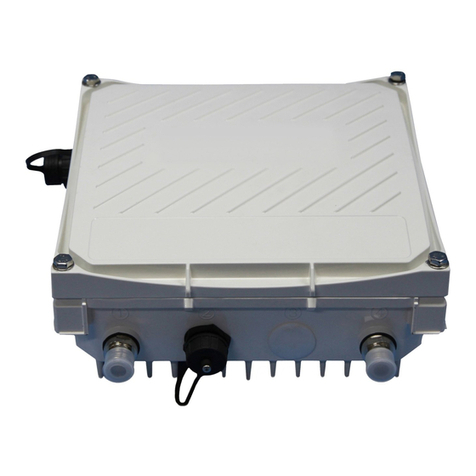
Aruba Networks AP-214 User manual
Aruba Networks
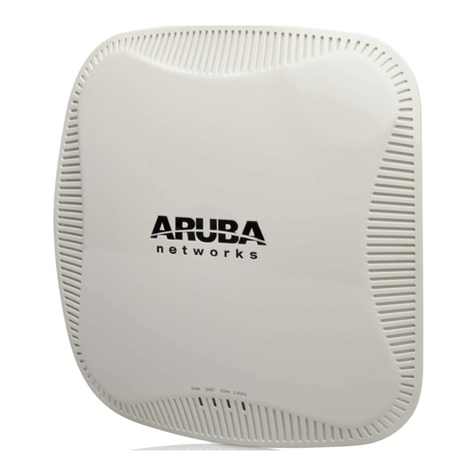
Aruba Networks AP-175DC User manual
Aruba Networks
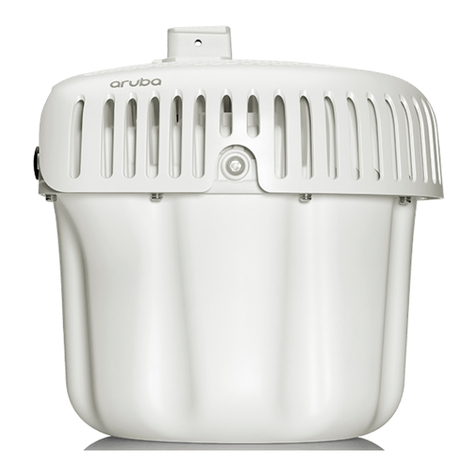
Aruba Networks IAP-114 User manual
Aruba Networks
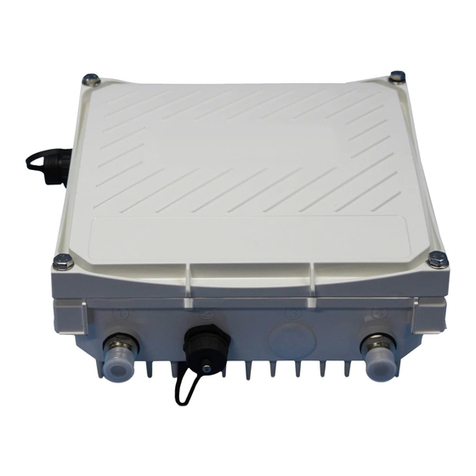
Aruba Networks AP-580 Series User manual
Aruba Networks
Aruba Networks AP-175 User manual
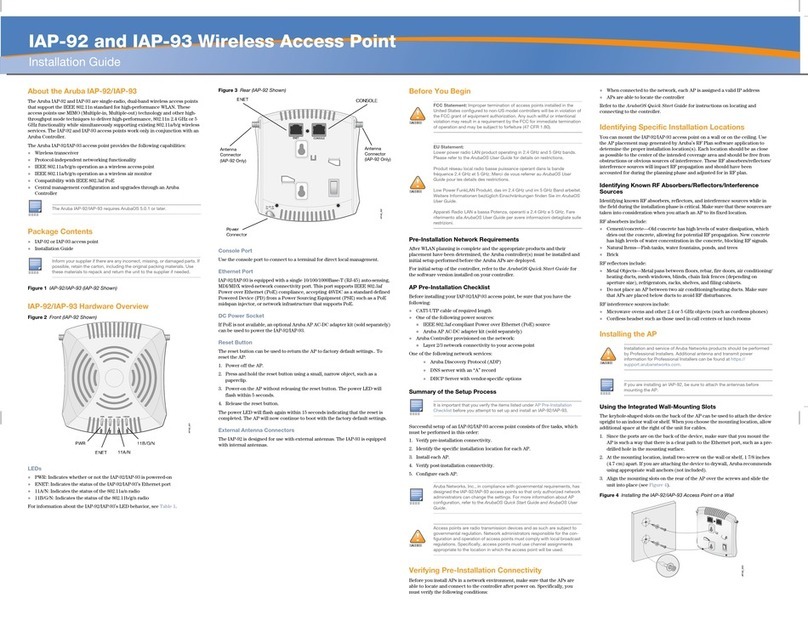
Aruba Networks
Aruba Networks IAP-93 User manual
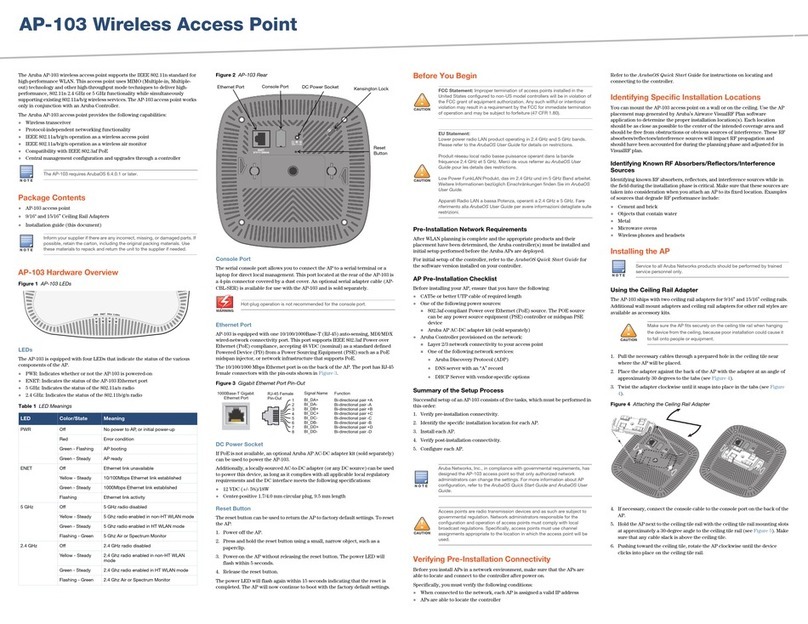
Aruba Networks
Aruba Networks AP-103 User manual
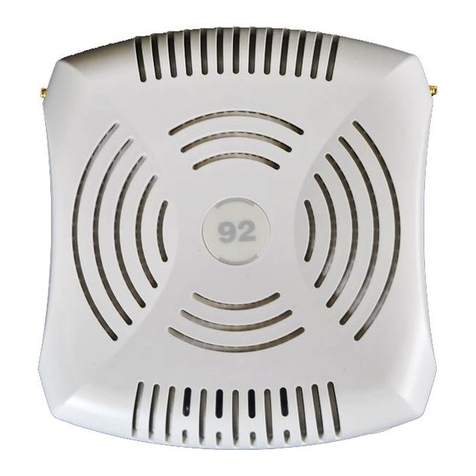
Aruba Networks
Aruba Networks IAP-92 User manual
Aruba Networks
Aruba Networks Access Point Aruba AP 60/61 User manual
Aruba Networks
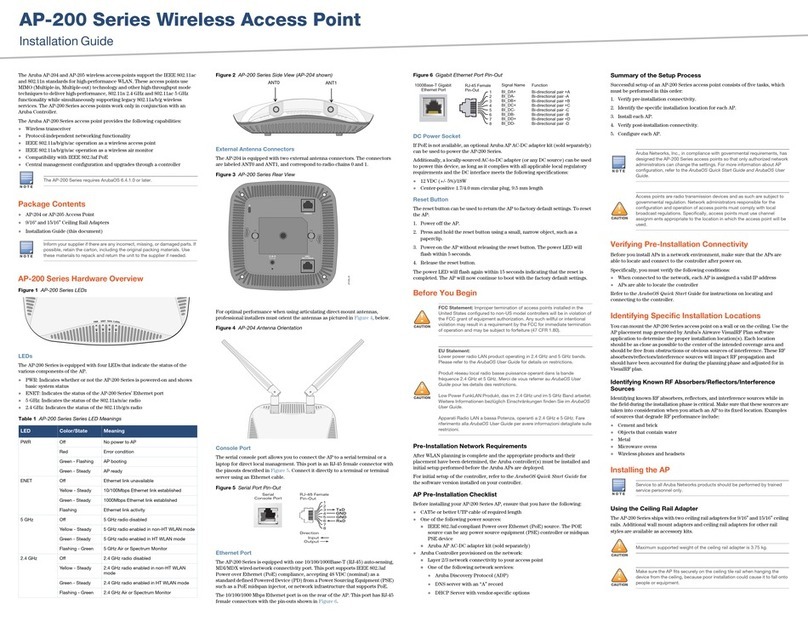
Aruba Networks AP-204 User manual
Aruba Networks
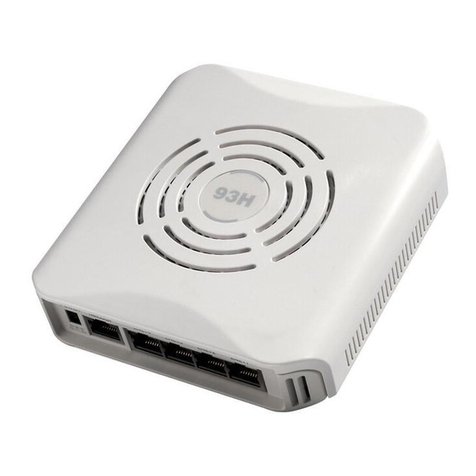
Aruba Networks AP-93H User manual

Aruba Networks
Aruba Networks IAP-130 Series User manual
Aruba Networks
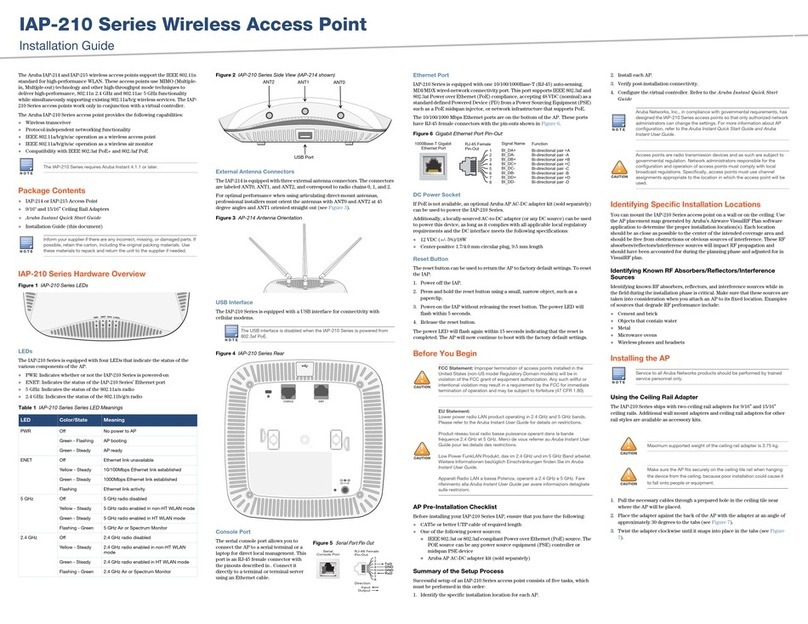
Aruba Networks IAP-210 Series User manual

Aruba Networks
Aruba Networks AP-90 Series User manual

Aruba Networks
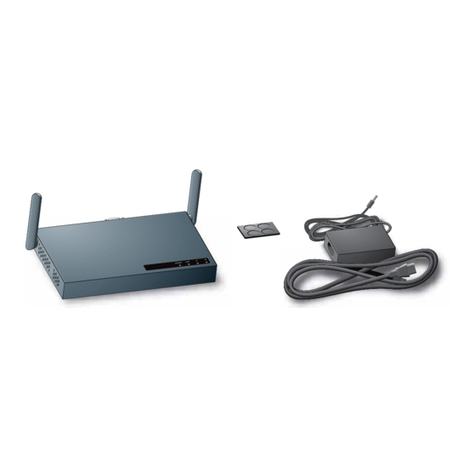
Aruba Networks IAP-103 User manual
Aruba Networks
Aruba Networks Aruba 52 User manual
Popular Wireless Access Point manuals by other brands

Monoprice
Monoprice MW301A user guide

D-Link
D-Link DWL-2700AP - AirPremier Outdoor Wireless Access... user manual

D-Link
D-Link DWL-2100AP - AirPlus Xtreme G Quick installation guide

TP-Link
TP-Link Auranet EAP225 Quick installation guide

D-Link
D-Link DWL-2100AP - AirPlus Xtreme G Quick installation guide

Ubiquiti
Ubiquiti NanoStation NSM2 quick start guide

