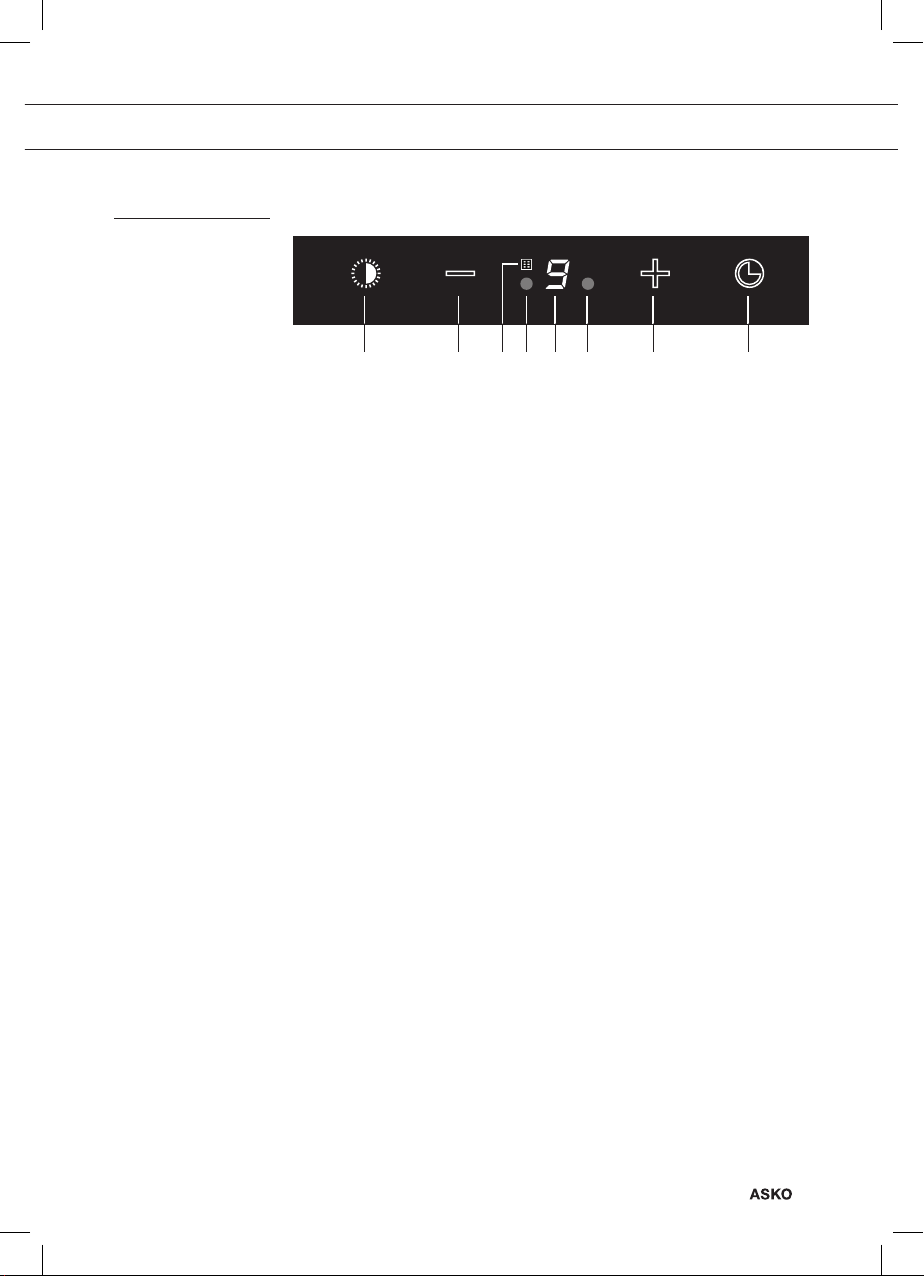
manuals.online logo
Brands
  1. Home
  2. •
  3. Brands
  4. •
  5. Asko
  6. •
  7. Ventilation Hood
  8. •
  9. Asko WS90CNTHJ User manual

Asko WS90CNTHJ User manual

This manual suits for next models

5

Other Asko Ventilation Hood manuals

Asko CW4931 User manual

Asko

Asko CW4931 User manual

Asko CW4930G User manual

Asko

Asko CW4930G User manual

Asko CW 4985 User manual

Asko

Asko CW 4985 User manual

Asko CW4938GCN User manual

Asko

Asko CW4938GCN User manual

Asko CW4936S User manual

Asko

Asko CW4936S User manual

Asko CG1 User manual

Asko

Asko CG1 User manual

Asko CW4624 User manual

Asko

Asko CW4624 User manual

Asko EN4359RVS/E02 User manual

Asko

Asko EN4359RVS/E02 User manual

Asko A4402TRVS/E01 User manual

Asko

Asko A4402TRVS/E01 User manual

Asko CC4840S User manual

Asko

Asko CC4840S User manual

Asko CD4634B/4000 User manual

Asko

Asko CD4634B/4000 User manual

Asko CBB861S User manual

Asko

Asko CBB861S User manual

Asko CC4520 User manual

Asko

Asko CC4520 User manual

Asko CH060-60 User manual

Asko

Asko CH060-60 User manual

Asko CBB901SB User manual

Asko

Asko CBB901SB User manual

Asko CG1 User manual

Asko

Asko CG1 User manual

Asko CCT1252W User manual

Asko

Asko CCT1252W User manual

Asko CW4934S/4000 User manual

Asko

Asko CW4934S/4000 User manual

Asko CC4527S User manual

Asko

Asko CC4527S User manual

Asko CCT1252WC User manual

Asko

Asko CCT1252WC User manual

Asko CW4634S/4000 User manual

Asko

Asko CW4634S/4000 User manual

Asko CCT9051S User manual

Asko

Asko CCT9051S User manual

Asko CBB862WC User manual

Asko

Asko CBB862WC User manual

Asko CW4935SCN User manual

Asko

Asko CW4935SCN User manual

Popular Ventilation Hood manuals by other brands

Gorenje S3 IHGC963S4X manual

Gorenje

Gorenje S3 IHGC963S4X manual

KOBE ISX2136SQB-1 Installation instructions and operation manual

KOBE

KOBE ISX2136SQB-1 Installation instructions and operation manual

U.S. Products ADVANTAGE-100H Information & operating instructions

U.S. Products

U.S. Products ADVANTAGE-100H Information & operating instructions

Kuppersberg DUDL 4 LX Technical Passport

Kuppersberg

Kuppersberg DUDL 4 LX Technical Passport

Framtid HW280 manual

Framtid

Framtid HW280 manual

Thermador HGEW 36 FS installation manual

Thermador

Thermador HGEW 36 FS installation manual

Electrolux LFT769X user manual

Electrolux

Electrolux LFT769X user manual

AEG X69453MVO UK user manual

AEG

AEG X69453MVO UK user manual

Broan B5836SS manual

Broan

Broan B5836SS manual

Heinner HDCH-6060RGBK quick start guide

Heinner

Heinner HDCH-6060RGBK quick start guide

Baumatic AS35SS instruction manual

Baumatic

Baumatic AS35SS instruction manual

Franke FTF 604 XS V2 Instructions for use and installation

Franke

Franke FTF 604 XS V2 Instructions for use and installation

Best UCB3I30SBW installation instructions

Best

Best UCB3I30SBW installation instructions

Gram EFU 503-90 X instruction manual

Gram

Gram EFU 503-90 X instruction manual

CIARRA CBCS6803 Installation and user manual

CIARRA

CIARRA CBCS6803 Installation and user manual

sauter SHG501 Instructions for installation and use

sauter

sauter SHG501 Instructions for installation and use

Franke 392-17 User instructions

Franke

Franke 392-17 User instructions

FALMEC Polar Black 35 Instruction booklet

FALMEC

FALMEC Polar Black 35 Instruction booklet

manuals.online logo
manuals.online logoBrands
  • About & Mission
  • Contact us
  • Privacy Policy
  • Terms and Conditions

Copyright 2025 Manuals.Online. All Rights Reserved.

Instructions for use
Cooker hood
CW4930G / WS90CNTHJ
CW41230G / WS12CNTHJ
CI41230G / ES12CNTIJ
EN Instructions for use EN 3 - EN 14
Pictograms used
Important information
Tipp
EN 3
CONTENTS
Your cooker hood
Introduction 4
Use
Description 5
Operation 6
Cleaning filters 8
Maintenance
Cleaning 9
Lighting 11
Technical specifications
12
Appendix
Disposal 14
EN 4
Introduction
On reading these user manuals you will soon become familiar with
the features of this appliance. Please read the appliance’s safety and
maintenance instructions.
Please retain the operating and installation instructions as these may be
useful for future reference.
Please read the separate safety instructions
prior to use.
YOUR COOKER HOOD
EN 5
USE
Description
1. Switching on/off and dimming the lighting
2. Reducing air extraction capacity and switching off
3. Cleaning filter indicator
4. Proximity sensor
5. Display status
6. Proximity sensor
7. Switching on and increasing air extraction capacity
8. Timer function indicator
1 2 3 4 5 6 7 8
EN 6
USE
Operation
Switching extraction on and off
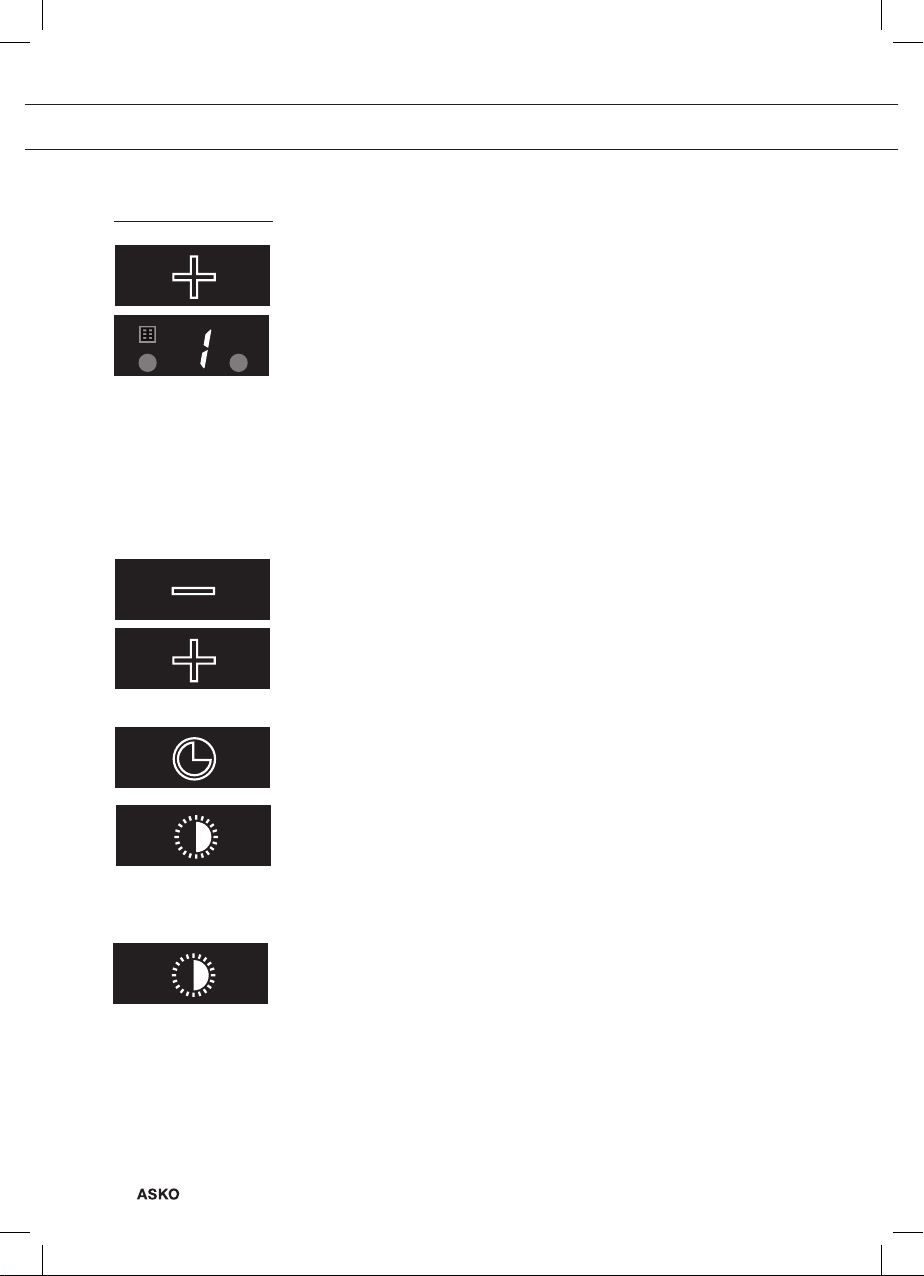
• Press the ‘+’ key.
The cooker hood will switch on at the lowest setting.
• Press the ‘+’ key again to set a higher extraction setting. Press and
hold the ‘+’ key for 2 seconds to select the highest setting (boost)
(see switching on boost setting).
The extraction setting can be set between speeds level 1 to 5 or 9.
• Press the ‘-’ key to select a lower setting.
• If the extraction setting is set at 1, you can switch off the cooker
hood by quickly pressing and releasing the ‘-’ key.
• To switch off the cooker hood from whatever setting press and hold
the ‘-’ key for at least 2 seconds.
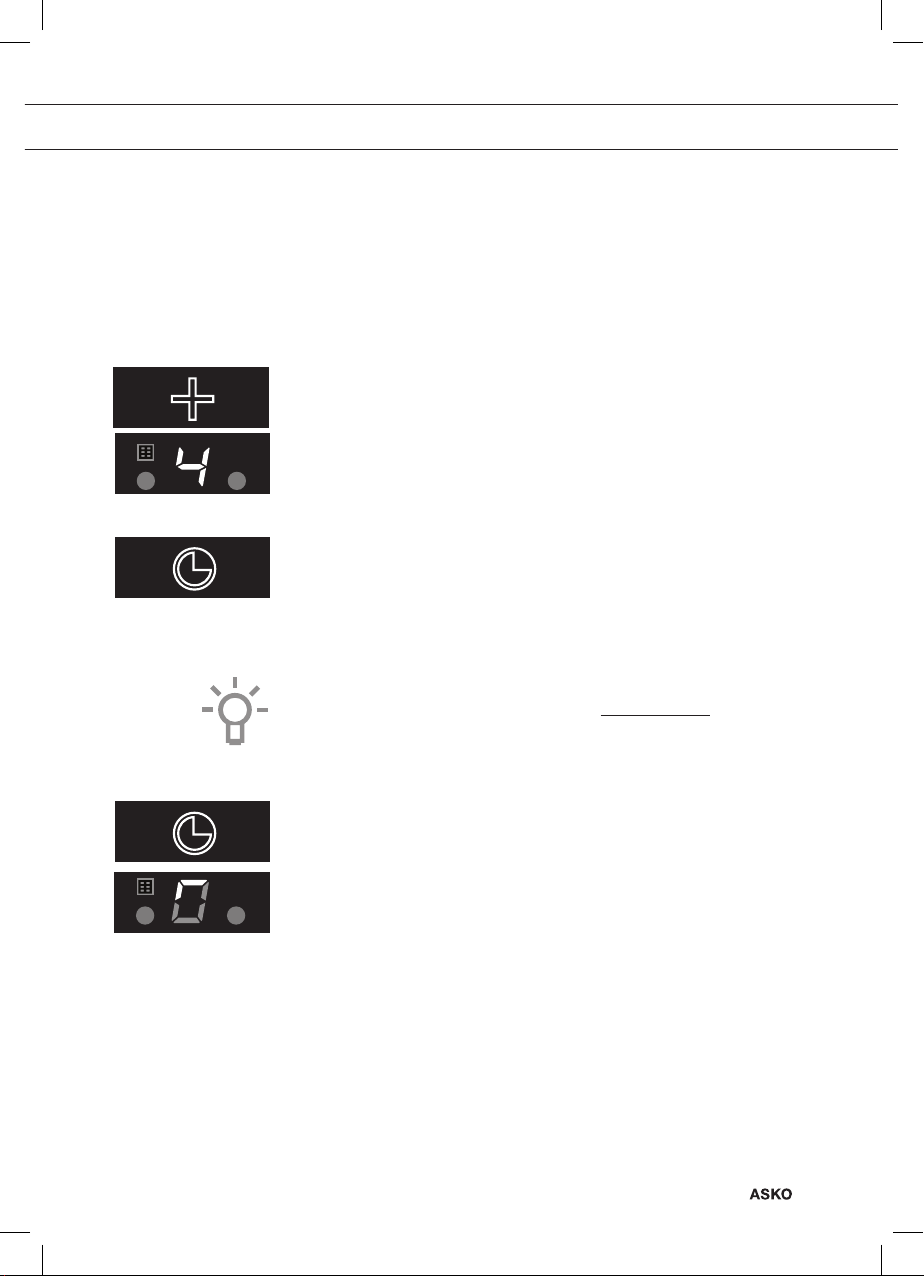
Alter the number of speed-settings
You can choose between 9 speed-settings (default) or 5 speed-settings.
• Press and hold the ‘-’ key and ‘+’ key for at least 5 seconds.
This selects the 5 speed-setting option. Press and hold the ‘-’ key
and ‘+’ key again for at least 5 seconds to select the 9 speed-
setting option.
Switching on recirculation
• Simultaneously press and hold the timer key and the lighting key
until the filter indicator flashes 3 times.
The carbon filter indicator is activated.
Switching off recirculation
• Simultaneously press and hold the timer key and the lighting key
until the filter indicator lights up.
Switching the lighting on and off
• Quickly press and release the lighting key.
The light switches on at maximum strength.
• Press and hold the lighting key to set the lighting strength.
The lighting changes from maximum to minimum strength and
vice versa.
• To turn off the light, quickly press and release the lighting key while
the light is on.
EN 7
Changing the colour temperature
Choose the temperature colour of the light from warm to cold.
• Press and hold the lighting key. Press the ‘+’ key to make the light
‘colder’ or press the ‘-’ key to make the light ‘warmer’.
Switch on boost setting:
• Press and hold the ‘+’ key for approximately 2 seconds.
The boost setting (setting ‘b’ or 7,8,9) is switched on for 10 minutes.
The display will flash during this period. The original extraction setting
will be reactivated after this period.
• Quickly press and release the ‘-’ key to switch off the boost setting.
Switching on the timer
• Press the timer key.
The timer indicator will start to blink.
The cooker hood will switch off automatically after 10 minutes.
• Switch off the timer function by pressing a random key (except the
one for lighting).
Note!
If the boost setting has been selected you cannot activate the timer
function.
Clean Air function
The Clean Air function allows you to freshen the air in your kitchen for a
maximum of 24 hours at level 1.
• Switch off the cooker hood.
• Press and hold the timer key for approximately 3 seconds.
The cooker hood will switch on automatically for 10 minutes every
hour at the lowest speed setting. During extraction the display will
show a fast rotating ‘snake’. When the hood switches off after
10 minutes, the display will show a slow rotating ‘snake’ until the
hood switches on again after 50 minutes.
• Switch off the Clean Air function in the meantime by pressing a
random key (except the one for lighting).
USE
EN 8
Active mode
• The proximity sensor detects a user standing in front of the hood
and will illuminate the icons. After 3 seconds the lighting will
automatically switch on.
Disable the active mode
• Simultaneously press the ‘+’ and ‘timer’ key for 3 seconds.
The active mode is disabled. The display show an static ‘U’.
Enable the active
• Simultaneously press the ‘+’ and timer key for 3 seconds.
The active mode is enabled. The display show 3 times a
blinking ‘U’.
Cleaning filters
Saturation grease and carbon filters
The filters should be replaced or cleaned when the grease filter
indicator or the carbon filter indicator are lit. See chapter ‘Maintenance’.
Grease filter
The filter indicator will light up after 30 operating hours.
• The grease filters should then be cleaned.
• Reset the memory by pressing and holding the ‘-’ key until the filter
indicator stops flashing.
Carbon filter
The filter indicator will flash after 120 operating hours.
• The carbon filter should then be cleaned or replaced.
• Reset the memory by simultaneously pressing and holding the ‘-’
and ‘+’ keys until the filter indicator stops flashing.
USE
EN 9
Cleaning
Important!
For all maintenance first switch off the mains power to the cooker hood
by pulling the plug out of the socket or by turning off the home's master
switch. The hood needs to be cleaned regularly, both inside as well as
outside (at least in the same frequency as the grease filter cleaning).
Do not use abrasive cleaning products. Do not use alcohol!
Important!
If the instructions regarding cleaning the appliance or replacing the
filters are not followed, this can cause a fire. These instructions should
be followed! The manufacturer is not liable for damage to the hood
or fire damage resulting from incompetent maintenance or from
non-adherence to the above safety instructions.
Cooker hood
Clean the cooker hood with soapy water and a soft cloth.
Then wash off with clean water. Do not use aggressive cleaning agents
such as caustic soda. The cooker hood finish stays in good condition if
it is buffed periodically following the application of wax.
Stainless steel cooker hoods
Do not use scouring pads or other abrasive cleaners on stainless steel
cooker hoods. Finish with a non-abrasive, non-polishing agent and buff
the stainless steel in the direction of the grain.
Metal grease filters
Metal grease filters should be cleaned once a month (or when indicated
by the filter cleaning indicator – if present on the model) using a neutral
cleaning agent, either by hand or in the dishwasher on a short, low-
temperature program. Place the grease filters with the openings facing
downwards in the dishwasher so the water can drain out of the filter.
Aluminium grease filters become dull as a result of dishwasher cleaning
agents. This is normal and does not effect the working.
MAINTENANCE
EN 10
Removing cassette filter
1 Switch off the motor and lighting.
2 Push in the locking lugs at the front behind the glass plate and
pull the glass plate carefully out of the seal. Tilt the glass plate
downwards.
3 Open the filter’s access hatch.
4 Remove the filter from the hood.
Cleaning
The filters can be cleaned in the dishwasher. Allow the filters to drain
well before replacing.
The filters can also be cleaned by hand.
Clean the filters in soapy water with washing up liquid and rinse. Allow
the filters to drain well. Consult chapter ‘Cleaning’. The underside of
the cooker hood can be cleaned with a mild cleaning agent and a damp
cloth. Dry off with a paper towel.
Replacing cassette filter
The filter should be placed with the locking mechanism on the front.
Open the filter access hatch. The notches at the front of the filter will then
slot in. Hold the access hatch in this position when placing the filters.
1 Slot the notches at the back of the filter in the specially designed
opening of the cooker hood.
2 Tilt the filter upwards.
3 Release the filter access hatch. The notches at the back of the
filter will extend outwards and slot into the specially designed
openings of the cooker hood.
The filter is now in position again.
4 Press the glass plate firmly in the seal again (you will hear a click).
The glass plate can be removed for cleaning. Always remove the
glass plate with 2 persons (due to its weight)!
MAINTENANCE