EN 6
OPERATION
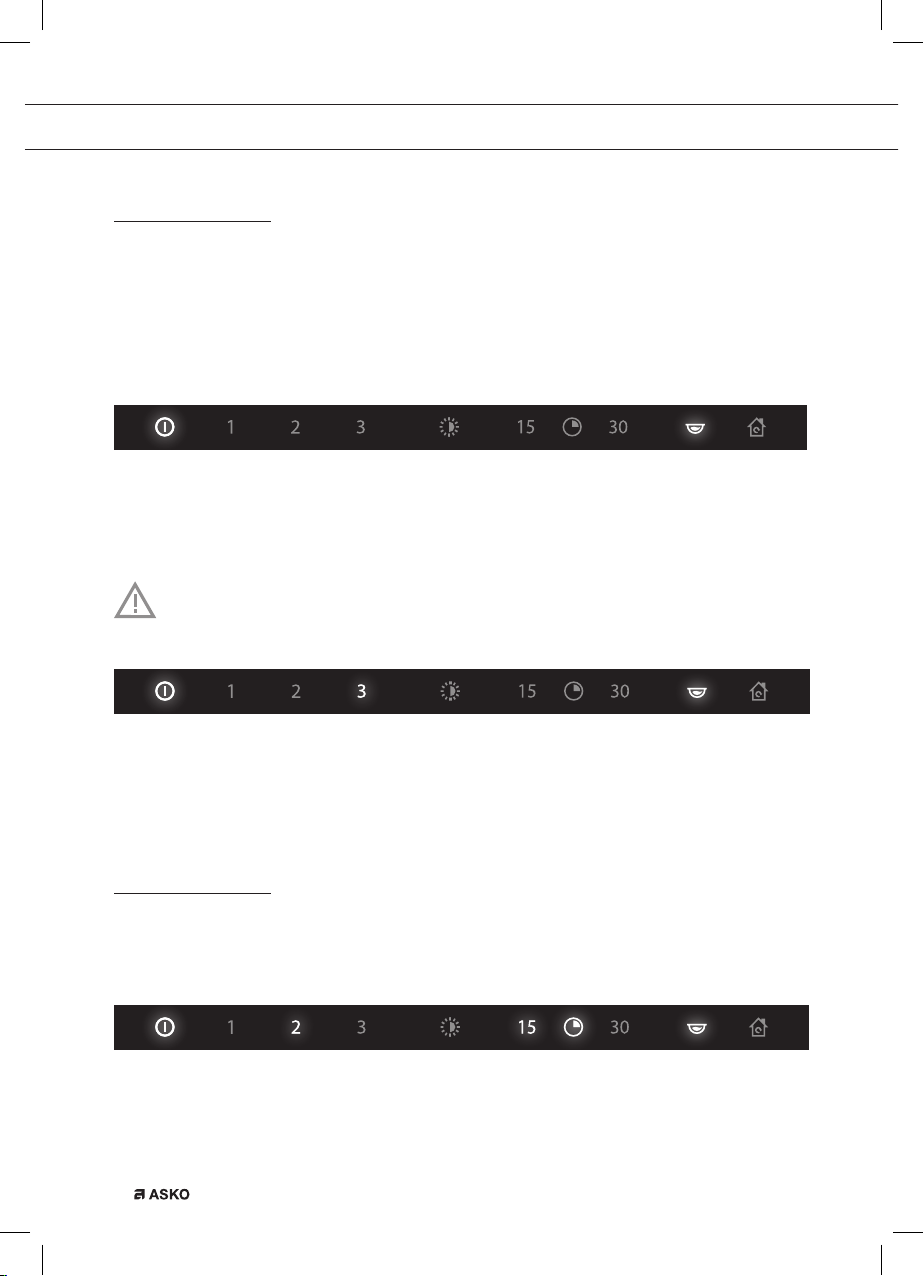
Switching on/off the extraction
The hood is equipped with three different extractor settings.
1. Press the on/off key.
The key becomes illuminated for 100%; the hood is in standby.
▷The grease collector indicator signal becomes illuminated for 100% also. If the indicator
signal is illuminated orange, the grease collector has to be cleaned (see chapter
‘Maintenance’).
2. Press key ‘extractor setting 1, 2 or 3’ to switch on the extraction.
The key becomes illuminated for 100% and the selected extractor setting becomes active.
▷If you want to select another setting, you can press the required key.
Attention!
Setting 3 (intensive setting) is switched on for 20 minutes. After that, the hood switches
back automatically to setting 2.
3. To switch off the extraction, press key ‘extractor setting 1, 2 or 3’ again.
The key becomes illuminated for 50% and the selected extractor setting switches off.
4. Press the on/off key again to switch off the hood completely.
Switching off the extraction automatically
After you have activated the extraction, you can let it switch off automatically.
1. Press the timer key ‘15 minutes’ or ‘30 minutes’.
The timer key and timer indicator signal become illuminated for 100%.
2. The selected extractor setting switches off automatically after 15 or 30 minutes.
The timer key and timer indicator signal become illuminated for 50%.
3. Press the on/off key to switch off the hood completely.