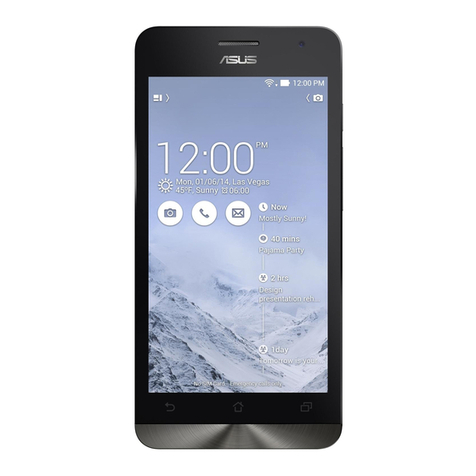
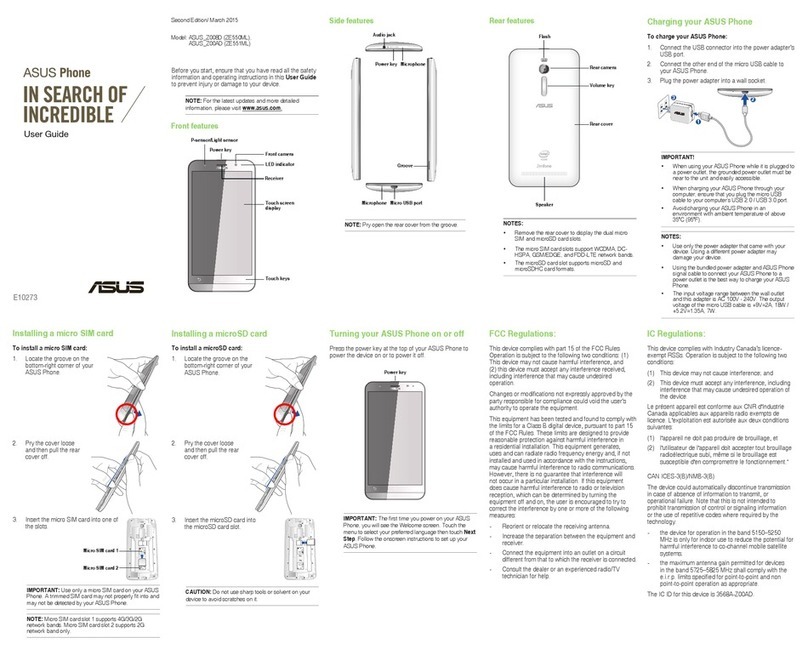
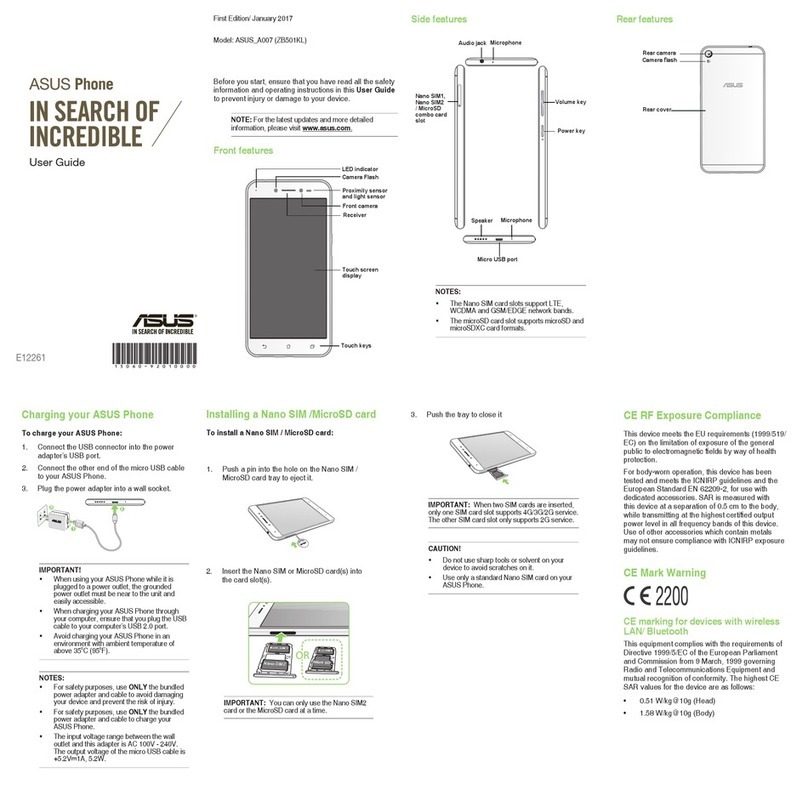
Asus J501 User manual

ASUS J501
User Manual

Package contents 1
Overview 2
Specications 3
Getting started 4
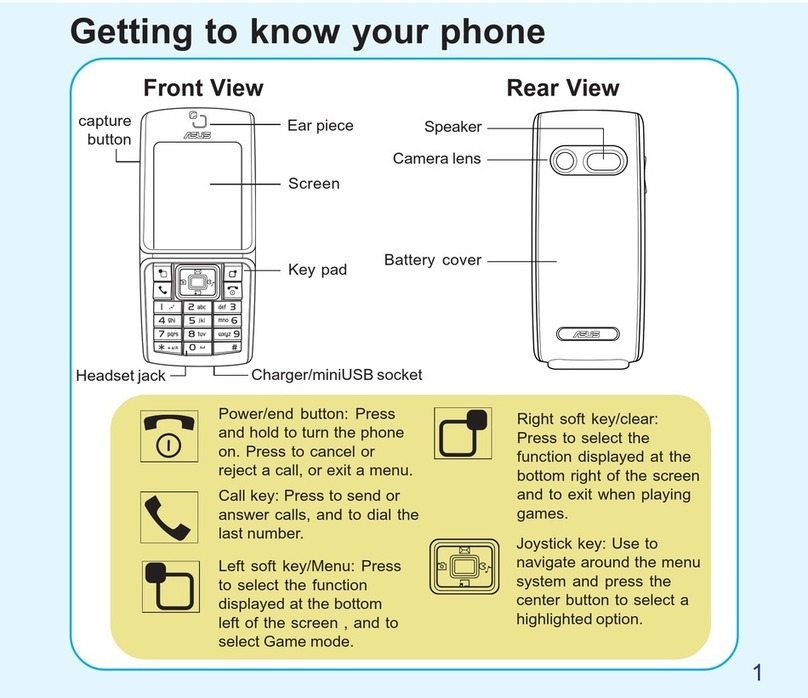
Getting to know your J501 4
Components description 5
Inserting the SIM card, the
microSD™card, and the battery 7
Charging the battery 8
Powering your device 8
Locking/unlocking the keypad/slide 8
The Main Screen 9
USB Cong 11
UsingUSBCong 11
Using Call features 12
Making a call 12
Making international calls 12
Answering a call 13
Diverting calls 13
Redialing a number 13
Call history 13
Call time/cost 14
SMS Counter 15
GPRS Counter 15
Options during a call 15
Other call options 15
Contents
Phonebook 16
Adding contacts 16
Searching for a contact 16
Shortcut to contact entries 17
Copying contacts 17
Deleting Contacts 17
Caller Groups 18
Extra Number 18
Settings 19
My vCard 20
Messages 21
Entering text and numbers 21
SMS 23
MMS 25
Chat 26
Email 27
Voice Mail Server 27
Broadcast Message 28
User Proles 29
ProleSettings 29
Settings 30
Phone Setup 30
Call Setup 34
Network Setup 37
Security Setup 38
Restore Factory Settings 40
Equalizer 41

Multimedia 42
Camera 42
Videos 44
Photo Artist 46
Audio Player 48
Sound Recorder 50
FM Radio 51
Schedule FM Record 52
Melody Compose 52
Organizer 53
Calendar 53
To Do List 53
Alarm 54
World Clock 54
Services 55
Service Provider Settings 55
WAP 55
Data Account 56
Fun & Game 57
Java 57
Extra 58
Intervision 58
Bluetooth 58
Calculator 59
Unit Converter 60
Currency Converter 60
Health Manager 60
Shortcuts 61
File Manager 62
Phone 62
Memory Card 62
DRM Rights 62
Using the File Manager 62
Skype 64
Before Using Skype 64
Setting a Bluetooth connection 64
Conguringconnectionbetween
your device and PC using Skyddle 65
Using Skype on your device 65
Handset Manager 67
Installing the Handset Manager 67
Starting the Handset Manager 67
Main Panel 68
Navigating the Handset
Manager Tools 69
Music Manager 71
Important notes 72
Appendix 75
Additional Information 75
European Notice 75
Certication Information (SAR) 75
Proper Disposal 76
Safety Warnings 77

1
Welcome
warranty card
User Manual
Quick Start Guide
J501 handset 750 mAh Li-ion
battery
Travel charger Stereo headset
Warranty card
User manual Quick start guide Handset Manager
CD-ROM
USB cable
Check your J501 package for these items. If any item is missing or damaged, contact your retailer.
Package contents

2
* NOTE: The microSD™ card is an optional accessory. The accessory bundle may vary in different
territories.
Overview
The J501 comes with a built-in camera, MMS/SMS messaging capability, organizer, Java games,
audio player, Bluetooth capability, WAP, GPRS, and a microSD™ card slot. In addition to the
internal 5 MB phone memory, the microSD™ card* provides additional memory where you can store
yourcontactinformation,messages,text,graphics,andaudioles.
Features
• Wide variety of calling and messaging functions
• Built-in camera
• Media center with audio player and games for your entertainment
• MMS and SMS messaging capability
• Personal information organizer with alarm, calendar, calculator and other useful tools to
manage your time
• WAP and GPRS capability to check e-mail or browse web services
• Bluetooth capability

3
Welcome
Specications
System supported GSM900/1800/1900; GPRS class 12
Dimensions 103 × 48 × 16.6 mm
Battery 750 mAh Li-ion
Standby time 200 hrs
Talk time 2.5~5 hrs
Main display 2.2’’TFT, 262K colors, 240x320
Phonebook 500 sets
Messaging SMS/EMS/MMS/Email
Camera 2.0 Mega-pixel with auto focus
Video recording Unlimited video recording*
Ringtone 64 chord polyphonic + MP3 ringtone
Voice recording Unlimited voice recording*
Memory 5 MB
Java MIDP2.0 and JSR 185
Games 3 Java games & 8 games
Connectivity USB V1.1 / BT V1.2
Other features MP3 Music Player / MP3 Ringtone/ FM radio
MP3 equalizer and custormized MP3 interface color
Support H.263/ MPEG4(3GP/MP4)/AAC
Support Bluetooth data transfer/ Bluetooth printing/ Bluetooth skype
Support Bluetooth Stereo headset
Equipped HID
Flight mode
QR code reader
Support Webcam
Handsfree Support
* NOTE:Allspecicationsaresubjecttochangewithoutnotice.

4
Getting started
Front features
Getting to know your J501
1
2
3
4
5
6
7
Side features Back features
8
9
10

5
Getting started
Components description
FEATURES
1. Earpiece receiver
Allows you to listen to an active call.
2. LCD screen
Displays menu, battery status, and signal strength.
3. Left and right soft keys
The left and the right soft keys perform the command displayed above the button.
4. Navigation keys
Up key
• Press to scroll up through the menu items.
• Press to increase volume when playing music in the Audio player.
Down key
• Press to scroll down through the menu items.
• Press to decrease volume when playing music in the Audio player.
Left key
• Press to scroll left through the menu items.
•PresstoplaythepreviousMP3leintheAudioPlayer.
Right key
• Press to scroll right through the menu items.
•PresstoplaythenextMP3leintheAudioPlayer.
Enter/Play key
•Presstolaunchachosenprogram,listthecontentsofafolder,oropenale.
•Pressoncetoplay,twicetopauseanMP3leintheAudioPlayer.
•LongpresstostopanMP3lefromplayingintheAudioPlayer.

6
FEATURES
5. Power/End key
• Press and hold to turn your phone ON/OFF.
• Press to end a call.
6. Call key
In idle mode: Press to show call list. Use left key to show missed calls or right key to show
received calls
In normal mode: Press to call or dial a number.
7. Keypad
Alphanumeric keypad enter texts and numbers.
Asterisk (*) key enables you to switch between input modes.
Whenidle,presstoswitchbetweenprolemodeorsilentmode.
Press to enter a space. In a text or call mode, press to enter zero (0).
8. USB/Micro SD/earphone connector
Insert the charger to charge the battery, a headphone to listen to music, or a microSD™
card.
9. Camera lens
This 2.0 megapixel lens comes with Auto-Focus (AF) lens.
10. Back cover
Covers the internal components such as the battery.
Components description

7
Getting started
Inserting the SIM card, the
microSD™ card, and the
battery
The service provider provides you with a
Subscriber Identity Module (SIM) card that
stores your phone number, phonebook
information, and service provider information.
NOTE: Be sure your phone is turned off before you insert your
SIM card.
To install the SIM card
1. Slide the cover in the
direction of the arrow.
NOTE: In some regions the microSD™ card may be supplied as
an optional accessory only.
To insert the microSD™ card
1. Insert the
microSD™ card in
the microSD™ card
slot.
2. Lift the battery through
the groove as shown.
3. Insert the SIM card into
the card slot with the
contacts area facing
down.
2. Put back the battery
into its compartment
noting the correct
polarity.
3. Replace the back
cover, sliding it
upward until it snaps
in place.

8
Charging the battery
1. Connect the AC adapter to a power
source.
2. Connect the charger to the socket at the
side of the phone. The connector can
only be inserted one way.
NOTE: For best battery performance, allow the battery to
chargeanddischargecompletelytherstfewtimesyouuseit.
Powering your device
To turn the phone on
• Hold down until the screen lights
up.
If needed, enter your SIM card PIN code
and press the Enter key.
To turn the phone off
• Press and hold until the phone shuts
down.
NOTE: If you have set an alarm, and you have turned off your
phone, your phone will automatically turn on when the alarm is
activated. After you disable the alarm, a message prompts you
if you want to keep your phone turned on or off. See Organizer
on page 53 for details about setting an alarm.
Locking/unlocking the
keypad/slide
To lock the keypad
1. From the main menu, launch and
select Security Setup > Auto Keypad
Lock.
2. Press Ok or to display the time
options.
3. Select from the list, and press Ok or
to set the time for keypad lock.
To lock the slide
1. From the main menu, launch and
select Security Setup > Slide Keypad
Lock.
Use the left soft key or play button to set
it On or Off.
To unlock the keypad/slide
•. From the main menu, press Unlock and
the left soft key.
NOTE: Refer to Auto Keypad Lock and Slide Keypad Lock
on page 39 for more details.

9
Getting started
The Main Screen
When your phone is on or idle, the display screen shows various items such as icons, date/time,
Menu, and Phonebook. To open Menu, press the left soft key . To view your Phonebook,
press the right soft key .
Status indicators
Signal strength Message
Missed call MMS unread
Call forwarding line 1 and line 2 WAP mail
Line 1 signal strength Roaming service
Ring enabled Chat room
Lock Battery power
Vibrate mode Bluetooth enabled
Alarm
NOTE: Actual status indicator icons may vary from the ones represented in this guide.

10
Phone book
Messages
Call History
Settings
Multimedia
File Manager
Fun & Game
UserProle
Organizer
Services
Extra
Skype
Menu icons

11
Calls
USB Cong
TheUSBCongenablesyoutoinsertaUSBdevice(suchasacharger,oraUSBcable)tocharge
the battery, read data from your microSD™ card or from your phone, and to use the USB connector
as a COM port.
Using the USB Cong
1. Insert the USB device, such as a charger or a USB cable, to the USB connector. The USB
Conglistisdisplayed.
2. Select an item from the list. The list includes:
Charge only : Select to charge the battery.
SD Card Reader : Select to read/write data from your microSD™ card.
Mass Storage : Select to read/write data from your phone or microSD™ card. This
option needs to restart your phone.
Webcam : Select to be able to use a web camera on your phone.
COM port : Select to use the USB connector as a COM port.
3. Press OK or whennished.

12
To create a speed dial for a contact
1. From the Speed Dial screen, select 2 Set
Number, then press OK or .
2. Press Option > Edit. Your phone book
list is displayed.
3. Select the contact that you want to
assign a speed dial. Press OK or .
To make a call using speed dial
1. From the Speed Dial screen, select 2 Set
Number, then press OK or .
2. From the speed dial list, select the
contact that you want to call.
3. Press to make the call.
Making international calls
Tomakeinternationalcalls,youmustrstenter
theinternationalprex(+),followedbythe
country code and the phone number.
To place an international call
1. Press and hold the ”0“ key to enter a plus
(+) sign.
2. Enter the phone number with the country
code, followed by the area code, and the
telephone number.
Using Call features
Making a call
Calling from the main screen
To call from the main screen
1. From the main screen, enter the number
you want to call.
If you entered a wrong number, press
Clear.
2. After entering the number, press
to make the call.
3. Press to end the call.
Calling using speed dial
You can create speed dials for frequently-used
contact numbers. You may set the speed dial
number from 2-9. Speed Dial 1 is reserved for
voice mail access.
To enable the speed dial feature
1. From the main screen menu, select
to launch the Settings menu.
2. From the Settings menu, press Phone
Setup > 7 Speed Dial. Press OK or
to display the Speed Dial screen.
3. Press On to enable the speed dial
feature.

13
Calls
Answering a call
When you receive a call, the phone rings or
vibrates based on your ringtone or vibration
settings.
To answer a call
Press or press Option > Answer to
answer the call.
To reject a call
Press to end the call.
NOTE: Depending on your service provider, the call may be
transferred to your voice mail, or the caller may hear a busy
signal.
Diverting calls
The Call Divert feature enables you to divert
incoming calls from your mobile phone to
another phone number. You have these options
in diverting calls: Divert All Voice Calls, Divert
if Unreachable, Divert if no Answer, Divert if
Busy, and Divert all Data Calls.
To divert an incoming call to another
number
1. From the main screen, press Menu.
2. Select to launch the Settings
menu.
3. From the Settings screen, select Call
Setup, then press OK or .
4. From the Call Setup screen, select Call
Divert.
5. Select your Divert option from the list.
Press OK or .
6. Select Activate. Press OK or .
Redialing a number
Your phone provides a quick method to redial a
previously dialed number.
To redial a number
1. From the Display screen, press .
The Call logs screen appears, displaying
a list of previously dialed numbers. The
last number dialed is on top of the list.
2. Select the number you want to dial, then
press to dial the number.
You can also access dialed numbers from Call
History > Dialed Calls.
Handsfree call
You can make a handsfree call on your phone.
To make a handsfree call
1. Insert an alternative handsfree accessory
into the phone’s earpiece receiver.
2. During an active call, press H-free to talk
on the phone handsfree.

14
Call history
Call logs are information about missed, dialed,
and received calls. To view lists of missed,
dialed calls or received calls, select Call
History from the main menu. Then select
Missed Calls, Dialed Calls, or Received
Calls to view the type of calls you require. The
number of calls in a list is limited to 50 entries.
Older calls are dropped from the list when the
limitisreached.Mostrecentcallsappearrst
in a list.
Returning a missed call
A message appears on your screen to tell you
a call was missed. Select Read to see the most
recent missed calls.
To view a complete list of missed calls
1. Select Call History > Missed Calls.
2. Scroll through the list and select the call.
Press to return a call.
To view additional information, select a missed
call number from the list, then press OK.
To call the number, press the or select
Option > Dial.
Call log options
While viewing a number from any of the call
logs, you can select Option to view other
functions as follows:
• Delete: Deletes the number from the list.
• Save to Phonebook: Adds the number
to the phonebook.
• Dial: Calls the selected number.
• Edit: Modiesnumberssuchasadding
an area code. Modify the number, then
select Save to enter the number to your
phone book.
• Reply by SMS: Sends a reply to a call
via SMS.
Deleting call logs
To delete call logs
1. Select Call History from the main menu
and then select Delete Call Log.
2. Select the list you want to delete:
n Missed Calls
n Dialed Calls
n Received Calls
n Delete All
Call time/cost
The Call Time and Call Cost features enable
you to keep track of the duration of your calls.
•Select Call History > Call Time to see
the various call times. You can view the
Last Call Time, Total Sent, and Total
Received. You can also reset the timer
using the Reset All Time option.
•Select Call History > Call Cost to
calculate your phone bill. You can display

15
Calls
the Last Call Cost, Total Cost,Reset
Cost, Max Cost, or Price Per Unit.
You can also set Call Costs’ Limit and the
Price Per Unit. Some of these settings require
that you enter a PIN obtained from your service
provider.
SMS Counter
To view the number of SMS messages sent
or received
1. From the main screen menu, launch
and select SMS Counter.
2. Select from either Sent or Received to
Reset the counters.
GPRS Counter
To view the number of SMS messages sent
or received
1. From the main screen menu, launch
and select GPRS Counter.
2. Use the cursor key to scroll between
Last Sent, Last Received, All Sent, All
Received, and Reset Counter.
Options during a call
During an active call, press Options to display
these items:
• Hold / Retrieve: Puts a current call on
hold or retrieves a call on hold.
• End: Ends a call.
• New Call: Places a new call.
• Phonebook: Displays the phonebook
menu. You can use this function to check
a contact phone number during a call.
• SMS: Displays the messages menu. You
can send an SMS when you switched
your phone to hands-free or loudspeaker
mode.
• Sound Recorder: Starts recording the
conversation. To stop recording, select
Stop.
• Mute: Mutes a call.
• DTMF: Enables the Dual Tone Multi-
Frequency (DTMF), which allows the
recipient to hear key press tones.
Other call options
For other advanced call features, go to the
Settings > Call Setup submenu. There are
features for hiding your number when making
calls, call waiting, forwarding calls, barring
calls, selecting a line, controlling the time of
calls,convenientlyredialingnumbers,ltering
calls, or calling user groups.
See the Call Setup section of the Settings
chapter on page 34 for more details on the call
options.

16
Phonebook
Adding contacts
This section guides you in adding contacts to
your Phonebook.
To launch Phone Book
1. From the main screen, press Menu.
2. Select to launch the Phonebook
screen.
Adding a new entry
Use the Add New Entry function to add a new
contact to your phonebook.
To add a new entry
1. Launch Phone Book. From the Phone
Book menu list, select Add New Entry.
2. Select the storage location. Select To
SIM or To Phone then press OK.
NOTE: If you choose to add the new entry to the phone, it will
not appear in the phonebook if you transfer your SIM card to
another phone. If you choose to add the new entry to the SIM
card, you can add only a name and a number.
3. Enter the name and number you want to
add. You can also add a home number,
ofcenumber,faxnumber,company
name, e-mail address, birthday, and
an associated sound, video, or picture
stored in the phone memory. You can
also put the contact in a caller group.
NOTE:Youcancontrolwhicheldsareavailableforcontact
entries in Phone Book > Setting > Fields. See Settings on
page 19 for more information.
Searching for a contact
Quick Search
To perform a Quick search
1. From the main menu, select Phone
Book > Quick Search. A list of all the
contacts in your Phonebook appear.
2. You can scroll through the list, or you can
type in the contact you are searching for.
3. Press to call the contact.
You may also press Option to view, edit,
delete, copy, move, duplicate contact
info, send SMS, send MMS, or send a
vCard to a selected contact.
4. Press Back to return to the previous
screen.
Search Entry
Use the Search Entry function to search for a
specicentry.
To search for an entry
1. Launch Phone Book. From the Phone
Book menu list, select Search Entry.
The data entry screen opens.

17
Phonebook
2. Enter a search term. You do not need to
type a whole name or word. For instance,
ifyouarelookingfortheentry“ofce,”
you may want to type simply “off.”
3. Press Option, then select Search.
The phone displays all entries that satisfy
your search criteria.
Shortcut to contact entries
From the main screen, you can directly access
individual contact entries. To do this, press a
number key, followed by the # pound (hash)
key. For example, if you press 3#, the third
contact entry in the phonebook appears.
NOTE: Only contacts stored on the SIM card can be added as a
shortcut. The shorcut numbers are based on the contact entries’
creation order in your SIM card rather than on an alphabetical
order. For example, 3 means the third contact you had created
in your SIM card.
Copying Contacts
You can select to copy the contact entry either
from the SIM to the handset or from handset to
the SIM.
You can also select Option > Move All To
transfer all SIM contact entries to the Handset,
or vice versa.
Deleting Contacts
You can delete contacts using the Delete
function.
To delete a contact
1. Launch Phone Book. From the Phone
Book menu list, select Delete > One By
One; OR
From the main screen press Name to
open the Phone Book list.
2 Select a contact to delete, then select
Delete.
3. Amessagepromptsforconrmation.
Select Yestoconrm.Otherwise,select
No.
You can delete all contacts from the handset or
SIM using the Delete All function.
To delete all contacts
1. Launch Phone Book. From the Phone
Book menu list, select Delete.
2. You are prompted to select a location.
Select Delete All SIM to delete all
contacts stored on the SIM.
Select Delete All Phone to delete all
contacts stored in the phone.
NOTE: When you attempt to delete all the contacts from the
SIM or phone, you are asked for a password. The default
password is 1234. See Security Setup on page 38 for more
information on passwords.
Table of contents
Other Asus Cell Phone manuals

Asus
Asus ZenFone 3 Zoom User manual

Asus
Asus Z016D User manual

Asus
Asus Live G500TG User manual

Asus
Asus ROG Phone 5 User manual

Asus
Asus P552W User manual

Asus
Asus 90A-S5G1007T User manual

Asus
Asus Zenfone 10 User manual

Asus
Asus ZB602KL User manual

Asus
Asus ZenFone 5 User manual

Asus
Asus Zenfone Max User manual