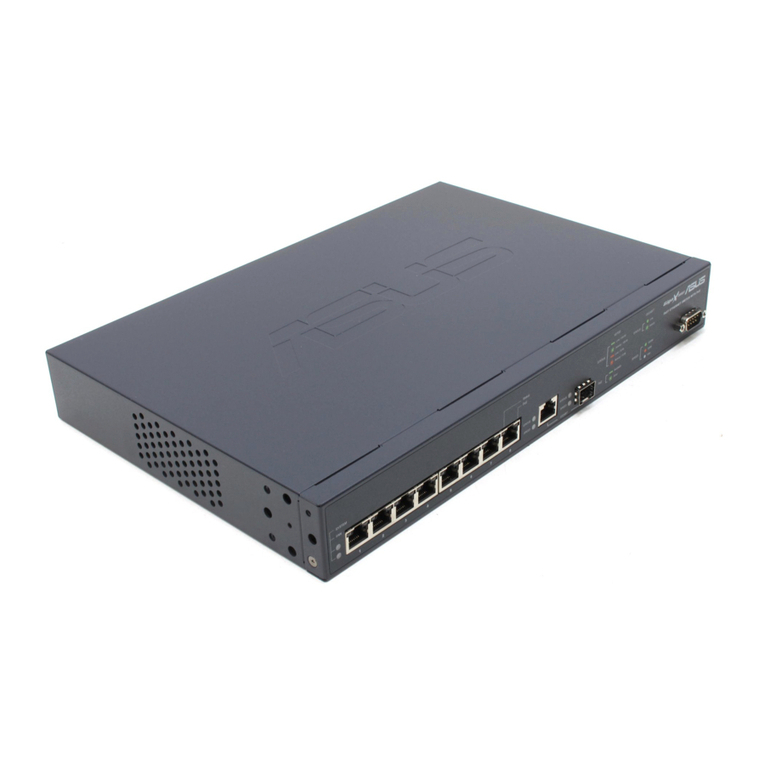
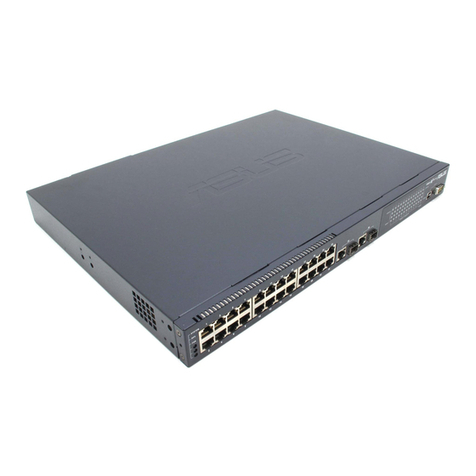
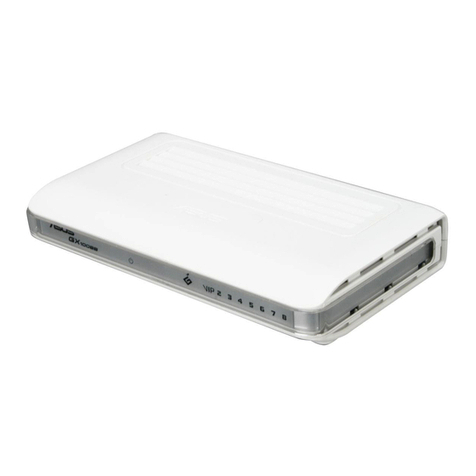
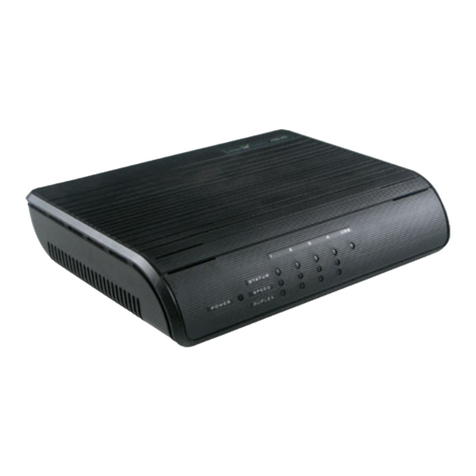
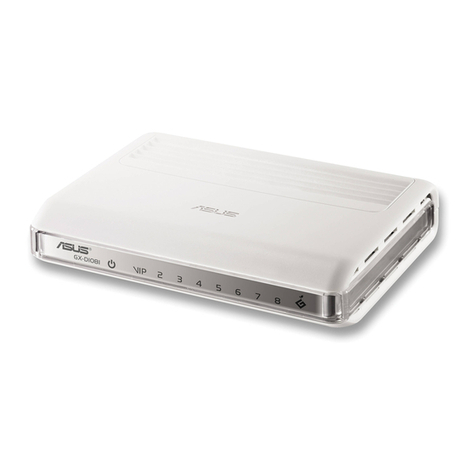
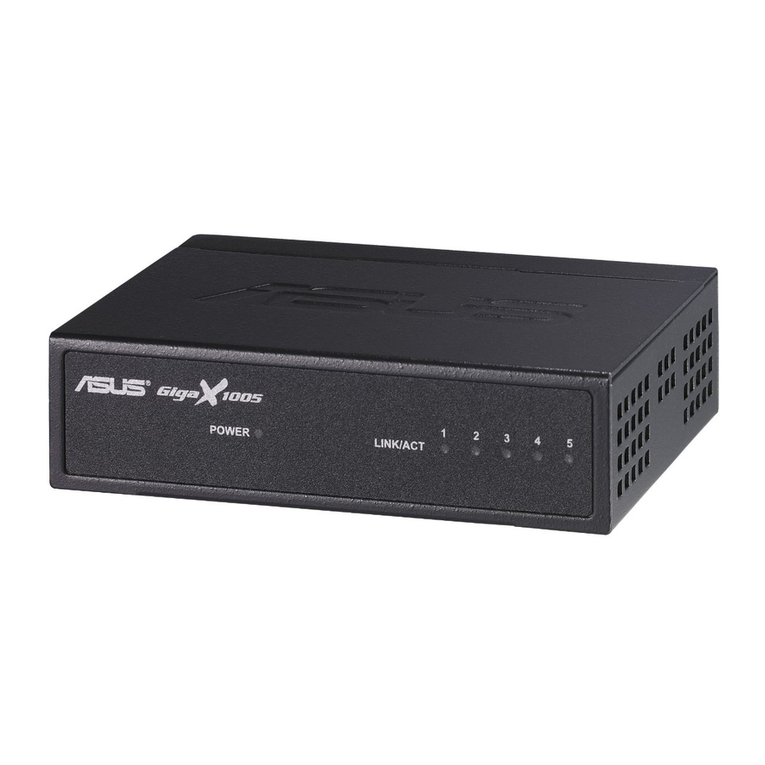
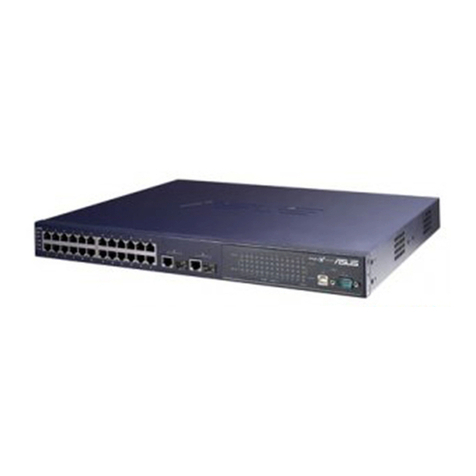
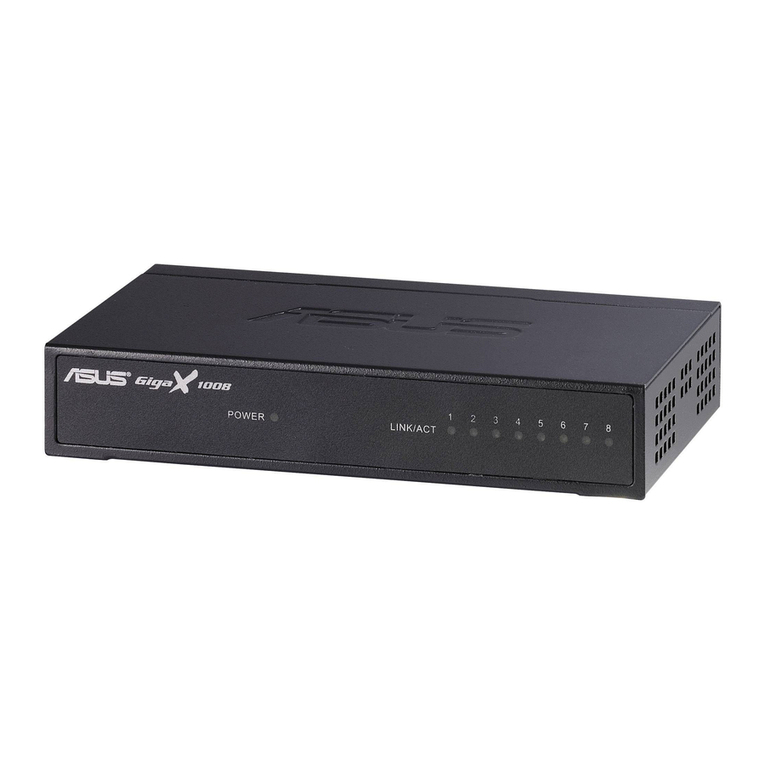
Asus GigaX1024X User manual

Index
1. English............................................................................ 1
2. Français .......................................................................... 9
3. Deutsch .........................................................................17
4. Italiano............................................................................25
5. Español...........................................................................33
6. Русский...........................................................................41
7. Türkçe.............................................................................49

English
1
User Guide
GigaX1024X
Copyright © 2006 ASUSTeK COMPUTER INC. All Rights Reserved.

2 ASUS GigaX1024X
English
Introduction
The GigaX1024Xrack mountable switch provides non-blocking, wire-speed
performance to meet your intensive network needs. This switch comes with
24 Fast Ethernet ports with auto-sensing and auto MDI/MDIX capabilities.
With easy connectivity, ow control, and QoS, GigaX1024X is guaranteed to
enhance your network performance and productivity.
Features
• 24 x 10/100 Mbps RJ-45 ports
• Up to 200Mbps transmit speed for all ports in full-duplex mode
• Switch capacity: 4.8Gbps Forwarding rate: 3.6Mpps
• Plug and play – auto MDI/MDIX, and auto-sensing for speed and
duplex mode on all ports
• Flow control schemes (802.3x in full-duplex mode) to support zero loss
under temporary network congestion
• Head of Line (HOL) blocking preventions
• IEEE802.1p/TOS/DS supported to meet QoS requirements
• 8K MAC address learning and aging for concurrent connections to
8K nodes
• Easy-to-read LEDs provide quick indication of link status and speed
• Fan-less design for quiet operation
• Desktop or rack mount placement options
Package contents
Before installing the GigaX1024Xswitch, check your package for the
following items.
• GigaX1024Xswitch
• Power cable
• User guide
• Mounting kit (2 brackets and 6 screws)
NOTE. Contact your retailer if any of the items is damaged or missing.

ASUS GigaX1024X3
English
Technical specications
Physical Dimensions
444 mm (W) x 180mm (D) x 43.5mm (H)
Environmental Ranges
Operating temperature 0ºC ~ 50ºC (32ºF to 122ºF)
Storage temperature -25ºC ~ 70ºC (-13ºF to 158ºF)
Operating humidity 0 to 90%
Storage humidity 0 to 90%
Operating altitude up to 15,000 ft (4,500m)
Storage altitude up to 40,000 ft (12,000m)
Power
Input 100V ~ 240V AC/50-60Hz
Power Consumption 12 Watts
Certication
FCC Class A, CE, CCC

4 ASUS GigaX1024X
English
Rear panel
Front panel
Power connector
LED Color Status Description
SYSTEM Green ON The power is ON
STATUS Green ON A device is connected to the port
Flashing Transmitting data
OFF No device connected
SPEED Green ON 100Mbps
OFF 10Mbps
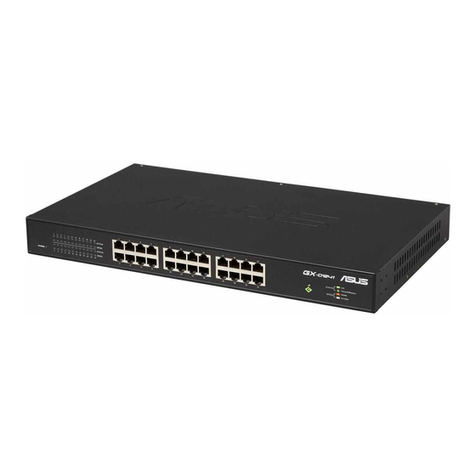
The front panel of GigaX1024Xcontains twenty-four 10/100Mbps RJ-45
Ethernet ports and LED indicators that shows the working condition of the
switch.
Table 1 LED indicators
The rear panel of GigaX1024Xcontains a power connector.

ASUS GigaX1024X5
English
Placement options
Placing the switch on a at surface
Place the GigaX1024X on a at and stable surface. Make sure the location
meets the operating environment specication. See page 3 for details.
NOTE. The length of the UTP Category 5 cable length should not
exceed 100 meters (328 feet).
Mounting the switch on a rack
You may also mount the GigaX1024X switch on a rack with the supplied
mounting brackets and screws.
To mount the switch on a rack:
1. Locate three screw holes on both sides of the switch.
2. Align the mounting brackets with the switch screw holes.
3. Secure the mounting brackets with three screws supplied in the
mounting kit on both sides of the switch.
4. Place the switch in a 19-inch rack, then secure both sides with four
rack mount screws.
NOTE. The rack mount screws are not supplied.

6 ASUS GigaX1024X
English
Connecting network devices
To connect network devices to the GigaX1024X switch:
1. Connect one end of the Ethernet cable to an Ethernet port on the
switch front panel. Connect the other end to the Ethernet port of the
network device. Repeat this step to connect additional network devices.
2. Plug one end of the power cable to the power connector on the switch
rear panel, then plug the other end to an electrical outlet.
3. The Power LED and LED indicators for active Ethernet ports light up to
indicate that the device is on and in use. Refer to the front panel Label/
LED table in page 4 for LED indications.
NOTES
• We recommend the use of Category 5 Ethernet straight-through
cables to ensure proper connections between the switch and other
network devices.
• You may use the switch Ethernet ports as an uplink to another
switch, hub, bridge or repeater. The switch is capable of detecting
either cross-over or straight-through cables.
POWER
100M
10M
SPEED TRANSMIT/RECEIVE
FULLDUPLEX COLLISION
STATUS / SPEED
DUPLEX/ COLLISION
10 BASE-T / 100BASE-TX
10/100 Fast Ethernet Switch

ASUS GigaX1024X7
English
Troubleshooting
This troubleshooting guide provides answers to some common problems
which you may encounter while installing and/or using the ASUS
GigaX1024X switch. These problems requires simple troubleshooting that
you can perform by yourself. Contact the ASUS Technical Support if you
encounter problems not mentioned in this section.
Problem Action
The POWER LED does not
light up.
Check if the power cable is properly
connected to the switch and to
an electrical outlet with a correct
voltage output.
• Check if the Ethernet cable is
properly connected to the switch
and to the network device.
• Make sure that the switch
and your network device are
powered on.
• Check if the Ethernet cable
is sufcient to your network
requirements. Make sure you
use Category 5 cables. 10Mbit/
sec cables may work with lower
quality cables.
The STATUS/SPEED LED
does not light up even
after an Ethernet cable is
connected.

8 ASUS GigaX1024X
English
Glossary
10BASE-T 10 Mbps Ethernet over twisted pair cable (Category 3).
100BASE-T 100 Mbps Ethernet over twisted pair cable (Category 5)
1000BASE-T 1000 Mbps Ethernet over twisted pair cable (Category 5)
Auto MDI/MDIX Allows network connections using either straight or cross
cable.
Ethernet The most commonly installed computer network
technology, usually using twisted pair wiring. Ethernet
data rates are 10 Mbps, 100 Mbps, and 1000 Mbps.
Mbps Abbreviation for Megabits per second, or one million bits
per second. Network data rates are often expressed in
Mbps.
network A group of computers that are connected together,
allowing them to communicate with each other and
share resources, such as software, les, etc. A network
can be small, such as a LAN, or very large, such as the
Internet.

9
Français
Guide
GigaX1024X
Copyright © 2006 ASUSTeK COMPUTER INC. Tous droits réservés.

10 ASUS GigaX1024X
Français
Introduction
Le switch GigaX1024X fournit une performance de commutation non
bloquante et de haute vitesse pour satisfaire à tous vos besoins réseau. Le
switch inclut 24 ports Fast Ethernet avec auto-sensing et possibilités d'auto
MDI/MDIX, des fonctions de connectivité simplifiées, contrôle de flux, et
QoS. Avec tous ces avantages, le GigaX1024 vous permet d'améliorer vos
performances réseau et votre productivité.
Fonctions
• 24 ports 10/100 Mbps RJ-45
• Vitesse de transmission jusqu’à 200Mbps pour tous les ports en full duplex
• Capacité de commutation: 4.8Gbps Taux de transfert: 3.6Mpps
• Plug and play – auto MDI/MDIX, et auto-sensing pour vitesse et mode
duplex sur tous les ports
• Contrôle de flux (802.3x en mode full-duplex) ne supportant aucune
perte en congestion réseau temporaire
• Préventions de bloquage Head of Line (HOL)
• IEEE802.1p/TOS/DS supporté pour les besoins QoS
• Adressage MAC 8K avec learning et aging pour les connexion
concurrentes sur des noeuds 8K
• Voyants LED simplifiés fournissant une indication rapide de la vitesse
et du statut d’un lien
• Design sans ventilateur pour un fonctionnement silencieux
• Options de placement sur bureau ou sur rack
Contenu de la boîte
Avant d’installer le switch GigaX1024X, vérifiez que la boîte contient bien
les éléments suivants.
• Switch GigaX1024X
• Câble d’alimentation
• Guide
• kit de montage (2 supprots et 6 vis)
NOTE. Si l’un des éléments ci-dessus était manquant ou endommagé,
contactez votre revendeur.

ASUS GigaX1024X11
Français
Spécifications techniques
Dimensions physiques
444 mm (L) x 180mm (Pr) x 43.5mm (H)
Plages environmentales
Température de fonctionnement 0ºC ~ 50ºC (32ºF à 122ºF)
Température de stockage -25ºC ~ 70ºC (-13ºF à 158ºF)
Humidité de fonctionnement 0 à 90%
Humidité de stockage 0 à 90%
Altitude de fonctionnement jusqu’à 4,500m (15,000 pieds)
Altitude de stockage jusqu’à 12,000m (40,000 pieds)
Alimentation
Entrée 100V ~ 240V AC/50-60Hz
Consommation 12 Watts
Certification
FCC Classe A, CE, CCC

12 ASUS GigaX1024X
Français
Panneau arrière
Panneau avant
Connecteur d’alimentation
LED Couleur Statut Description
SYSTEM Vert Allumé L'unité est alimentée
STATUS Vert Allumé Un périphérique est connecté au port
Clignotant Transmission de données
Eteint Pas de périphérique connecté
SPEED Vert Allumé 100Mbps
Eteint 10Mbps
Le panneau avant du GigaX1024X intègre 24 ports Ethernet 10/100Mbps
RJ-45 et des indicateurs LED affichant le statut du switch.
Tableau 1 Indicateurs LED
Le panneau arrière du GigaX1024X intègre un connecteur d'alimentation.

ASUS GigaX1024X13
Français
Options de placement
Disposition du switch sur une surface plane
Placez le switch GigaX1024X sur une surface plane et stable. Assurez-vous
que l’emplacement correspond aux spécifications relatives à l’environnement
d’opération. Voir page 11 pour plus de détails.
NOTE. La longueur maximale d’un câble UTP de catégorie 5 est de
100 mètres (328 pieds).
Montage du switch dans un rack
Vous pouvez aussi placer le GigaX1024X sur un rack à l’aide des supports
et des vis du kit de montage.
Pour monter le switch sur un rack:
1. Localisez les trois ouvertures pour vis de chaque côté du switch.
2. Alignez les supports sur ces ouvertures.
3. Sécurisez chaque côté de l’appareil avec les supports à l’aide des six
vis du kit de montage.
4. Placez le switch dans le rack, puis sécurisez chaque côté de l’appareil
avec quatre vis de montage de rack.
NOTE. Les vis destinées à la fixation du swith sur un rack ne sont pas
fournies.

14 ASUS GigaX1024X
XFrançais
Connecter des périphériques réseau
Pour connecter des périphériques réseau au switch GigaX1024X:
1. Connectez une extrémité du câble Ethernet à un port Ethernet du
panneau avant du switch. Connectez l’autre extrémité au port Ethernet
du périphérique réseau. Répetez cette étape pour connecter des
périphériques réseau additionnels..
2. Connectez une extrémité du cordon d’alimentation au jack d’alimentation
du switch, puis branchez l’autre extrémité à une prise électrique murale.
3. La LED d’alimentation et les LED pour les ports Ethernet actifs s’allument
pour indiquer que l’appareil est en état de fonctionnement. Voir le tableau
des indicateurs LED page 4 pour plus d’informations.
NOTES
• Il est recommandé d’utilisé des câbles Ethernet droit de catégorie
5 pour une meilleure qualité de connexion entre le switch et les
périphériques réseau.
• Vous pouvez utiliser les ports Ethernet du switch comme liaison
montante vers un autre switch, hub, bridge ou répetiteur. Le switch
est capable de détecter des câbles droits ou croisés.
POWER
100M
10M
SPEED
TRANSMIT/RECEIVE
FULL DUPLEX COLLISION
STATUS / SPEED
DUPLEX / COLLISION
10 BASE-T / 100 BASE-TX
10/100 Fast Ethernet Switch
PC Routeur
PC portable
Serveur
Imprimante
serveur Point d’accès
sans fil
NAS Hub/switch

ASUS GigaX1024X15
Français
Dépannage
Cette section fournit des réponses pour certains problèmes que vous
pouvez rencontré lors de l’installation ou de l’utilisation du switch
GigaX1024X d’ASUS. Ces problèmes requièrent un dépannage simple
que vous pourrez vous-même effectuer. Contactez le service de support
technique ASUS si vous rencontrez des problèmes non mentionnés dans
cette section.
Problème Action
La LED POWER ne s’allume
pas.
Vérifiez que le câble d’alimentation
est correctement connecté au switch
et à une source d’alimentation avec
le voltage approprié.
• Vérifiez si le câble Ethernet est
correctement connecté au switch
et au périphérique réseau.
• Assurez-vous que le switch et
votre périphérique réseau soient
bien alimentés.
• Vérifiez si le câble Ethernet
correspond à vos besoins
réseau. Assurez-vous que vous
utilisez bien des câbles de
catégorie 5.
La LED STATUS/SPEED ne
s’allume pas même après
qu’un câble Ethernet ait été
connecté.

16 ASUS GigaX1024X
Français
Glossaire
10BASE-T Ethernet 10 Mbps via un câble à paires torsadées (Cat. 3).
100BASE-T Ethernet 100 Mbps via un câble à paires torsadées (Cat. 5)
1000BASE-T Ethernet 1000 Mbps via un câble à paires torsadées (Cat. 3)
Auto MDI/MDIX Permet des connexions réseau utilisant des câbles
droits ou croisés.
Ethernet Technologie réseau la plus répandue, utilisant
généralement des câbles à paires torsadées. Les taux
de débit de données Ethernet sont 10 Mbps, 100 Mbps,
et 1000 Mbps.
Mbps Abréviation de Megabits per second, ou un million de
bits par secondes. Le taux de débit des données réseau
est souvent exprimé en Mbps.
Réseau Groupe d’ordinateurs connectés ensemble, permettant
de communiquer entre eux et partager des ressources,
comme des logiciels, fichiers, etc. Un réseau peut être
réduit, comme un réseau local (LAN), ou très étendu,
comme Internet.

Deutsch
17
Schnellstartanleitung
GigaX1024X
Copyright © 2006 ASUSTeK COMPUTER INC. Alle Rechte vorbehalten.

18 ASUS GigaX1024X
Deutsch
Einführung
Der GigaX1024X-Regal-Switch bietet unblockierte Leistung mit Kabelge-
schwindigkeit, um den intensiven Ansprüchen Ihres Netzwerks zu ge-
nügen. Dieser Switch ist mit 24 Fast-Ethernet-Ports mit automatischer
Erkennung und automatischen MDI/MDIX-Fähigkeiten ausgestattet. Mit
einfachen Abschlussmöglichkeiten, Flußkontrolle und QoS garantiert der
GigaX1024X eine Steigerung Ihrer Netzwerkleistung und Produktivität.
Funktionen
• 24 x 10/100 Mbps RJ-45-Ports.
• Bis zu 200Mbps Übertragungsgeschwindigkeit für alle Ports im Voll-
duplexmodus.
• Switch-Kapazität: 4,8Gbps Weiterleitungsrate: 3,6Mpps.
• Plug and play – automatisches MDI/MDIX und automatische
Erkennung für Geschwindigkeit und Duplexmodus an allen Ports.
• Flußkontrollschemata (802.3x im Vollduplexmodus), um Null Verluste.
bei Netzwerküberlastung sicherzustellen.
• Head of Line (HOL)-Blockierungsverhinderung.
• IEEE802.1p/TOS/DS-Unterstützung, um den QoS-Anforderungen zu
entsprechen.
• 8kb MAC-Adressen-Lernen und -Alterung für gleichzeitigen Zugriff auf
8kb-Knoten.
• Leicht-zu-Lesen LEDs bieten eine schnelle Erkennung des Linkstatus
und der Geschwindigkeit.
• Lüfterloses Design für leises Arbeiten.
• Tischaufstellung oder Regalmontage möglich.
Paketinhalt
Bevor Sie den GigaX1024X-Switch installieren, überprüfen Sie bitte die
Verpackung auf die folgenden Teile:
• GigaX1024X-Switch
• Netzkabel
• Benutzeranleitung
• Montageset (2 Klammern und 6 Schrauben)
HINWEIS: Kontaktieren Sie Ihren Händler, wenn eines der Teile defekt
ist oder fehlt.

ASUS GigaX1024X19
Deutsch
Technische Daten
Abmessungen
444 mm (B) x 180mm (T) x 43,5mm (H)
Umgebungsbedingungen
Arbeitstemperatur 0ºC - 50ºC
Lagertemperatur -25ºC - 70ºC
Arbeitsluftfeuchtigkeit 0 bis 90%
Lagerluftfeuchtigkeit 0 bis 90%
Arbeitshöhe bis zu 4500m
Lagerhöhe bis zu 12000m
Stromversorgung und Leistung
Eingang 100V - 240V ~ 50-60Hz
Leistungsverbrauch 12 Watt
Zertifizierung
FCC Klasse A, CE, CCC
Other manuals for GigaX1024X
1
Table of contents
Languages:
Other Asus Switch manuals

Asus
Asus GIGAX1105 - GigaX 1105 Switch User manual

Asus
Asus GX1026i User manual

Asus
Asus GigaX 2008EX User manual

Asus
Asus GigaX1024 User manual

Asus
Asus GIGAX2048 User manual

Asus
Asus GigaX2024X - GigaX 2024X Switch User manual

Asus
Asus GigaX 1124 User manual

Asus
Asus XG-U2008 User manual

Asus
Asus GIGAX 2024M User manual

Asus
Asus GigaX 1016 User manual