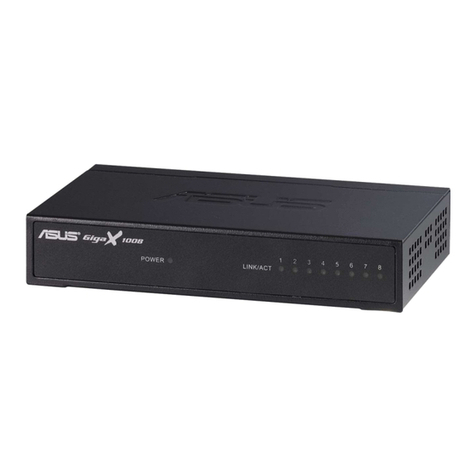
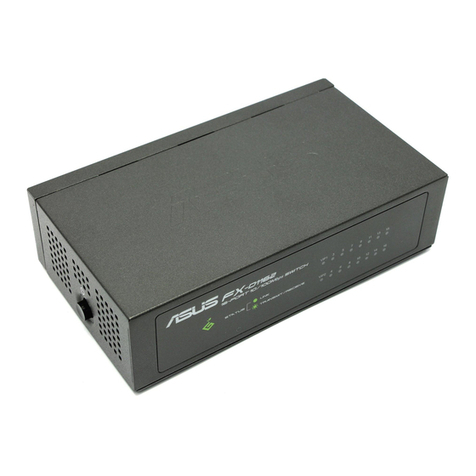
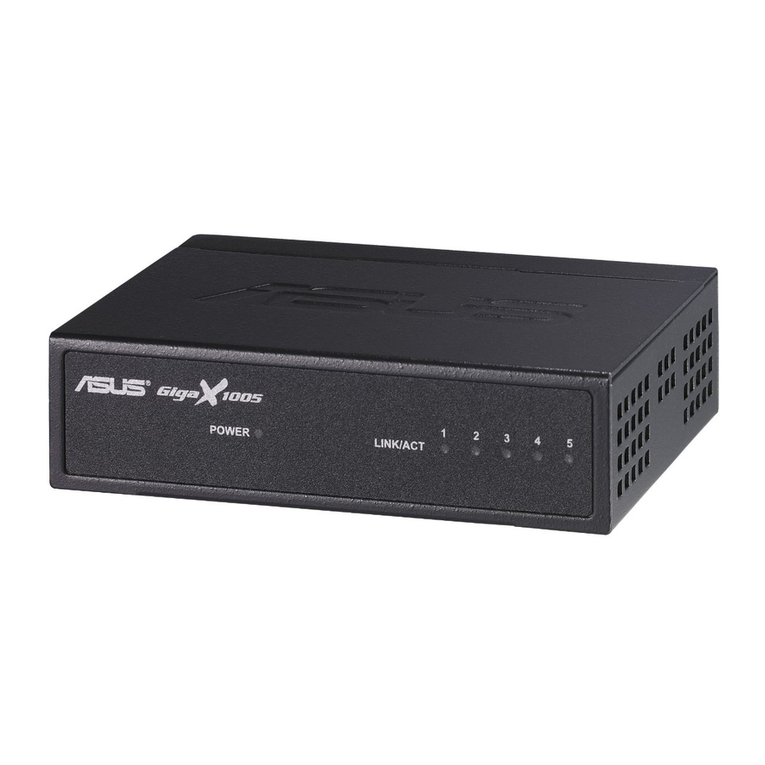
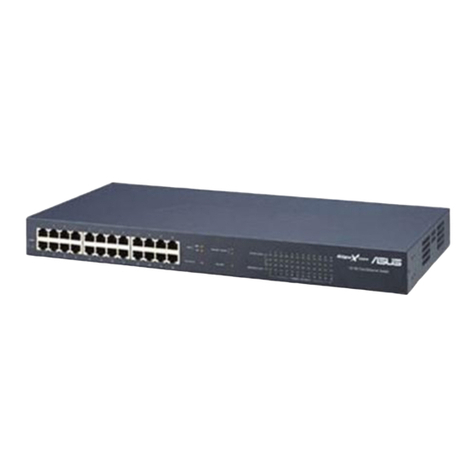
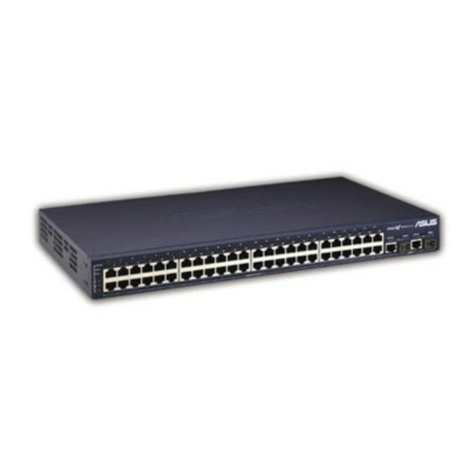
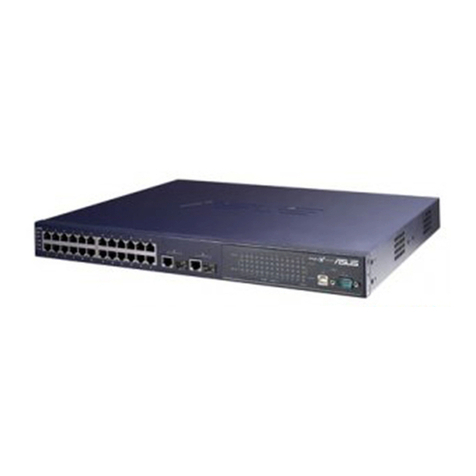
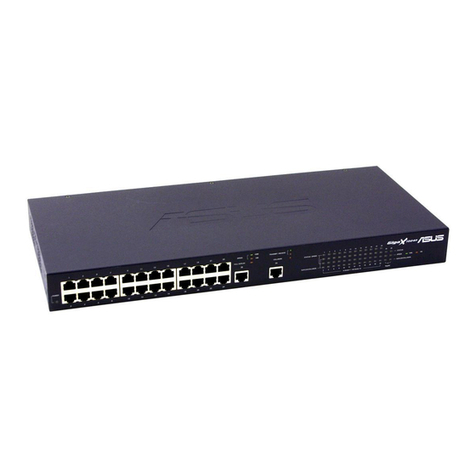
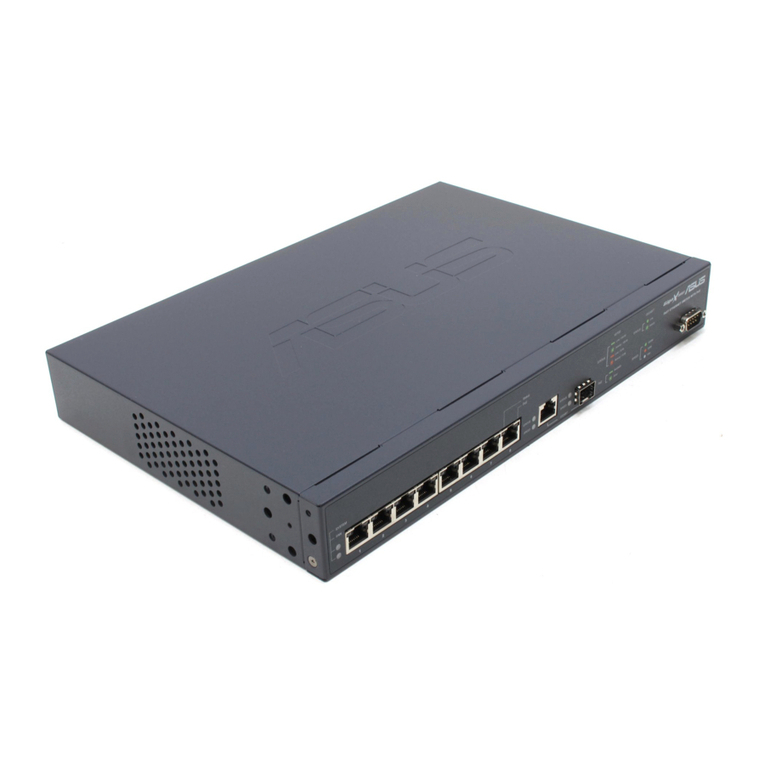
Asus GigaX1024i+ User manual

User Manual
®
E2698/ July 2006
GigaX1024i+
Layer 2 Smart Plus Switch

ii
Copyright © 2006 ASUSTeK COMPUTER INC. All Rights Reserved.
No part of this manual, including the products and software described in it, may
be reproduced, transmitted, transcribed, stored in a retrieval system, or translated
into any language in any form or by any means, except documentation kept by the
purchaser for backup purposes, without the express written permission of ASUSTeK
COMPUTER INC. (ASUS).
Product warranty or service will not be extended if: (1) the product is repaired,
modied or altered, unless such repair, modication of alteration is authorized in
writing by ASUS; or (2) the serial number of the product is defaced or missing.
ASUS provides this manual “as is” without warranty of any kind, either express
or implied, including but not limited to the implied warranties or conditions of
merchantability or fitness for a particular purpose. In no event shall ASUS, its
directors, ofcers, employees, or agents be liable for any indirect, special, incidental,
or consequential damages (including damages for loss of prots, loss of business,
loss of use or data, interruption of business and the like), even if ASUS has been
advised of the possibility of such damages arising from any defect or error in this
manual or product.
Specifications and information contained in this manual are furnished for
informational use only, and are subject to change at any time without notice,
and should not be construed as a commitment by ASUS. ASUS assumes no
responsibility or liability for any errors or inaccuracies that may appear in this
manual, including the products and software described in it.
Products and corporate names appearing in this manual may or may not be
registered trademarks or copyrights of their respective companies, and are used
only for identication or explanation and to the owners’ benet, without intent to
infringe.
E2698
First Edition
July 2006
Copyright Information
iii
Contact Information
ASUSTeK COMPUTER INC.
Company address: 15 Li-Te Road, Beitou, Taipei 11259
General (tel): +886-2-2894-3447
Web site address: www.asus.com.tw
General (fax): +886-2-2894-7798
Technical support
General support (tel): +886-2-2894-3447
Online support: http://support.asus.com
ASUS COMPUTER INTERNATIONAL (America)
Company address: 44370 Nobel Drive, Fremont, CA 94538, USA
General (fax): +1-510-608-4555
Web site address: usa.asus.com
Technical support
General support (tel): +1-502-995-0883
Online support: http://support.asus.com
Notebook (tel): +1-510-739-3777 x5110
Support (fax): +1-502-933-8713
ASUS COMPUTER GmbH (Germany & Austria)
Company address: Harkort Str. 25, D-40880 Ratingen, Germany
General (tel): +49-2102-95990
Web site address: www.asus.com.de
General (fax): +49-2102-959911
Online contact: www.asus.com.de/sales
Technical support
Component support: +49-2102-95990
Online support: http://support.asus.com
Notebook support: +49-2102-959910
Support (fax): +49-2102-959911

iv
Table of Contents
1 Introduction............................................................1
1.1 Conventions in this manual ......................................1
1.1.1 Notational conventions............................................... 1
1.1.2 Typographical conventions......................................... 1
1.1.3 Symbols ..................................................................... 1
1.2 Package contents .....................................................2
1.3 Features ...................................................................3
1.4 Front panel features .................................................4
1.5 Rear panel features ..................................................5
2 Quick Start .............................................................6
2.1 Part 1 — Installing the switch ...................................6
2.1.1 Installing on a at surface .......................................... 6
2.1.2 Installing on a rack .................................................... 7
2.2 Part 2 — Connecting the hardware ...........................7
2.2.1 Connect to the computers or LAN.............................. 8
2.2.2 Attach the power adapter ........................................... 8
2.3 Part 3 — Basic switch settings .................................9
2.3.1 Setting up thru the Conguration Manager ............... 9
3 Using the Conguration Manager...................... 11
3.1 Login to the Conguration Manager ........................11
3.1.1 Setting up the Conguration Manager ......................11
3.1.2 Setting up a new IP address ................................... 12
3.2 Functional Layout ....................................................13
3.2.1 Menu navigation....................................................... 14
3.2.2 Commonly used buttons and icons .......................... 14

v
4 Conguration Management................................15
4.1 System ...................................................................15
4.1.1 Management ........................................................... 16
4.1.2 IP Setup ................................................................... 16
4.1.3 Administration .......................................................... 16
4.1.4 Reboot ..................................................................... 17
4.1.5 Firmware Upgrade ................................................... 18
4.2 Physical Interface ...................................................19
4.3 Bridge ......................................................................20
4.3.1 Spanning Tree.......................................................... 20
4.3.2 Link Aggregation ...................................................... 21
4.3.3 Mirroring .................................................................. 22
4.3.4 Static Multicast ........................................................ 23
4.3.5 IGMP Snooping ....................................................... 23
4.3.6 Bandwidth Control ................................................... 24
4.3.7 Dynamic Addresses ................................................. 25
4.3.8 Static Addresses ...................................................... 25
4.3.9 VLAN ....................................................................... 26
4.3.10 Default Port VLAN and CoS .................................. 29
4.4 SNMP Setup............................................................30
4.4.1 Community Table ..................................................... 30
4.4.2 Host Table ................................................................ 30
4.4.3 Trap Setting ............................................................. 30
4.4.4 VACM Group ............................................................ 31
4.4.5 VACM View ............................................................... 31
4.4.6 USM User ................................................................ 32
4.5 Security ...................................................................33
4.5.1 Port Access Control ................................................. 33
4.5.2 Dial-In User ............................................................. 34

vi
4.5.3 RADIUS ................................................................... 35
4.5.4 Port Security ............................................................ 35
4.6 QoS .........................................................................39
4.6.1 Trust State ............................................................... 39
4.6.2 Mapping ................................................................... 39
4.6.3 Priority Override ....................................................... 40
4.6.4 CoS ......................................................................... 41
4.7 Cable Diagnosis .......................................................42
4.8 Statistics Chart ........................................................42
4.8.1 Trafc Comparison .................................................. 42
4.8.2 Error Group ............................................................. 43
4.8.3 Historical Data ......................................................... 43
4.9 Save Conguration..................................................43
5 IP Addresses, Network Masks & Subnets .......44
5.1 IP Addresses ............................................................44
5.1.1 Structure of an IP address ....................................... 44
5.1.2 Network classes ...................................................... 45
5.2 Subnet masks ..........................................................46
6 Troubleshooting ..................................................47
6.1 Diagnosing problems using IP utilities......................47
6.1.1 ping .......................................................................... 47
6.1.2 nslookup .................................................................. 48
6.2 Simple xes .............................................................49
6.3 Files upload and download procedure .....................51
6.3.1 Upload rmware by FTP .......................................... 52
6.3.2 Upload auto-cong by FTP ..................................... 51
6.3.3 Backup system congurations by FTP .................... 52
6.3.4 Restore system congurations by FTP ................... 53
7 Glossary ..............................................................54

vii
List of Figures
Figure 1 GigaX L2 Smart Plus
Switch Package Contents ................................................ 2
Figure 2 Front Panel ...................................................................... 4
Figure 3 Rear Panel ...................................................................... 5
Figure 4 Overview of Hardware Connections ................................ 7
Figure 5 Login Screen ................................................................... 9
Figure 6 IP Setup.......................................................................... 10
Figure 7 Conguration Manager Login Screen..............................11
Figure 8 Home Page ................................................................... 12
Figure 9 IP Setup ......................................................................... 12
Figure 10 Functional Layout ........................................................ 13
Figure 11 Expanded Menu List .................................................... 14
Figure 12 Management ............................................................... 16
Figure 13 Administration .............................................................. 17
Figure 14 Reboot ......................................................................... 17
Figure 15 Firmware Upgrade ....................................................... 18
Figure 16 Physical Interface......................................................... 19
Figure 17 Spanning tree .............................................................. 20
Figure 18 Link aggregation .......................................................... 21
Figure 19 Mirroring page .............................................................. 22
Figure 20 Static Multicast ............................................................ 23
Figure 21 IGMP Snooping ........................................................... 23
Figure 22 Bandwidth control ........................................................ 24
Figure 23 Dynamic address ......................................................... 25
Figure 24 Static address .............................................................. 25
Figure 25 VLAN mode ................................................................ 26
Figure 26 Tagged VLAN .............................................................. 27

viii
Figure 27 Port-Based VLAN ........................................................ 29
Figure 28 Default Port VLAN & Cos ............................................. 29
Figure 29 Community Table.......................................................... 30
Figure 30 Host Table .................................................................... 30
Figure 31 Trap Setting.................................................................. 30
Figure 32 VACM Group ................................................................ 31
Figure 33 VACM View .................................................................. 31
Figure 34 USM User..................................................................... 32
Figure 35 Port Access Control ..................................................... 33
Figure 36 Dial-in User................................................................... 34
Figure 37 RADIUS ...................................................................... 35
Figure 38 Port Conguration ....................................................... 36
Figure 39 Port Status ................................................................... 37
Figure 40 Secure MAC addresses ............................................... 38
Figure 41 Trust state .................................................................... 39
Figure 42 Mapping ....................................................................... 39
Figure 43 Priority override ........................................................... 40
Figure 44 CoS .............................................................................. 41
Figure 45 Cable Diagnosis ........................................................... 42
Figure 46 Trafc Comparison ....................................................... 42
Figure 47 Error Group .................................................................. 43
Figure 48 Historical Status ......................................................... 43
Figure 49 Save Conguration ...................................................... 43
Figure 50 Using the ping Utility .................................................... 47
Figure 51 Upload Firmware by FTP ............................................. 51
Figure 52 Upload Auto-Cong by FTP ......................................... 51
Figure 53 Backup System Congurations by FTP ....................... 52
Figure 54 Restore System Congurations by FTP ...................... 53

ix
List of Tables
Table 1 Front Panel Label and LEDs ............................................. 4
Table 2 Rear Panel Labels ............................................................. 5
Table 3 Technical Specications .................................................... 5
Table 4 LED Indicators ................................................................... 8
Table 5 Port Color Description ..................................................... 13
Table 6 Commonly Used Buttons and Icons................................. 14
Table 7 IP Address Structure ....................................................... 45
Table 8 Problems and Suggested Actions ................................... 51

1
Chapter 1 - Introduction
ASUS GigaX 1024i+
1 Introduction
Thank you for buying a GigaX L2 Smart Plus Switch!
You can now manage your LAN through a friendly and powerful user
interface. This user manual will show you how to set up the GigaX L2
Smart Plus Switch, and how to customize its conguration to get the most
out of this product.
1.1 Conventions used in this manual
1.1.1 Notational conventions
• Acronyms are dened the rst time they appear in the text.
• The Asus GigaX L2 Smart Plus Switch is simply referred to as “the
switch”.
• The terms
LAN
and
network
are used interchangeably to
refer to a group of Ethernet-connected computers at one site.
1.1.2 Typographical conventions
• Boldface type text is used for items you select from menus and drop-
down lists, and commands you type when prompted by the program.
1.1.3 Symbols
This document uses the following icons to call your attention to specic
instructions or explanations.
Note: Provides clarication or non-essential information on
the current topic.
Denition: Explains terms or acronyms that may be
unfamiliar to many readers. These terms are also included
in the Glossary.
Warning: Provides messages of high importance, including
messages relating to personal safety or system integrity.

2
Chapter 1 - Introduction
ASUS GigaX 1024i+
1.2 Package contents
Check the following items in your ASUS GigaX 1024i+ switch package. Contact your
retailer if any item is damaged or missing.
GigaX 1024i+ (28-port) L2 smart plus switch
AC power cord
Rack installation kit (two brackets with six #6-32 screws)
User Manual
Quick installation guide
Figure 1. GigaX L2 smart plus switch package contents

3
Chapter 1 - Introduction
ASUS GigaX 1024i+
1.3 Features
• 24 10/100 BASE-TX auto-sensing Fast Ethernet ports
• Two 10/100/1000BASE-T auto-sensing Gigabit Ethernet switching port
• Two small form factor (SFP) Gigabit interface converter (GBIC) slots
• 802.1D/802.1w transparent bridge/spanning tree protocol/rapid
spanning tree protocol
• 8K MAC address cache with hardware-assisted aging
• 802.3x ow control
• 802.1Q-based tagged VLAN, up to 256 VLANs
• Port based VLAN
• Private VLAN
• 802.1p class of service, 4 queues per port
• IGMP snooping (v1/v2) support
• Static multicast group support
• 802.3ad link aggregation (manual and LACP), up to 15 trunk groups
• Port Mirroring
• 802.1X port-based network access control
• RADIUS remote authentication dial-in user service
• Ingress and egress bandwidth control
• Port security
• Ethernet cable diagnosis
• DHCP client
• Quality of service classification: DA/SA MAC priority, VLAN priority,
IPv4 ToS/DiffServ, IPv6 Trafc Class
• RMON: support 4 groups (1, 2, 3, 9)
• SNMP v1, v2, v3
• MIB-II
• Enterprise MIB for system rmware version
• FTP for rmware update and conguration backup
• Syslog.
• Web GUI
• LEDs for port link status
• LEDs system status

4
Chapter 1 - Introduction
ASUS GigaX 1024i+
1.4 Front panel features
The front panel includes LED indicators which show the system, and port status.
Figure 2. Front panel
Table 1: Front panel labels and LEDs
Label Color Status Description
SYSTEM Green On Unit is powered on
Flashing Self-test, INIT, or downloading
Amber On Abnormal temperature or voltage
Off No power
10/100/1000
port status
Green On Link (RJ-45 or SFP) is present; port is
enabled
Flashing Data is being transmitted/received
Off No Ethernet link.
10/100/1000
port speed
Green On 1000Mbps on Giga port, or 100Mbps on
10/100 ports
Amber On 100Mbps on Giga port
Off 10Mbps or link is not present

5
Chapter 1 - Introduction
ASUS GigaX 1024i+
1.5 Rear panel features
The switch rear panel contains the ports for data and power connections.
Figure 3. Rear panel
Table 2: Rear panel labels
Label Description
Power connector Connects to the supplied power cord
1.6 Technical specications
Table 3: Technical specications
Physical
Dimensions
43.5mm(H) X 444 mm(W) X 180mm(D)
Power
Input: 100-240V AC/2A 50-60Hz
Consumption: <50 watts
Environmental
Ranges
Operating Storage
Temperature 0 to 40oC (32 to
104oC)
-25 - 70oC
(-13 to 158oC)
Humidity 5 to 90% 0 to 95%
Altitude up to 10,000
ft (3,000m)
40,000 ft (12,000m)

6
Chapter 2 - Quick Start
ASUS GigaX 1024i+
2 Quick Start
This section provides the basic instructions to set up the GigaX 1024i+
environment. Refer also to the GigaX 1024i Installation Guide.
• Part 1 shows you how to install the GigaX 1024i+ on a at surface
or on a rack.
• Part 2 provides instructions to set up the hardware.
• Part 3 shows you how to congure the basic settings on the GigaX
1024i+.
Before starting, obtain the following information from your network
administrator:
• IP address for the switch
• Default gateway for the network
• Network mask for this network
2.1 Part 1: Installing the switch
The switch can be installed either on a at surface or on a rack.
2.1.1 Installing on a at surface
The switch should be installed on a flat surface which can support the
weight of the switches and their accessories. Attach four rubber pads on
the four indented circles located at the bottom of the switch. See illustration
below.
1
2
3
4
Indented circles 1, 2, 3, & 4.
Attach rubber pads here.

7
Chapter 2 - Quick Start
ASUS GigaX 1024i+
2.1.2 Installing on a rack
1. With the front panel facing out, insert the switch between the rack posts
and align the four mounting holes with that in the equipment rack.
2. Securely fasten the switch to the rack with two screws on each side.
2.2 Part 2: Connecting the hardware
In Part 2, you connect the device to the power outlet, and to your
computer and to your network. Refer to Figure 4 for the overview of the
hardware connections.
CAT 5 Ethernet cables
LAN computers
Expansion hubs/switch
Figure 4. Overview of hardware connections

8
Chapter 2 - Quick Start
ASUS GigaX 1024i+
2.2.1 Connect to the computers or a LAN
You can use Ethernet cable to connect computers directly to the switch
ports. You can also connect hubs/switches to the switch ports by Ethernet
cables. You can use either the crossover or straight-through Ethernet cable
to connect computers, hubs, or switches.
Use a twisted-pair Category 5 Ethernet cable to connect the 1000BASE-T
port. Otherwise, the link speed cannot reach 1Gbps.
2.2.2 Attach the power adapter
1. Connect the AC power cord to the POWER receptacle located at the
back of the switch. Plug the other end of the power cord into a wall
outlet or a power strip.
2. Check the front LED indicators. If the LEDs light up as described in
Table 4, the switch is working properly.
Table 4: LED indicators
No LED Description
1 System Solid green indicates that the device is turned on. If
this light is off, check if the power adapter is attached
to the switch and plugged into a power source.
2 Switch ports
[1] to [28]
Solid green indicates that the device can communi-
cate with the LAN. If the light is ashing, it indicates
that the device is sending or receiving data from
your LAN computer.

9
Chapter 2 - Quick Start
ASUS GigaX 1024i+
2.3 Part 3: Basic switch settings
After completing the hardware setup, congure the basic settings for your
switch. You can manage the switch either through the:
• Conguration Manager: The switch has a preinstalled web
application to allow you to manage the switch using Java®-enabled
IE5.0 or higher versions. Refer to Chapters 3 & 4 for more information.
2.3.1 Setting up thru the Conguration Manager
You can manage the switch through its preinstalled web software
application called the Conguration Manager.
You can access the Configuration Manager through any web browser
(Microsoft Internet Explorer® 5.0 or later versions. Netscape is not
supported.) from any computer connected to the switch via the LAN ports.
1. By default, the switch's web authentication is disabled. You have
to enable it to be able to manage the switch via the Configuration
Manager. You can enable the web authentication function in the
System --> Administration page.
2. In a web browser (IE
5.0 or later versions),
enter this IP address:
http://192.168.1.1 and
press <Enter>. This is
the switch's default IP
address.
A login screen appears as
shown in Figure 5.
3. Enter your username and password, and click <OK>. When logging in
for the rst time, use the following default settings:
Username: admin
Password: (no password)
You can change the password at any time.
Figure 5. Login screen

10
Chapter 2 - Quick Start
ASUS GigaX 1024i+
4 . To s e t u p a n e w I P
address, click System
--> IP Setup. Fill in the
IP address, the network
mask, and the default
gateway, then click <OK>.
5. If your new address is
different from the default,
the browser can not
update the switch status
window or retrieve any page. This is normal. You have to retype the
new IP address in the address/location box and press <Enter>. The
web link returns.
6. To enable authentication for web access, click the Administration
page, then select <Enabled>.
Figure 6. IP setup

11
Chapter 3 - Using the Conguration Manager
ASUS GigaX 1024i+
3 Using the Conguration Manager
The switch provides a preinstalled web software application called the
Conguration Manager. It enables you to congure the device settings
to meet the needs of your network. You can access it through your web
browser from any PC connected to the switch via the LAN ports.
3.1 Login to the Conguration Manager
The Configuration Manager is preinstalled on the switch. To access the
application, you need the following:
• A computer connected to the LAN port on the switch as described in
the Quick Start Guide chapter.
• A web browser installed on the computer. The application is designed
to work best with Microsoft Internet Explorer® 5.0 or later versions. It
does not support Netscape.
You may access the program from any computer connected to the switch
via the LAN ports.
3.1.1 Setting up the Conguration Manager
1. By default, the switch's web authentication is disabled. You have
to enable it to be able to manage the switch via the Configuration
Manager. You can enable the web’s authentication function in the
System --> Administration page.
2.In a web browser, enter this IP address: http://192.168.1.1 and
press <Enter>. This is the switch's default IP address. A login screen
appears.
Figure 7. Cong manager login screen
Table of contents
Other Asus Switch manuals

Asus
Asus GIGAX 1008B User manual

Asus
Asus GigaX 1016 User manual

Asus
Asus GIGAX1005 User manual

Asus
Asus GX1105N User manual

Asus
Asus GigaX Series User manual

Asus
Asus FX-D1162 User manual

Asus
Asus GX2024B - GigaX Switch User manual

Asus
Asus GigaX1105N User manual

Asus
Asus GigaX 2124X User manual

Asus
Asus E1816 User manual

Asus
Asus GigaX2124X User manual

Asus
Asus GigaX 1124 User manual

Asus
Asus GX1108B User manual

Asus
Asus GigaX2024X - GigaX 2024X Switch User manual

Asus
Asus GigaX1024X User manual

Asus
Asus GX1026 User manual

Asus
Asus GigaX 2008EX User manual

Asus
Asus GX-D1081 User manual

Asus
Asus GigaX1116i+ User manual

Asus
Asus GIGAX 2024M User manual