Manual, Robotic Tool Changer Teaching Aids
Document #9610-20-1419-07
Pinnacle Park • 1041 Goodworth Drive •Apex, NC 27539 USA• Tel: +1.919.772.0115 • Fax: +1.919.772.8259 • www.ati-ia.com
4
Glossary
Term Denition
Bearing Race Hardened steel ring in the Tool Plate that is engaged by the locking balls during the
locking process.
End-Effector Tool used by the robot to perform a particular function.
Locking Mechanism
A pneumatic driven device that draws the Master and Tool plates together and
secures the plates in a fail-safe locked condition, until the mechanism is unlocked.
The locking mechanism contains the following components: locking balls, cam, ball
cage, bearing race, and a pneumatic cylinder.
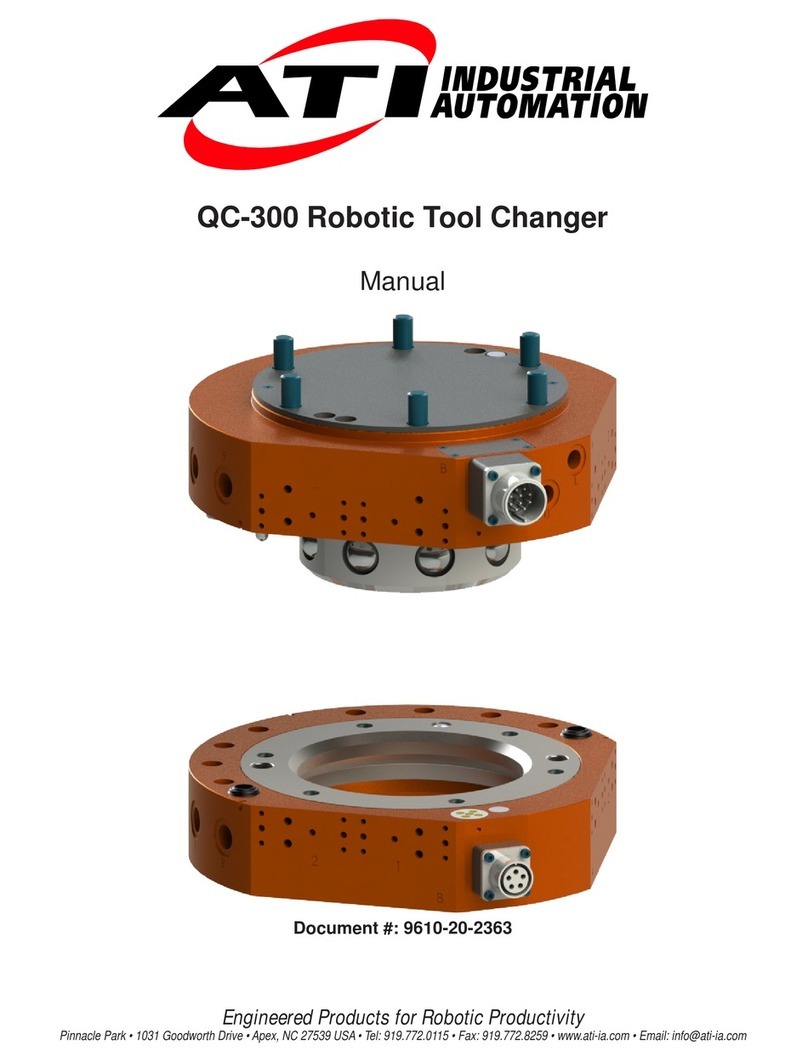
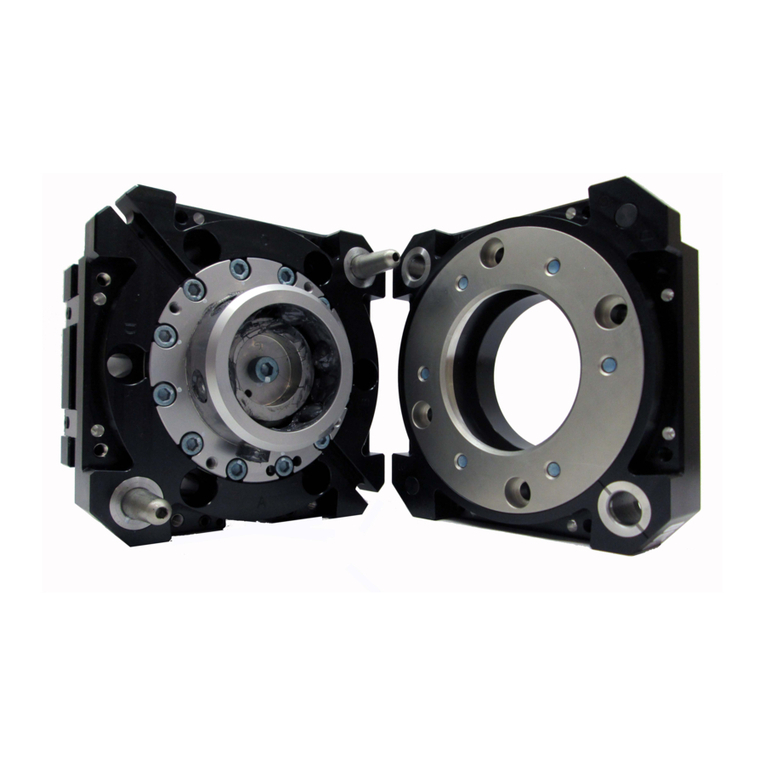
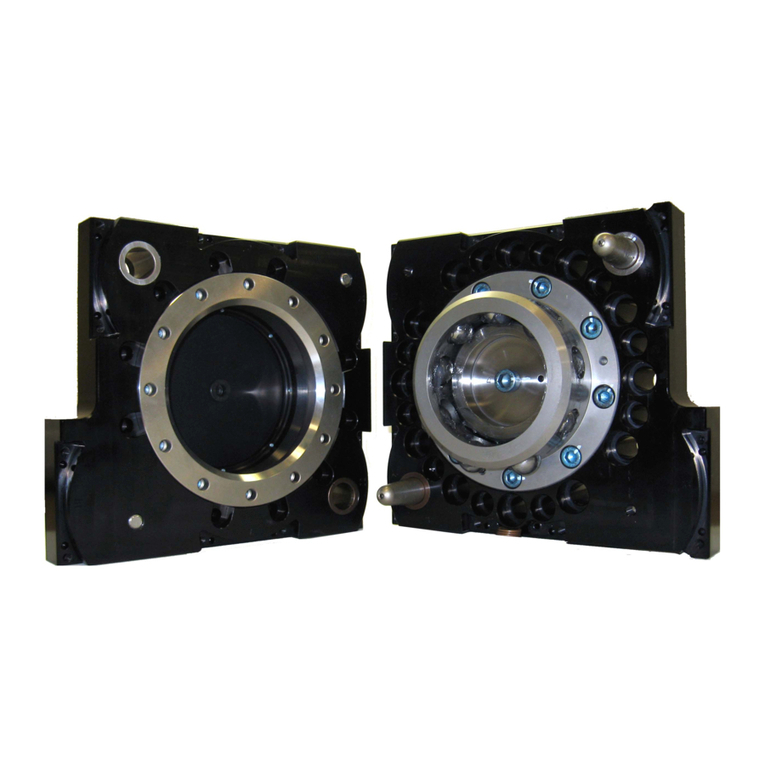
Master Plate The half of the Tool Changer that the customer attaches to a robot. The Master plate
contains the locking mechanism that couples and secures the Master plate to the
Tool plate.
Pick-Up Position The robot coordinate position at which the Master plate draws the Tool plate into a
locked position.
Tool Stand A xture that holds Tools that aren’t used for a portion of an automated process.
Tool Plate The half of the Tool Changer to which the customer attaches various tools or end-
effectors.
No-Touch™ An ATI Tool Changer design feature that allows the Master plate and Tool plate to
couple without physical contact prior to locking.
1. Safety
The safety section describes general safety guidelines to be followed with this product, explanations of the
notications found in this manual, and safety precautions that apply to the product. More specic notications are
imbedded within the sections of the manual where they apply.
1.1 ExplanationofNotications
The following notications are specic to the product(s) covered by this manual. It is expected that the user
heed all notications from the robot manufacturer and/or the manufacturers of other components used in
the installation.
DANGER: Notication of information or instructions that if not followed will result in
death or serious injury. The notication provides information about the nature of the
hazardous situation, the consequences of not avoiding the hazard, and the method for
avoiding the situation.
WARNING: Notication of information or instructions that if not followed could result
in death or serious injury. The notication provides information about the nature of the
hazardous situation, the consequences of not avoiding the hazard, and the method for
avoiding the situation.
CAUTION: Notication of information or instructions that if not followed could result
in moderate injury or will cause damage to equipment. The notication provides
information about the nature of the hazardous situation, the consequences of not
avoiding the hazard, and the method for avoiding the situation.
NOTICE: Notication of specic information or instructions about maintaining, operating,
installing, or setting up the product that if not followed could result in damage to equipment. The
notication can emphasize, but is not limited to: specic grease types, best operating practices,
and maintenance tips.

