AutoCrib RoboCrib 2000 E User manual

3011 S. CRODDY WAY, SANTA ANA, CA 92704
Phone: (800) 671-6501
RoboCrib 2000 Model E
Operations Manual
Last Revision July 2009

Dispensing Machine Limited Warranty
AutoCrib incorporated warrants that its hardware products (see separate warranty agreement for
software products) are free of defects in material and workmanship in accordance with the terms and
conditions stated below. AutoCrib will repair or replace any machine, sub system or component part
that fails during the warranty period.
Standard Warranty Period
For a period of 12 months, following after the actual ship date from AutoCrib to the first purchaser of
use. The warranty period covers all components, sub systems, and complete machines subject to the
limitations and exclusions below.
Software and Technical Support
The standard AutoCrib warranty covers all software systems required for operation of your AutoCrib
equipment including software and firmware imbedded, hosted through a client server network, or
hosted on via AutoCrib.Net web based hosting system for a period of 12 months, following the actual
ship date from AutoCrib. Included in the warranty is access to our 24-hour technical support staff and
entitles buyer to any and all software upgrades during that time. Annual software support can be
purchased at then current rate after the initial warranty period expires. You are not required to
purchase extended hardware maintenance to purchase extended software support.
Extended Warranty Period
For a period of X months as defined in the extended warranty contract, following the actual ship date
from AutoCrib to the first purchaser of use. The warranty period covers all components, sub systems,
and complete machines subject to the limitations and exclusions below.
Any parts or services replaced or serviced pursuant to this warranty are warranted only for the
balance of the remaining warranty period. AutoCrib will dispatch an AutoCrib technician, authorized
AutoCrib dealer technician, or a certified third party technician to your facility to perform any
necessary troubleshooting tasks. It is your responsibility to provide an internet connection with proper
permissions to allow AutoCrib technical support associates to access the controlling computer as well
as the individual machines. If you do not provide this, you will be charged an hourly rate of $84 per
hour for onsite troubleshooting services. Any defective parts must be returned to AutoCrib within 30
days at your expense. You must indicate the RMA number on the box(es) that will contains any and
all defective parts to be returned. If you do not provide the RMA number or fail to send the defective
part back to AutoCrib you be charged for the defective part.
Further, no authorized AutoCrib dealer/distributor is authorized to waive, modify, or change any
terms, conditions, or limitations of this warranty. This warranty is a part of the invoice which the
warranted machine or hardware relates.
Machines and Systems purchase through an authorized AutoCrib Distributor
All AutoCrib systems purchased through an authorized AutoCrib Distributor may contact their
distributor or AutoCrib directly, AutoCrib technical support will make every effort to correctly
troubleshoot the machine/system and determine the defective part and the correct course of action to
repair said machine or system.

Dispensing Machine Limited Warranty
AutoCrib provides depot level warranty coverage, which is defined as:
Depot level warranty means a new part/subsystem/machine will be shipped overnight to you or your
authorized distributor and billed to you or your distributor at the then current price. Your distributor is
required to ship the defective part/subsystem/machine back to AutoCrib within 30 days from the ship
date of the replacement part. You agree to contact AutoCrib customer service and get an “RMA”
(return material authorization) number before you ship the defective part back. Upon receiving the
defective part, AutoCrib will issue an offsetting credit to your company or authorized distributor per
your instruction.
Limitations and Exclusions
This warranty shall not cover or include any of the following and AutoCrib shall have no liability with
respect to:
1. Defects or damages which result from accident, misuse, abuse, lack of recommended or
reasonable maintenance, improper repairs or parts replacements, use of replacement parts not
conforming to AutoCrib standards, unauthorized modifications or general neglect including
electrical spikes, surges and sags caused by poor power management, thunderstorms or acts
of god or lack of normal power conditioning for electronic manufacturing equipment.
2. Damage caused by exposure to liquid spills, collision, fire, theft, freezing, vandalism, riot, war,
explosion or objects striking the machine such as fork trucks or exposure to abnormally
corrosive conditions or entry by insect or vermin or foreign objects or mispackaged or
misplaced product inside the machine.
3. Routine replacement main of consumable parts such as but not limited to light bulbs, plastic
breakable lock boxes, batteries, RFID tags, printer paper rolls, printer cartridges etc.
4. Routine maintenance services such as lubrications of drive trains or actuation solenoids. (See
appropriate AutoCrib manual for details)
5. Subsystems and attachments to the hardware/machine not manufactured by AutoCrib that are
subject to warranties of the manufacturers of such items. Ie. Uninterruptible power supplies,
surge protectors etc.
Modifications and Upgrades
AutoCrib reserves the right to make certain changes in designs or changes and improvements in
its products at any time without obligation to make such changes or improvements in its products
previously manufactured.

Dispensing Machine Limited Warranty
Limitation of Liability
AutoCrib makes no warranty with respect to automated dispensing equipment sold by it,
express or implied except as expressly set forth herein. AutoCrib’s liability whether in
contract or tort, or any legal theory, arising out of warranties, representation, instructions
or warnings, (or any lack or inadequacy thereof), deficiencies, failures or defects on any
kind, or from any cause shall be limited solely to repairing or replacing defective parts
(during normal business hours) pursuant and subject to the foregoing provisions.
Regardless of whether the buyer’s limited remedy has failed of its essential purpose,
AutoCrib shall not be liable in any event for any special, indirect, incidental or
consequential damages, including but not limited to lost profits, nor shall any claim or
recovery of any kind exceed the purchase price of the machine or system to which such
claim or recovery is made.
The foregoing warranty is in lieu of all other warranties, express or implied, and AutoCrib
disclaims any warranties of merchantability and fitness for use or a particular purpose.
This warranty is effective with AutoCrib installations beginning January 1, 2009.

Table of Contents
FEATURES...................................................................................................................................................7
INSTALLATION ............................................................................................................................................8
CAUTION.........................................................................................................................................................8
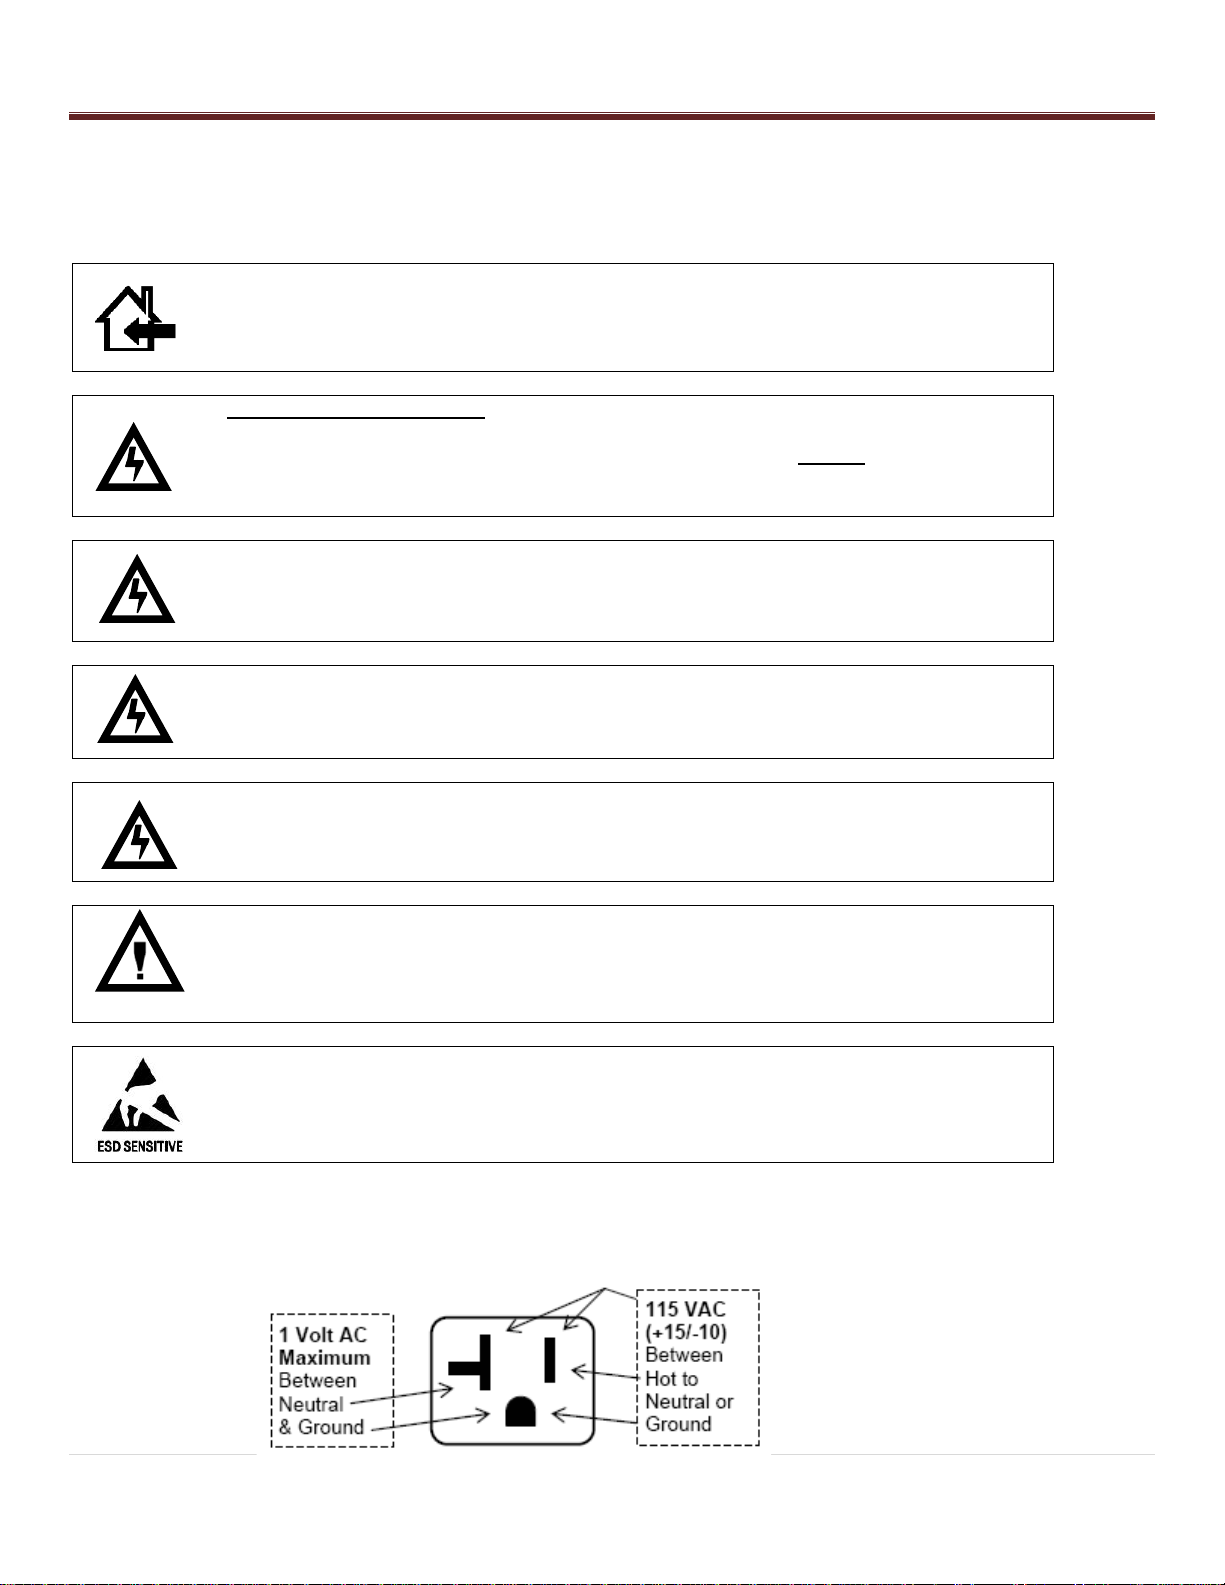
VOLTAGE AND POLARITY CHECK (FOR MACHINES LOCATED IN NORTH AMERICA ONLY) .......................................8
ROBOCRIB SETUP...........................................................................................................................................9
MANAGEMENT STATION CONFIGURATION........................................................................................................13
SOFTWARE OPERATIONS........................................................................................................................19
MANUAL STOCK ............................................................................................................................................19
AUTOMATIC STOCK BY TAG............................................................................................................................19
PHYSICAL BY BIN...........................................................................................................................................19
PHYSICAL ALL BIN.........................................................................................................................................19
ISSUE ...........................................................................................................................................................20
RETURN........................................................................................................................................................20
LOCATE ........................................................................................................................................................20
TROUBLESHOOTING THE ROBOCRIB USING THE "CONSOLE"BUTTON ...............................................................21
COMMONLY PERFORMED PROCEDURES -HARDWARE AND SOFTWARE ..........................................22
COMMONLY PERFORMED PROCEDURES .........................................................................................................22
CALIBRATION ................................................................................................................................................22
EXITING ROBOCRIB SOFTWARE .....................................................................................................................22
PROPER LOADING PROCEDURE......................................................................................................................22
REMOVING WALLS.........................................................................................................................................22
CONSOLE MODE............................................................................................................................................22
MTTTY ........................................................................................................................................................23
TROUBLESHOOTING ................................................................................................................................24
TROUBLESHOOTING COMMON PROBLEMS.......................................................................................................24
INSTALL OR REPLACE THE TOUCH SCREEN DISPLAY -MODEL CONLY..............................................................24
SYSTEM WILL NOT CALIBRATE ........................................................................................................................24
SOFTWARE WILL NOT INITIATE THE CALIBRATION SEQUENCE...........................................................................24
ROBOCRIB WILL NOT DISPENSE......................................................................................................................24
MANUAL SWITCHES ARE NOT OPERATIONAL ...................................................................................................25
BIN DOOR WILL NOT OPEN.............................................................................................................................25
REPLACEMENT OF CONTROLLER ....................................................................................................................25
CHAIN NEEDS TO BE REMOUNTED BECAUSE IT HAS BROKEN OR COME OFF OF THE GEARS ...............................25
PROBLEM:RECEIVING A JAM OR STALL ERROR,FINDING DROPPED ITEMS.........................................................26
PROBLEM:MOTORS WILL NOT TURN OR LEDS ON CONTROLLER DO NOT LIGHT OR FLASH AS THEY SHOULD........28
PROBLEM:DOOR DOES NOT OPEN................................................................................................................29
PROBLEM:THE LED ON DOOR REMAINS ON..................................................................................................31
PROBLEM:OPEN DOOR ERROR MESSAGE OR LED DOES NOT TURN ON WHEN DOOR IS OPEN............................32
PREVENTATIVE MAINTANENCE ..............................................................................................................33
CLEANING EXTERIOR SURFACES....................................................................................................................33
HAREWARE -AFTER 30 DAYS ........................................................................................................................33
HAREWARE -AFTER 1YEAR AND EVERY YEAR THEREATFER ...........................................................................34

Table of Contents
TECHNICAL SPECIFICATIONS .................................................................................................................35
ROBOCRIB TECHNICAL SPECIFICATIONS.........................................................................................................35
ROBOCRIB EXTERNAL PARTS ........................................................................................................................35
ROBOCRIB PLATTERS................................................................................................................................... 35
DRIVE SYSTEM..............................................................................................................................................36
POSTS,HEX SHAFTS,MOUTING ARMS,AND TRAY ASSEMBLIES .......................................................................36
CALIBRATOIN AND ALIGNMENT ......................................................................................................................37
BIN DOORS AND BAFFLE ASSEMBLIES.............................................................................................................37
APPENDIX..................................................................................................................................................38
APPENDIX I ...................................................................................................................................................38
ROBOCRIB CONTROLLER COMMANDS ............................................................................................................38
APPENDIX II ..................................................................................................................................................39
EXPLANATION OF ERRORS ON A ROBOCRIB ....................................................................................................39
JAM ERRORS ................................................................................................................................................41
DOOR MAINTENANCE.....................................................................................................................................50
ROBOCRIB 2000 BIN LAYOUT ........................................................................................................................52
CARE AND MAINTENANCE.......................................................................................................................53
REPAIRS .....................................................................................................................................................53
CLEANING.....................................................................................................................................................53
CLEANING STAINLESS STEEL SURFACES.........................................................................................................53
SAFTELY INSPECTION ....................................................................................................................................53

Features
7 | P a g e
Equipment Supplied
Complete RoboCrib 2000
Battery Backup
Table Lock & Screws
Drivers & Screws Set
Adjustment Foot Set
Logo Sign & Screws
Door Keys (4)
Spare Door
Network Hub
25 ft CAT5 cable
10 ft CAT5 cable
3 ft CAT5 cable
Operating Instructions (this manual)
Accessories
Replacement Parts
AutoCrib P/N
Description
AutoCrib P/N
Description
234-200
Battery Backup UPS
775-217-RP
Baffle Assembly –Bottom
760-103
CAT 5 Cable - 3 ft
770-413
Baffle Motor Assembly
760-000
CAT 5 Cable - 10 ft
741-402
Baffle Slide Pot Assembly
760-125
CAT5 Cable –25 ft
770-407-RP
Controller & Power Panel
255-805
Hub –5 Port
775-525-RP
Door Assembly
312-001
Key Replacement –2 per set
775-525-S-RP
Door Assembly - Frameless
282-112
Keyboard Cover
770-404
Door Solenoid Latch Assembly
770-150
Leveling Foot Pad Set
170-376
Door Ribbon Cable
329-900-2
Logo and Model Panel
282-105
Keyboard Trackpad USB
371-241
Main Platter Lock Bracket
610-252-RP
Touch Screen Replacement Kit
990-781
Pin-In-Hex Driver
475-604-RP
Sensor Board - LSP
690-770
Screw Set for Robo 2K
475-617-RP
Sensor Board –Main Platter
282-120
Touch Screen Cover
475-605-RP
Sensor Board - SSP
RoboCrib Specifications
AutoCrib
Specifications
Domestic
Ambient
Export
Ambient
Height
83”
83”
Width
62”
62”
Depth
62”
62”
Voltage (AC)
120V
230V
Running Amperes
5 Amps Max
2.5 Amps
Max
Shipping Weight
2404 lb
2404 lb

Installation
8 | P a g e
Cautions
The following cautionary information should be reviewed before the machine is installed. Following these requirements
and warnings are required.
CAUTION: This machine is designed for indoor usage only. Any other usage will void
the Manufacturer’s Warranty.
Voltage and Polarity Check
It is important that this machine be hooked up to the proper voltage and polarity for
your country. Use a voltmeter to verify voltage and polarity before connecting the
machine to a wall outlet. For machines located in North America, use the diagram
below to verify correct voltages.
CAUTION: Any procedure marked with the symbol at left requires that the Machine
have the power applied and a shock hazard exists.
CAUTION: It is important that this machine be hooked up to the proper voltage and
polarity for your country. Use a Voltmeter to verify voltage and polarity. Should the
reading be any different from a normal reading or if you are unsure of what the
reading should be contact an electrician.
CAUTION: Different countries may have unique plug arrangements. Ensure that the
machine is properly grounded before operating.
CAUTION: The machine is a heavy item. Ensure that sufficient personnel are
available for lifting and transporting the machine. Use proper lifting procedures and
equipment.
CAUTION: The system components in this machine utilize static sensitive
components. Precautions for handling sensitive devices should be observed when
handling these items.
Voltage and Polarity Check (for Machines located in North America Only)
It is important that this machine is hooked up to proper voltage and polarity. Using a voltmeter, perform the following
checks from the illustration below.

Installation
9 | P a g e
A
A
RoboCrib Setup
The AutoCrib unit is assembled and packed so that a minimum amount
of time is necessary for preparation to install it on location. The
following steps are recommended to insure correct unpacking.
1. Shipping Damage: Thoroughly inspect the exterior of the crate
and/or wrapping for damage, which may have occurred during
shipment.
Verify “TipNTell” is intact.
Note any damage or irregularities on shipping document.
Report any damage to delivering carrier and follow their
instructions.
2. Uncrate the machine.
Using a cordless drill with a #2 Phillips head bit, remove
screws on crate.
Retain the screws and crate in case there is damage to the
machine.
3. Use a forklift to place the RoboCrib and pallet near the final
location.
4. Undo the hold-down straps and lift the RoboCrib from the pallet with
the forklift frame.
Do not lift on the Main platter. It is important that the feet of
the forklift are completely inserted into the fork points.
Unwrap the unit and roll the RoboCrib to its final location.
Store the pallet and straps for possible future use.
Installation
1. Locate the keys attached to the keyboard plate by zip tie.
2. Unlock the Controller Access Door and the Computer Access
Door.
3. Remove the Logo Sign, pin-in-hex driver and leveling feet stored in
a box behind the computer. (The box will also contain a spare
door, network hub, CAT5 cables, and spare fasteners.) Install the
leveling feet.
Use a forklift to lift the RoboCrib off the ground.
Install feet into the threaded plates at each corner.
4. Place the RoboCrib in its final location and adjust the nuts, using a
¾” open-end wrench, to level the machine. Use a spirit level to
make sure the RoboCrib is level on each side. Lock the nuts in
place.
5. Install the Logo Sign on the Controller Access Door using the
screws provided.
6. Remove the Right Front wall panel using a 7/16 wrench to remove
the screws. Lift up on the panel to disengage the tabs located on
edges and pull out on the panel to remove it.
Fork Points
Controller Access Door
and Service Panel
Remove panel screws
using a 7/16 socket
driver. Remove this
side panel.
Door keys are zip tied
under keyboard
Computer Access Door.
Accessories Stored
here.

Installation
10 | P a g e
7. Remove the safety shipping locks. They are tied together with
a string to make them easy to identify.
Remove the Top Arm Lock by removing the two 3/8 hex
bolts that hold the lock bracket to the crossbar. The
bracket slides off the end of the stack support arm.
Retain the bolts, brackets, and nuts for possible future use.
Removing Main Platter Locking Bolt and Clamp
- The Main platter locking bolt and clamp is located on the
sensor bracket below bin door #1.
- Loosen the lock nuts and unscrew the bolt using two 9/16
wrenches.
Removing Top Arm Lock
- Remove the Top Arm Lock by removing the two 3/8 hex bolts
that hold the lock bracket to the crossbar. The bracket slides
off the end of the stack support arm.
- Retain the bolts, brackets, and nuts for possible future use.
Top Arm Lock
Main Platter Bolt & Clamp
Remove bolt with 9/16
open end wrenches
Top Lock Bracket
Top Lock Bolts 3/8” Hex
Driver or Slot Screwdriver

Installation
11 | P a g e
1
Parallel Connector
2
Serial Connector (for custom
readers)
3
Link Integrity Light
4
Network Connector (NIC)
5
Network Activity Light
6
Line-out Connector
7
Line-in Connector
8
USB 2.0 Connectors (6)
9
VGA Video Connector
10
eSATA Connector
11
DisplayPort Connector
Attach Power and Network Services
1. Uncoil the power cord and route through the bottom or top of the
frame.
EXPORT SYSTEMS: Add correct power cord connector and UPS
system
2. Prepare the UPS battery backup provided with the system (except
export systems) by installing the battery as directed by the
instructions accompanying the UPS.
Attach the UPS to a grounded 120VAC outlet, power it on, and
let charge for 8 hours.
Ensure the Status Light is green. If the Status Light indicates
a different color, have an electrician re-certify the outlet before
attaching the RoboCrib.
Avoid using circuits that have loads or surges from adjacent
equipment.
3. Position the UPS so that the RoboCrib power cord can be
attached. Attach the cord to a battery-protected outlet on the UPS.
4. Route the CAT5 cable into the machine along the same path as
the power cord.
Attach the CAT5 cable from the NIC card (#4 on diagram)
located at the bottom of the computer to the LAN drop
provided by the customer (or to the Ethernet hub provided by
AutoCrib).
Once the connection has been made and the pc is started, the
two lights on the NIC should blink.
5. Turn the Main power switch on the Control Panel to ON. Verify the
light in the switch turns on.
6. Turn the Controller power switch ON. Verify the green “OK” LED is
blinking slowly, the pc turns on, and the monitor is working. The
system will automatically launch the RoboCrib software and will
prompt for calibration.
7. Close & lock the Computer Access Door.
DO NOT ALLOW ANY OTHER DEVICES TO BE ATTACHED TO
THE BATTERY PROTECTED SIDE OF THE UPS. If more devices
must be attached, do so in the surge-protected side only.

Installation
12 | P a g e
Check Platter Actuation
1. Test each motor clockwise (CW) and counter-clockwise (CCW) for
a few seconds.
Position the Direction switch in either the CW or CCW position.
Then, activate the Motor Switch.
Observe proper rotation. Then, reverse the Direction switch
and test again.
As each Motor switch is actuated, the appropriate platter
should turn, and the sensor lights should blink. While testing
each motor, please note how the platters should react to the
movement. See the appendix for a drawing of the motors,
platters, and bins.
2. Test the door baffle by positioning the Direction switch in either the
CW or CCW position and actuating the Baffle switch.
Main: Main Platter –the entire internal array
will rotate
LSP: Large Sub Platter –3 individual and 3
groups of 3 trays assemblies will rotate
SS3, 2, 1: Small Sub Platters –Individual tray
assemblies in groups of 3 will rotate
SWITCH DEFINITIONS
MP = MAIN PLATTER
LSP = LARGE SUB PLATTER
SSP3 = SMALL SUBPLATTER #3
SSP2 = SMALL SUB PLATTER #2
SSP1 = SMALL SUB PLATTER #1

Installation
13 | P a g e
Management Station Configuration
STEP 1 –Setup Computer
- Plug in mouse, keyboard, monitor, and printer.
- Plug in power cord to computer, monitor, and printer.
- Plug in power cord to network hub, if necessary.
- Connect CAT5 cable into NIC (Network Interface Card) on pc
and into either a network hub or LAN drop.
- Start the computer and have IT configure proper LAN settings.
- Turn off the AutoCrib software.
STEP 2 –Restore the Database
- Unzip the file database received from AutoCrib‟s customer
service department into C:\Program Files\Microsoft SQL
Server\MSSQL.1\MSSQL\Backup.
- Start the Microsoft SQL Server Management Studio software.
Connect to the server.
oServer Name: Computer Name\AUTOCRIB53
oAuthentication: SQL Server Authentication
oLogin: sa
oPassword: AutoCrib2005
- Select the (+) sign next to the server. Then, select the plus (+)
sign next to the databases folder.
- Right click the autocrib53 database.
- Select “Tasks” > “Restore” > “Database…”

Installation
14 | P a g e
- Within the „Source for Restore‟ menu, enable “From Device”.
Then, select the Browse button.
- Select the “Add” button within the „Specify Database‟ screen.
- Highlight the .BAK file saved in C:\Program Files\Microsoft
SQL Server\MSSQL.1\MSSQL\Backup. Then, select “OK”.
- Select “OK” in the „Specify Backup‟ screen.
- Within the „Select the backup sets to restore‟ menu, check the
“Restore” box.
- In the upper left hand corner of the screen under the „Select a
page‟ menu, select “Options”.

Installation
15 | P a g e
- Within the „Restore Options‟ menu, check “Overwrite the
existing database”.
- Within the „Restore the database files as:‟ menu, select the
first browse button.
oLocate the autocrib53_Data.mdf or autocrib53.mdf file
located in:
C:\Program Files\Microsoft SQL Server\MSSQL.1\MSSQL\Data
Then, select “OK”.
oSelect the second browse button, and locate the
autocrib53_log.ldf file located in:
C:\Program Files\Microsoft SQL Server\MSSQL.1\MSSQL\Data
The, select “OK”.
- Under the „Recovery state‟ menu, verify “Leave the database
ready to use by rolling back uncommitted transactions.
Additional transaction logs cannot be restored. (RESTORE
WITH RECOVERY)” is selected.
- Select “OK”.
- Once the message “The restore of database „autocrib53‟
completed successfully” appears, select “OK”.
CONGRATULATIONS!!! The database has now been restored and
you are ready to begin using the AutoCrib software.
- Start the AutoCrib software.
NOTE: If the AutoCrib software prompts for the server,
database name, username, and password, insert the following.
Server: (LOCAL)\AUTOCRIB53
Database Name: autocrib53
Username: sa
Password: AutoCrib2005

Installation
16 | P a g e
STEP 3 –Complete RoboCrib Setup
- Exit from the RoboCrib software on the RoboCrib.
oClick on the AutoCrib icon in the upper left hand corner.
oInsert Username: Rumen
oInsert Password: Rumen
- Verify the RoboCrib computer is viewing correct data.
oStart the AutoCrib software by double clicking the
shortcut available on the desktop.
oLogin to the AutoCrib software using „admin‟ as the
username with no password.
oNavigate to Tools > Options > Locations.
oVerify the following:
Server: Management Station pc Name\autocrib53
(i.e. mgmtstation\autocrib53)
OR Management Station IP Address\autocrib53
(i.e. 192.168.168.24\autocrib53)
Database Name: autocrib53
Username: sa
Password: AutoCrib2005 (This password will be
encrypted.)
oIf the RoboCrib is not viewing the correct database, select
“Edit” and enter the correct server name, database name,
username, and password. Then, select “OK”.
- Exit the AutoCrib software.
- Start the RoboCrib software by double clicking on the shortcut
available on the desktop.
- Once the RoboCrib software has started, allow the machine to
calibrate.

Installation
17 | P a g e
Test Doors
1. Using the RoboCrib software, insert the supervisor badge number
and PIN.
If a supervisor has not yet been created, create a new
employee in the Database > Employees module of the
AutoCrib software and check “Supervisor” and “Stocker”.
2. Select the Console button in the RoboCrib software.
At the command prompt, enter the “LON” command followed
by each door number. i.e. LON 01 to open door #1. Continue
until all doors are open.
NOTE: Bin Doors may be opened manually as shown. The door
should open with ease and the “open door” indicator light should
illuminate until the door has been closed.
Due to movement during shipment, the alignment of the doors
may have shifted. If a door is not opening with ease,
adjustments of the door will be necessary to ensure free
operation. Open the door panel and manually open the door.
oSwing the door back and forth to loosen the spring.
oLook to see if the plunger is aligned with the door latch. If
the alignment is off, adjust the door up or down depending
on how the door shifted during shipment.
oWhile the doors are closed, there should be an equal
amount of space between the top and bottom of each
door.
oSee further Bin Door troubleshooting documents in
the Appendix.
Reassemble the front panel on the machine.
Congratulations, you are ready to start stocking!!!
STEP 4 –Create a purchase order
- Use the Robo New PO tab. This can be found in the Purchase
Orders module within the Purchasing menu.
- Select the crib, supplier, and method for reordering.
- If all items should be ordered up to max, select “Purchase All”.
Otherwise, insert the individual quantities into the Purchase
field.
- Once satisfied with the purchase quantities, click the „Apply‟
button.
To actuate the solenoid, pull the “L”
shaped, silver door latch to the right.

Installation
18 | P a g e
STEP 5 –Create a tag
- Use the Create Tags tab. This can be found in the Purchase
Orders module within the Purchasing menu.
- Select the Purchase Order number created in step 5 by double
clicking in the aqua field.
- If all items can be stocked, choose the „Receive All‟ or
„Receive All Burn‟ button. Otherwise, insert the individual
quantities into the On Hand or Burn Qty fields.
- Select the „Apply‟ button.
- Print the Inventory Input Sheet –RoboCrib report located
within the “Purchasing” report category of the Reports module.
STEP 7 –Stock RoboCrib
- At the RoboCrib, insert the badge number and PIN. (Note: At
least one employee must be setup as a stocker in the AutoCrib
software.)
- Select the Stock > Auto > Tag buttons.
- Insert the tag number noted on the Inventory Input Sheet
report.
- The RoboCrib will prompt the following:
o“Is tag complete?”
„Yes‟ all items on the tag are available for
stocking.
„No‟ some, but not all items on the tag are
available for stocking.
oThe RoboCrib will turn the platters until the first bin on
the Inventory Input Sheet is in front of the door.
Once the door opens, place the appropriate
item into the bin.
Close the door to stock the next bin.

Software Operations
19 | P a g e
Software Operations
Manual Stock
- At the RoboCrib, insert the badge number and PIN. (Note: At least one employee must be setup as a stocker in
the AutoCrib software.)
- Select the Stock > Manual buttons.
- Search for the item. Once the item is highlighted, select „Restock‟. (The system will only show items where the
quantity in the RoboCrib is less than the item maximum.)
- The RoboCrib will prompt the following:
oInsert the On Hand or Burn Qty to stock. Then, select „OK‟.
Automatic Stock by Tag
- At the RoboCrib, insert the badge number and PIN. (Note: At least one employee must be setup as a stocker in
the AutoCrib software.)
- Select the Stock > Auto > Tag buttons.
- Insert the tag number noted on the Inventory Input Sheet - RoboCrib report.
- The RoboCrib will prompt the following:
o“Is tag complete?”
„Yes‟ all items on the tag are available for stocking.
„No‟ some, but not all items on the tag are available for stocking.
oThe RoboCrib will turn the platters until the first bin on the Inventory Input Sheet is in front of the door.
Once the door opens, place the appropriate item into the bin.
Close the door to stock the next bin.
NOTE: If the tag is not complete, you will be asked if the part can be fulfilled for each line on the tag.
Physical by Bin
- At the RoboCrib, insert the badge number and PIN. (Note: At least one employee must be setup as a stocker in
the AutoCrib software.)
- Select the Physical > Bin buttons.
- Insert the Crib Number and Bin Number to physical.
- After the RoboCrib retrieves the bin and the door opens, enter the correct on hand and/or burn quantities.
NOTE: If you make no changes to the physical counts, the system will default to the current on hand and burn
quantities.
Physical All Bins
- At the RoboCrib, insert the badge number and PIN. (Note: At least one employee must be setup as a stocker in
the AutoCrib software.)
- Select the Physical > All buttons.
- When prompted, move the bin door bypass switch to TEST.
- Physically count the item(s) in the bins and document the quantities on the Physical by RoboCrib report located in
the Reports module (Inventory category) of the AutoCrib software.

Software Operations
20 | P a g e
- When you have completed the physical on all bins within the column displayed, press the Next button.
- Report process until complete.
- Move the bin door bypass switch to RUN.
Issue
- At the RoboCrib, insert the badge number and PIN.
- Select the Issue button.
- Select appropriate responses from the blue validation tables. (i.e. Department, Job, etc)
- Click on the Item field and search for item using the item code, descriptions, class, or custom fields. Press Enter.
- The RoboCrib software will find the closest match. Highlight the item you want and press the Issue button.
- The software will retrieve the bin and open the door. After removing the item, close the door and Logout of the
software.
Return
- At the RoboCrib, insert the badge number and PIN.
- Select the Return button.
- Select the item you wish to return by either scrolling down, or search for the item. Press Enter.
- Highlight the desired item.
- Insert the quantity being returned into the appropriate field; return, scrap, or regrind.
- Place the item in the correct return location; regrind bin, active RoboCrib bin, or trash.
- Note: An item can only be returned to the RoboCrib if the crib has been designated as “returnable” in the
AutoCrib software and the item being returned is a perishable, durable, or gage type item.
Locate
- At the RoboCrib, insert the badge number and PIN.
- Select the Locate button.
- Type in an item code or partial description of the item you wish to locate. Press Enter.
- The system will filter the database to the closest possible matches.
- The crib and bin number will be displayed as well as the current on hand/burn inventory.
Table of contents
Other AutoCrib Vending Machine manuals
Popular Vending Machine manuals by other brands

AMS
AMS 28 Slim Gem Operation and service manual

N&W Global Vending
N&W Global Vending Krea Installation - use - maintenance

Crane
Crane Dixie-Narco Glassfront BevMax 3 5800 Installation & setup guide

Magic Play
Magic Play Lollipops instructions

Westomatic
Westomatic Sigma Simplicity instructions

Automatic Products
Automatic Products PREMIER 937 SATELLITE Setup and installation