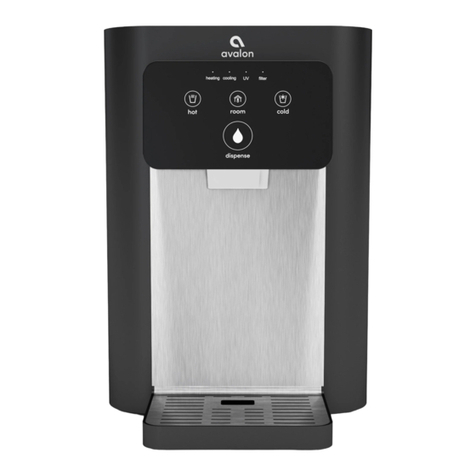
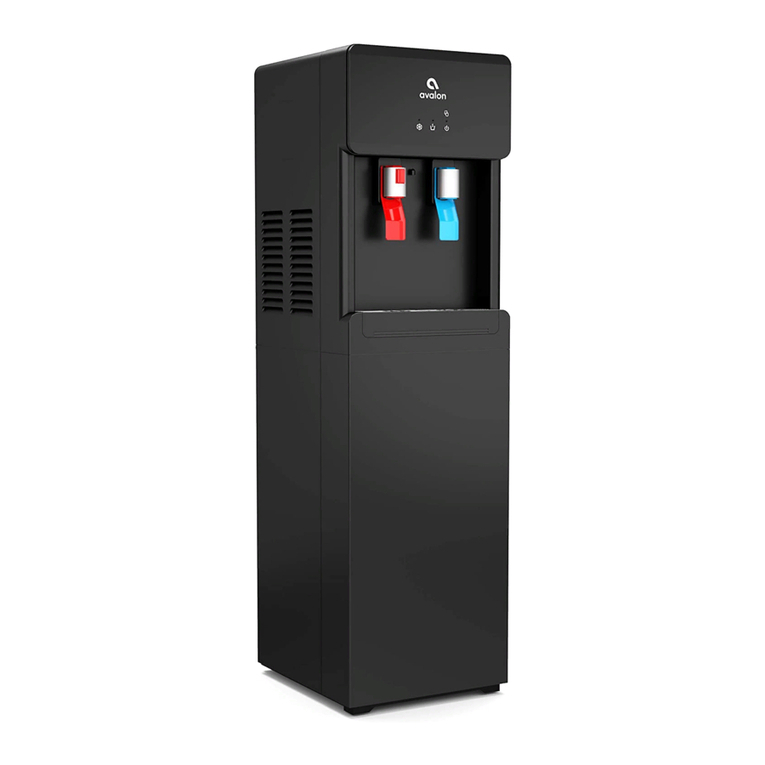
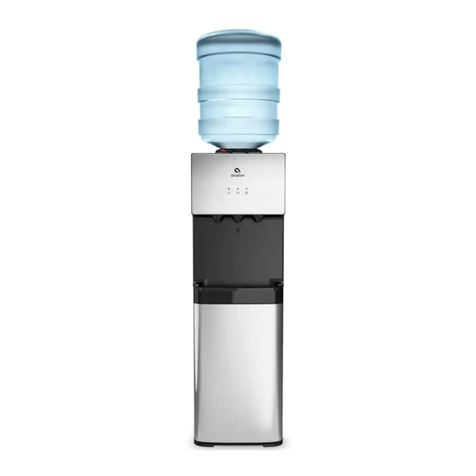
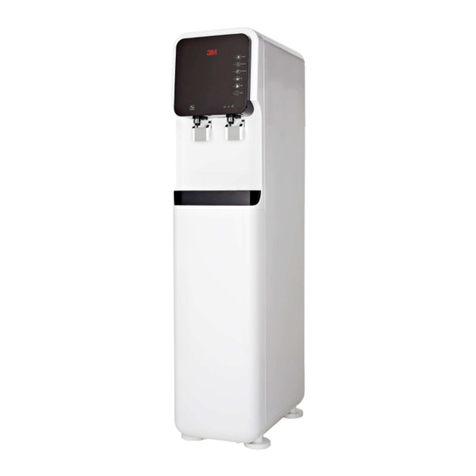
Avalon A8CTBOTTLELESSWHT User manual

Model:
Countertop
Water Dispenser Bottleless
A8CTBOTTLELESSWHT

DIRECTORY
SAFETY PRECAUTIONS
GETTING STARTED
TROUBLE SHOOTING
MACHINE INSTALLATION
WATER PURIFIER
8
6
2
1
8
10

A: PART NAME
Please use the product in a place with temperature of 39-100 F and
relative humidity level.
NOTE:
NO. PART NAME NO. PART NAME
1
2
3
4
5
6
7
8
9
11
12
13
14
15
16
17
18
1 2 3
4
5
6
7
8
9
10 16
11
18
17
19
Filter Reset Switch
NFS filter carbon
12
14
13
15
10
19
Right handle
Left Handle
Outlet of Hot Water
Ozone Switch
Cooling Switch
Heating Switch
Night Light Switch
Hot Tank
Refrigeration Compressor
Cooling Pilot Lamp
Heating Pilot Lamp
Ozone and Power Indicator Lamp
Front Shell Decorative Panel
Night Light
Tap of Cold Water
Tap of Hot Water
Water Collector

B: SAFETY PRECAUTIONS

C: GETTING STARTED
1. Open the top of the packing case, take out the top foam and its accessories.
2. Put the accessories aside.
This appliance can be used by children aged from 8 years and above if they
have been given supervision or instrucon concerning use of the appliance
in a safe way and if they understand the hazards involved. Cleaning and user
maintenance shall not be made by children unless they are older than 8 and
supervised. Keep the appliance and its cord out of reach of children aged
less than 8 years.
Appliances can be used by persons with reduced physical, sensory, or mental
cappsbilies or lack of experience and knowledge if they have been given
supervision or instrucon concerning use of the appliance in a safe way and
understand the hazards involved. Children shall not play with the appliance.
This appliance is intended to be used in household and similar applicaons
such as: kitchen areas in shops, offices, and other working environments,
hotels, motels, and other residenal type environments, bed and breakfast
type environments, catering, and similar non-retail applicaons.
Do not store explosive substances such as aerosol cans with a flammable
propellant in this appliance.
If the supply cord is damaged, it must be replaced by a special cord assembly
avaiable from the manufacturer or its service agent.
Never turn the machine upside down or lean it more than 45 .
Thermostat has been adjusted. No need to adjust it by yourself. When the
machine is below the freezing point and blocked by ice, the cooling switch be
turned off for 4 hours before turning it on again to connue its operaon.
This machine should not be turned on unl 3 minutes aer turning off the
power switch.

3. Unpack the product, install the drip tray.
4. Take out the quick joint adapter with valve and install it on the water pipe.
Intall the adapter:
1. Disconnect the current cold water supply line, as in figure 1.
2. Connect the adapter with valve to the cold water supply line, as in figure 2.
3. Connect the nut on the side of the metal adapter and insert the PE Tube
pipe
through the nut. Sck the PE Tube pipe over the side part of the
adapter where the nut was originally, as in figure 3.
4. Crew the nut ghtly into place keeping the PE Tube pipe securely
connected to
the adapter with valve, as in figure 4.
5. Note: Do not connect this water line to hot water supply line.
Filter Flushing Instrucons Prior to the First Use
1. Before connecng the other end of the PE tubing to the back of the water
cooler, connect it to the provided A4 System filter flushing adapter into the
le inlet hole in the direcon of the arrow on the adapter.
2. Twist the replacement filter into this A4 System filter flushing adapter unl
it is in place.
Inlet
Metal Adapter with
Valve
PE Tube (3m)
Mounng Bracket
Elbow Connector and Tube
Electronic Valve Connector
and Tube
Extra Filter Flushing
Adapter
Tape and Tools (not included)

3. Hold this filter with A4 System filter flushing adapter over a sink and turn on
the valve near the water source. Let water to flow out of the filter and A4
System filter flushing adapter for 5 minutes to flush the new filter.
4. Shut off the valve at the water source.
Finishing the Water Cooler Installaon
1. Remove the end of the PE Tube from the A4 System filter flushing adapter by
pressing on the blue ring and pulling out the PE Tube.
2. Twist out the filter from the A4 system filter flushing adapter.
5
3. Clip the black filter adapter mounng bracket onto the condensor by
inserng the longer pegs upward as in figure 5 and then by clicking the
lower shorter pegs into the condensor as in figure 6.
4. Slide the filter adapter down into the mounng bracket as in figure 7.
5. Take the “Elbow Connector and Tube” and connect the elbow side to
the protruding tube of the back of the water cooler and the tube side
to the right side hole of the filter adapter by pushing them into each
other as in figure 8.
6. Now take the “Electronic Valve Connector and Tube” and connect the
tube end into the le hole of the filter adapter as in figure 9. Then
connect the other end to the long PE tube coming from the water
source by pushing the PE tube into the Electronic Valve Connector as
in figure 10.
7. Twist the filter into the A4 system adapter in the back of the unit by
rotang it clockwise.

The total flow above is for reference only. It is based on normal water use.
The specific cycle for replacement of filters varies with local water quality
and water amount consumed.
function
Reduce Chlorine, Taste and odor, Nominal
particular class I, Lead and Cysts.
Special hints:
Filter replacement cycle
6
replacement
6 Months or 1500 gallons
9. Turn back on the valve from the water source.
10. Turn on the blue valve to the le of the filter.
11. Flowchart of water generaon
12. Aer installaon of water line and filter, plug the power cord into a grounded
power supply and begin to use machine normally.
Please note, if you wish to skip the Filter Flushing Instrucons Prior to the First
Use, you can do the regular installaon and then just let the water flow from the
cold water spout for approximately 5 minutes to flush out the new filter.
Tap water PE pipe
Water inlet
D: TROUBLE SHOOTING
No water is coming from the spout.
Make sure to completely depress the push buon controls.
Cold water is not cold.
It takes up to one hour aer setup to dispense cold water.
Make sure the power cord is properly connected to a working outlet.
Make sure the back of the dispenser is at least 20 cm from a wall and there is
free airflow on all 20cm sides of the dispenser.
Make sure green power switch on back of dispenser is ON.
If water sll isn't cold, please ask a service agent for assistance.
Hot water is not hot.
It takes 15-20 minutes aer setup to dispense hot water.
Make sure the power cord is properly connected to a working outlet.
Make sure red power switch on back of dispenser in ON.

Water leakage.
If the appliance is making a soud, there should be leakage. Please check
the PCB on the palte. Repair the machine and dry the PCB, and then
power on agin.
Pipe not connected properly.
Inspect the adapter to connect the pipe properly.
Water pipe and PE pipe bursng.
Replace the water pipe.
7
.
Nightlight isn't working.
Make sure the power cord is properly connected to a working outlet.
Make sure nightlight power switch on back of dispenser is ON.
Dispenser is noisy.
Make sure the dispenser is posioned on a level surface.
Small water flow.
Low water pressure.
Check the water inlet.
The filter exceeded it's usage me.
Please contact the manufacturer to replace the filter
Please allow 15 minutes for the hot water to be heated. During this me
the will be steady. The light will turn off when the green heang pilot lamp
heang process is complete. Please allow 90 minutes for the cold water
to be cooled. During this me the will be steady. green cooling pilot lamp
The light will be turned off when the cooling process is complete. If any
error occurs in the heang or cooling process, the indicator light will blink.
Activate Nightlight
Push top side of blue power switch in to turn light on. Push boom side in to
turn light off.

8
Aer setup, hot water will be available in 15-20 minutes.
1. Posion bole, glass, pitcher, or cooking pot below spout.
2. Slide red buon away from you and depress hot water push buon downward
to start hot water flow.
3. Release push buon once desired fill level is achieved.
push buon
push buon
E: WATER PURIFIER
F:CLEANING
1. To avoid accidents, cut off the power supply before operaon
according to the following instrucons.
2. Aenon:
1)
Cleaning must be performed by someone with experience or an
authorized service agent.
1)Make sure the power switch in the O(off) posion and unplug the
water dispenser before cleaning.
2)Unscrew the two screws from the back of the unit as in figure 1.
3)Remove the top cover, cold tank cover,
and separator as in figure 2.
4)Fill 1L of pure water into cold tank (the open cylindar that the cover
was removed from) to clean it.
5)Place a large water bucket beneath the outlet of hot water which
is in the back of the water dispenser , then remove the drain cover
and drain the water as in figure 3.
6)Reposion the drain cover, separator, cold tank cover, and top
cover aer draining. Ensure the pipe and wires are connected
properly, then you can use the machine normally.

9
4. To Remove Mineral Deposits
Mix 4 L of water with 200 g of citric acid crystals, pung the mixture into the
machine making sure the water can flow out of the hot water tap. Switch on
the power and heat it for about 10 minutes. 30 minutes later, drain the liquid,
then clean it with water two or three mes. Never disassemble by yourself to
avoid damaging machine. Generally this should be done every six months.
5. Maintenance of Filtraon System
2) The dispenser heats water to a temperature of approximately 185 F.
It can cause severe burns. Please operate it carefully.
3. Sanizing
This machine should be sanized with a disinfectant and then cleaned with
water every three months. (See cleaning and draining instrucons.)
1) When lifeme of the filter is near its end, either by means of water flow or
by means of 6 months me, the red indicator light on the right side of the
front panel will blink red as a warning.
2) When the filter lifeme is up, the indicator light will be steady red.
3) Shut off the valve at the water source or the valve to the le of the filter
inside the cabinet.
4) Twist out the old filter from the A4 system inside the water cooler cabinet.
CAUTION: The cycle takes 90 minutes to complete. During this me
do not dispense and drink the water. We recommend you do this
during a period when the dispenser will not be in use like overnight
or when staff is away from the office. During the cycle you may smell
some ozone.
6. Acvate Self-Cleaning Funcon
Every week use the self-cleaning feature to sanize tanks and water lines.
To acvate, press in the self-cleaning switch, hold for 5 seconds and release.
The green indicator light on the le will begin blinking, indicang the
cleaning process is underway. Ozone will be produced and injected into the
water system. It will kill bacteria and bio-films typically found in water
dispensers. By the end of the cycle the ozone will convert to harmless oxygen
and be emied into the air.
5) Twist the new filter into the A4 system built into the water cooler cabinet.
6) Turn back on the valve from the water source or the valve to the le of the
filter inside the cabinet.
7) Only replace the filter with a new Avalon filter designed for this water cooler.
Any other type of filter will damage the machine and void any warranty.
8) Aer replacing the filter, press the filter reset buon on the inside of the
cabinet, unl the red light turns off.
9) Allow water to flow from the cold water spout for approximately 5 minutes
to flush the new filter.
10) Please refer to the addional filter instrucons for further details.

G: MACHINE INSTALLATION
WARNING! To avoid a hazard due to instability of the appliance, it must be
fixed in accordance with the instrucons.
2017
10
1. Loosen the screw of the right bottom angle
just as the picture shown.
2.
3.
4.
If you encounter any issues or have any concerns,
please email us at support@avalonproducts.com
or call 1800-256-0695 .
www.avalonproducts.com
Please see our website to learn more about our products
Table of contents
Other Avalon Water Dispenser manuals

Avalon
Avalon A10-TL User manual

Avalon
Avalon A10-TL User manual

Avalon
Avalon A13CT-S User manual

Avalon
Avalon A10-TL User manual

Avalon
Avalon A14-S User manual

Avalon
Avalon A1TL User manual

Avalon
Avalon A9 User manual

Avalon
Avalon A6BLWTRCLRWHT User manual

Avalon
Avalon A7BOTTLELESS User manual

Avalon
Avalon A1CTWTRCLRWHT User manual
Popular Water Dispenser manuals by other brands

Shopnsave
Shopnsave WPU-8900C manual

Halsey Taylor
Halsey Taylor HAC8EECQ 1E Series owner's manual

MERQUIP
MERQUIP NIAGARA Installation, use and maintenance handbook

Super
Super WCS4000B owner's manual

Culligan
Culligan Automatic Water Softeners operating instructions

First Sales
First Sales CITY Series Installation instructions and owner's manual