manuals.online logo
Brands
  1. Home
  2. •
  3. Brands
  4. •
  5. avertX
  6. •
  7. Security Camera
  8. •
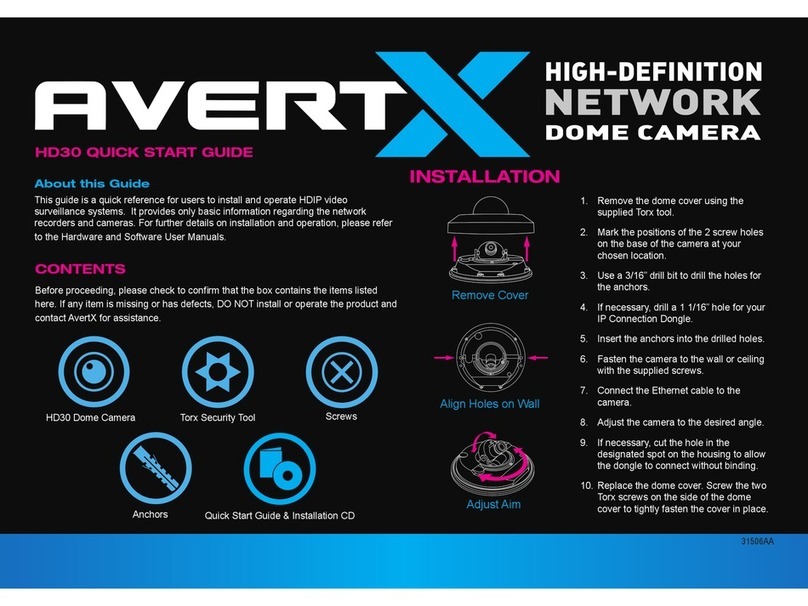
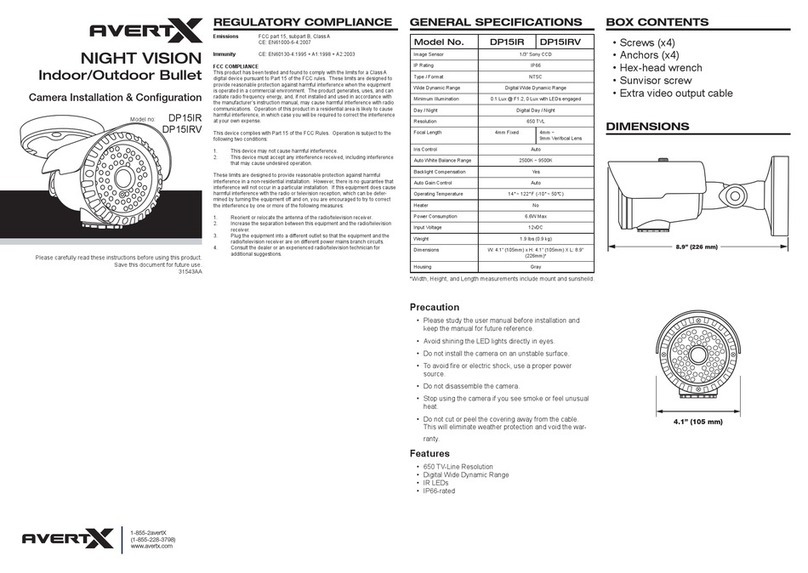
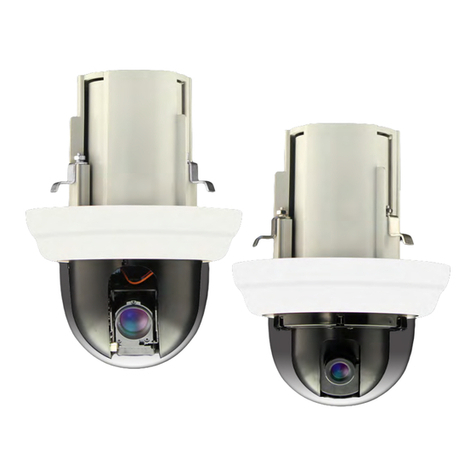
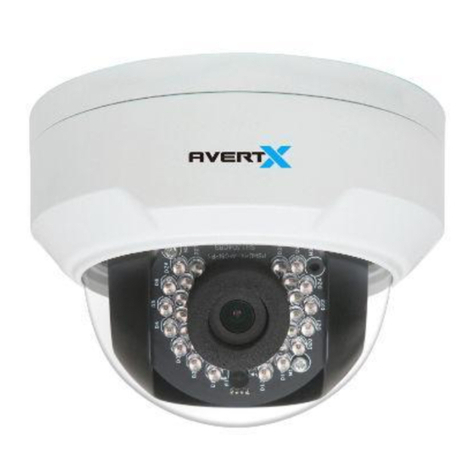
  9. avertX HD420 User manual

avertX HD420 User manual

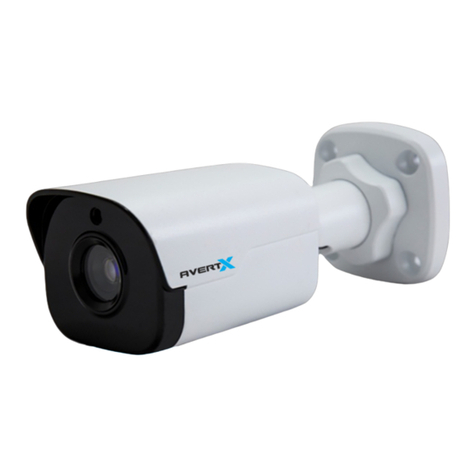
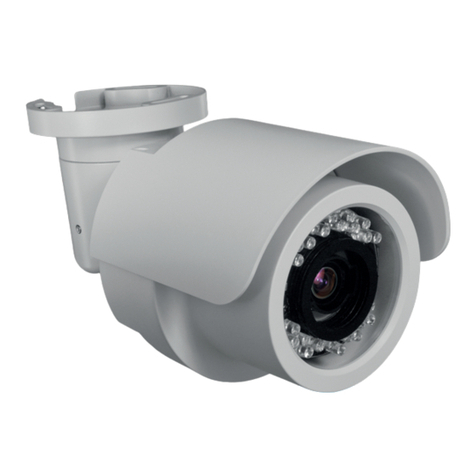
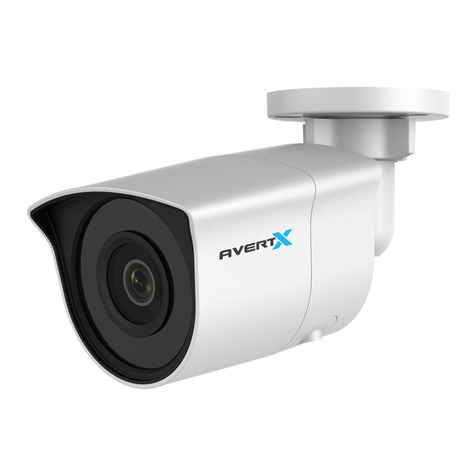
This guide is a quick reference for users to install and operate HD420 Night
Vision HD Indoor/Outdoor Bullet Cameras. It provides only basic information
regarding installation and operation of your camera. For further details,
please refer to the HD420 User Manual.
Before proceeding, please check to conrm that the box contains the items
listed here. If any item is missing or has defects, DO NOT install or operate
the product and contact AvertX for assistance.
About this Guide
CONTENTS OF CAMERA BOX
HD420 Bullet Camera Waterproof Cable
Connector
Documents
HD420 QUICK START GUIDE
Screws
Anchors
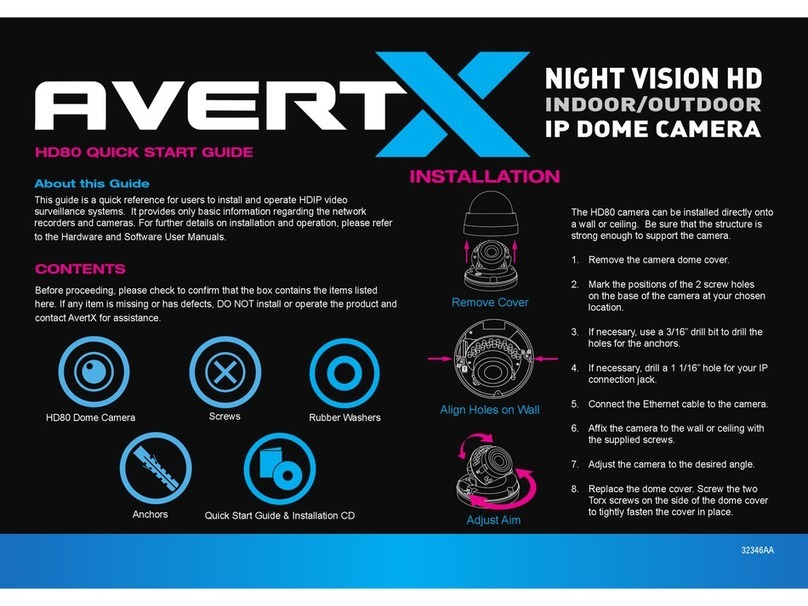
The HD420 camera can be installed directly
onto a wall or ceiling. Be sure that the structure
is strong enough to support the camera.
1. Remove the HD420 camera from the
packaging.
2. Connect the camera cable from the
ceiling or wall to the dongle on the
camera. If using the waterproof cable
connector, attach it now. See instructions
below.
3. Loosen the locknut on the camera
bracket mount. Aim the camera down to
access screw holes
4. A󰀩x the camera base to the ceiling
or wall with the included self-tapping
screws. When mounting on an
unprotected wall, the cable notch should
be positioned downward.
5. Adjust the position of your camera. Be
careful not to damage the cable when
moving the camera.
6. Tighten the locknut to secure your
camera.
Note:
The HD420 mini bullet camera is pre-
focused and factory sealed. There is no need
to open the camera housing.
If mounting outside, seal the opening at the
wall and the base of the camera with silicone
caulking.
Improper installation may cause damage to
your camera and void the warranty.
INSTALLATION
4MP MINI IP BULLET
WITH NIGHT VISION
Align Holes on Wall
Adjust Aim
35041AA
Copyright © 2016 AvertX. All rights reserved. Information contained in this document is subject
to change without prior notice. AvertX does its best to provide accurate information, but cannot be
held responsible for typos or mistakes.
NETWORK CABLE INSTALLATION
A 100’ Cat5e non-plenum UTP camera cable is included with your camera. It
is important to consider how the network cable is attached to the camera.
• If passing the cord through a wall or ceiling, drill a 7/8” hole.
• For outdoor installations, ensure the connection between your network
cable and the camera jack is housed within a wall or indoors or use the
waterproof cable connector.
• For outdoor installations, use silicone caulking to seal any holes in the
wall or ceiling to protect against leaks.
• If your installation is in a commercial building, consult local re codes.
Plenum rated cable may be required.
WATERPROOF CABLE
CONNECTOR
This camera features an IP66-rated waterproof cable connector for
unprotected outdoor connections.
• Slide all pieces of the waterproof cable connector over the cable plug in this
order:
1. Small plastic ring
2. Flexible silicone seal ring. You will need to stretch the silicone seal
over the RJ-45 plug.
3. Large plastic ring
• Connect the camera cable to the plug on the dongle. Screw the large
plastic ring into the dongle.
• Insert the exible silicone seal into the “crown” section of the large plastic
ring
• Screw the small plastic ring into the large plastic ring
1-855-2AVERTX (1-855-228-3789)
www.avertx.com
CONNECTING TO THE CAMERA
If you are using this camera with an AvertX recorder, follow the instructions
in the recorder user manual to connect to your camera. You can also set up
your camera using your PC.
1. Type the IP address 192.168.0.250 in the address bar of your browser
2. Viewer software may need to be installed on your PC the rst time you
connect to the camera. Download and install the viewer software when
prompted.
3. Supported browsers: Chrome, Firefox, Edge, Internet Explorer. Please
consult the user manual for additional browser support.
USERNAME AND PASSWORD
The username and password are case sensitive. AvertX strongly recommends
changing the password after the initial setup to prevent unauthorized access to
the camera.
Username – admin
Password – 1234
RESET BUTTON
Your HD420 camera is equipped with a reset button to return the camera to
factory default settings, if necessary. To reset your camera, power cycle the
camera then push and hold the reset button for 15 seconds. This has to be
performed within 10 min after the camera has been powered on or the reset
will fail.
For more information on installing your AvertX camera, see the user manual
or view instructional videos at avertx.com/videos.
For Further Instruction
Reset button
35041AA
Other manuals for HD420

1

Other avertX Security Camera manuals

avertX HD828 User manual

avertX

avertX HD828 User manual

avertX HD7012-RW User manual

avertX

avertX HD7012-RW User manual

avertX HD438 User manual

avertX

avertX HD438 User manual

avertX HD354IR User manual

avertX

avertX HD354IR User manual

avertX C7012-RW User manual

avertX

avertX C7012-RW User manual

avertX HD300 User manual

avertX

avertX HD300 User manual

avertX AVX-HD119IR User manual

avertX

avertX AVX-HD119IR User manual

avertX HD40D User manual

avertX

avertX HD40D User manual

avertX HD920 User manual

avertX

avertX HD920 User manual

avertX AVX-HD848IRM User manual

avertX

avertX AVX-HD848IRM User manual

avertX HD80 User manual

avertX

avertX HD80 User manual

avertX HD510 User manual

avertX

avertX HD510 User manual

avertX HD30 High Definition Network Dome Camera User manual

avertX

avertX HD30 High Definition Network Dome Camera User manual

avertX HD420 User manual

avertX

avertX HD420 User manual

avertX HD838IRM User manual

avertX

avertX HD838IRM User manual

avertX C6012-RW User manual

avertX

avertX C6012-RW User manual

avertX HIGH DEFINITION NETWORK DOME CAMERA User manual
avertX

avertX HIGH DEFINITION NETWORK DOME CAMERA User manual

avertX DP15IR User manual

avertX

avertX DP15IR User manual

avertX HD90IR User manual

avertX

avertX HD90IR User manual

avertX HD40IR User manual

avertX

avertX HD40IR User manual

avertX HD7022-FPW User manual

avertX

avertX HD7022-FPW User manual

avertX HD300IR User manual

avertX

avertX HD300IR User manual

avertX HD828 User manual

avertX

avertX HD828 User manual

avertX AVX-HD458IR User manual

avertX

avertX AVX-HD458IR User manual

Popular Security Camera manuals by other brands

Wirepath WPS-500-BUL-A-WH installation manual

Wirepath

Wirepath WPS-500-BUL-A-WH installation manual

ROCWARE RC841U user manual

ROCWARE

ROCWARE RC841U user manual

Eneo ISM-52F0023W0A Quick installation guide

Eneo

Eneo ISM-52F0023W0A Quick installation guide

Observint ALIBI ALI-TP3125R Quick installation guide

Observint

Observint ALIBI ALI-TP3125R Quick installation guide

EverFocus ED335 operation instruction

EverFocus

EverFocus ED335 operation instruction

Reolink RLC-812A user manual

Reolink

Reolink RLC-812A user manual

Speco HT7248TM instruction manual

Speco

Speco HT7248TM instruction manual

Burg Wächter BURGcam ZOOM 3061 Quick installation guide

Burg Wächter

Burg Wächter BURGcam ZOOM 3061 Quick installation guide

Vivotek AT-CAB installation guide

Vivotek

Vivotek AT-CAB installation guide

Panasonic WV-CW504F Specifications

Panasonic

Panasonic WV-CW504F Specifications

EZspyCam EPC-500 Series instruction manual

EZspyCam

EZspyCam EPC-500 Series instruction manual

DW PIXIM DWC-V365D user manual

DW

DW PIXIM DWC-V365D user manual

Manta MM357 Manual guide

Manta

Manta MM357 Manual guide

Panasonic BL-C101 Important information

Panasonic

Panasonic BL-C101 Important information

SVAT WSE300 user manual

SVAT

SVAT WSE300 user manual

Ikegami MKC-750UHD Operation manual

Ikegami

Ikegami MKC-750UHD Operation manual

Axis M10 Series installation guide

Axis

Axis M10 Series installation guide

Digital Watchdog STAR-LIGHT DWC-B7753TIR manual

Digital Watchdog

Digital Watchdog STAR-LIGHT DWC-B7753TIR manual

manuals.online logo
manuals.online logoBrands
  • About & Mission
  • Contact us
  • Privacy Policy
  • Terms and Conditions

Copyright 2025 Manuals.Online. All Rights Reserved.