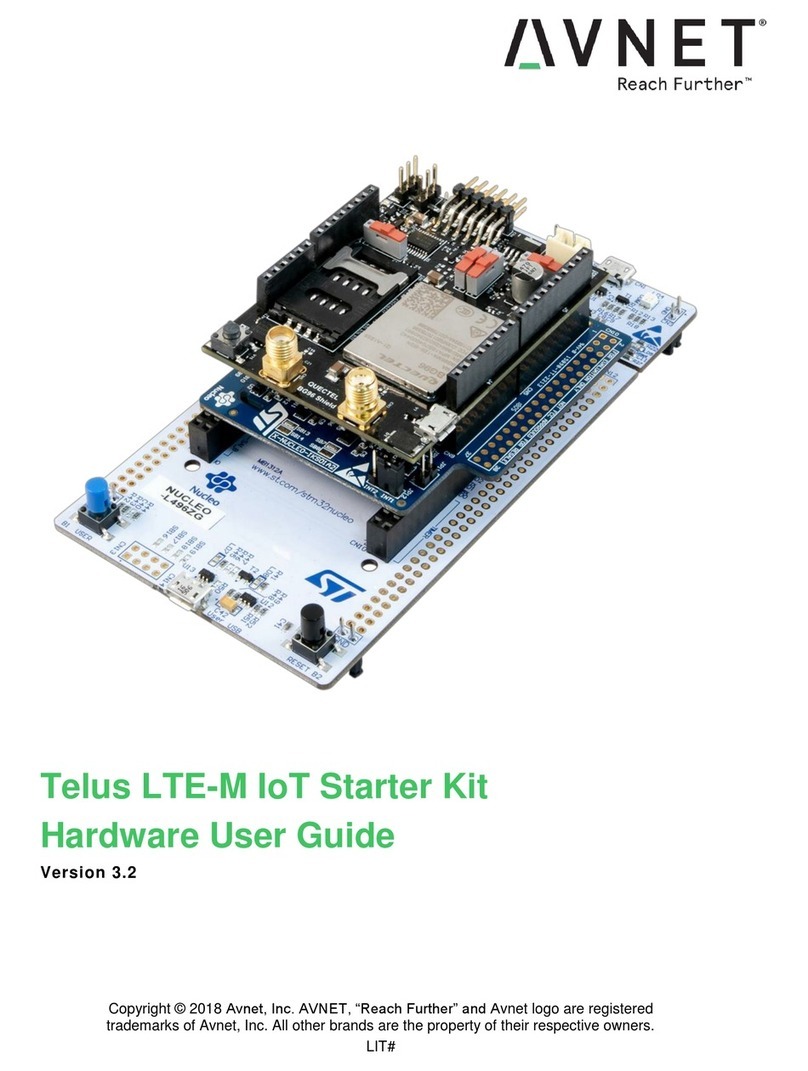
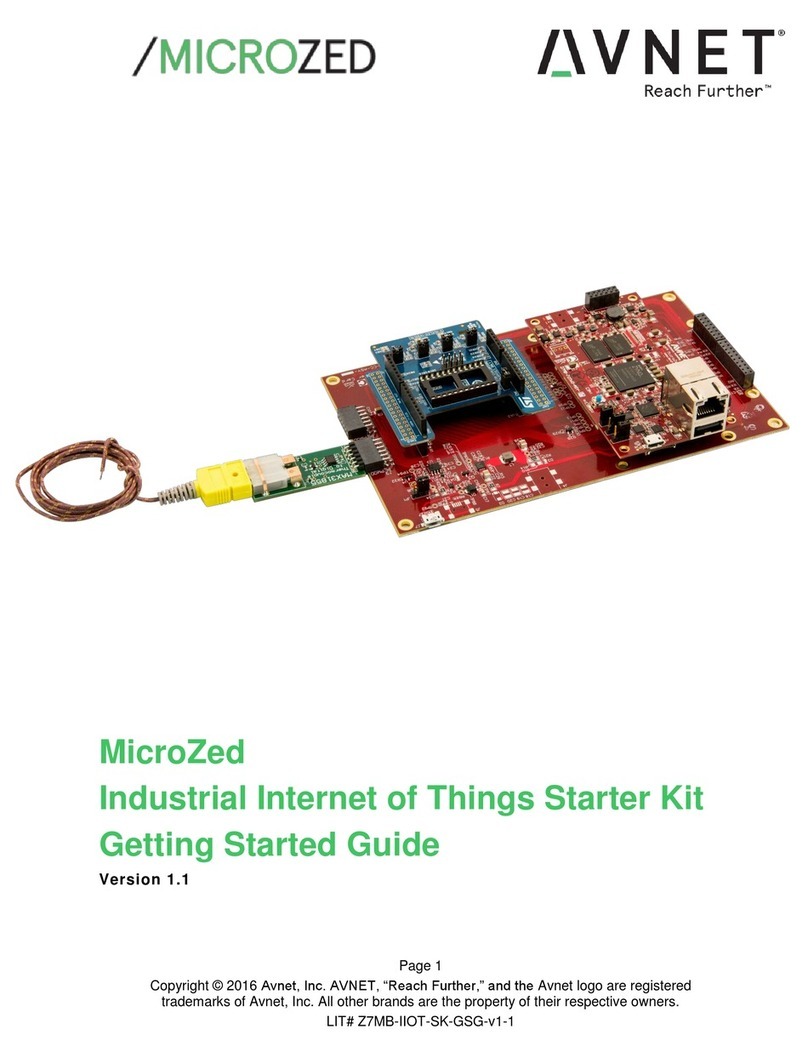
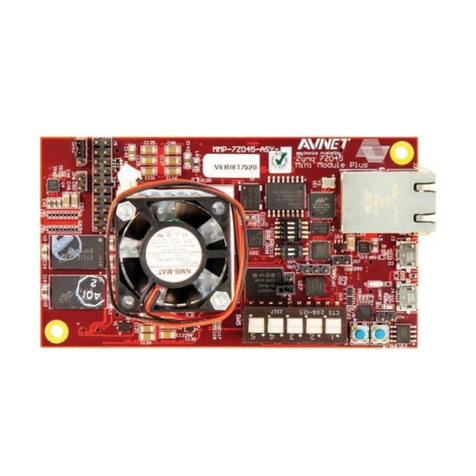
Avnet AT&T IoT Starter Kit User manual

© 2018 Avnet. All rights reserved. All trademarks and registered trademarks are the property of their respective owners. All specifications are subject to change without notice.
NOTICE OF DISCLAIMER: Avnet is providing this design, code, or information "as is." By providing the design, code, or information as one possible implementation of this
feature, application, or standard, Avnet makes no representation that this implementation is free from any claims of infringement. You are responsible for obtaining any rights
you may require for your implementation. Avnet expressly disclaims any warranty whatsoever with respect to the adequacy of the implementation, including but not limited to
any warranties or representations that this implementation is free from claims of infringement and any implied warranties of merchantability or fitness for a particular purpose.
Page 1
AT&T IoT Starter Kit (LTE-M, STM32L4)
Getting Started Guide
Version 1.3
oSTM32L4 Discovery Kit IoT Node
oAvnet M14A2A WNC Cellular Shield
oAT&T Flow Designer

Page 2
Document Control
Document Version: 1.3
Document Date: 06/11/2018
Document Author: Peter Fenn
Document Classification: Public
Document Distribution: Public
Prior Version History
Version
Date
Comment
Draft 0.1
12/22/2017
Initial Draft
Draft 0.2
01/15/2018
Added:
- Support forums
- Keil download and licensing instructions
- Missing diagrams
Draft 0.3
01/17/2018
Typo corrections
1.0
02/22/2018
First release
- Updated Kit name and Avnet shield name
- Updated and added missing figures
1.1
03/07/2018
Formatted to Avnet document template
1.2
03/14/2018
Keil MDK installation and licensing section updated
1.3
06/11/2018
- References to starterkit.att.com now corrected to
marketplace.att.com/quickstart
- Procedure added for configuring the cloned AT&T Flow project
- Installation of STM32L475VGT device to Keil tools added
- Renumbered all procedure steps for easier reference
- Appendix B SIM Management section added

Page 3
Contents
Introduction .................................................................................................................5
Starter Kit Contents.....................................................................................................5
STMicroelectronics STM32L4 Discovery Kit IoT Node................................................7
Avnet M14A2A LTE Cellular Shield.............................................................................8
WNC Module Firmware...............................................................................................9
ARM Keil IDE ..............................................................................................................9
Keil Software Download..............................................................................................9
Install Keil License.....................................................................................................10
Use Pack Installer to Add STM32L475VGT to the Keil Tools....................................12
Create Online Accounts ............................................................................................13
Register Cloudconnectkits.org Account (Avnet)........................................................13
Register an AT&T Account and Activate the AT&T SIM............................................13
Clone the AT&T Flow Designer Project.....................................................................13
Register a PubNub Account......................................................................................18
Create a PubNub Application....................................................................................19
Connect AT&T Flow to PubNub ................................................................................21
Register a Freeboard.io Account...............................................................................22
Link Freeboard.io to PubNub ....................................................................................22
Assemble the AT&T IoT Kit Hardware.......................................................................23
Download and Configure the Example Application ...................................................24
Verify the Dashboard Visualization............................................................................28
Appendix A –WNC Module Firmware Update..........................................................29
Appendix B –SIM Management................................................................................31

Page 4
Figures
Figure 1 - AT&T IoT Starter Kit (LTE-M, STM32L4) Data Flow....................................................................5
Figure 2 - AT&T IoT Starter Kit (LTE-M, STM32L4) Contents......................................................................6
Figure 3 - STM32L4 Discovery Kit IoT Node ................................................................................................7
Figure 4 - Avnet WNC M14A2A Cellular Shield............................................................................................8
Figure 5 - The AT&T IOT Starter Kit Two Board Assembly..........................................................................8
Figure 6 - Block Diagram of Assembled System ..........................................................................................9
Figure 7 - Screenshot of KEIL Software Download Page...........................................................................10
Figure 8 - Key Steps In the License Management Dialog ..........................................................................11
Figure 9 - Keil PSN Label On The Quick Start Card...................................................................................11
Figure 10 –How To Launch Flow From AT&T Menu .................................................................................14
Figure 11 - Accessing AT&T Flow Community Projects.............................................................................14
Figure 12 - Search for Avnet STM32L4 IoT Kit Project ..............................................................................15
Figure 13 - Forking the Avnet STM32L4 IoT Kit Project.............................................................................15
Figure 14 - Deploying the Project ...............................................................................................................16
Figure 15 - Project Deployment in Progress...............................................................................................16
Figure 16 - Steps to Update the Host Name and URL ...............................................................................17
Figure 17 - Pubnub Landing Page..............................................................................................................18
Figure 18 - Accessing the Pubnub Registration Page................................................................................18
Figure 19 - The Pubnub Registration Form ................................................................................................18
Figure 20 - Create a New Pubnub App.......................................................................................................19
Figure 21 - Name the Pubnub App .............................................................................................................19
Figure 22 - Opening the Pubnub App .........................................................................................................19
Figure 23 - The Pubnub App Keys..............................................................................................................20
Figure 24 - Pubnub related nodes in AT&T Flow........................................................................................21
Figure 25 - Adding the Pubnub Keys to Flow .............................................................................................21
Figure 26 - A Fully Assembled Kit...............................................................................................................23
Figure 27 - Locating the Reference Design Project Files ...........................................................................24
Figure 28 - Customizing the Device ID and End Point Address in main.c..................................................24
Figure 29 - Accessing Flow Endpoint Information ......................................................................................25
Figure 30 - Opening the FlowStreamClient.h Header File..........................................................................25
Figure 31 - Saving Files in Keil ...................................................................................................................26
Figure 32 - Build the Keil Project ................................................................................................................26
Figure 33 - Keil Build Output After a Successful Project Build ...................................................................26
Figure 34 - Flash the MCU on the STM32L4 Discovery Kit IoT Node........................................................27
Figure 35 - Keil Output Showing Successful Flashing of MCU...................................................................27
Figure 36 - Dashboard Showing Data Published to the Cloud from IoT Starter Kit....................................28
Figure 37 - WNC M14A2A Module Firmware Query –LTE Cat-1 Firmware..............................................29
Figure 38 - WNC M14A2A Module Firmware Query –LTE-M (Cat-M1) Firmware ....................................30

Page 5
Introduction
This guide provides an overview of the AT&T IoT Starter Kit (LTE-M, STM32L4) hardware and software
and includes the key steps to quickly begin using this kit.
The IoT Starter Kit consists of a hardware platform comprised of a STMicroelectronics STM32L4
Discovery Kit IoT Node board plus an Avnet Arduino-compatible WNC M14A2A Cellular modem shield,
stacked onto it. The modem sends/receives data via cellular data link back to the AT&T M2X/Flow website.
The example software provided lets you take measurements using a variety of sensors on the STM32L4
Discovery IoT board and send these values to a Freeboard.io dashboard via PubNub and the AT&T FLOW
server.
The Firmware is developed and compiled using the ARM Keil MDK tools.
Once installed on the STM32L4 microcontroller, the application software uses several interfaces such as
I2C, GPIO, and UART to communicate with the various sensors on the IoT board and the cellular modem.
Periodically, data is read from the sensors, formatted and sent to the cloud via the cellular modem.
Commands, in the form of JSON strings, can be sent back to the IoT Starter Kit from the cloud and instruct
the device to control on-board components (such as the user LED for example).
System data flow is shown below.
FIGURE 1-AT&T IOTSTARTER KIT (LTE-M, STM32L4) DATA FLOW
Starter Kit Contents
The kit contains all the elements needed to implement a complete wireless IoT solution. It includes all the
components shown and described on the next page…

Page 6
FIGURE 2-AT&T IOTSTARTER KIT (LTE-M, STM32L4) CONTENTS
STMicroelectronics STM32L4 Discovery Kit IoT Node
Avnet WNC M14A2A Cellular Shield
AT&T Starter SIM
1 LTE Blade Antenna
2 micro USB cables
5V DC power adapter to power Avnet WNC M14A2A Cellular Shield
Quick Start Card
Downloadable example designs and tutorials available at:
http://cloudconnectkits.org/product/att-stm32-iot-starter-kit
Forum support available via the following sites:
Avnet WNC M14A2A Cellular Shield, Reference Design and AT&T related questions:
http://cloudconnectkits.org/forum
STM32L475 board, ST-LINK, STM32 software libraries, etc:
https://community.st.com/community/stm32-community
Keil MDK tool questions:
http://www.keil.com/forum

Page 7
STMicroelectronics STM32L4 Discovery Kit IoT Node
The STM32L4 Discovery Kit IoT Node is the host development and operational platform. It features:
An STM32L475VG microcontroller (80 MHz, 1MB Flash, 128kB SRAM)
64-Mbit Quad-SPI Flash memory
Bluetooth®V4.1 module
Sub-GHz low-power-programmable RF module
Wi-Fi®module Inventek ISM43362-M3G-L44 (802.11 b/g/n compliant)
Dynamic NFC tag
2 digital omnidirectional microphones (MP34DT01)
Capacitive digital sensor for relative humidity and temperature (HTS221)
High-performance 3-axis magnetometer (LIS3MDL)
3D accelerometer and 3D gyroscope (LSM6DSL)
260-1260 hPa absolute digital output barometer (LPS22HB)
Time-of-Flight and gesture-detection sensor (VL53L0X)
2 push-buttons (user and reset)
USB OTG FS with Micro-AB connector
On-board ST-LINK/V2-1 debugger/programmer
More information on the STM32 series of microcontrollers from STMicroelectronics can be found at:
https://www.st.com/stm32
FIGURE 3-STM32L4 DISCOVERY KIT IOTNODE

Page 8
Avnet M14A2A LTE Cellular Shield
The Avnet-designed Arduino Shield is based on a Wistron NeWeb Corporation (WNC) M14A2A cellular
module. This module contains all necessary protocol stack functionality needed to establish and maintain
a data connection in an LTE-M network. The WNC cellular module is controlled/managed via AT commands
exchanged using a serial port connection to the STM32L4 Discovery Kit IoT Node. This is referred by WNC
as a Type III interface to allow support for the 3GPP defined AT commands plus proprietary AT commands.
FIGURE 4-AVNET WNC M14A2A CELLULAR SHIELD
FIGURE 5-THE AT&T IOT STARTER KIT TWO BOARD ASSEMBLY

Page 9
The system-level block diagram for this version of AT&T IoT Starter Kit is shown below:
FIGURE 6-BLOCK DIAGRAM OF ASSEMBLED SYSTEM
WNC Module Firmware
The WNC M14A2A module has been factory programmed with IMA3 firmware for LTE Cat-M1 operation.
If there is a need to check this firmware version or reprogram the module, please refer to Appendix-A
at the end of this document
ARM Keil IDE
The firmware for the STM32L4 Discovery Kit IoT Node is developed, compiled and debugged using
Arm® Keil MDK, a full-featured IDE with advanced debugging capabilities and CMSIS library support for
thousands of Arm® Cortex-M devices. More detail about this professional IDE is available at:
http://www2.keil.com/mdk5
Keil Software Download
Download the Keil tools as follows:
1. Go to: https://www.keil.com/demo/eval/arm.htm
2. Provide the information requested in the form there and click Submit
3. Follow the instructions on the page which follows that, to download and install the Keil tools…

Page 10
FIGURE 7-SCREENSHOT OF KEIL SOFTWARE DOWNLOAD PAGE
Install Keil License
After installing the Keil tools, a license needs to be installed. This IoT Starter kit includes a Product Serial
Number (PSN) for a 90-day license for the Keil tools.
The key steps in this licensing procedure are summarized below:
1. Right-click on the Keil uVision5 desktop icon and select Run as Administrator
2. Navigate to Menu / File / License Management…
3. Select the Single-Use License tab in the dialog window that appears,
4. Click the Get LIC via Internet button…, then click the button OK to register the product.
This action opens the License Management page on the Keil web site.

Page 11
FIGURE 8-KEY STEPS IN THE LICENSE MANAGEMENT DIALOG
5. Locate the PSN label on the “IoT Starter Kit Quick Start Card” that was included inside the
shipping box (this has your unique PSN number authorizing use of the Keil tools for 90-days)
FIGURE 9-KEIL PSN LABEL ON THE QUICK START CARD
6. Enter this 15 character PSN where prompted, together with your contact info and click the
Submit button. An e-mail is sent back with the License ID Code (LIC) within a few minutes.

Page 12
7. Returning to the License Management dialog box, locate the field labeled New License ID
Code (LIC) and now enter the LIC number received via email, then click Add LIC.
Now that a valid license has been installed for the Keil tools, you are ready to start developing your
application software for the STM32L4 Discovery Kit IoT Node…
If additional detail is required on the license installation procedure, please refer to the Keil website:
http://www.keil.com/support/man/docs/license/license_sul_install.htm
Use Pack Installer to Add STM32L475VGT to the Keil Tools
8. Launch the Keil IDE, then open the Pack Installer (from the menu icon, or Project > Manage)
9. Support for the STM32L475VGT device needs to be installed.
Download the applicable STM32L4 Device Family Pack from:
http://www.keil.com/dd2/stmicroelectronics/stm32l475vgtx/eula-container
10. Once this has completed, select File > Import to import the downloaded DFP file
(Keil.STM32L4xx_DFP.2.0.0.pack)
11. In the Device Installer, select the Devices tab, then enter STM32L475VGT in the search box
12. Click on the relevant Unpack buttons in the right-hand panel and then exit the Device Installer
once this has completed

Page 13
Create Online Accounts
To implement the out-of-box example, the following is required:
a) Accounts need to be set-up on four websites
b) An AT&T SIM card needs to be activated
This is tabled below and step-by-step details provided in the paragraphs that follow:
Account Name / Website URL
Purpose
http://cloudconnectkits.org
Avnet support forums, project files and documentation
https://marketplace.att.com/quickstart
AT&T account registration, SIM activation, Flow, etc access
https://www.pubnub.com
Real-time data streaming service from AT&T to dashboard
https://freeboard.io
Browser-based dashboard visualization of measurement data
Register Cloudconnectkits.org Account (Avnet)
13. Navigate to http://cloudconnectkits.org
14. Press the Sign In/Register button. A drop-down appears from which you can create an account.
15. When asked for Serial Kit Number, use the WNC Serial Number (S/N) as shown below.
16. Once registered, you are logged in and a confirmation email is sent to your email address.
17. Select the AT&T IoT Starter Kit (LTE-M, STM32L4) webpage for access to this kit’s design
documentation, bill of materials, reference designs and other information.
http://cloudconnectkits.org/product/att-stm32-iot-starter-kit
Register an AT&T Account and Activate the AT&T SIM
18. Navigate to https://marketplace.att.com/quickstart
19. Click-on Login then Signup (top right corner of webpage)
20. Complete the AT&T IoT Platform Account Signup form then click the Create Account button
21. Once logged-into your new account, select Management > Register SIMs from the menu at the
top of the webpage
22. Type-in the SIM Card’s ICCID (20 digit number printed on the SIM card) into the form and provide
a descriptive nickname for this SIM
23. Click the Register SIMs button
(150 MB data and 150 SMS messages has now been allocated to the Starter SIM account)
Clone the AT&T Flow Designer Project
Before proceeding with setup of a PubNub account, it is recommended to complete the initial setup of the
AT&T Flow project that will be needed for the reference design.
Flow is a GUI-based IoT development tool based on NodeJS. It allows for data input and output along
with user defined rules (for additional information on Flow, see https://flow.att.com/start )
Flow can be located via drop-down menu from your AT&T IoT Platform account,
or accessed directly using https://flow.att.io

Page 14
FIGURE 10 –HOW TO LAUNCH FLOW FROM AT&T MENU
An existing Flow project will now be cloned and unique endpoint addresses and account keys added:
24. Navigate to https://flow.att.io/ and login using your AT&T account credentials
25. From lower left side of the Flow IDE, click Resources > Community Projects
FIGURE 11 -ACCESSING AT&T FLOW COMMUNITY PROJECTS
26. In the main pane under Search Projects, enter Avnet STM32
27. Select Avnet STM32L4 IoT Kit NoM2X

Page 15
FIGURE 12 -SEARCH FOR AVNET STM32L4 IOTKIT PROJECT
28. Click the blue Fork button in the top right to create a copy of the project for your exclusive use.
29. Name your copy of this project (eg. Avnet STM32L4 Kit Test) then click the Fork button inside the
dialog box
FIGURE 13 -FORKING THE AVNET STM32L4 IOTKIT PROJECT
30. Once the project is copied, click the blue Deploy button in top right hand corner of the Flow GUI

Page 16
FIGURE 14 -DEPLOYING THE PROJECT
31. This causes the project to be compiled and deployed/activated. This step will take a while the first
time it is deployed but subsequent deployments are much quicker.
FIGURE 15 -PROJECT DEPLOYMENT IN PROGRESS
32. Once the “Deploy” step has completed, locate the unique Base URL address that has been
allocated, - this is visible in the “Endpoints” panel (at bottom of the page).
Copy this Base URL via the Windows clipboard to a Windows Notebook window

Page 17
33. Double click the Configuration function node of the cloned Flow design and then edit the
following parameters using the copied base URL (pay attention to the format of these):
base_hostname
base_uri
FIGURE 16 -STEPS TO UPDATE THE HOST NAME AND URL
34. Once sure the edits are correct, click on Done and then click on Deploy again

Page 18
Register a PubNub Account
Next, a free PubNub account is created to allow Flow to be connected to a dashboard on freeboard.io.
35. Open a new browser tab or window, do not close the Flow window/tab as we will be using it in an
upcoming step.
36. In the new tab/window, navigate to https://www.pubnub.com/ and click on Login
(located in top right area of the web page)
FIGURE 17 -PUBNUB LANDING PAGE
37. Click on No Account? Register now! (- located in top right area of the web page)
FIGURE 18 -ACCESSING THE PUBNUB REGISTRATION PAGE
38. Provide the necessary information and click Register
FIGURE 19 -THE PUBNUB REGISTRATION FORM

Page 19
Create a PubNub Application
Next, we create a new PubNub application and connect it to AT&T Flow:
39. Click Create New App button in the top right of the web page
FIGURE 20 -CREATE A NEW PUBNUB APP
40. Give the App a name, for example ATT_IoT_Starter_Kit
FIGURE 21 -NAME THE PUBNUB APP
41. Click on the app tile to open the app
FIGURE 22 -OPENING THE PUBNUB APP

Page 20
42. Click on the Demo Keyset tile to open the keys
FIGURE 23 -THE PUBNUB APP KEYS
43. Rename Demo Keyset to something more meaningful such as STM32L4_DK_IoT
44. Copy the Publish and Subscribe Keys (to a text file) –we will need to add these keys to the Flow
project to allow it to publish data to this PubNub app.
Table of contents
Other Avnet Microcontroller manuals
Popular Microcontroller manuals by other brands

sparkfun
sparkfun Qwiic Pro Micro USB-C HOOK-UP GUIDE

Lattice
Lattice LatticeMico8 user guide

Nuvoton
Nuvoton NuMicro M032 Series user manual

STMicroelectronics
STMicroelectronics ST72361 Auto Series manual

NXP Semiconductors
NXP Semiconductors NTAG I2C plus Integration manual

Fujitsu
Fujitsu MB95210H Series Application note