2WARRANTY
YEAR
JS056WK
5.6” WIRELESS REVERSING SYSTEM
SPECIFICATIONS
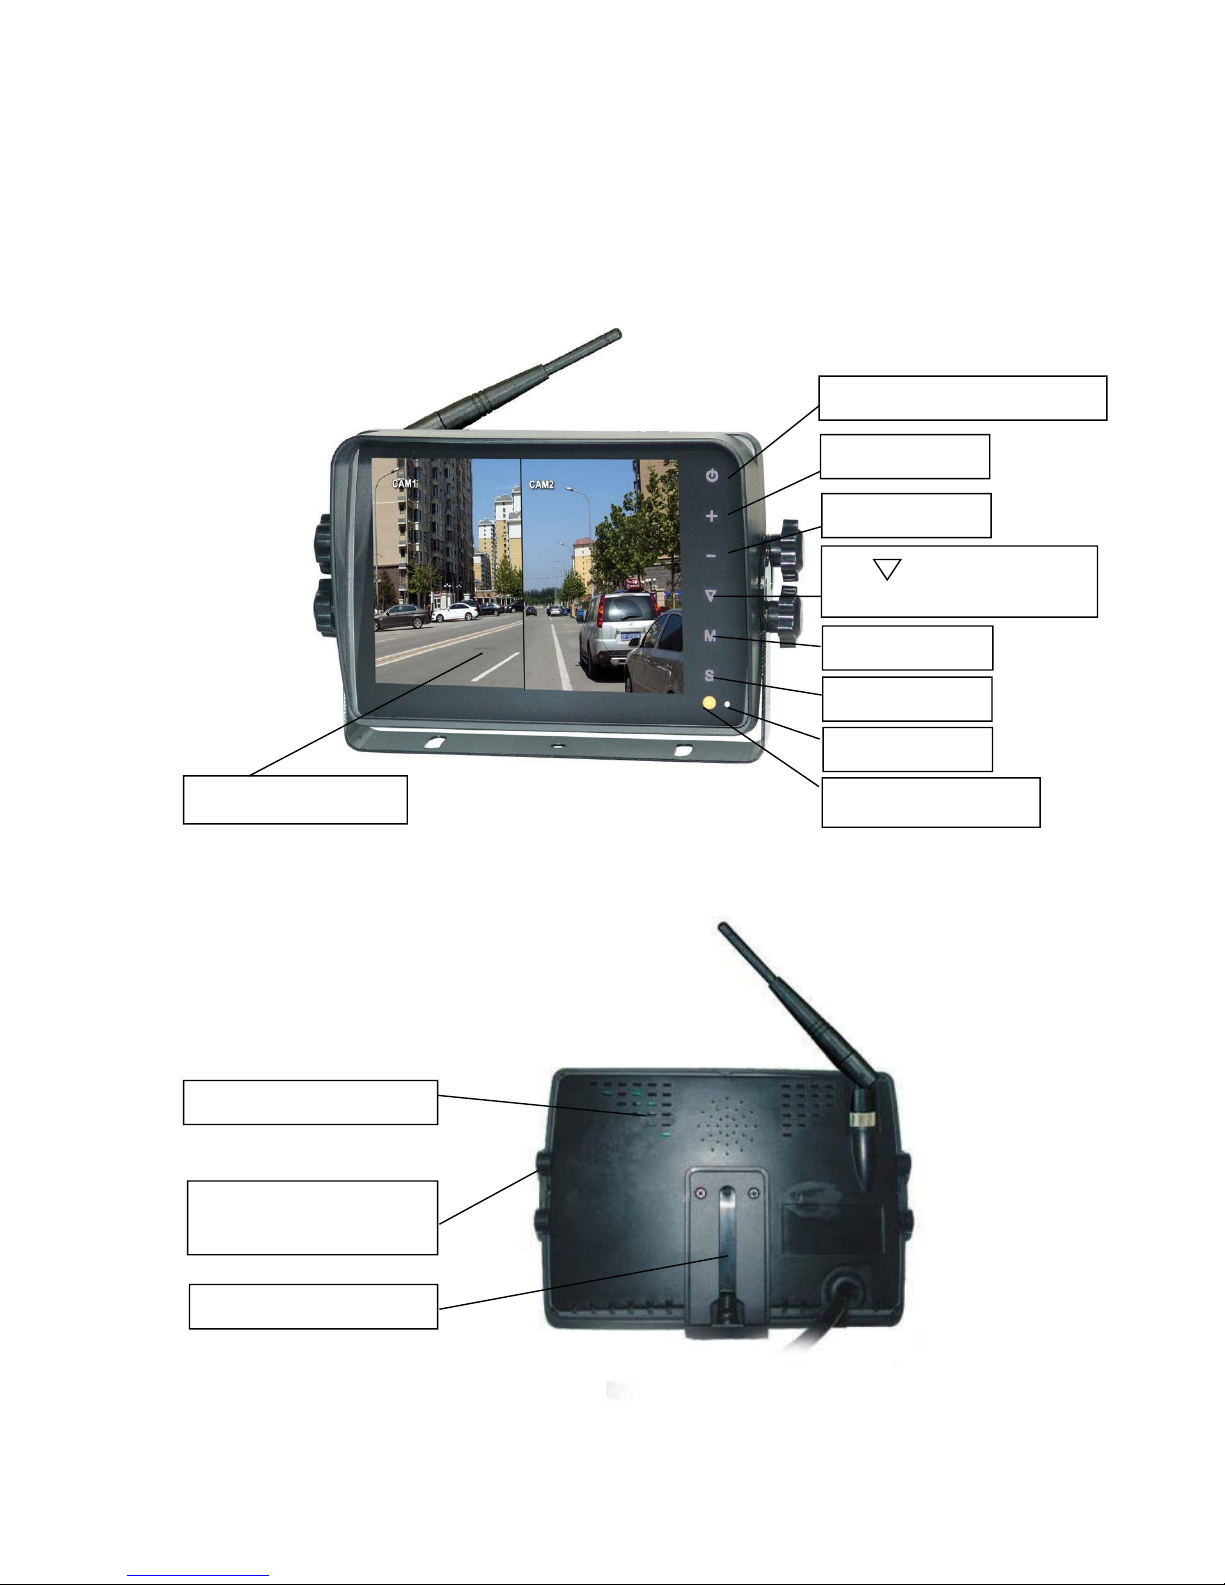
MONITOR
- LCD: 143mm (5.6”) Digital Colour
- Resolution: 640 x 480
- Aspect Ratio: 4:3
- Image Orientation: Normal/Mirror/Flip/Mirror-Flip
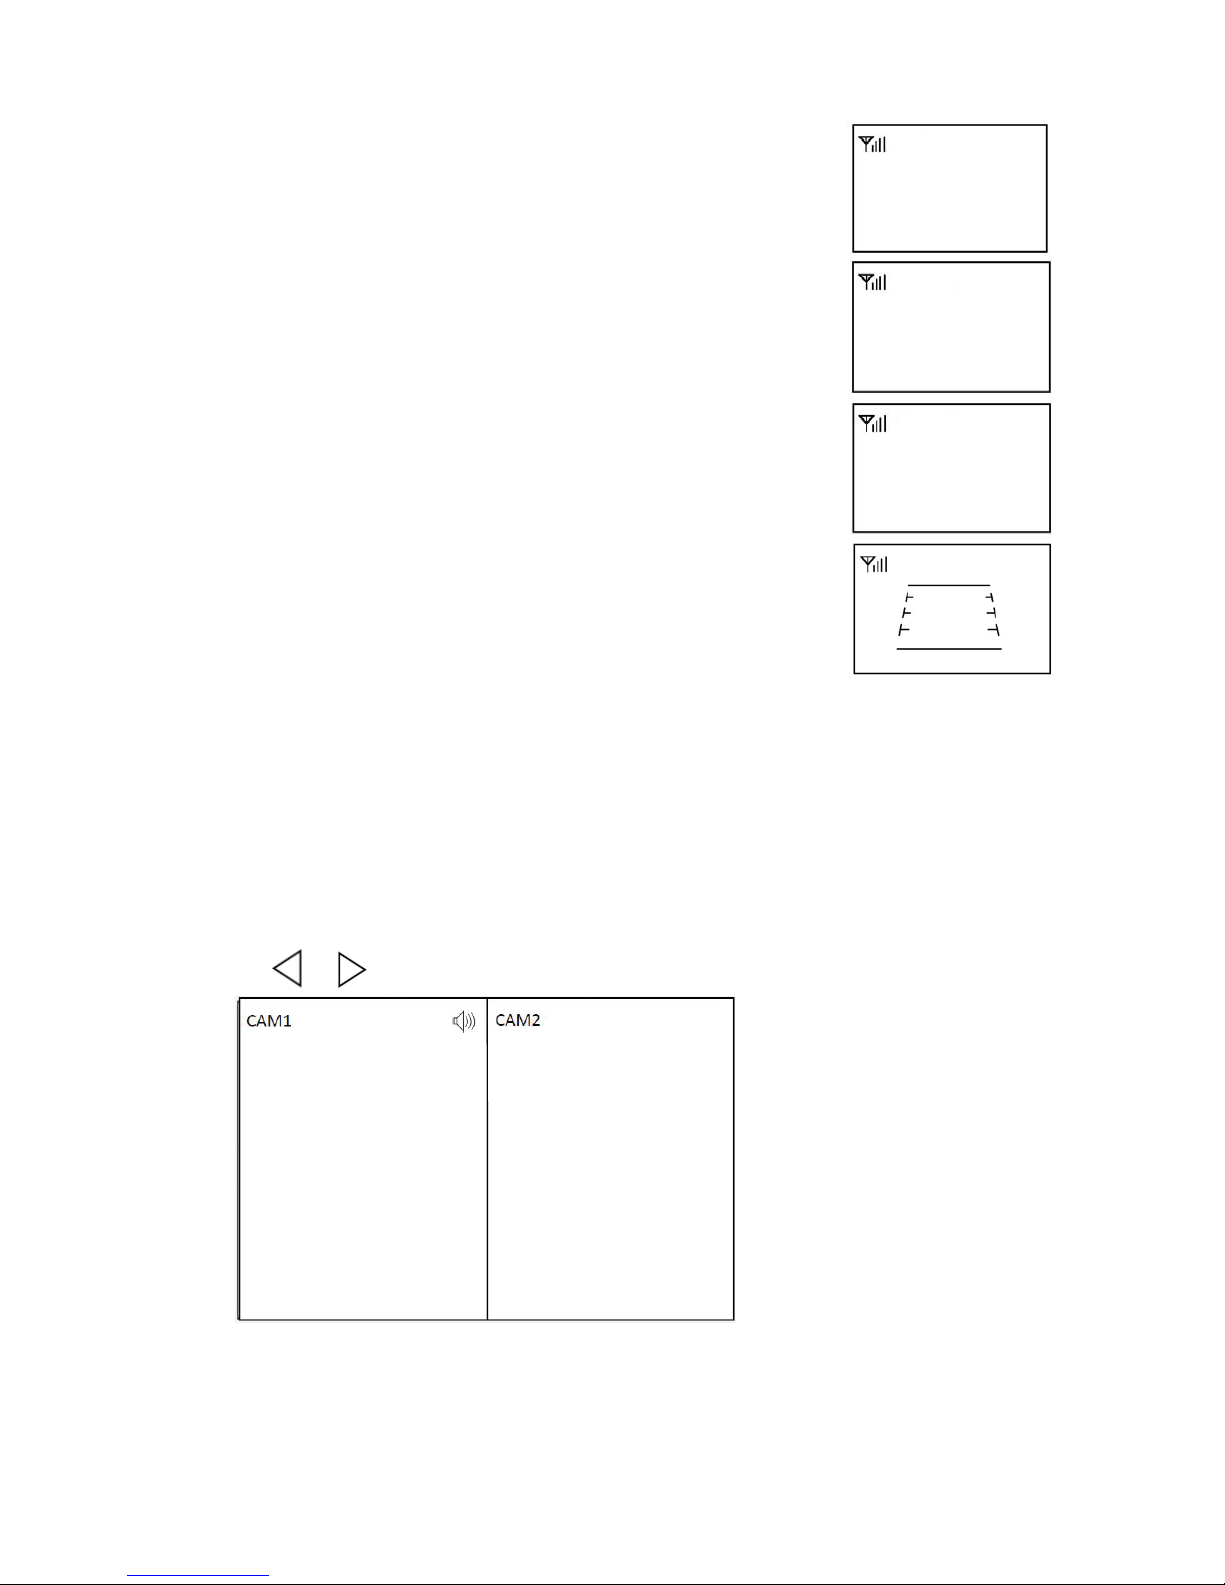
- Display: Split/Single/Auto-Scan
- Inputs: 4 x Wireless
- Operating Freq: 2.4 ~ 2.4835 GHz
- Decomp Format: MPEG4
- Pairing to Camera/s: Auto when camera activated
- Time Delay: 120ms
- Transmitting Range: 120 Metres (approx)
- Signal System: PAL/NTSC Select
- Other: Touch Buttons/Auto Dim
- Loudspeaker: 1W/8 Ohm
- Operating Temp: -20~+60°C
- Power Consumption: 5W Max
- Power Supply: DC 10-32V
CAMERA
- Image Device: 1/3” PC3089 Sensor
- Viewing Angle: 120°
- Signal System: PAL
- Effective Pixels: 756 x 504
- Sensing Area: 4.80mm x 3.78mm
- Image Mode: Mirror/Normal Selectable
- Scanning System: 2:1 Interlace
- Sync System: Internal
- Horizontal Sync Frequency: 15.625 KHz
- Vertical Sync Frequency: 50 Hz
- Video Output: 1.0Vp-p, 75 Ohm
- S/N Radio: Better than 46.5dB
- White Balance: Auto
- Electronic Shutter: 1/50 (PAL) ~1/100,000 sec
- Operating Frequency: 2.4 ~ 2.4835 GHz
- Receiving Sensitivity: -89 dBm
- Line of Sight Range: 120 metres
- Compression Format: MPEG4
- Frame Rate: 25f/s
- Transmit Output Power: 17 dBm
- RF Bit Rate: 4Mbps
- Minimum Illumination: 0 Lux (12 IR LEDs)
- Night Vision Distance: 10m
- Audio: Yes
- Ingress Protection: IP69K
- Power Supply: DC 8-36V
- Optional Extra Camera: CC007W