manuals.online logo
Brands
  1. Home
  2. •
  3. Brands
  4. •
  5. Axxess
  6. •
  7. Automobile Electronic
  8. •
  9. Axxess GMOS-LAN-06 User manual

Axxess GMOS-LAN-06 User manual

CAUTION!
All accessories, switches, climate
controls panels, and especially air bag indicator
lights must be connected before cycling the
ignition. Also, do not remove the factory radio
with the key in the on position, or while the
vehicle is running.
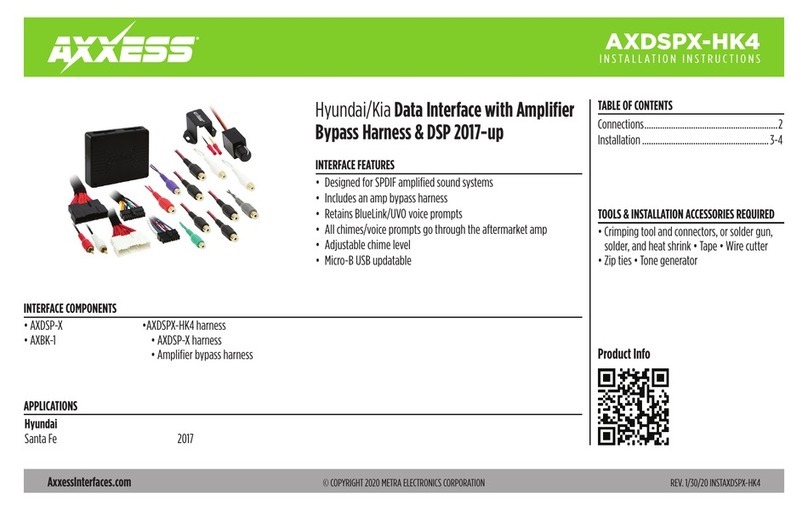
GMOS-LAN-06
INSTALLATION INSTRUCTIONS
AxxessInterfaces.com © COPYRIGHT 2018 METRA ELECTRONICS CORPORATION REV. 7/3/18 INSTGMOS-LAN-06
INTERFACE FEATURES
INTERFACE COMPONENTS
TOOLS REQUIRED
• Crimping tool and connectors, or solder gun,
solder, and heat shrink
• Tape • Wire cutter • Zip ties
TABLE OF CONTENTS
Connections to be made .......................................2
Installing the GMOS-LAN-06 .................................3
Programming the GMOS-LAN-06 .........................3
Adjusting the GMOS-LAN-06 .................................3
Troubleshooting .....................................................3
Saturn OnStar interface 2006-2007
APPLICATIONS
• Provides accessory power
(12-volt 10-amp)
•
Maintains the retained
accessory power (R.A.P.) feature
• Retains OnStar/OE Bluetooth
• Adjustable volume for OnStar
• Designed for non-amplified
models with OnStar
• Retains balance and fade
• Micro “B” USB updatable
SATURN
Ion 2006-2007
Vue 2006-2007
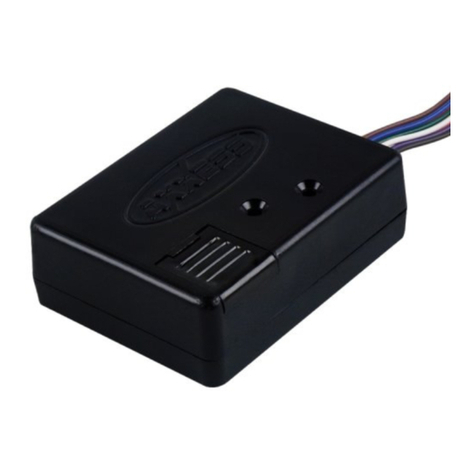
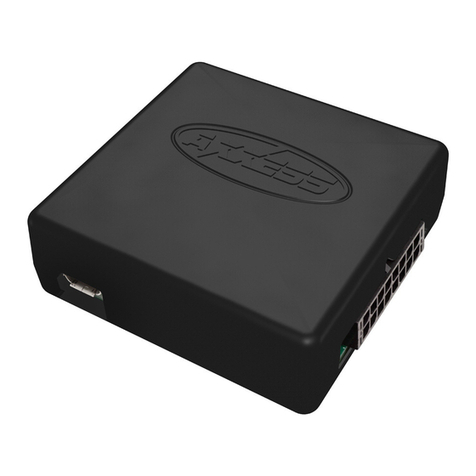
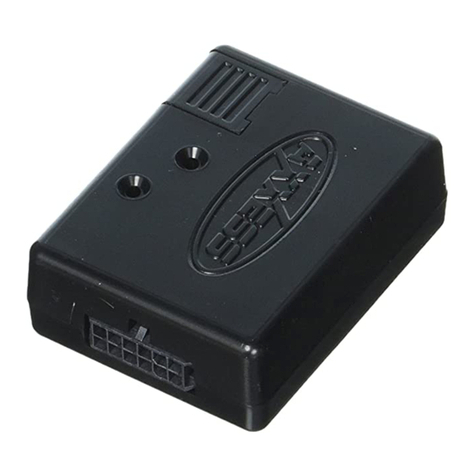
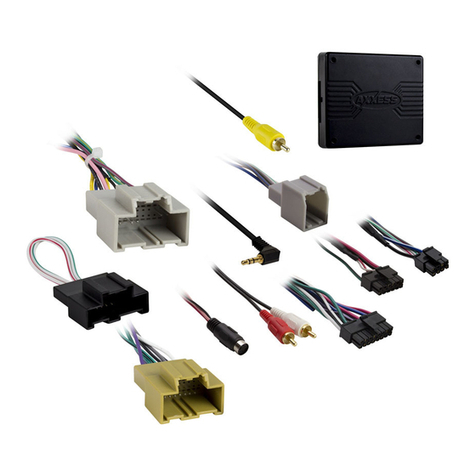
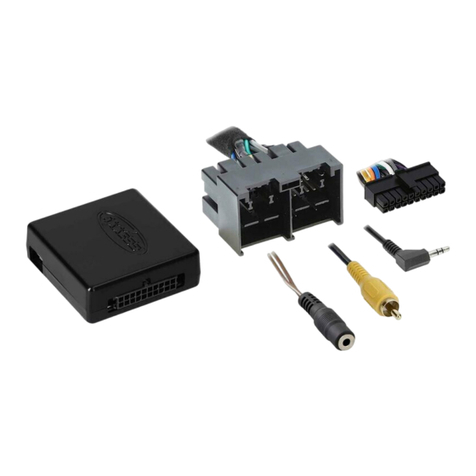
• GMOS-LAN-06 Interface
• GMOS-LAN-06 harness
• 16-pin harness with stripped lead
2
CONNECTIONS TO BE MADE
From the 16-pin harness with stripped leads to the aftermarket radio:
• Connect the Red wire to the accessory wire.
• Connect the White wire to the left front positive speaker wire.
• Connect the White/Black wire to the left front negative speaker wire.
• Connect the Gray wire to the right front positive speaker wire.
• Connect the Gray/Black wire to the right front negative speaker wire.
• Connect the Brown wire to the mute wire of the aftermarket radio. If the radio has no mute
wire, tape it off and disregard it.
• Tape off and disregard the following (9) wires, they will not be used in this application:
Blue/Pink, Blue/White, Green, Green/Black, Green/Purple, Light Green, Orange/White,
Purple, Purple/Black.
From the GMOS-LAN-06 harness to the aftermarket radio:
• Connect the Yellow wire to the 12 volt constant/battery wire.
• Connect the Black wire to the ground wire.
• Connect the Orange wire to the illumination wire. If no illumination wire is present, tape it
off and disregard it.
• Connect the Green wire to the left rear positive speaker wire.
• Connect the Green/Black wire to the left rear negative speaker wire.
• Connect the Purple wire to the right rear positive speaker wire.
• Connect the Purple/Black wire to the right rear negative speaker wire.
• Tape off and disregard the Orange/White wire, it will not be used this application.
• The Black/Yellow wire is for OnStar volume adjustment and will be discussed later in this
manual.
3
REV. 7/3/2018 INSTGMOS-LAN-06
With the key in the off position:
• Connect the 16-pin harness with stripped leads, and the GMOS-LAN-06 harness, into the
interface.
Attention! Do not connect the GMOS-LAN-06 harness to the wiring harness in the vehicle just yet.
For the steps below, the L.E.D. located inside the interface can only be seen while active. The
interface does not need to be opened to see the L.E.D.
1. Start the vehicle.
2. Connect the GMOS-LAN-06 harness to the wiring harness in the vehicle. The L.E.D. will initially be
Green to indicate the interface is powered.
3. After a few seconds the L.E.D. will turn on solid Red while the interface automatically programs
to the vehicle. The radio will shut off at this point. This process should take 5 to 30 seconds.
4. After the interface is programmed, the L.E.D. will turn on solid Green, and the radio will come
back on, indicating programming was successful.
5. Test all functions of the installation for proper operation, before reassembling the dash.
6. If the interface fails to function, refer to “Troubleshooting”.
Resetting the Axxess interface
1. The Blue reset button is located inside the Axxess interface, between the two connectors.
The button is accessible outside the Axxess interface, no need to open the Axxess interface.
2. Press and hold the reset button for two seconds, then let go to reset the Axxess interface.
3. Refer to “Programming the Axxess Interface” from this point.
OnStar level adjustment
• To adjust the OnStar volume level find the Black/Yellow wire on the 12-pin harness.
• Push the Blue OnStar button: while the voice is speaking tap the Black/Yellow wire to
ground.
• There are 4 volume settings for OnStar: Once the 4th setting is reached and the Black/
Yellow wire is tapped to ground, it will automatically go back to the first volume setting.
• Once the volume is set it will stay at that volume until the Black/Yellow wire is tapped to
ground again.
INSTALLING THE GMOS-LAN-06
PROGRAMMING THE GMOS-LAN-06
TROUBLESHOOTING
ADJUSTING THE GMOS-LAN-06
KNOWLEDGE IS POWER
Enhance your installation and fabrication skills by
enrolling in the most recognized and respected
mobile electronics school in our industry.
Log onto www.installerinstitute.com or call
800-354-6782 for more information and take steps
toward a better tomorrow.
®
Metra recommends MECP
certified technicians
IMPORTANT
If you are having difficulties with the installation of this product,
please call our Tech Support line at 1-800-253-TECH. Before doing
so, look over the instructions a second time, and make sure the
installation was performed exactly as the instructions are stated.
Please have the vehicle apart and ready to perform troubleshooting
steps before calling.
AxxessInterfaces.com © COPYRIGHT 2018 METRA ELECTRONICS CORPORATION REV. 7/3/18 INSTGMOS-LAN-06
INSTALLATION INSTRUCTIONS
GMOS-LAN-06

Other Axxess Automobile Electronic manuals
Axxess AX-LR904 User manual

Axxess

Axxess AX-LR904 User manual

Axxess ABTI-GM4 User manual

Axxess

Axxess ABTI-GM4 User manual

Axxess AX-LR90102 User manual

Axxess

Axxess AX-LR90102 User manual

Axxess AX-ADFD02 User manual

Axxess

Axxess AX-ADFD02 User manual

Axxess ASWC-TOY-LEX User manual

Axxess

Axxess ASWC-TOY-LEX User manual
Axxess AX-DSPX-HYKIA2 User manual

Axxess

Axxess AX-DSPX-HYKIA2 User manual

Axxess AX-ADXSVI Series User manual

Axxess

Axxess AX-ADXSVI Series User manual

Axxess AX-LR902 User manual

Axxess

Axxess AX-LR902 User manual

Axxess TRIGGER User manual

Axxess

Axxess TRIGGER User manual

Axxess AX-FT901 User manual

Axxess

Axxess AX-FT901 User manual

Axxess RFASWC User manual

Axxess

Axxess RFASWC User manual

Axxess AX-DSPX-HYKIA4 User manual

Axxess

Axxess AX-DSPX-HYKIA4 User manual

Axxess AX-LR903 User manual

Axxess

Axxess AX-LR903 User manual

Axxess ABTI-GM1 User manual

Axxess

Axxess ABTI-GM1 User manual

Axxess AX-DSP-HYKIA2 User manual

Axxess

Axxess AX-DSP-HYKIA2 User manual

Axxess AXDSPX-FD3 User manual

Axxess

Axxess AXDSPX-FD3 User manual

Axxess GMOS-MOST-02 User manual

Axxess

Axxess GMOS-MOST-02 User manual

Axxess AX-MLINK-HD User manual

Axxess

Axxess AX-MLINK-HD User manual

Axxess AX-JP901 User manual

Axxess

Axxess AX-JP901 User manual

Axxess AX-PO904 User manual

Axxess

Axxess AX-PO904 User manual

Axxess AX-ADDCAM User manual

Axxess

Axxess AX-ADDCAM User manual

Axxess AXDSPX-HK4 User manual

Axxess

Axxess AXDSPX-HK4 User manual

Axxess AXDIS-BW122 User manual

Axxess

Axxess AXDIS-BW122 User manual

Axxess Automobile Parts User manual

Axxess

Axxess Automobile Parts User manual

Popular Automobile Electronic manuals by other brands

Autostyle Parksafe PS440 Installation quick guide

Autostyle

Autostyle Parksafe PS440 Installation quick guide

Inelmatic XF800 Operation manual

Inelmatic

Inelmatic XF800 Operation manual

Firstech, LLC. FTI-FDK1 quick start guide

Firstech, LLC.

Firstech, LLC. FTI-FDK1 quick start guide

Autostart AS PRG-1000 user guide

Autostart

Autostart AS PRG-1000 user guide

Bimmer Tech E60 Installation instruction

Bimmer Tech

Bimmer Tech E60 Installation instruction

GU Electronic Hyundai Grandeur IG manual

GU Electronic

GU Electronic Hyundai Grandeur IG manual

Code 3 SuperVisor Installation & operation manual

Code 3

Code 3 SuperVisor Installation & operation manual

Peak PKC0RA installation manual

Peak

Peak PKC0RA installation manual

Dakota Digital LED Tail Lights LAT-NR140 installation instructions

Dakota Digital

Dakota Digital LED Tail Lights LAT-NR140 installation instructions

Kuda 255100 Installation instruction

Kuda

Kuda 255100 Installation instruction

Mercedes-Benz Car receiver installation instructions

Mercedes-Benz

Mercedes-Benz Car receiver installation instructions

Pyle PLCM4340 user manual

Pyle

Pyle PLCM4340 user manual

CARLO GAVAZZI SBPVBE user manual

CARLO GAVAZZI

CARLO GAVAZZI SBPVBE user manual

Blackspot Interactive Road Angel Plus user guide

Blackspot Interactive

Blackspot Interactive Road Angel Plus user guide

Connects2 CTSMT005.2 installation guide

Connects2

Connects2 CTSMT005.2 installation guide

Audiovox PRO-PDA15 installation guide

Audiovox

Audiovox PRO-PDA15 installation guide

Nonda ZUS user manual

Nonda

Nonda ZUS user manual

Adaptiv Mini installation guide

Adaptiv

Adaptiv Mini installation guide

manuals.online logo
manuals.online logoBrands
  • About & Mission
  • Contact us
  • Privacy Policy
  • Terms and Conditions

Copyright 2025 Manuals.Online. All Rights Reserved.