manuals.online logo
Brands
  1. Home
  2. •
  3. Brands
  4. •
  5. Axxess
  6. •
  7. Automobile Electronic
  8. •
  9. Axxess AXDSPL-HD1 User manual

Axxess AXDSPL-HD1 User manual

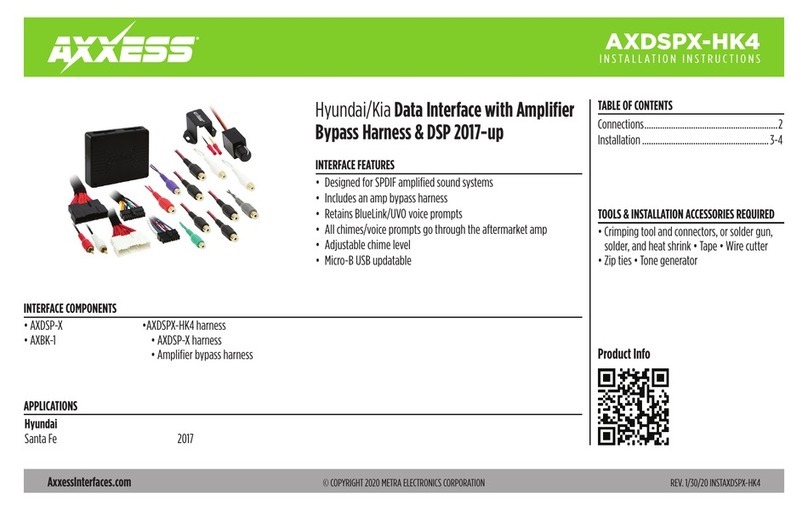
AXDSPL-HD1
INSTALLATION INSTRUCTIONS
AxxessInterfaces.com © COPYRIGHT 2020 METRA ELECTRONICS CORPORATION REV. 8/4/20 INSTAXDSPL-HD1
Google Play Store Apple App Store
iOS 12.1 or higher
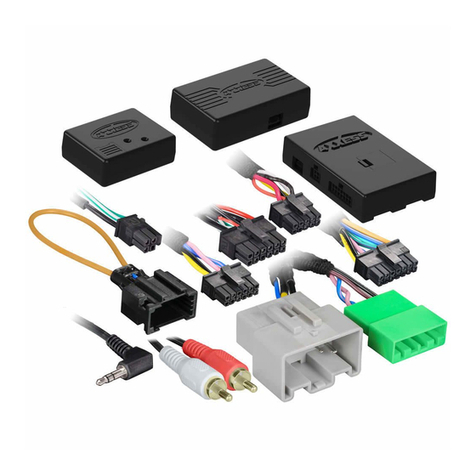
INTERFACE COMPONENTS
INTERFACE FEATURES
TOOLS & INSTALLATION ACCESSORIES REQUIRED
• Crimping tool and connectors, or solder gun,
solder, and heat shrink • Tape • Wire cutter
• Zip ties
TABLE OF CONTENTS
Connections ............................................................2
Installation ......................................................... 3-4
Harley Davidson DSP Package with Water
Resistant Enclosure 1998-2013
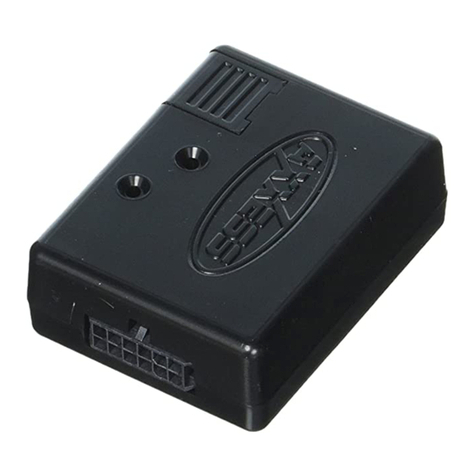
• AXDSP-L circuit board
• AXDSPL-HD1 harness (with gaskets)
• AXDSPL-HD1 enclosure
• Case
• Cap (with O-ring)
• AXDSP-L included
• Water resistant enclosure with zip tie mounts included
• Amplifier, if equipped, does not need to be retained
• All wiring will be done at the radio location
• Micro-B USB updatable
2
CONNECTIONS
An SPDT relay, Metra part number
E-123, must be used if the amp turn-on
current of all amps exceed 1-amp.
Loose Wires
Do Not Use
Additionable Outputs
For Optional Amps
Factory Radio
AXDSPL-HD1
Harness
Factory Harness
Cap (with O-ring)
Case
White / Front Left +
White/Black / Front Left -
Gray / Front Right +
Gray/Black Front Right -
Green / Rear Left +
Green/Black / Rear Left -
Purple / Rear Right +
Purple/Black / Rear Right -
AXDSP-L
Circuit Board
AXDSPL-HD1
Harness
Blue/White - Amp Turn-On
Red/White - Do Not Use
16-Pin 20-Pin
Gasket
Zip-tie Mounts
3
REV. 8/4/2019 INSTAXDSPL-HD1
I N S TAL L AT IO N
With the key in the off position:
1. Remove the fairing to access the back of the factory radio. Refer to MetraOnline,
part number 99-9600 for fairing disassembly instructions.
2. Install the AXDSPL-HD1 harness and make all necessary connections, but leave the amp
turn-on wire disconnected.
3. With the arrow stamped onto the cap facing upwards, push the 16-pin connector from
the AXDSPL-HD1 harness into the left side of the cap. The locking clip on the connector
should face upward. Make sure the gasket is seating properly in the cap. (Figure A)
4. Withthearrowstampedontothecapstillfacingupwards,pushthe20-pinconnector from the
AXDSPL-HD1 harness into the right side of the cap. The locking clip on the connector
should face upward. Make sure the gasket is seating properly in the cap. (Figure A)
5. Plug the 16-pin and 20-pin connectors from the AXDSPL-HD1 harness into the
AXDSP-L circuit board. (Figure A)
6. Slide the assembly into the case, then click it shut. Zip-tie the enclosure to a secure
location in the fairing to secure it. Make sure the Axxess logo is facing up to further
ensure that no outside elements can enter the enclosure.
Continued on the next page
Cap (with O-ring)
Case
AXDSP-L
Circuit Board
AXDSPL-HD1
Harness
16-Pin 20-Pin
Gasket
Zip-tie Mounts
(Figure A)
4
I N S TALL ATI O N (CONT’D)
7. Download and install the AX-DSP-XL app from the Google Play Store or Apple App Store.
8. Open the app and follow the instructions on the Bluetooth Connection tab to pair the
mobile device to the interface. (Figure B)
9. Scroll to the Configuration tab then select the vehicle type. Press the Lock Down button to
save the configuration. (Figure C)
10. Connect the amp turn-on wire from the AXDSPL-HD1 harness.
11. Click the Identify button to confirm that the interface is connected properly. If so, a chime
will be heard from the front left speaker. Test all functions of the installation for proper
operation.
12. Adjust the DSP settings in the app as desired. Refer to the instructions under the Setup
Instructions tab, or online at AxxessInterfaces for an explanation of each tab in the app. (Figure B)
(Figure C)
5
REV. 8/4/2019 INSTAXDSPL-HD1
6
7
REV. 8/4/2019 INSTAXDSPL-HD1
KNOWLEDGE IS POWER
Enhance your installation and fabrication skills by
enrolling in the most recognized and respected
mobile electronics school in our industry.
Log onto www.installerinstitute.com or call
800-354-6782 for more information and take steps
toward a better tomorrow.
®
Metra recommends MECP
certified technicians
AxxessInterfaces.com © COPYRIGHT 2020 METRA ELECTRONICS CORPORATION REV. 8/4/20 INSTAXDSPL-HD1
INSTALLATION INSTRUCTIONS
AXDSPL-HD1
Having difficulties? We’re here to help.
Contact our Tech Support line at:
386-257-1187
Or via email at:
techsupport@metra-autosound.com
Tech Support Hours (Eastern Standard Time)
Monday - Friday: 9:00 AM - 7:00 PM
Saturday: 10:00 AM - 7:00 PM
Sunday: 10:00 AM - 4:00 PM

Other Axxess Automobile Electronic manuals

Axxess AX-DSPX-HYKIA2 User manual

Axxess

Axxess AX-DSPX-HYKIA2 User manual

Axxess AX-LR903 User manual

Axxess

Axxess AX-LR903 User manual

Axxess AX-LR902 User manual

Axxess

Axxess AX-LR902 User manual

Axxess ASWC-TOY-LEX User manual

Axxess

Axxess ASWC-TOY-LEX User manual

Axxess AX-FT901 User manual

Axxess

Axxess AX-FT901 User manual
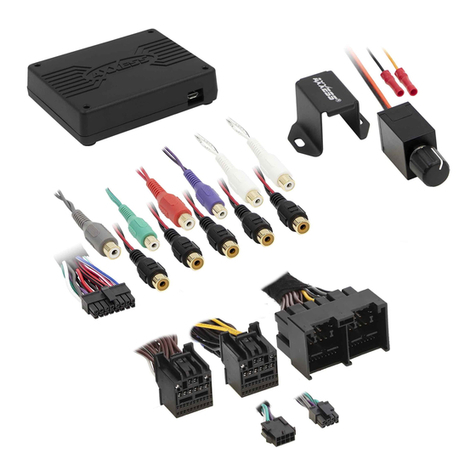
Axxess AXDSPX-FD3 User manual

Axxess

Axxess AXDSPX-FD3 User manual
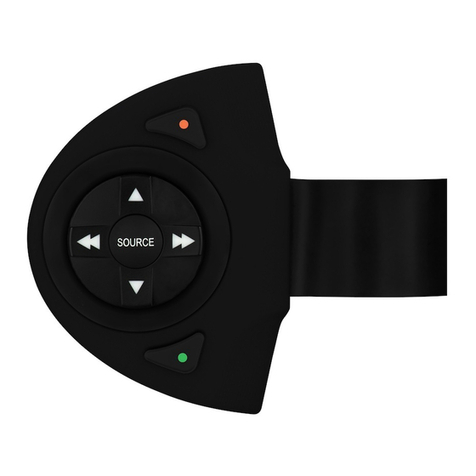
Axxess AXTC-FD3 User manual

Axxess

Axxess AXTC-FD3 User manual

Axxess AX-ADXSVI Series User manual

Axxess

Axxess AX-ADXSVI Series User manual

Axxess AX-JP901 User manual

Axxess

Axxess AX-JP901 User manual

Axxess TRIGGER User manual

Axxess

Axxess TRIGGER User manual

Axxess AX-MLINK-HD User manual

Axxess

Axxess AX-MLINK-HD User manual

Axxess AX-LR904 User manual

Axxess

Axxess AX-LR904 User manual

Axxess AX-DSP-HYKIA2 User manual

Axxess

Axxess AX-DSP-HYKIA2 User manual

Axxess AX-ADDCAM User manual

Axxess

Axxess AX-ADDCAM User manual

Axxess ABTI-GM4 User manual

Axxess

Axxess ABTI-GM4 User manual

Axxess Automobile Parts User manual

Axxess

Axxess Automobile Parts User manual

Axxess GMOS-LAN-06 User manual

Axxess

Axxess GMOS-LAN-06 User manual

Axxess RFASWC User manual

Axxess

Axxess RFASWC User manual
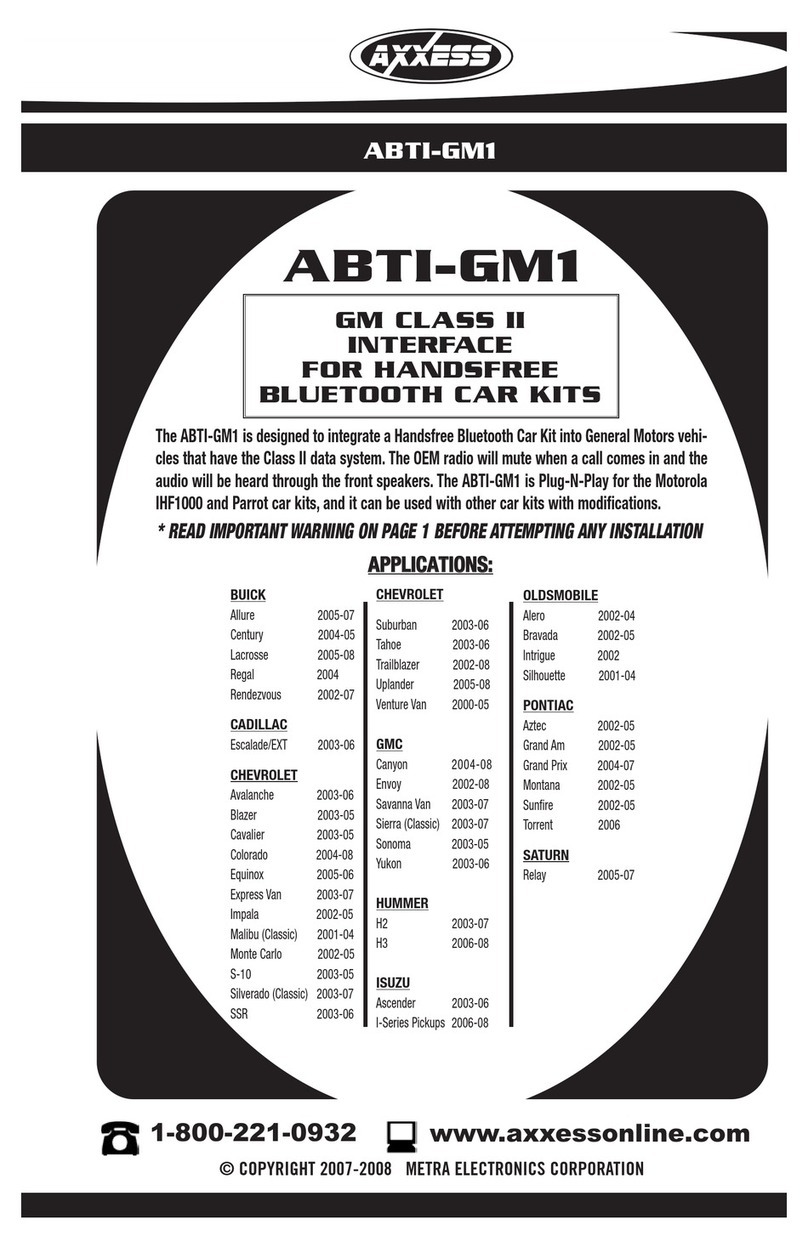
Axxess ASWC User manual

Axxess

Axxess ASWC User manual

Axxess AXDIS-BW122 User manual

Axxess

Axxess AXDIS-BW122 User manual

Axxess ABTI-GM1 User manual

Axxess

Axxess ABTI-GM1 User manual
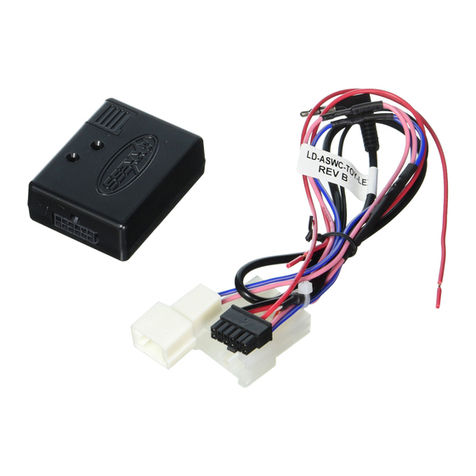
Axxess AX-ADFD02 User manual

Axxess

Axxess AX-ADFD02 User manual

Axxess AX-DSPX-HYKIA4 User manual

Axxess

Axxess AX-DSPX-HYKIA4 User manual

Axxess AX-LR90102 User manual

Axxess

Axxess AX-LR90102 User manual
Popular Automobile Electronic manuals by other brands

iBeam TE-CPSS product manual

iBeam

iBeam TE-CPSS product manual

INSIGHT Driver Information Center user guide

INSIGHT

INSIGHT Driver Information Center user guide

Spod BantamX Get to know

Spod

Spod BantamX Get to know

Stromberg-Carlson VCD-0043 installation instructions

Stromberg-Carlson

Stromberg-Carlson VCD-0043 installation instructions

NOVAK ROOSTER CRAWLER - ADDENDUM Product features

NOVAK

NOVAK ROOSTER CRAWLER - ADDENDUM Product features

Dodge 8W-47 Wiring diagram

Dodge

Dodge 8W-47 Wiring diagram

PYLE Audio PLCM4370WIR user manual

PYLE Audio

PYLE Audio PLCM4370WIR user manual

Alpine KCE-G7QI Installation

Alpine

Alpine KCE-G7QI Installation

Waeco MagicWatch MW650 Installation and operating manual

Waeco

Waeco MagicWatch MW650 Installation and operating manual

Saab 32 025 687 installation instructions

Saab

Saab 32 025 687 installation instructions

NavLinkz RL4-MIB101 manual

NavLinkz

NavLinkz RL4-MIB101 manual

Kuda 084410 Installation instruction

Kuda

Kuda 084410 Installation instruction

Boss Audio Systems ELITE BE920WCPA user manual

Boss Audio Systems

Boss Audio Systems ELITE BE920WCPA user manual

Crux Sightline RVCVW-73B quick start guide

Crux

Crux Sightline RVCVW-73B quick start guide

VDO VIEWLINE 85 MM - 6-10 installation instructions

VDO

VDO VIEWLINE 85 MM - 6-10 installation instructions

VDO TRIM GAUGE installation instructions

VDO

VDO TRIM GAUGE installation instructions

Ranger DST-1000 Installation and operation manual

Ranger

Ranger DST-1000 Installation and operation manual

Urive A5 user manual

Urive

Urive A5 user manual

manuals.online logo
manuals.online logoBrands
  • About & Mission
  • Contact us
  • Privacy Policy
  • Terms and Conditions

Copyright 2025 Manuals.Online. All Rights Reserved.