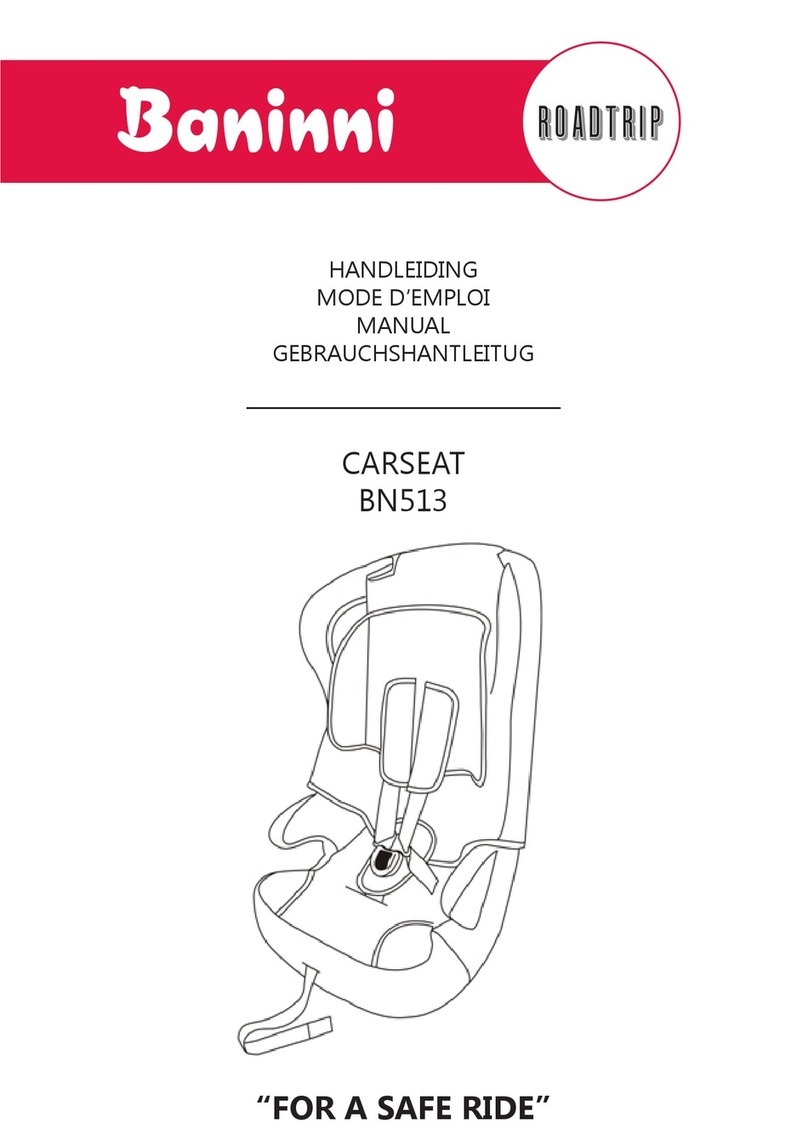
Baninni VENTURA BNCS008 User manual

HANDLEIDING
MODE D’EMPLOI
MANUAL
GEBRAUCHSHANTLEITUG
“FOR A SAFE RIDE”
CARSEAT
BNCS008
VENTURA
ROADTRIP

HANDLEIDING
NL CARSEAT BNCS008
VENTURA
MONTAGE RICHTLIJNEN
Groep 1+2+3
Geschikt voor 9kg tot 36kg
(ong. 9mnd tot 11j)
1. Dit is een “universele” kinderautostoel, goedgekeurd volgens het voorschrift
ECE 44.04 voor algemeen gebruik in voertuigen en de autostoel past op de
meeste, maar niet op alle, autozetels.
2.Deze autostoel werd “universeel” verklaard onder strengere voorwaarden
dan de voorwaarden die van toepassing waren voor eerdere modellen zonder
deze mededeling.
3.Contacteer, bij twijfel, de verdeler van de autostoel.
Enkel geschikt als het voertuig is uitgerust met een driepuntsgordel met
goedkeuring volgens voorschrift UN/ECE Nr.16 of andere gelijkwaardige
normen.
OPGELET: Niet gebruiken als de passagierszetel is uitgerust met airbags (SRS)

Beste ouders,
Wij willen alleen het beste voor uw kind!
U heeft gekozen voor hoogwaardig kwaliteit product van
Baninni . Opvoeding van een kind is één van de meest
vervullende taken in het leven en een enorme verantwoor-
delijkheid. Het is goed om te weten dat u gesteund wordt
door een deskundige partner die zorgt voor de veiligheid
van uw kind in de auto.
Baninni wenst u alvast een veilige reis!
WAARSCHUWING:
Alleen geschikt voor gebruik in de genoemde
voertuigen met 3-punts veiligheid
riemen, goedgekeurd volgens ECE-reglement
No.16 of andere gelijkwaardige normen .

HANDLEIDING
1.1 Montage van de zitting met een 3-punts veiligheidsgordel . (groep I )
Open het zadel clip
1.2 Plaats de veiligheid zitplaats aan het voertuig
zitplaats met 3-punts veiligheidsgordel als weergegeven op
het diagram.
Waarschuwing:
1. Aub gebruik maken van de lock- o van het apparaat.
2. De gordel moet achter de plaats van het hoofd passeren,
maar niet door de haak.
1.3 Maak de gordel gesp vast met
een hoorbare klik.
1.4 Draai de ronde en diagonale zetel
riem.
1.5 Plaats de diagonale gordel in de
lock - o apparaat en zet deze vast.

2.1 -2.6 Gebruik van het harnas:
Om de lengte van het harnas te vergroten, druk en houd
de centrale aanpassing knop in (1) en trek aan de schoud-
erbanden ( 2 ) onderaan
2.2 Maak de gesp los door op de
rode knop in de richting van de pijl te drukken.
2.3 Leg de schouderbanden aan de zijkant.
2.4 Plaats uw kind in de stoel en zet de armen
door de schouderbanden van het harnas.
2.5 Maak de gesp vast door het plaatsen van de twee
tongen over elkaar ( 1 ) en duw ze in met een hoorbare
klik.
2.6 Trek de riemen door aan de centrale
band in de richting van de pijl . de bandjes
moeten strak worden getrokken .
2,7-2,8 Hoogte van het harnas:
2.7 Trek de rode vergrendelknop en stel de hoofdsteun
in de volgende positie
2.8 Druk met één hand op de centrale knop en trek
met de andere hand aan de riem om de lengte aan te
passen.
( 2.6 en 2.8A ) De schouderbanden moeten getrokken
worden zoals het te zien is op de diagram.
3.1 De kap verwijderen: Het steunkussen moet verwi-
jderd worden afhankelijk van de grootte van het kind
voor de verwijdering van de gordel. Als het harnas
nog steeds is vastgemaakt, maak de schouderbanden
los zoals weergegeven in guur 3.3. Knoop de deksel
en remover de twee delen van het deksel door ze naar
voren te tillen.

HANDLEIDING
3,2-3,6 Het verwijderen van de gordel :
3.2 Verwijder de dop ( 1 ) : Duw de centrale regelaar ( 2 )
naar beneden , houd het naar beneden en verwijder de
riem van de achterzijde.
3.3 Trek de schouderbanden langs de voorkant.
3.4 Verwijder de leidende buis door naar boven te duwen.
Verwijder vervolgens de schouderriemen. 3.5 Verwijder de
bekleding ende heupgordel van de zitting van het lichaam.
3.3 Trek de schouderbanden naar buiten door
de voorkant.
3.4 Verwijder de leidende buis door naar boven te drukken.
Verwijder vervolgens de schouder riemen.
3.5 Verwijder de bekleding en
maak de heupgordel van de zitting lichaam los.
3.6 Haal de metalen plaat af van de riem en trek de
gesp omhoog en naar buiten
4,1-4,3 Restrain de zitting en kind
De 3-punts gordel (groep II III -. met
rugleuning)
4.1 Trek de autogordel, langs de schouder gordel onder
de hoofdsteun aan één zijde. En de heupgordel door de
opening van beide armrests. Duw dan de de gesp in
met een hoorbare klik.

4,2 Plaats de diagonale gordel onder de hoofdsteun.
Waarschuwing:
1.Niet gebruik maken van de lock-o van het apparaat.
2.Het moet gordel rijdt onder de
hoofdsteun, maar niet door de haak.
4.3 Pas de positie van de hoofdsteun volgens de hoogte van kids. Zoals
weergegeven in guur 2.7. Het is belangrijk dat de hoogte van de
schouder van het kind te doen niet hoger dan de positie van de band.
Zoals getoond in guur 2.8. Het pad van auto belt.both de schouder-
gordel en lap riem tenslotte onder moet worden vastgesteld armsteun
of andere manier zal niet veilig. Zoals getoond in het diagram 4,3.

HANDLEIDING
ZORG EN ONDERHOUD
Deze instructies zijn zeer belangrijk. Lees ze aandachtig en bewaar ze
voor latere raadpleging.
•De bekleding van de rugleuning verwijderen.
Maak eerst de elastiek onderaan de bekleding van de rugleuning los en
verwijder daarna de bekleding. Deze kan nu gereinigd worden.
•Hoofdsteunbekleding en bekleding van het zitje verwijderen.
Neem de bekleding weg. Deze kan nu gereinigd worden.
•De bekleding moet met de hand gewassen worden.
Gebruik enkel zachte zeep en warm water. Gebruik geen chemische
reinigingsmiddelen en tracht nooit de bekleding te bleken of te kleuren. Laat
drogen op natuurlijke wijze.
OPGELET
De kinderstoel mag nooit gebruikt worden zonder de bekleding.
De bekleding mag enkel vervangen worden door bekleding die aanbevolen
werd door de producent vermits de bekleding wezenlijk deel uitmaakt van de
autostoel.
Gebruik de autostoel niet opnieuw na een aanrijding of een ongeval.
Verwijder de autostoel uit het voertuig als deze niet gebruikt wordt en berg
deze op buiten het bereik van het kind.
Bevestig de autostoel steeds als deze zich in het voertuig bevindt.
Lees steeds de handleiding vóór gebruik. De handleiding bevindt zich aan de
achterkant van de autostoel onder de bekleding

WAARSCHUWING
DEZE INSTRUCTIES ZIJN BELANGRIJK. LEES ZE AANDACHTIG EN BEWAAR ZE
VOOR LATERE RAADPLEGING. LEES DEZE HANDLEIDING VOLLEDIG ALVORENS TE
INSTALLEREN OMDAT EEN ONJUISTE INSTALLATIE GEVAARLIJK KAN ZIJN.
GEBRUIK DEZE KINDERAUTOSTOEL NIET OP PASSAGIERSZETELS DIE
UITGERUST ZIJN MET AIRBAGS.
• Zorg ervoor dat de plastieken delen van de autostoel zo gericht en geplaatst
zijn dat zij, bij gewoon gebruik van het voertuig, niet kunnen klem geraken door
een verplaatsbare zetel of door de deur van het voertuig. Gebruik geen andere
contactpunten dan deze die beschreven worden in de instructies en gemarkeerd
zijn in de autostoel.
• De kinderautostoel kan gebruikt worden met het harnas voor kinderen van 9 tot
18 kg (ongeveer 9 maanden tot 4 jaar)
• Deze kinderautostoel kan gebruikt worden zonder harnas voor kinderen van 15
tot 36 kg (ongeveer 3 jaar tot 11 jaar)
• Deze kinderautostoel kan enkel geplaatst worden in voorwaartse richting met
een driepuntsgordel.
• Gebruik de kinderautostoel niet in huis. Hij werd niet ontworpen voor huiselijk
gebruik en mag enkel gebruikt worden in uw wagen.
• De veiligste plaats voor deze kinderautostoel is op de achterbank van een
voertuig.
• Gebruik het kinderzitje nooit zonder het harnas correct te bevestigen en gebruik
het zitje nooit zonder het te bevestigen in de auto.
• Verander het zitje op geen enkele manier en voeg niets toe.
• Laat uw kind nooit onbewaakt achter in het zitje.
• Het interieur van de wagen kan zeer warm worden in direct zonlicht. Dek
daarom de autostoel steeds af als u hem niet gebruikt. Daardoor vermijdt u dat de
onderdelen, vooral deze die in contact komen met het kind, zeer warm worden en
het kind verbranden.
• Het is belangrijk dat het kind, in geval van nood, snel uit het zitje gehaald kan
worden. Dit betekent dat de gesp niet volledig onbreekbaar is en zodoende moet
u uw kind leren nooit met de gesp te spelen.
• Bagage en andere zware of scherpe voorwerpen moeten worden vastgemaakt in
de wagen. Losse voorwerpen kunnen schade veroorzaken bij ongeval.
• Controleer regelmatig het harnas op slijtage, en besteed hierbij bijzondere
aandacht aan de bevestigingspunten, de naden en regeluitrustingen.
• Berg de autostoel op een veilige plaats op als hij niet gebruikt wordt. Vermijd dat
er zware voorwerpen op geplaatst worden. Zorg dat de autostoel niet in contact
komt met bijtende middelen zoals batterijzuur.
Wasvoorschrift: Niet in de droger - Niet strijken - Niet bleken met chloor
Wassen op temperatuur van 30 °
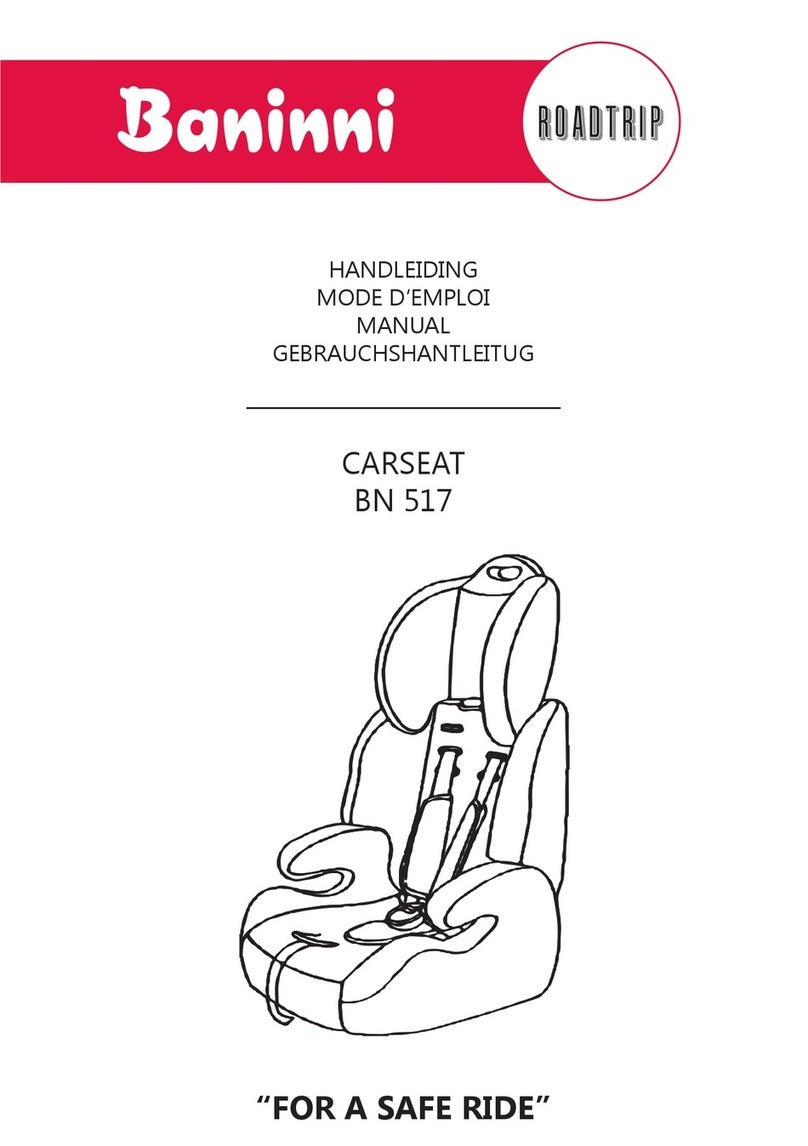
MANUAL
GB
CARSEAT BNCS008
VENTURA
INSTRUCTIONS
Group 1+2+3
Suitable for 9kg to 36kg
(ca. 9months untill 11years)
1. This is a Universal child restraint: it it approved to ECE regulation 44.04 for
handbook that the vehicle is capable of accepting a Universal child restraint for
this group.
3. This child restraint had been declared universal under more stringent
conditions than those applied to earlier designs which do not carry this notice.
4. If in doubt, consult the retailer.
ECE regulation No16 or other equivalent standards.
CAUTION: Do not use in passenger seats equipped with airbags (SRS)

Dear parents,
We only want the best for your child!
You have chosen a high-quality product from Baninni.
Raising a child is one of the most fullling tasks in life and
a huge responsibility. It’s good to know that you are sup-
ported by an expert partner that ensures the safety of your
child in the car.
Baninni wishes you a safe journey!
WARNING:
Only suitable for use in the said
vehicles with 3-point safety
belts, approved to ECE Regulation
No.16 or other equivalent standards.

MANUAL
1.1 Fitting the seat with a 3-point
seat belt .(Group I)
Open the seat clip
1.2 Fit the safety seat to the vehicle
seat with 3 point safety belt as
show on the diagram.
Warning:
1.Please use the lock-o the device.
2.The should belt pass under the head-
rest, but not through the hook.
1.3 Fasten the seat belt buckle with
an audible click.
1.4 Tighten the lap and diagonal seat
belt.
1.5 Place the diagonal seat belt in the
lock-o device and fasten it.

2.1 -2.6 Using the Harness
To increase the length of the
harness press and hold down the
central adjusting button (1) and pull
the shoulder straps (2) at the bottom
2.2Unfasten the buckle by pressing the
red button in the direction of the arrow
2.3 Lay the shoulder straps to the side.
2.4 Place your child in the seat and put
the child’s arms through the shoulder straps.
2.5 Fasten the buckle by placing the two
tongues over each other (1) and pushing
them in with an audible click
2.6 Tighten the straps by pulling the central
belt in the direction of the arrow. The straps
should be pulled tight.
2.7-2.8 Adjusting the height of the harness
2.7 Pull the red locking button and adjust the
head support in the next position.
2.8 Use one hand to press down the central
adjusting button, and the other hand pull the
belt to adjust it to be suitable length.(2.6&2.8A).
The shoulder straps should be positioned as
shown in this diagram 2.8A
3.1 Removing the cover
The support cushion should be removed
depending on the size of the child, and
not later than when the harness is removed.
If the harness is still attached unhook the
shoulder straps as shown in diagram 3.3.
Unbutton the cover and remover the two
parts of the cover by lifting them forwards

MANUAL
3.2-3.6 Removing the harness:
3.2 Remove the end piece (1):
Push the central adjuster (2) down, keep
it down and remover the belt from the rear.
3.3 Pull the shoulder straps out through the front.
3.4 Remove the guiding tube by pushing it
upwards. Then remove the shoulder belts.
3.5 Partly remove the seat cover and unloop
the lap belt from the seat body.
3.2-3.6 Removing the harness:
3.2 Remove the end piece (1):
3.3 Pull the shoulder straps out through
the front.
3.4 Remove the guiding tube by pushing
it upwards. Then remove the shoulder
belts.
3.5 Partly remove the seat cover and
unloop the lap belt from the seat body.
3.6 Unloop the metal plate from the
button strap and pull the buckle up and out
4.1-4.3 Restrain the seat and child with
the 3-point seat belt.(Group II III - with
backrest)
4.1 Pull out the car belt, pass the shoulder
belt under the headrest at one side. And
the lap belt pass through the hole of both
armrests.Then pushing the buckle in
with an audible click.

4.2 Place the diagonal belt under the headrest.
Warning:
1.Not use the lock-o the device.
2.The should belt pass under the
headrest,but not through the hook.
4.3 Adjust the position of headrest according to the height of kids.As
show in diagram 2.7. It is important that the height of child’s shoulder
do not higher than the position of belt. As show in diagram 2.8. The
path of car belt.both the shoulder belt and lap belt nally must be
xed under the armrest or the other way will be not safe. As shown in
the diagram 4.3.

MANUAL
CARE AND MAINTENANCE
• backrest cover removal
First, release the elastic strap at the bottom of the backrest cover. Slide the cover
o. The cover can now be cleaned.
•headrest, booster seat cover removal
Slide the cover o. The covers can now be cleaned.
•The cover should be hand wash. Use only a mild hand soap and warm water. Do
not use chemical cleaners and never attempt to bleach or dye the webbing. Allow
to dry naturally.
IMPORTANT
The child restraint must not be used without the cover
The seat cover should not be replaced without one recommended by the
manufacturer. Because the cover constitutes an integral part of the restraint
perfomance. Don’t us any car seat again after impact or accident.
Please remove the carseat out of vehicle when it is not used and keep out of reach
of children.
Please always fasten the car seat when it is inside the vehicle.
Please always read the manual before it’ use.

WARNING
THESE INSTRUCTIONS ARE INMPORTANT. PLEASE READ CAREFULLY AND RETAIN
FOR FUTURE REFERENCE.
DO NOT USE THE CHILD SEAT IN PASSENGER SEATS EQUIPPED WITH
AIRBAGS.
• Please be careful of that the plastic parts of a child restraint must be so located
and installed that they ar not liable, during everyday use of the vehicle, to become
rapped by a movable seat or in a door of a vehicle. Do not use any load bearing
contact points other than those described in the instructions and marked in the
chid restraint.
• This Child seat can be used with the harness for children of 9 to 18kg in weight:
ca 9 months to 4 years.
• This child seat be used without the harness for children of 15 to 36 kg in weight:
ca. 3 years to 11 years.
• This child seat can be only installed forward facing using a three point lap and
diagonal seat belt.
• Do not use this child seat in home. It has not been designed for home use and
should only be used in your car.
• This safest seating position for this child car seat is on the rear seat of a vehicle..
• Never use the child seat without fastening the child’s harness correctly and never
attempt to use it without fastening it into the car.
• Do not add or modify the seat in any way.
• Never leave your child unattended in the seat at any time.
• Car interiors can become very hot when in direct sunlight, it is therefore
recommend that the child seat should be covered when not in use. This prevents
components, particularly those attached to the child seat, becoming hot.
• It is important that the child can be released quickly. This means that the buckle
is not fully tamper proof and so your child must be taught never to play with the
buckle.
• Luggage and other heavy or sharp objects should be secured in the car; Loose
objects are liable to cause injury in the event of an accident.
• Regularly check the harness for wear, paying attention to the attachment points,
stitching and adjusting devices.
• Store this child seat in a safe place when it’s not being used. avoid placing heavy
objects on top of it.
Washing instructions:
Do not tumble dry - Do not iron - Do not chlorine bleaching
Washing temperature 30°

MODE D’EMPLOI
FR
SIÈGE VOITURE BNCS008
VENTURA
INSTRUCTIONS
Groupe 1+2+3
Pour des enfants 9kg to 36kg
(ca. 9mois à 11ans)
1. Ce siège-auto est un siège « universel », approuvé selon la directive ECE44.04
pour usage général dans les véhicules et le siège-auto convient pour la plupart
des véhicules, mais pas pour tous.
2. Un montage correct peut être réalisé si le producteur du véhicule a déclaré
dans le manuel que le véhicule peut être équipé d’un siège-auto « universel »
pour ce groupe.
3.Ce siège-auto a été déclaré « universel » sous des conditions plus strictes
que celles d’application pour les modèles précédents non portant cette
communication
4.En cas de doute, contactez le distributeur ou le producteur du siège-auto.
Ne convient que pour des véhicules équipés d’une ceinture de sécurité à trois
points approuvée selon la prescription UN/ECE N° 16 ou d’autres normes
équivalents
ATTENTION: Ne pas utiliser lorsque le siège passager est équipé d’airbags
(SRS)

Chers parents,
Nous ne voulons que le meilleur pour votre enfant!
Vous avez choisi de haute qualité produit Baninni. Élever
un enfant l’une des tâches les plus enrichissantes dans
la vie et une énorme responsabilité. Il est bon de savoir
que vous êtes pris en charge par un partenaire expert qui
assure la sécurité de votre enfant dans la voiture.
Baninni vous souhaite un bon voyage!
ATTENTION::
Uniquement pour une utilisation dans ledit
véhicules avec sécurité à 3 points
ceintures, approuvées au Règlement CEE
No.16 ou d’autres normes équivalentes.

MODE D’EMPLOI
1.1 Montage du siège avec la ceinture à 3 points
(groupe d‘âge I). Ouvrez la pince de ceinture
sur le siège.
1.2 Fixez le siège de sécurité avec la ceinture à 3 points sur le
siège du véhicule, comme indiqué surl‘illustration.
Attention!
1.Veuillez utiliser la pince de la ceinture.
2.Der Diagonalgurt muss unter der
ceinture diagonale doit passer sous l‘appuie-tête, mais ne
doit pas être accrochée en haut.
1.3 Bouclez le fermoir de ceinture
par un clic sonore.
1.4 Serrez fermement la ceinture
diagonale et la ceinture dorsale.
1.5 1.5 Placez la ceinture diagonale
dans la pince de la ceinture et fermez
cette dernière.
Table of contents
Languages:
Other Baninni Car Seat manuals

Baninni
Baninni VEGA BNCS020 User manual

Baninni
Baninni ROADTRIP FIERO User manual

Baninni
Baninni TWIRL 360 BNCS021 User manual

Baninni
Baninni Arona Isofix BN2001 User manual

Baninni
Baninni ROADTRIP BN513 User manual

Baninni
Baninni IMPERO ISOFIX BN3501 User manual

Baninni
Baninni BN 517 User manual

Baninni
Baninni ARONA ISOFIX User manual