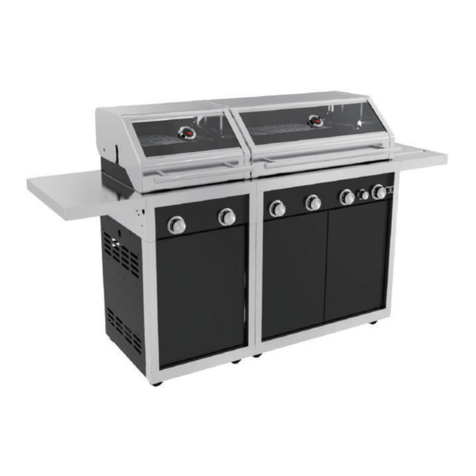
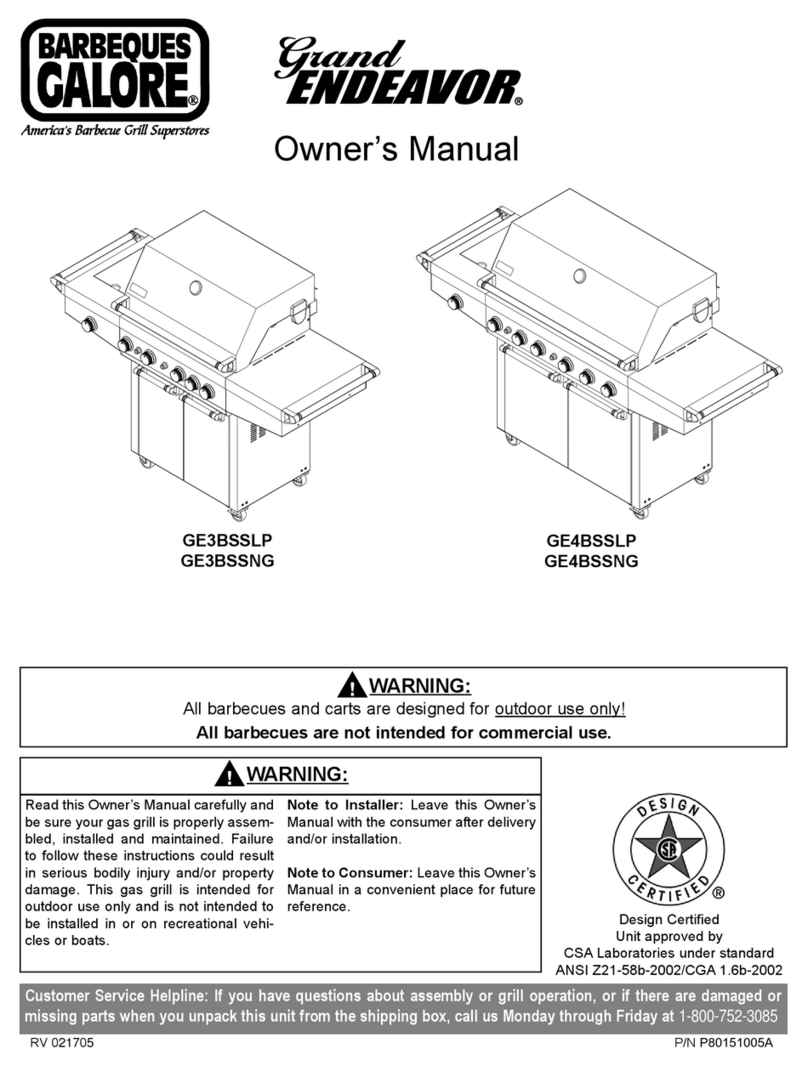
Barbeques Galore Grand Turbo B3816ALP User manual
Other Barbeques Galore Grill manuals

Barbeques Galore
Barbeques Galore Grand Turbo B3808ALP User manual
Barbeques Galore
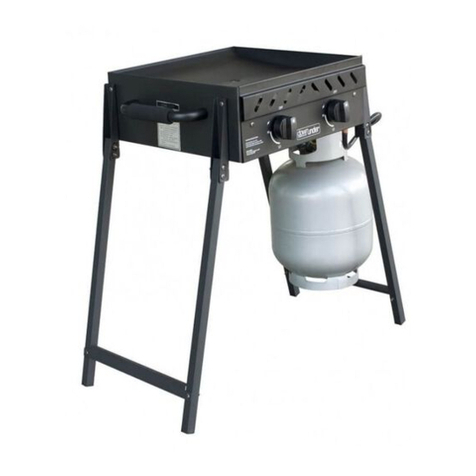
Barbeques Galore downunder G2DLK User manual
Barbeques Galore
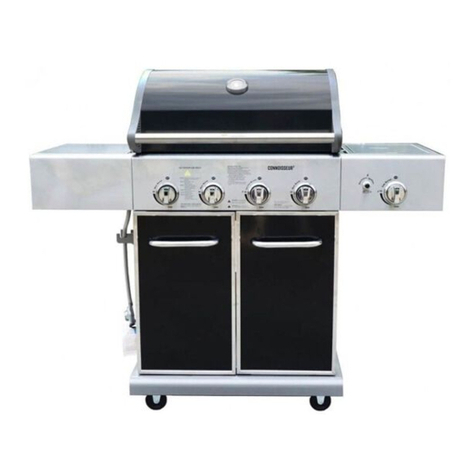
Barbeques Galore Connoisseur 0 User manual
Barbeques Galore
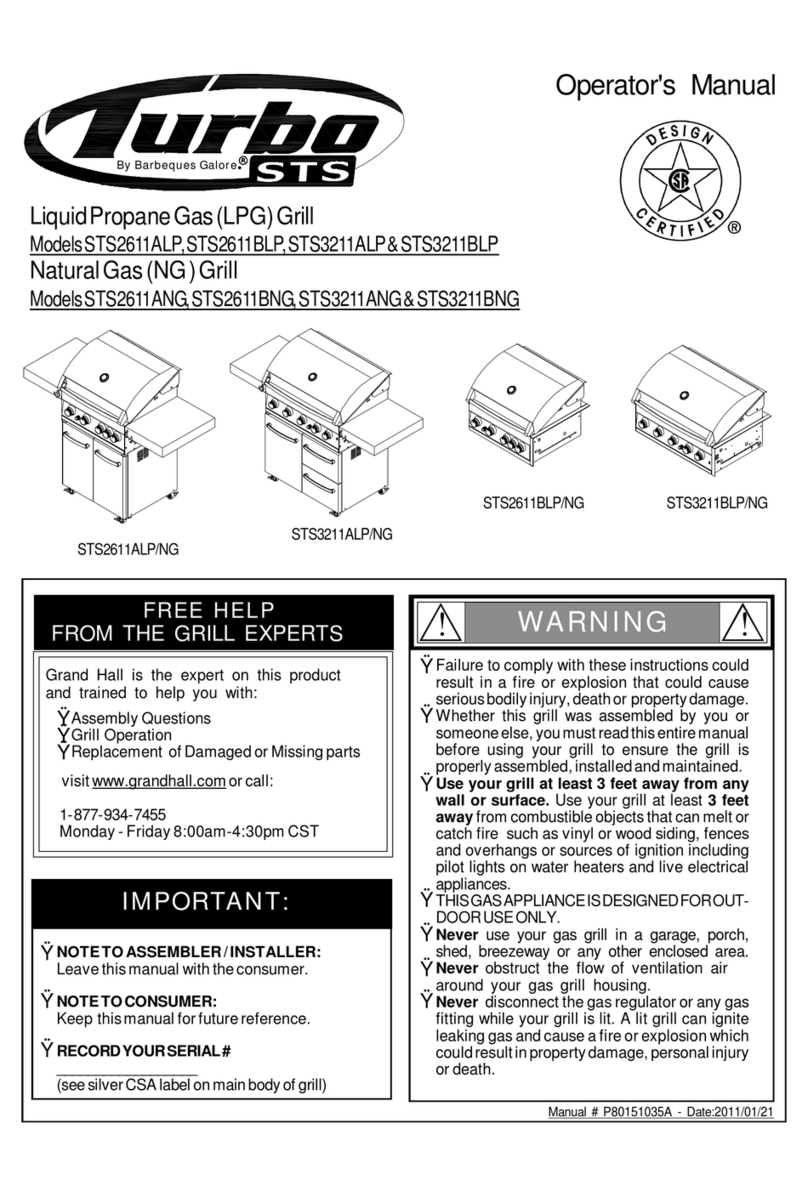
Barbeques Galore STS2611ALP User manual
Barbeques Galore
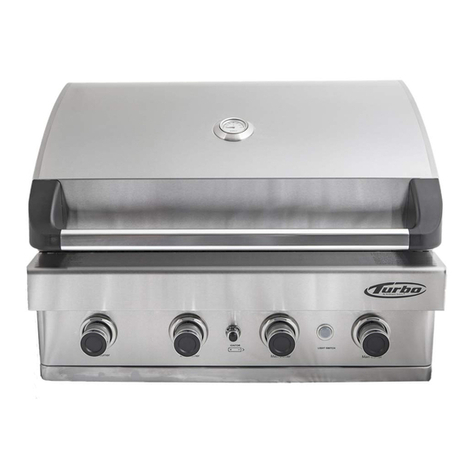
Barbeques Galore Turbo BTH2616ALP User manual
Barbeques Galore
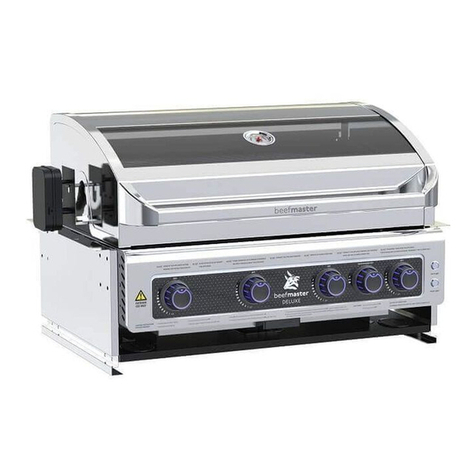
Barbeques Galore BEEFMASTER V Series Operator's manual
Barbeques Galore
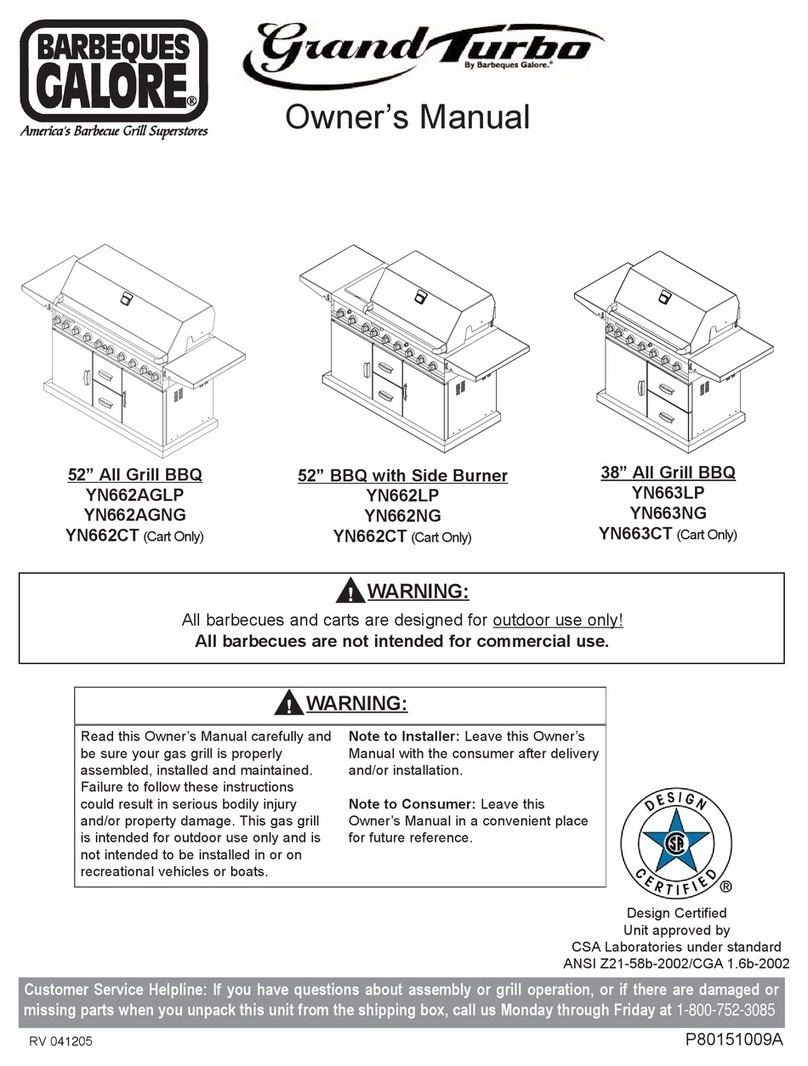
Barbeques Galore Grand Turbo YN662AGLP User manual

Barbeques Galore
Barbeques Galore G4ARCM Operator's manual
Barbeques Galore
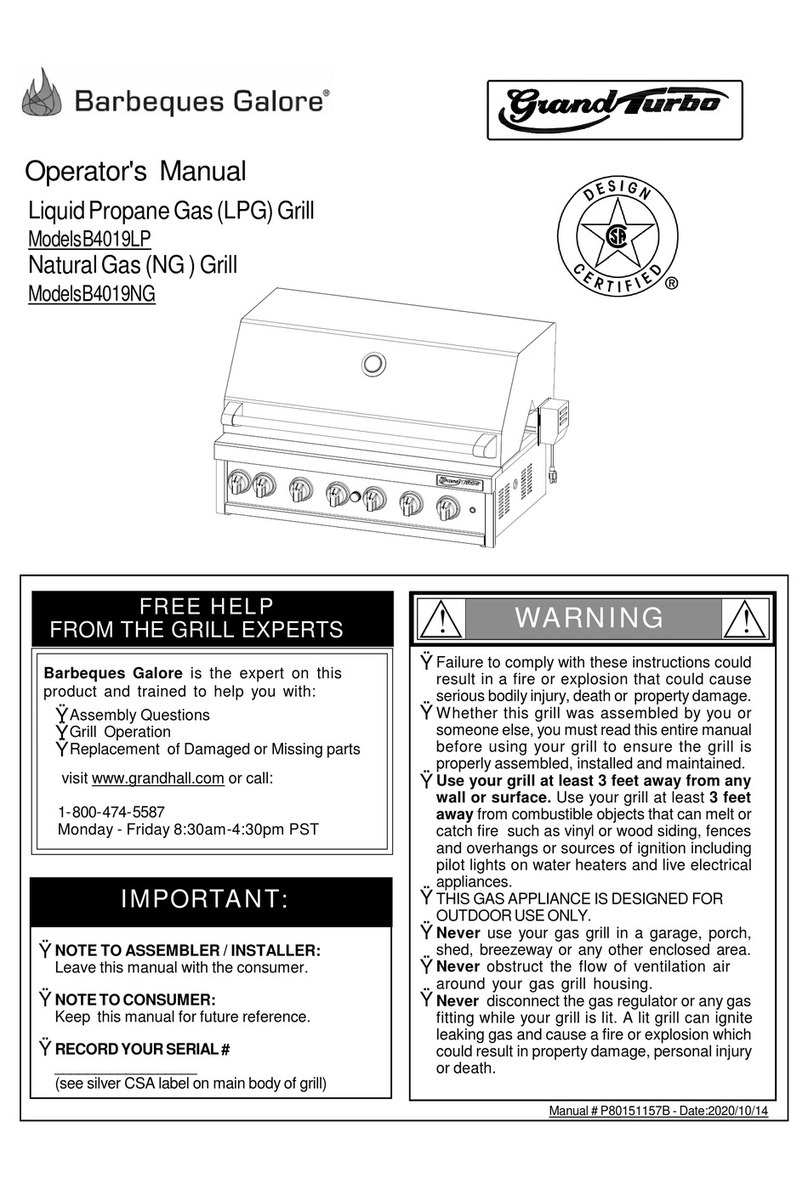
Barbeques Galore Grand Turbo B4019LP User manual
Barbeques Galore
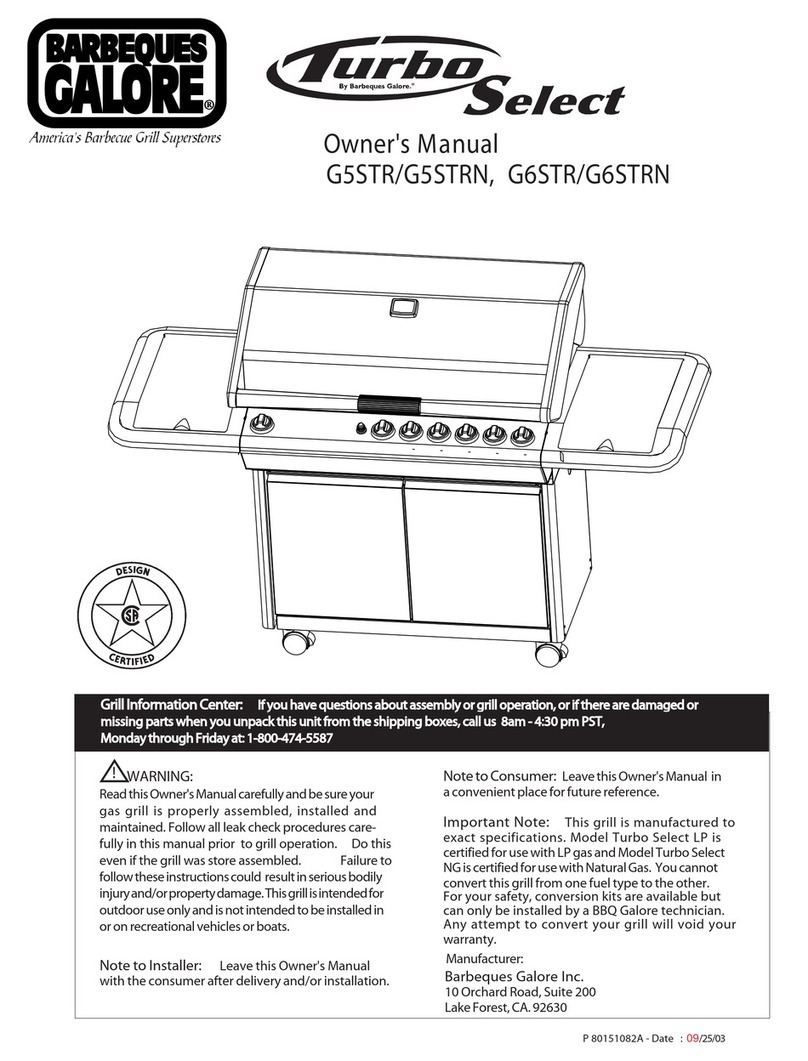
Barbeques Galore Turbo select G5STR User manual
Barbeques Galore
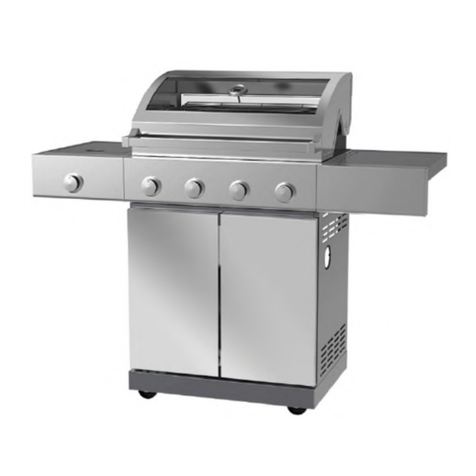
Barbeques Galore ALFRESCO Series Operator's manual

Barbeques Galore
Barbeques Galore KET57 User manual

Barbeques Galore
Barbeques Galore ALFRESCO BG229SB-G Operator's manual
Barbeques Galore
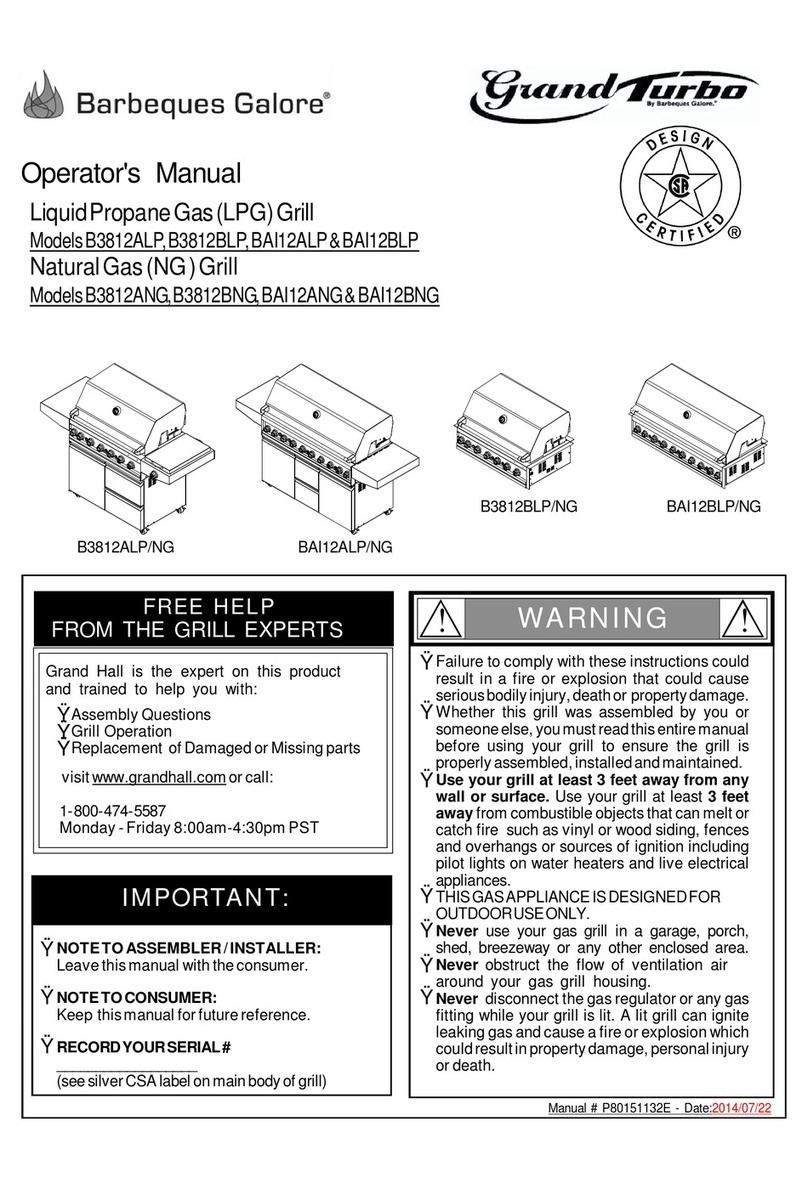
Barbeques Galore B3812ALP User manual

Barbeques Galore
Barbeques Galore MC2CBL Operator's manual
Barbeques Galore
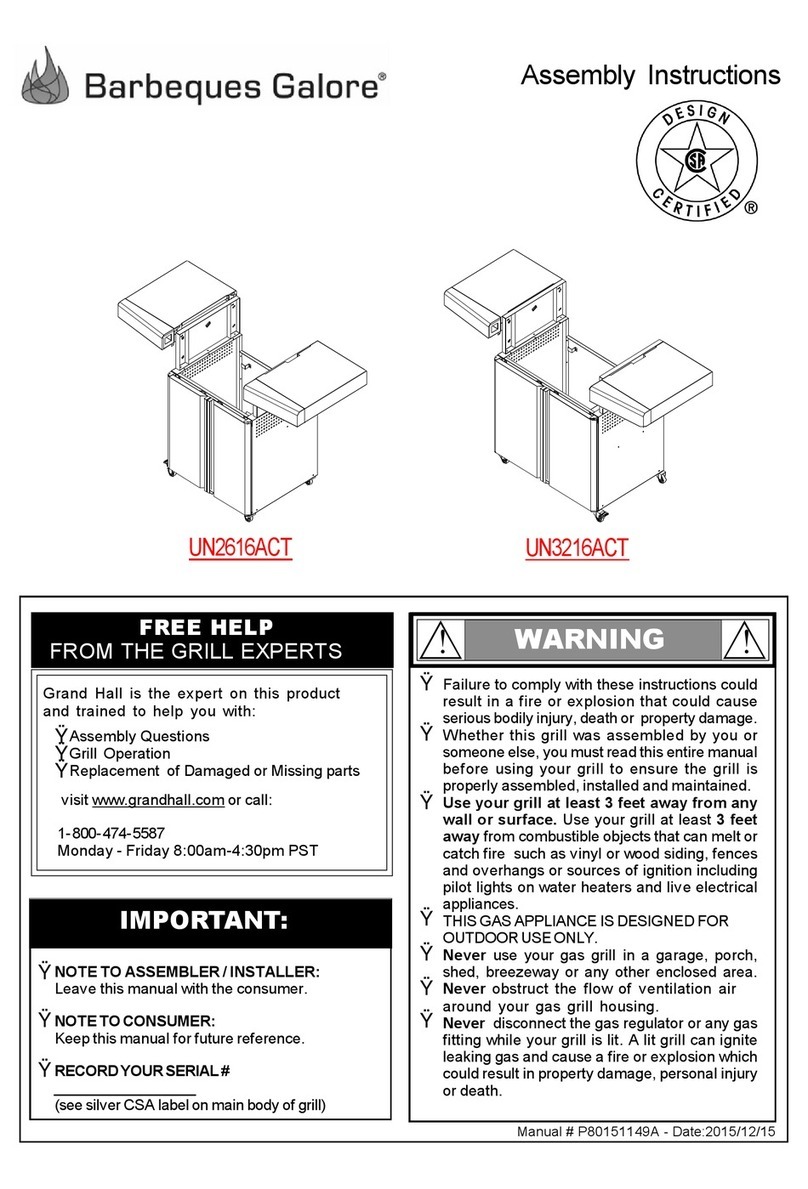
Barbeques Galore UN2616ACT User manual

Barbeques Galore
Barbeques Galore G5CPBIQ User manual

Barbeques Galore
Barbeques Galore MALIBU Installation guide
Barbeques Galore
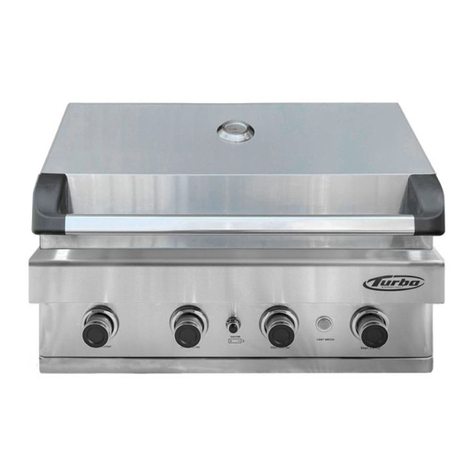
Barbeques Galore Turbo STS User manual

Barbeques Galore
Barbeques Galore Billabong User manual
Popular Grill manuals by other brands

Landmann
Landmann Avalon PTS Plus 5.1 Plus 12122 Assembly and operating manual

Kenyon
Kenyon B70200 owner's manual

Better Homes and Gardens
Better Homes and Gardens GBC1486W owner's manual

Orbegozo
Orbegozo GR 2300 instruction manual

bora
bora PT11 Operating and installation instructions

Klarstein
Klarstein 10031664 manual

Garland
Garland MWE3W Installation and operation manual

Char-Broil
Char-Broil 463722714 Product guide

MPM
MPM MOP-03 user manual

Kenmore
Kenmore 415.16123800 Use and care guide

Tucker Barbecues
Tucker Barbecues GTR Series Assembly, installation and operating instructions

Monogram
Monogram ZGG540NCP1SS owner's manual
