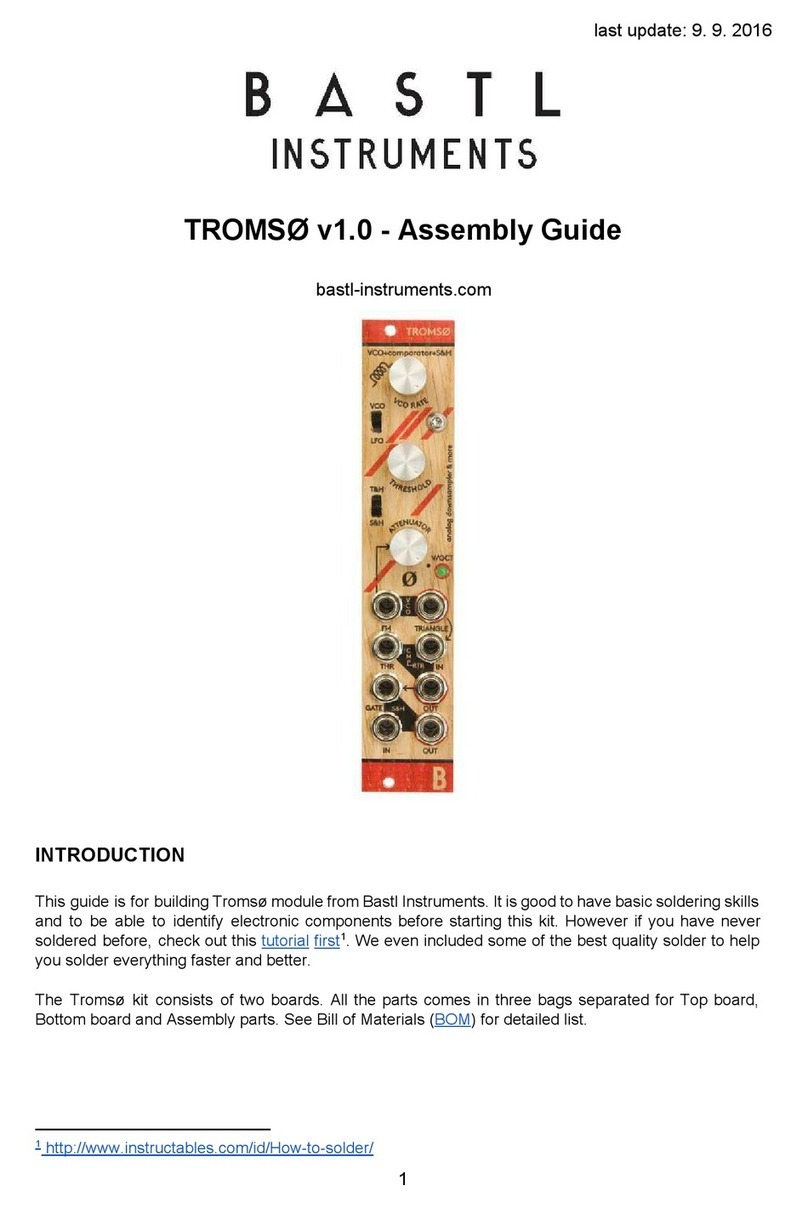
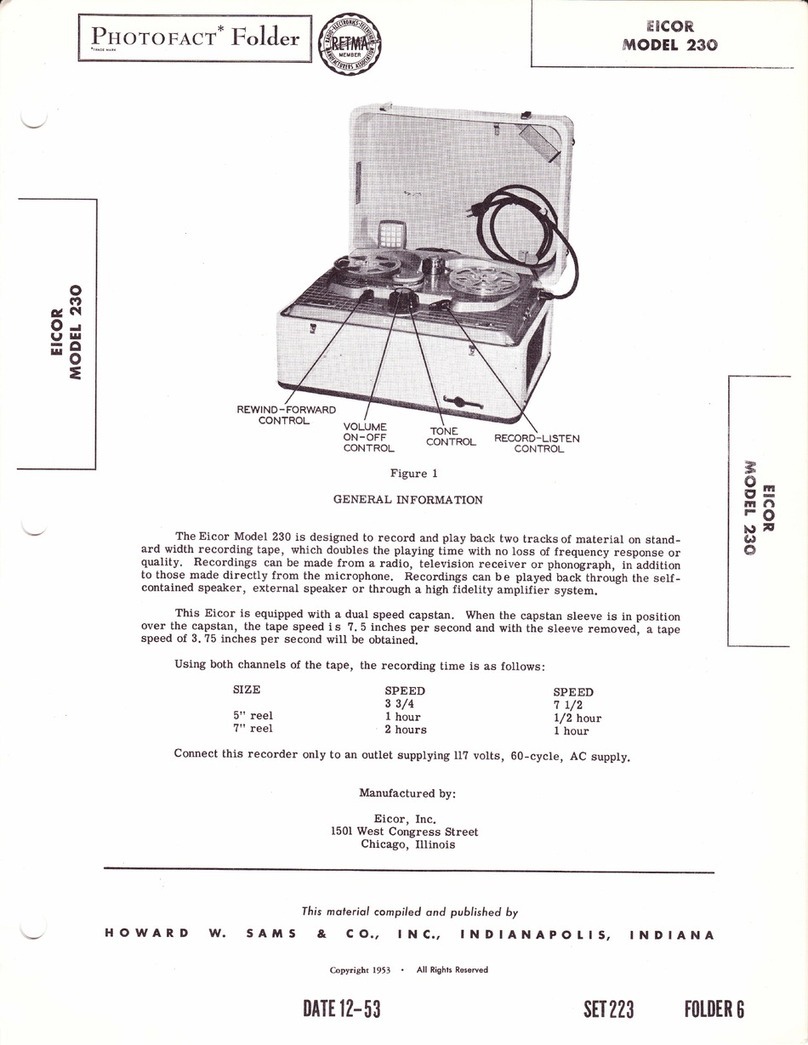
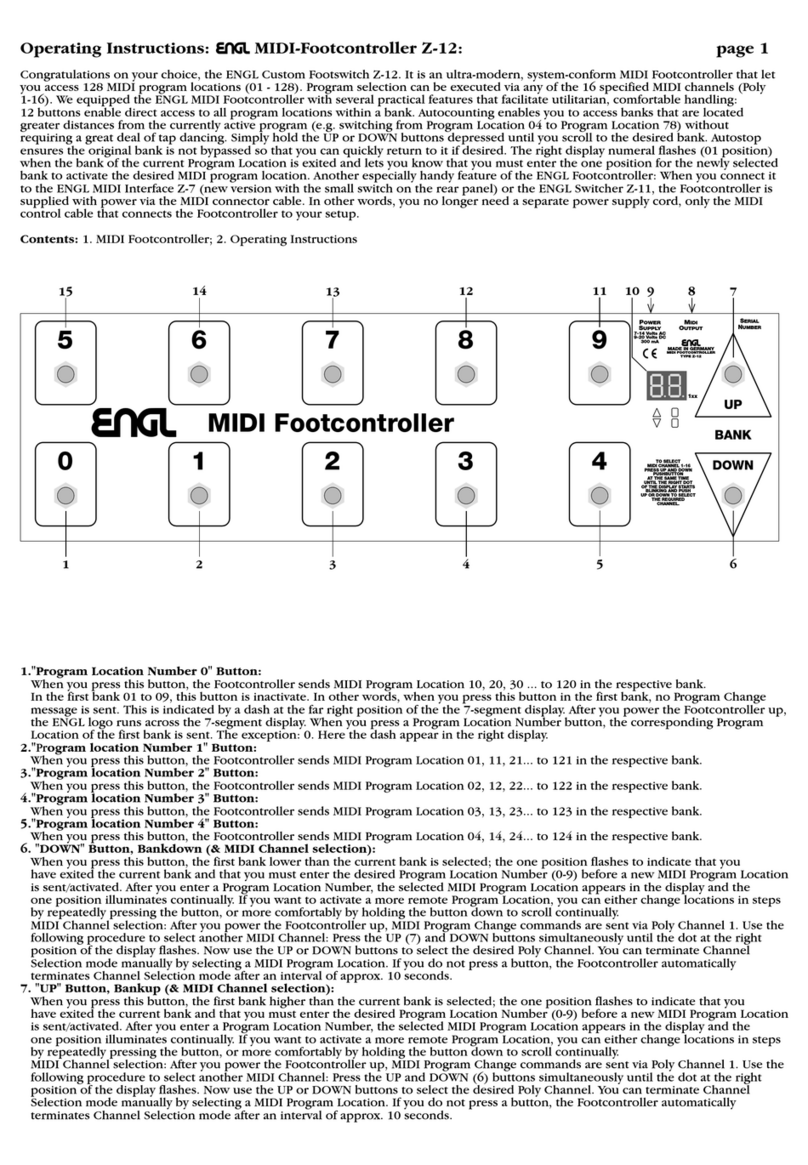
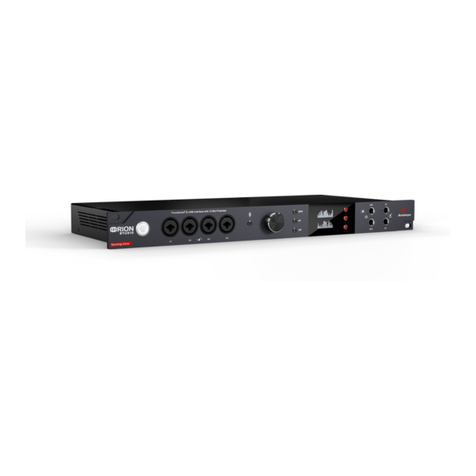
Bastl Popcorn User manual

POPCORN
2
3
1
2
5
5
6
7
8
4
1
QUANTIZER
TRIG A
CV IN
SLIDE TIME GATE TIME
CV IN MODE
RESET GATE OUT CV OUT
TRIG B
GATE
SLIDE
OFF
ON
MINOR
MAJOR
CHROMA
SCALE
CHORD
REGULAR
PENTA/5TH
BLUES/7TH
1
2
3
4
1
2
3
4
FN
E
S
T
S
P
E
S
T
S
P
non-linear CV sequencer
RANGE
Stes
P
opcorn is CV nd Gte sequencer. It hs 8 steps. Ech step
hs button, knob nd n LED. One of the steps is lwys
ACTIVE (it hs the cursor on it) nd is routed to the CV nd GATE
outputs. The ACTIVE step is indicted by the step LED with the
highest brightness. The Gte Buttons re used to either set the
GATE (FN LED OFF) or the SLIDE (FN LED DIMMED) for the step.
In combintion with the FN button, the step buttons re used to
djust Popcorn’smin settings.The Step knobs re used to set the
voltge tht goes to the CV Out. The voltge from the knobs is
processed through the quntizer when ctivted.
CV out
The CV Out is 0-5V clibrted output tht cn crete precisely
quntized voltges (which correspond to the semitones in the
V/Oct scheme). It outputs voltge bsed on the KNOB position
of the ACTIVE step, processed by the quntizer. It cn be lso be
trnsposed, using the CV input.
Gate Out
The Gte Out outputs 5V gtes on ech ACTIVE STEP chnge. The
Gte goes high only when the STEP GATE is ON (LED of the STEP is
OFF when in GATE MODE). The length of the gte depends on the
Gte Time prmeter. If Gte Time is fully CW the gte holds HIGH
s long s the step is ctive.
Acomact, but incredibl musical seuencer uantizer areiator
– ou name it! The Pocorn seuencer allows ou to create avariet
of melodic atterns b rearranin it‘s8 tunable notes with several
different tes of control sinals. It is incredibl musical when
used with rhthm seuencers such as the Knit Rider, because it
has two triers, Aand B, which will o 1,2,, or stes forward or
backward, deendin on the settins of their dedicated knobs. You
can also address the stes with CV or binar ates. You can use CV
to transose the itch, transose it in uantized stes or chane the
scale to minor or maor with aate sinal.
instruction
Pocorn
NONLINEAR CV SEQUENCER
Reset In
If rising edge of gte ppers on the Reset Input the ACTIVE
step is set to 1. The only exception from tht rule is when using
the RESET OFFSET feture - see CV INPUT.
Trier A and Trier B
These trigger inputs re the key element of popcorn sequencer.
On the rising edge of gte or trigger they dvnce the ACTIVE
step ccording to the setting of the TRIG knob, indicted by the
3 bi-polr LEDs. Turning the TRIG Aor B knob (in GATE mode -
see FN BUTTON) shows you green or red lights 1,2,3 or 4 (ll of
them ON). Green light mens the trigger will dvnce the given
number of steps forwrd (e.g. if the ACTIVE STEP is 2 nd there
is green light indicting 3, the sequencer dvnces to step 5 on
the next Gte). ARed light mens the trigger will go the given
number of steps bckwrd (e.g. if the ACTIVE STEP step is 6 nd
there is red light indicting 2, the sequencer goes bck to step 4
on the next Gte).
When the ACTIVE step position goes beyond number 8 it strts
bck t 1.
FN Button
By shortly pressing the FN button, you switch between GATE (FN
LED OFF) nd SLIDE (FN LED DIMMED) modes.
When in GATE MODE, the STEP buttons re used to ctivte or
dectivte the gtes to be output from the GATE output. In GATE
mode the TRIG And B knobs re used to set the TRIG And B
step settings.
In SLIDE MODE the STEP buttons re used to ctivte or dectivte
the SLIDE (slew limiter) on the CV OUT for individul steps. Also in
SLIDE mode, turning the TRIG B knob llows you to set the GATE
TIME nd turning the TRIG Aknob sets the SLIDE TIME.
While the FN button is held down, nother lyer of fetures is
vilble on the STEP buttons nd on the TRIG knobs. All lbels
in non-blck color correspond to the functionlity when the FN
button is held down.
- Holding down the FN button nd pressing STEP buttons 1,2 or 3
sets the RANGE of the CV Output. You cn choose 1, 2 or 5 Octves.
-Holding down the FN button nd pressing STEP button 4
chnges the mode of the CV Input (see its section).
-Holding down the FN button nd pressing STEP buttons 5,6,7
or8 chnges the settings of the QUANTIZER (see its section).
Holding down STEP button nd then pressing the FN button
will mke tht step ACTIVE in the sme wy s the Jump feture
on the seprte gte expnder module.
Rane
The output CV rnge of the Popcorn sequencer cn be 1,2 or 5
octves. Hold down the FN button nd press step buttons 1,2 or
3 to select the rnge. 1 octve rnge mens the output voltge
is 0-1 volts , 2 octves 0-2 volts nd 5 octves 0-5 volts.
Quantizer
The Quntizer enbles Popcorn to output voltges tht
correspond to the exct voltges of semitones (in equl
temperment) in the volt per octve scheme. In other words,
ittkes the input voltge from Step knob nd chnges it to the
nerest voltge tht corresponds to n exct semitone voltge.
The quntizer on Popcorn enbles you lso to filter semitones
inmusicl wy.
To setup the quntizer you need to hold down the FN button
nd press buttons 5,6,7 nd 8 to set wht you desire.
To turn the QUANTIZER ON (led 5 on) or OFF (led 5 off) hold
the FN button nd press step button 5.
To select between chromtic mode (led 6 off), scle mode (led
6 dimmed) nd chord mode (led 6 on) hold the FN button nd
press step button 6. The quntizer hs to be turned ON for this.
To switch between MINOR (led 7 off) or MAJOR (led 7 on)
scles or chords, hold the FN button nd press step button 7.
The quntizer hs to be turned on nd you hve to be in scle
or chord mode to be ble to do this.
To be more specific bout the scle or chord, hold the FN button
nd press step button 8. The scle cn be ditonic (led 8 off)
, penttonic (led 8 dimmed) or blues (led 8 on). The chord
cn be root+3rd+5th (led 8 off) ,root+5th (led 8 dimmed)
orroot+3rd+5th+7th (led 8 on). The quntizer hs to be turned
onnd you hve to be in scle or chord mode to be ble to do this.
See the followin table for more details
Chromtic Scle
Chrom
Scle
Chord
Minor
Mjor
Regulr
Pent 5th
Blues 7th
B
A#
G#
F#
D#
C#
D
C
F
E
G
A
Minor Scle
Minor Blues
Minor Chord
Mjor Scle
Mjor Blues
Mjor Chord
Whole Tone Scle
5th
Minor 7th Chord
Mjor 7th Chord
Minor Penttonic
Mjor Penttonic
www.bstl-instruments.com

S
ble CV out rnge (1,2 or 5 octves)
CV input with djustble destintion
(trnspose, quntized trnspose, offset, reset offset, trigger
steps, invert steps, rndom step etc.)
Gte OUT
Adjustble Gte Time
Adjustble Gtes per step
Quntizer (chromtic, scles – ditonic, penttonic,blues,
chords-7th, 5th, minor/mjor)
Slide per step
Adjustble Slide Time
trigger And B for moving through the pttern – the
sequencer cn go 1,2,3 or 4 steps forwrd or bckwrd
Reset Input
trigger/reset priority settings
dul mode: connect two sequencers to get 16 steps !
(3 different modes)
technical details
features
10HP width
PTC fuse nd diode protected 10pin power connector
35mm deep
current consumption: +12V: <65mA, -12V: <5 mA
Take it Carefull
C
A
B
E
L
S
C
A
B
E
L
S
P C B Popcorn
Dul Mode Connection
Before connectin the ribbon cable to this module disconnect
our sstem from ower !
Double check the olarit of the ribbon cable and that it is not
shifted in an direction. The red cable should be attached to the
-12V rail, both on the module and on the bus board side!
lease make sure of the followin
ou have astandard inout eurorack bus board
ou have +12 and -12 ower rails on that bus board
the ower rails are not overloaded b current
Althouh we ut rotection circuits in the device, wedo not
take an resonsibilit for damaes caused b wron ower
sul connection. After ou connected everthin, double
checked it and closed our sstem so no ower lines can be
touched b our hand, turn on our sstem and test the module.
!
connectin module to our sstem
TRIGB STEPS
Animation: oin thru -,-,-2,-1,1,2,, on TRIG B leds
The CV on the CV input chnges the number of steps to be dvnced
by TRIG B. The CV is dded to the position of the TRIG B knob.
SLIDE TIME
Animation: reen circular movement on TRIG Aleds
The CV on the CV input is dded to the SLIDE TIME prmeter.
GATE TIME
Animation: reen circular movement on TRIG B leds
The CV on the CV input is dded to the GATE TIME prmeter.
TRIG AAND B INVERT
Animation: TRIG Aand TRIG B leds turnin red and reen
This works with gte input which inverts the number of steps
dvnced by the triggers. E.g. when Trig Ashould dvnce 2 steps,
high gte on the CV input will mke it go 2 steps bckwrds
insted.
MINORMAJOR
Animation: ste led blinkin, ste led ON
Works with gte, which inverts the current stte of the minor /
mjor settings of the quntizer.
RANDOM STEP
Animation: flashes at random ste numbers
Jumps to rndom step when gte or trigger signl is sent
to the CV input.
Boot menu
The Boot menu gives you ccess to few more specilised settings.
Hold down the FN button when powering up nd Popcorn strts into
the Boot menu.
In the boot menu ech step button sets different prmeter.
Press step buttons 1,2 nd 3 to select the type of Dul mode.
See DUAL MODE for more detils.
Press step button 4 to mke the CV output only ctive for steps
with lit gte LED (otherwise the CV output lwys sends the ctive
step’sCV no mtter if gte is output or not).
Press step button 5 to ctivte bit of ltency to the TRIG And
TRIG B inputs.
Press step button 6 to ctivte bit of ltency to the RESET input.
- this llows you to prioritise between RESET or TRIG.
Press step button 7 to ctivte lterntive functionlity of the CV
input expnder module.
Press step button 8 to enter V/Oct tuner mode. See the website
for more info.
Press the FN button to sve the settings nd exit the Boot menu.
Dual Mode
You cn connect two Popcorn sequencers on the bck side with
cble to enble dul mode. At strtup the dul mode is never
ctive. You hve to ctivte it by holding the FN button on the
mster sequencer nd pressing the FN button on the slve
sequencer. By this routine you cn decide which one is mster nd
which one is slve. This difference is minly on how the quntizer
should be set. Also, the type of dul mode is tken from the
settings of the mster sequencer.You cn set the dul mode type in
the boot menu.
DUAL MODE
In this dul mode the two popcorns form 16 step sequencer. All
scle nd quntizer settings re tken from the mster popcorn.
All trigger inputs cn be used to control the sequencers.The
cursor of the ctive step will be ble to go cross the two units.
DUAL MODE
In this dul mode the two popcorns form two 16 step sequencers
with two cursors for selecting the ctivted step.Settings of scle
nd quntizer re independent on ech popcorn. Trigger inputs t
ech sequencer re used to dvnce tht sequencers output. The
cursor of the ctivted step will be ble to go cross the 16 steps.
DUAL MODE
In this dul mode the two popcorns work s two independent 8
step sequencers, but the ctivted step is lwys synchronised
on both units. This mode cn be used to sequence two linked
prmeters such s pitch nd velocity or pitch nd slide time etc.
You cn exit the dul mode by holding the FN button on one
sequencer nd pressing the FN on the other sequencer.
dul mode connection
red=master
red=slave
GATE
EXPANDER
CV_EXPANDER
**
-12
GND
UPLOAD
CHAIN
POWER
red
red=master
red=slave
GATE
EXPANDER
CV_EXPANDER
**
-12
GND
UPLOAD
CHAIN
POWER
red
!
!
C
A
B
L
E
S
C
A
B
L
E
S
CV Inut
The CV input hs n input rnge of -5 to +5 volts nd is clibrted.
It cn be ssigned one of vrious functions. Hold down the FN
button nd press STEP button 4 to browse the different functions.
Ech one is indicted by simple nimtion.
TRANSPOSE
Animation: ste leds 1,2,, are bein lit u from the bottom uwards.
The Trnspose feture simply dds the voltge on the CV input to
the voltge of the output (fter quntizing). Plese note tht the
CV Output voltge hs limited rnge of 0-5V nd it cnnot go
beyond tht.
QUANTIZED TRANSPOSE
Animation: ste leds 1,2,, are bein lit u from the bottom and ste
led is blinkin. Quntized Trnspose dds the voltge on the CV
input to the input voltge of the quntizer.This mens tht in this
mode, Popcorn cn be used simply s quntizer. Also, if you use it
this wy you cn trnspose sequences without messing up the
hrmonies set up in the quntizer! Another gret use cse is feeding
signl to the CV input which is converted to n rpeggio by the
quntizer, which you cn then trnspose with the STEP knobs!
OFFSET
Animation: ste leds oin 1,2,,,,6,,8.
The offset immeditely dds certin offset to the ACTIVE step
position. The offset is 0 to 7 steps corresponding to 0 to 5 volts
nd 0 to -7 steps corresponding to 0 to -5 volts.
RESET OFFSET
Animation: red leds blinkin on the TRIG Aand B while ste leds
oin 1,2,,,,6,,8.
The Reset trigger usully tkes you to step 1. With the Reset Offset
feture though, you cn chnge the reset step number! The step
number is 1 to 8 corresponding to 0 to 5 volts nd vice vers with
the negtive voltge.
TRIGA STEPS
Animation: oin thru -,-,-2,-1,1,2,, on TRIG Aleds
The CV on the CV input chnges the number of steps to be
dvnced by TRIG A.The CV is dded to the position of the TRIG
Aknob.
Other Bastl Recording Equipment manuals
