Bechara DUBAI User manual


2
A
Cavilha Ø6 x 20mm.
Clavija Ø6 x 20mm.
Dowel Ø6 x 20mm.
FERRAMENTAS RECOMENDADAS / HERRAMIENTAS RECOMENDADAS / RECOMMENDED TOOLS
!
IMPORTANTE! Ferramentas necessárias ou recomendadas para a montagem não inclusas e não fornecidas com o produto.
iIMPORTANT! Herramientas necesarias o recomendadas para la montaje no incluidas y no suministradas con el producto.
IMPORTANT! The required or recommended tools for assembly not included and not supplied with the product.
KIT DE ACESSÓRIOS E PARAFUSOS / KIT DE ACCESORIOS Y TORNILLOS / ACCESSORY AND BOLTS
4 un.
Furadeira e Parafusadeira com ponteiras
fenda phillips e brocas Ø8mm.
Perforadora y Atornillador eléctrico con
puntas phillips y taladros Ø8mm.
Drilling machine and electric screwdriver
with phillips tips and drills Ø8mm.
Trena ou fita métrica
Cinta métrica.
Measuring tape.
Martelo comum.
Martillo común.
Simple hammer.
Chave de fenda simples e philips.
Atornillador simples y philips.
Simple and philips screwdriver.
100 20 30 40 50
mm
60 70
!
IMPORTANTE! Verificar as medidas dos parafusos na escala ao lado ou com uma trena antes de aplicá-los nas peças.
iIMPORTANTE! Verificar las medidas de los tornillos en la escala o con una cinta métrica antes de aplicarlos en las partes.
IMPORTANT! Check the measures of the bolts on the scale or with a measuring tape before applying them in parts.
Medidor/Indicador de Nível.
Indicador de nivel.
Level indicator.
Tampa plástica 13mm.
Capa de plastico 13mm.
Plastic Cover 13mm.
PAINEL/PANEL 900 x 1080 x 250mm
DUBAI
B
Parafuso 3,5 x 25mm cab. flangeada phs.
Tornillo 3,5 x 25mm phs.
Bolt 3.5 x 25mm flange head phs.
8 un. C
Cavilha Ø6 x 30mm.
Clavija Ø6 x 30mm.
Dowel Ø6 x 30mm.
16 un. D
Suporte-cantoneira metálico (2 furos).
Soporte metálico (con 2 agujeros).
Metallic angle bracket (with 2 holes).
6 un.
E
Parafuso 4,0 x 12mm cab. chata phs.
Tornillo 4,0 x 12mm phs.
Bolt 4.0 x 12mm flat head phs.
12 un. F
Parafuso 5,0 x 40mm estrutural phs.
Tornillo 5,0 x 40mm phs.
Bolt 5.0 x 40mm flat head phs.
9 un. G
Bucha plástica 8mm para parede.
Casquillo plástico 8mm para pared.
Plastic Bushin 8mm for wall.
4 un. H
Parafuso 5,5 x 65mm cab. Ø13mm phs.
Tornillo 5,5 x 65mm cab. 13mm phs.
Bolt 5.5 x 65mm head Ø13mm phs.
4 un.
Tampa passa-fios Ø40mm plástico .
Capa de plástico Ø40mm.
Plastic Cover Ø40mm.
I4 un. J2 un.
PASSO 1 / PASO 1 / STEP 1
a) Fixar a Prateleira central (03) nas Laterais do nicho (04) e na Divisória
do nicho (05) com cavilhas Ø6 x 30mm (C) e suportes-cantoneiras (D)
com parafusos 4,0 x 12mm (E).
Fijar Repisa central (03) en los Paneles laterales del nicho (04) y
en la Partición del nicho (05) con clavijas Ø6 x 30mm (C) y
soportes metálicos (D) con tornillos 4,0 x 12mm (E)
Fix the Middle Shelf (03) on the Niche Side Panels (04) and Partition (05)
with dowels (C) and metallic brackets (D) with bolts 4.0 x 12mm (E).
b) Fixar a Prateleira inferior (06) nas Laterais do nicho (04) e na Divisória
do nicho (05) com cavilhas Ø6 x 30mm (C) e parafusos 5,0 x 40mm (F).
Fijar Repisa inferior (06) en Paneles laterales (04) y en Partición
(05) con clavijas Ø6 x 30mm (C) y tornillos 5,0 x 40mm (F).
Fix the Lower Shelf (06) in the Niche Side Panels (04) and Partition (05)
with dowels Ø6 x 30mm (C) and bolts 5.0 x 40mm (F).
DETALHE 1
DETALLE 1
DETAIL 1
06
03
04
05
04

3
PASSO 2 / PASO 2 / STEP 2
a) Forrar o piso com a isomanta da
embalagem, para proteger a peça,
e dispor o Painel (01) com a face
traseira voltada para cima ,
verificando corretamente a sua
posição conforme os furos e o
desenho.
Forre el piso con la isomanta de
empaque, para proteger la pieza
y organizar el Panel (01) con la
face posterior hacia arriba ,
observando correctamente la su
posición de acuerdo con los
orificios y con los deseños .
Line the floor with the foam mantle
of the packing to protect the part
and arrange the Panel (01) with
the rear face upwards , correctly
checking it position as shown in
the drawing.
b) Posicionar as Colunas (02) na face
traseira do Painel (01) e fixá-las
com cavilhas Ø6 x 20mm (A) e
parafusos 3,5 x 25mm (B).
Posicionar las Columnas (02)
en la face trasera del Panel (01)
y fijarlas con clavijas Ø6x20mm
(A) y tornillos 3,5 x 25mm (B).
Place the Columns (02) on the rear
face of the Panel (01) and fix them
applying dowels Ø6 x 20mm (A)
and bolts 3.5 x 25mm (B).
02
01
Furos coincidentes no painel e na coluna, para posterior
aplicação de parafusos (H) para fixação na parede.
Orifícios coincidentes en el panel y en la columna, para
posterior aplicación de tornillos (H) para fijación en la pared.
Coinciding holes in the panel and column, for later
application of bolts (H) for fixing to the wall.
PAINEL/PANEL 900 x 1080 x 250mm
DUBAI
PASSO 3 / PASO 3 / STEP 3
02
Face traseira.
Face posterior.
Rear face.
03
06
01
Face traseira.
Face posterior.
Rear face.
02
04
05
04
a) Fixar a Prateleira central (03) e a Prateleira inferior (06) no Painel (01)
com cavilhas Ø6 x 30mm (C) e parafusos 5,0 x 40mm (F).
Fijar la Repisa central (03) y la Repisa inferior (06) en Panel (01)
con clavijas Ø6 x 30mm (C) y tornillos 5,0 x 40mm (F).
Fix the Middle Shelf (03) and the Lower Shelf (06) in the Panel (01) with
dowels Ø6 x 30mm (C) and bolts 5.0 x 40mm (F).

4
PASSO 4 / PASO 4 / STEP 4
PASSO 5 / PASO 5 / STEP 5
ATENÇÃO! Antes de iniciar a instalação do Painel, verificar as condições da parede quanto à
resistência para suportar o peso e ao posicionamento de tubulações elétricas, de água e de gás,
evitando danos a estas estruturas ao executar os furos. A Móveis Bechara não se responsabiliza
por problemas decorrentes de imperícia ou erros na montagem de seus produtos por terceiros.
iATENCIÓN! Antes de iniciar la instalación, verificar todas las condiciones de la pared, sobretodo cuanto
a la resisitencia para el peso y la existencia de lineas hidráulicas, de gas y eléctricas, evitando daños a
estas estructuras quando ejecutar los agujeros. Móveis Bechara no se responsabiliza por problemas
causados por inexperiencia o por errores en la montaje y instalación de sus productos por terceros .
ATTENTION! Before starting the installation,check all the conditions of the wall, notably regarding resistance
and weight support and the existence and position of hydraulic, gas and electrical lines, avoiding damage to
these structures when running holes. The Móveis Bechara not responsible for problems caused by
inexperience, inadequancy or failure to follow due recommendations in the assembly and installation of their
products by third parties.
a) Com as buchas (G) já aplicadas nos furos da parede, reposicionar o painel montado
no local de instalação e fixá-lo conforme indicações no DETALHE 2 aplicando, em
cada um dos quatro furos próximos aos cantos do painel, parafuso (H) e,
em seguida, a tampa de plástico (I).
Con los casquillos plásticos (G) ya aplicados en los agujeros de la pared,
reposicionar el panel montado en el lugar de instalación y fijarlo según
indicaciones en el DETALLE 2 aplicando, en cada uno de los cuatro agujeros
juntos a las esquinas del panel, tornillo (H) y después la capa de plástico (I).
With the bushings (G) already applied to the holes in the wall, replace the
assembled panel at the installation site and fix it as indicated in DETAIL 2 by
applying, in each of the four holes near the corners of the panel, bolt (H) and then
the plastic cover (I).
b) Aplicar as tampas passa-fios (J) nos furos do Painel.
Insertar las capas de plástico (J) en el Panel.
Apply the plastic cover (J) in the Panel.
a) Definir o local e a altura em que se pretende instalar o painel e marcar na
parede a posição dos furos para fixação, tomando como referência os furos
do próprio painel, nos quatro pontos indicados no desenho.
ATENÇÃO! Ao marcar a posição dos furos na parede, certificar-se de que
o painel ficará nivelado.
Establecer el lugar y la altura en que se desea instalar el panel y
marcar en la pared la posición de los agujeros para fijación, tomando
como referencia los agujeros del propio panel, en los cuatro puntos
indicados en el dibujo.
¡ATENCIÓN! Al marcar la posición de los agujeros en la pared,
asegúrese de que el panel está nivelado.
Define the location and height at which the panel is to be installed and mark
the position of the fixing holes on the wall, using as reference the holes in
the panel itself at the four points indicated in the drawing.
ATTENTION! When marking the position of the holes in the wall, make
sure that the panel will be leveled.
b) Com furadeira e broca Ø8mm (não fornecidas com o produto), fazer os
furos na parede.
Con perforadora y taladro Ø8mm (no incluídos en el producto), hacer los
agujeros en pared.
With drilling machine and drill Ø8mm (not supplied with the product), make
the holes in the wall.
c) Aplicar as buchas 8mm (G) nos quatro furos da parede.
Aplicar bujes 8mm (G) en los cuatro orifícios en la pared .
Apply the bushings 8mm (G) into the four holes in the wall.
(H)
Parafuso 5,5 x 65mm
Tornillo 5,5 x 65mm
Bolt 5.5 x 65mm
(I)
Tampa de plástico
Capa de plástico
Plastic Cover
DETALHE 2
DETALLE 2
DETAIL 2
Furo e bucha (G) na parede.
Perforación y casquillo (G)
en la pared.
Drilling and bushing (G)
on the wall.
01
PAINEL/PANEL 900 x 1080 x 250mm
DUBAI
Furo e bucha (G) na parede.
Perforación y casquillo (G)
en la pared.
Drilling and bushing (G)
on the wall.
Furo e bucha (G) na parede.
Perforación y casquillo (G)
en la pared.
Drilling and bushing (G)
on the wall.
Furo e bucha (G) na parede.
Perforación y casquillo (G)
en la pared.
Drilling and bushing (G)
on the wall.
01
Other Bechara Indoor Furnishing manuals
Bechara
Bechara RACK RECIFE User manual

Bechara
Bechara VIENA User manual
Bechara
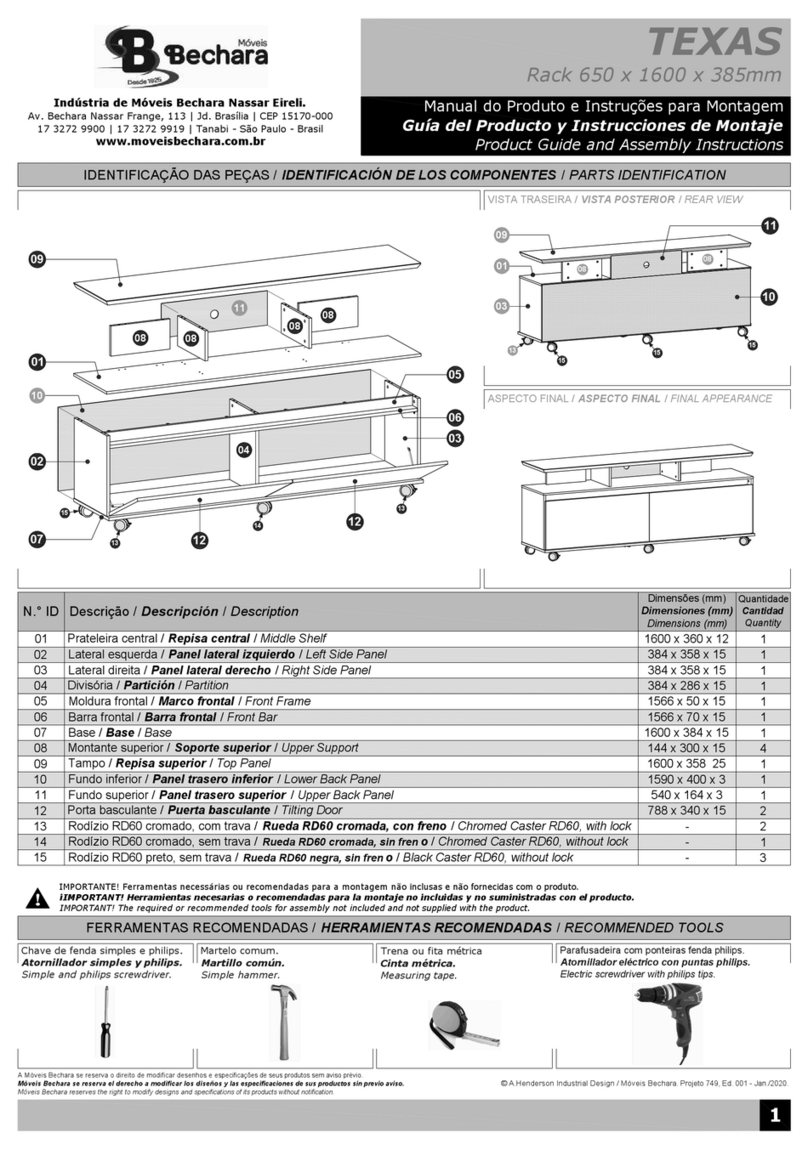
Bechara TEXAS User manual

Bechara
Bechara Qatar Panel User manual
Bechara
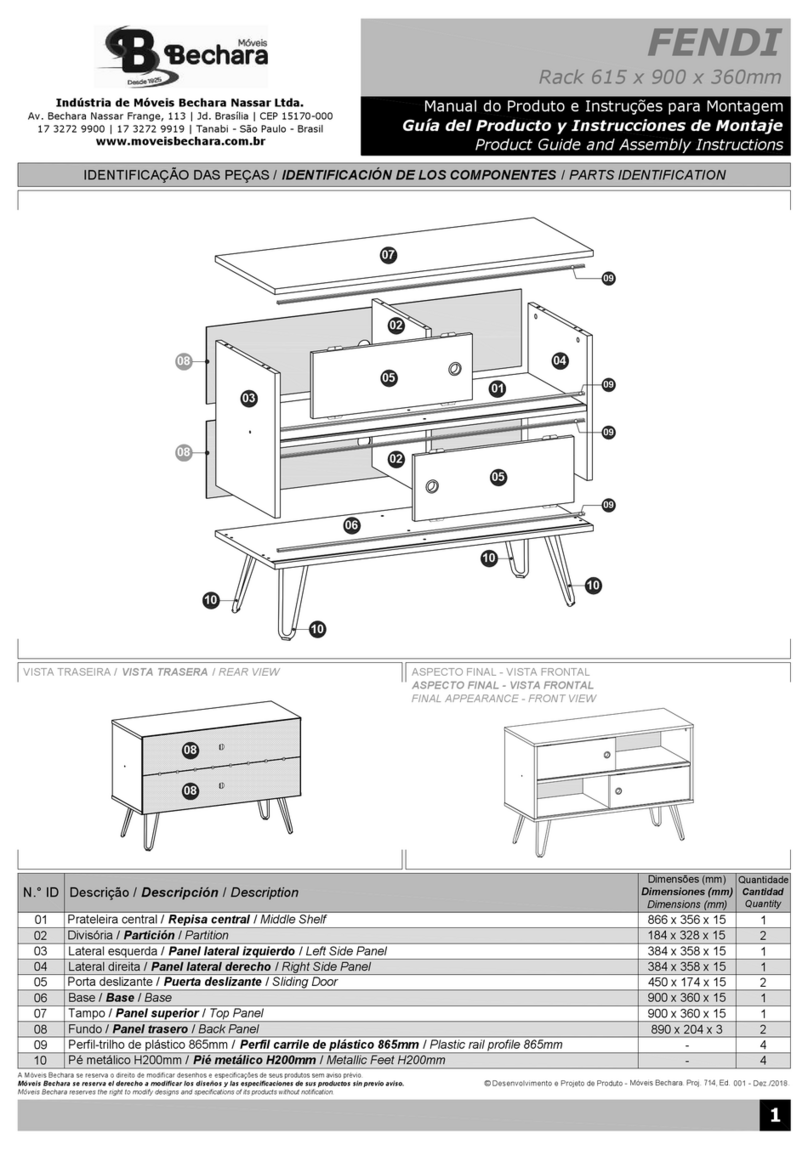
Bechara FENDI User manual
Bechara
Bechara PARIS 1.6 User manual
Bechara
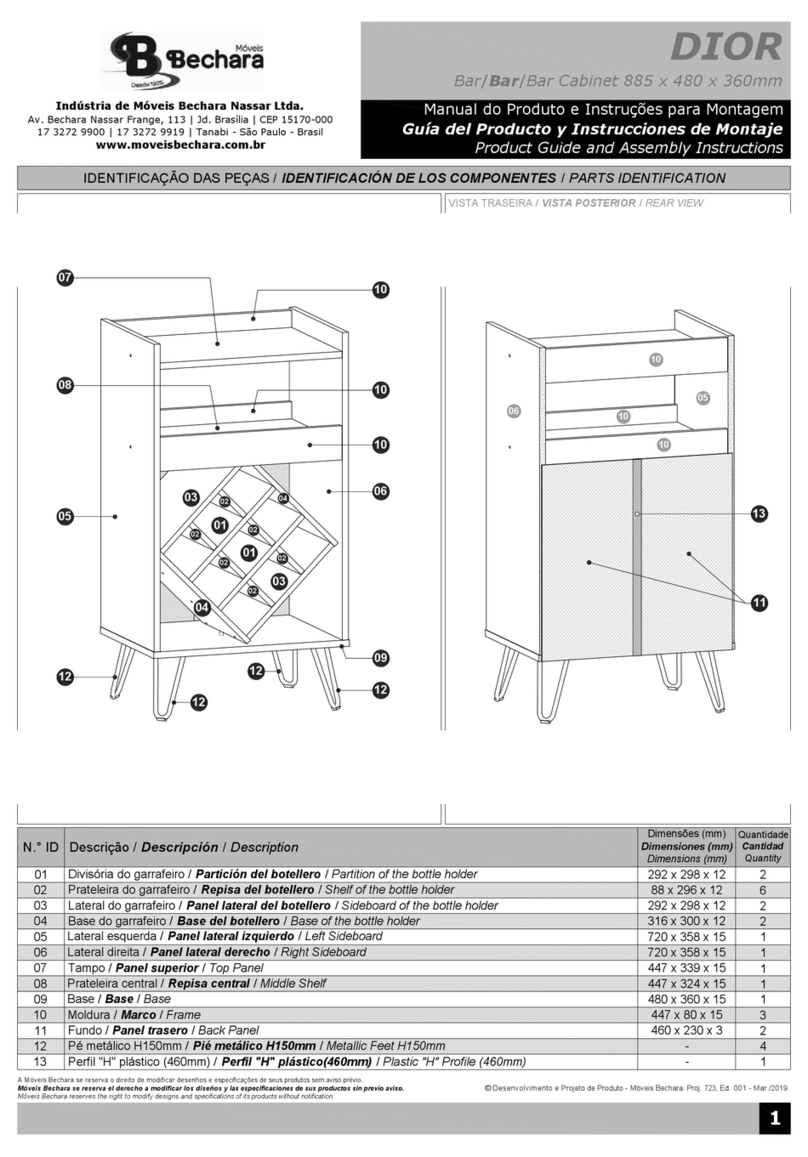
Bechara Dior Bar Cabinet User manual

Bechara
Bechara DOHA User manual
Bechara
Bechara KENZO User manual

Bechara
Bechara AMETISTA User manual
Popular Indoor Furnishing manuals by other brands

Regency
Regency LWMS3015 Assembly instructions

Furniture of America
Furniture of America CM7751C Assembly instructions

Safavieh Furniture
Safavieh Furniture Estella CNS5731 manual

PLACES OF STYLE
PLACES OF STYLE Ovalfuss Assembly instruction

Trasman
Trasman 1138 Bo1 Assembly manual

Costway
Costway JV10856 manual

