manuals.online logo
Brands
  1. Home
  2. •
  3. Brands
  4. •
  5. Belkin
  6. •
  7. Network Router
  8. •
  9. Belkin Grip 360 User manual

Belkin Grip 360 User manual

ENGLISH: Thanks for buying the Grip 360°. Your product’s inner disc may be a bit snug the first time you use it. To remove the disc, follow
these instructions:
FRANÇAIS: Merci d’avoir acheté le Grip 360°. Lors de la première utilisation, il se peut que le disque intérieur soit plus difficile à retirer.
Pour retirer le disque, suivez ces instructions :
DEUTSCH: Wir freuen uns über Ihren Kauf des Grip 360°. Die innere Scheibe des Produkts sitzt möglicherweise beim ersten Gebrauch
noch sehr fest in der Fassung. Wenn Sie die Scheibe entfernen wollen, gehen Sie nach folgenden Anweisungen vor:
ESPAÑOL: Gracias por comprar el Grip 360°. Puede que la primera vez que uses el producto te cueste un poco sacar el disco interior.
Para sacarlo, sigue estas instrucciones:
ITALIANO: Grazie per aver acquistato la Custodia Grip 360°. La prima volta che si usa il prodotto, potrebbe essere un po’ difficile estrarre
il disco interno. Per rimuoverlo, seguire le seguenti istruzioni:
Grip 360°
EN: Twist the inner disc counterclockwise until
the dot aligns with the “open” symbol.
FR: Tournez le disque intérieur dans le sens anti-
horaire jusqu’à ce que les points soient alignés
avec le symbole « ouvert ».
DE: Drehen Sie die innere Scheibe gegen den
Uhrzeigersinn, bis sich der Markierungspunkt und
das Symbol für “offen” auf einer Höhe befinden.
ES: Gira el disco interior en contra del sentido de
las agujas del reloj hasta que el punto se alinee
con el símbolo de “abierto”.
IT: Ruotare il disco interno in senso antiorario,
fino a quando il punto sul modulo è allineato con
il simbolo della posizione “aperta”.
3.
EN: Remove the inner disc (you may have to gently tap
the back of the case to release the disk from its socket).
FR: Retirez le disque intérieur (il se peut que vous
deviez taper le dos de l’étui pour faire sortir le disque
de son logement).
DE: Entfernen Sie die innere Scheibe (möglicherweise
müssen Sie dazu leicht auf die Rückseite der
Schutzhülle drücken, um die Scheibe aus der Fassung
zu lösen).
ES: Retira el disco interior (puede que tengas que
apretar un poco el otro lado de la funda para que salga).
IT: Rimuovere il disco interno (potrebbe essere
necessario toccare leggermente il retro della custodia
per rilasciare il disco dall’alloggiamento).
4.
4.
EN: Place Grip360° in the palm of your hand.
FR: Placez le Grip360° dans la paume de votre main.
DE: Legen Sie Grip360° auf Ihre Handfläche.
ES: Sujeta el Grip 360º en la palma de la mano.
IT: Posizionare la Custodia Grip 360° sul palmo
della mano.
1.
EN: Press down on the inner disc with your palm.
FR: Appuyez sur le disque intérieur avec votre paume.
DE: Drücken Sie die innere Scheibe mit der Handfläche
nach unten.
ES: Presiona sobre el disco con la otra mano.
IT: Spingere verso il basso il disco interno con il palmo.
2.
EN: Remove Disc FR: Retirer le disque DE: Scheibe entfernen ES: Sacar el discoI IT: Rimuovere il disco
EN: These instructions can also be viewed on our website at:
FR: Ces instructions sont également disponibles sur le Web à :
DE: Diese Anweisungen finden Sie auch auf unserer Website:
ES: Estas instrucciones también están disponibles en nuestra web:
IT: Queste istruzioni possono essere visualizzate anche sul nostro
sito web, all’indirizzo:
www.belkin.com/grip360
8830eb06150
FR:
Installer le support ou la sangle
EN:
Install Stand or Hand Strap Attachments
DE:
Standfuß und Handschlaufe befestigen
ES:
Cómo instalar el pie de apoyo o la correa de mano
IT:
Installare i moduli del supporto o del cinturino da mano
EN: Remove
Stand or Hand Strap Attachments
FR:
Retirer le support ou la sangle
DE:
Standfuß oder Handschlaufe entfernen
ES:
Cómo desinstalar el pie de apoyo o la correa de mano
IT:
Rimuovere i moduli del supporto o del cinturino da mano
EN: To secure the stand or hand strap attachment, insert it into the
opening by aligning its dot marker with the “open” symbol. Hold
outer ring firmly with your thumb.
FR: Pour attacher le support ou la sangle, insérez dans l’ouverture
en alignant les points avec le symbole « ouvert ». Tenez l’anneau
extérieur fermement avec votre pouce.
DE: Drehen Sie den Standfuß bzw. die Handschlaufe zur
Befestigung so in die Öffnung, dass sich der Markierungspunkt auf
derselben Höhe wie das Symbol für “öffnen” befindet. Halten Sie
den äußeren Ring mit Ihrem Daumen fest.
ES: Para fijar el pie de apoyo o la correa de mano, hay que insértalo
en la apertura y alinear el punto con el símbolo de “abierto”. Sujeta
el añillo exterior con el pulgar.
IT: Per fissare i moduli del supporto o del cinturino da mano, inserirli
nell’apertura, facendo attenzione ad allineare il punto con il simbolo
della posizione “aperta”. Mantenere saldamente l’anello esterno
con il pollice.
1.
1.
EN: Twist the attachment clockwise until the dot aligns
with the “closed” symbol and you can feel it snap into its
locked position.
FR: Tournez l’accessoire dans le sens horaire jusqu’à ce
que les points s’alignent avec le symbole « fermé » et que
vous sentiez qu’il s’enclenche.
DE: Drehen Sie den Standfuß bzw. die Handschlaufe im
Uhrzeigersinn bis zum Einrasten. Der Markierungspunkt
sollte sich dann auf der Höhe des Symbols für
“geschlossen” befinden.
ES: Gira el anclaje en el sentido de las agujas del reloj
hasta que el punto esté en línea con el símbolo de
“cerrado” y notes que ha encajado.
IT: Ruotare il modulo in senso orario, fino a quando il
punto è allineato con il simbolo della posizione “chiusa” e il
modulo è bloccato in posizione (si sentirà un clic).
snap!
2.
2.
EN: Hold outer ring firmly with your thumb.
FR: Tenez l’anneau extérieur fermement avec votre pouce.
DE: Halten Sie den äußeren Ring mit Ihrem Daumen fest.
ES: Sujeta el añillo exterior con el pulgar.
IT: Mantenere saldamente l’anello esterno con il pollice.
1.
1.
EN: Twist stand or hand strap counterclockwise until the
dot aligns with the “open” symbol.
FR: Tournez le support ou la sangle dans le sens anti-
horaire jusqu’à ce que les points soient alignés avec le
symbole « ouvert ».
DE: Drehen Sie den Standfuß bzw. die Handschlaufe
gegen den Uhrzeigersinn, bis sich der Markierungspunkt
auf der Höhe des Symbols für “offen” befindet.
ES: Gira el pie de apoyo o la correa de mano en contra del
sentido de las agujas del reloj hasta que el punto se alinee
con el símbolo de “abierto”.
IT: Ruotare il supporto o il cinturino da mano in senso
antiorario, fino a quando il punto sul modulo è allineato con
il simbolo della posizione “aperta”.
2.
2.
EN: Remove the stand or hand strap attachment.
FR: Retirez le support ou la sangle.
DE: Entfernen Sie den Standfuß bzw. die Handschlaufe.
ES: Retíralo.
IT: Rimuovere il modulo del supporto o del cinturino da mano.
3.
3.

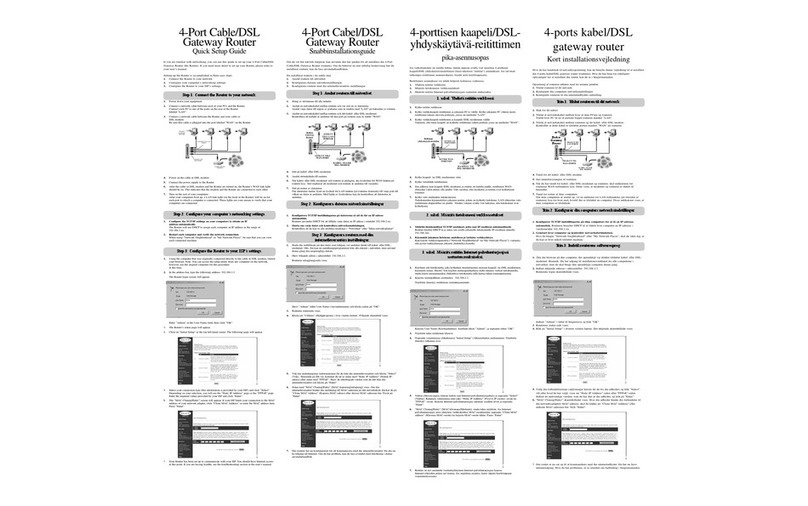
Other Belkin Network Router manuals

Belkin TSG-UK-1-001 Reference guide

Belkin

Belkin TSG-UK-1-001 Reference guide

Belkin F5D7330 User manual

Belkin

Belkin F5D7330 User manual

Belkin F5D8635V2 User manual

Belkin

Belkin F5D8635V2 User manual

Belkin F6D4630-4v2 User manual

Belkin

Belkin F6D4630-4v2 User manual

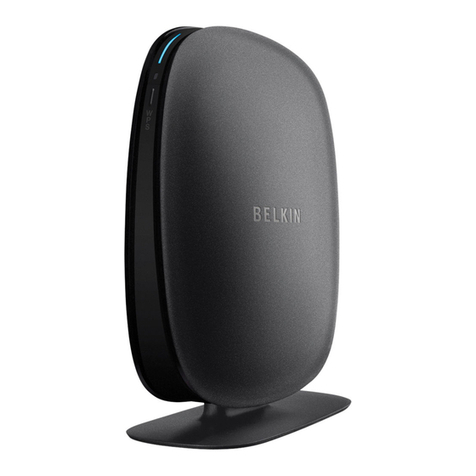
Belkin Next Net Series User manual

Belkin

Belkin Next Net Series User manual

Belkin RT3200 User manual

Belkin

Belkin RT3200 User manual

Belkin AC1800 DB User manual

Belkin

Belkin AC1800 DB User manual

Belkin F5D7330 User manual

Belkin

Belkin F5D7330 User manual

Belkin N+ User manual

Belkin

Belkin N+ User manual

Belkin F9K1113 v5 User manual

Belkin

Belkin F9K1113 v5 User manual

Belkin PARTAGE DE DOSSIER AVEC UN ROUTEUR Assembly instructions

Belkin

Belkin PARTAGE DE DOSSIER AVEC UN ROUTEUR Assembly instructions

Belkin P73928EH User manual

Belkin

Belkin P73928EH User manual

Belkin F1PI242EGAU User manual

Belkin

Belkin F1PI242EGAU User manual

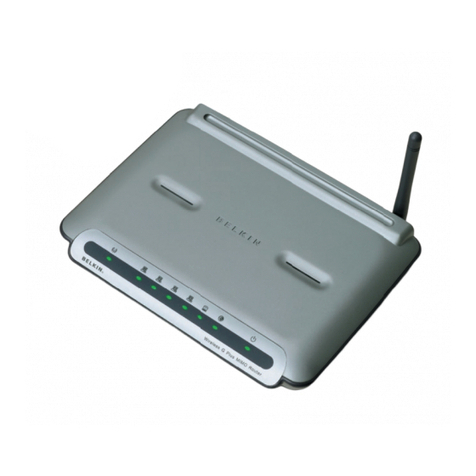
Belkin F5D7233 - Wireless G Travel Router User manual

Belkin

Belkin F5D7233 - Wireless G Travel Router User manual

Belkin F9K1115V2 User manual

Belkin

Belkin F9K1115V2 User manual

Belkin F5D8636-4 v2 User manual

Belkin

Belkin F5D8636-4 v2 User manual

Belkin 802.11g Wireless Ethernet Bridge User manual

Belkin

Belkin 802.11g Wireless Ethernet Bridge User manual

Belkin F9K1103 v1 User manual

Belkin

Belkin F9K1103 v1 User manual

Belkin F5D7630 Quick guide

Belkin

Belkin F5D7630 Quick guide

Belkin F5D8236V3 User manual

Belkin

Belkin F5D8236V3 User manual

Belkin F5D8232-4 User manual

Belkin

Belkin F5D8232-4 User manual

Belkin F5D5230-F User manual

Belkin

Belkin F5D5230-F User manual

Belkin WIRELESSBRIDGE GERMAN Quick start guide

Belkin

Belkin WIRELESSBRIDGE GERMAN Quick start guide

Belkin N600 DB User manual

Belkin

Belkin N600 DB User manual

Popular Network Router manuals by other brands

Perle IRG5540 Hardware installation guide

Perle

Perle IRG5540 Hardware installation guide

Hitron CGN3 user guide

Hitron

Hitron CGN3 user guide

Nexans iGigaSwitch 542S SFP-2VI Description and operating instructions

Nexans

Nexans iGigaSwitch 542S SFP-2VI Description and operating instructions

TP-Link TL-WR710N installation guide

TP-Link

TP-Link TL-WR710N installation guide

Aruba 7010 Series installation guide

Aruba

Aruba 7010 Series installation guide

Zoom Zoom ADSL X4 5551 Specifications

Zoom

Zoom Zoom ADSL X4 5551 Specifications

Cradlepoint ARC CBA850 quick start guide

Cradlepoint

Cradlepoint ARC CBA850 quick start guide

MB Connect Line mbNET.mini Series Quick start up guide

MB Connect Line

MB Connect Line mbNET.mini Series Quick start up guide

Edimax BR-6641 Specifications

Edimax

Edimax BR-6641 Specifications

Cisco ASR 902 Hardware installation guide

Cisco

Cisco ASR 902 Hardware installation guide

Mitsubishi Electric Central Controller G-50A Operation manual

Mitsubishi Electric

Mitsubishi Electric Central Controller G-50A Operation manual

Comtrend Corporation CT-5071 user manual

Comtrend Corporation

Comtrend Corporation CT-5071 user manual

Cisco 7200 VXR Series manual

Cisco

Cisco 7200 VXR Series manual

Asus RT-AX88U quick start guide

Asus

Asus RT-AX88U quick start guide

Billion BiPAC 8501 R3 quick start guide

Billion

Billion BiPAC 8501 R3 quick start guide

Cisco Firepower 1120 Installation

Cisco

Cisco Firepower 1120 Installation

Motorola Netopia 2247NWG reference guide

Motorola

Motorola Netopia 2247NWG reference guide

SMC Networks Barricade SMC7904BRA Quick installation guide

SMC Networks

SMC Networks Barricade SMC7904BRA Quick installation guide

manuals.online logo
manuals.online logoBrands
  • About & Mission
  • Contact us
  • Privacy Policy
  • Terms and Conditions

Copyright 2025 Manuals.Online. All Rights Reserved.