manuals.online logo
Brands
  1. Home
  2. •
  3. Brands
  4. •
  5. Bell'O
  6. •
  7. Indoor Furnishing
  8. •
  9. Bell'O CW343 User manual

Bell'O CW343 User manual

CW343
FLAT PANEL AUDI /VIDE SYSTEM
ASSEMB Y INSTRUCTIONS
Bell’O International Corp. will not be responsible for failure to assemble as directed or for the improper assembly, use or handling of this stand.
FOR YOUR SAFETY, PLEASE FOLLOW THESE PRECAUTIONS:
!
DO NOT P ACE ITEMS ON THE SHE VES WHICH EXCEED THE MAXIMUM WEIGHT IMITS OF 125 BS. FOR TOP SHE F,
50 BS. FOR THE MIDD E SHE F, AND 75 BS. FOR THE BOTTOM SHE F.
A WAYS P ACE THE HEAVIEST
COMPONENTS ON THE BOTTOM SHE F.
! ALWAYS REM VE THE TV AND THER EQUIPMENT FR M THE FURNITURE PRI R T M VING THE ASSEMBLED UNIT.
! BE CAREFUL WHEN M VING THE ASSEMBLED FURNITURE AFTER THE GLASS SHELVES HAVE BEEN IN-
STALLED, AND/ R WHEN THERE IS EQUIPMENT L CATED N THE FURNITURE AS THIS MAY CAUSE
THE SHELVES AND THER ITEMS T BEC ME UNSECURED AND FALL.
! WHEN IN USE, THIS FURNITURE MUST BE PLACED N A FLAT, S LID AND LEVEL SURFACE.
! D N T LEAN N THE TV WHEN IT IS N THE TV STAND.
! D N T CLIMB R STEP N THE STAND.
! D N T BANG INT R PLACE Y UR WN WEIGHT N THE GLASS SHELF.
PARTS LIST
#
DSYF1
DSYF2
DSYF3
DSYF4
DSYF5
DSYF6
DSYF7
DSYF8
DSYF9
DSYF10
DSYF11
4
12
4
4
2
1
8
2
2
2
2
uantity
Part
#
DSYF12
DSYF13
DSYF14
DSYF15
DSYF16
DSYF17
DSYF18
DSYF19
DSYF20
DSYF21
DSYF22
DSYF23
DSYF24
1
1
1
1
1
1
1
1
1
1
1
1
1
uantity
Part
10 mm
15 mm
12 mm
28 mm
70 mm
35 mm
(!) (!)
(!)
Fig. 1
DSYF14
DSYF2
4X
DSYF9
2X
DSYF18
DSYF17
DSYF16
1. n a very S FT and flat surface, CAREFU Y AY the two
curved Wood Sides (DSYF17, DSYF18) face down and
approximately 52 inches apart from one another.
Note (!): Pay close attention to the position of each Wood Side
in regards to its Part Number, and position as shown in Fig. 1.
The holes in the side edges of each panel should face toward
the center of the stand.
2. ATTACH the Bottom Wood Frame (DSYF16) as shown using
two sets of Cam Pins with Cam Locks (DSYF9). SCREW the
Cam Pins into the prethreaded holes in the curved Wood Sides
(DSYF17, DSYF18). INSERT the Cam Locks into the large holes
in the Bottom Wood Frame with the openings facing the Cam
Pins. INSERT the Cam Pins into the Cam Locks and turn Locks
to tighten.
3. ATTACH the Top Shelf Rear Support Bar (DSYF14) to the
curved Wood Sides (DSYF17, DSYF18) using four 15 mm
Screws (DSYF2) as shown.
(!)
(!)
ASSEMBLY INSTRUCTIONS
NOTE: 2 PE PLE ARE REC MMENDED T ASSEMBLE THIS FURNITURE. T AV ID DAMAGE DURING ASSEMBLY, IT SH ULD BE ASSEMBLED N A
S FT SURFACE.
Fig. 2
DSYF19
DSYF2
8X
4. With the help of an assistant to support the curved Wood Sides (DSYF17, DSYF18), carefully ATTACH the Bot-
tom Shelf Support Frame (DSYF19) to the back side of the Bottom Wood Frame (DSYF16) as shown using
eight 15 mm Screws (DSYF2).
DSYF16
DSYF17
DSYF18
Fig. 3
DSYF20
DSYF14
DSYF19
DSYF3
2X
DSYF3
2X
5. With the Bottom Shelf Support Frame (DSYF19) laying flat on the floor, ATTACH the CMS®(Cable Management System) Post
(DSYF20) to the Top Shelf Rear Support Bar (DSYF14) using two 28 mm Screws (DSYF3). Do not yet tighten fully.
6. SECURE the CMS®(Cable Management System) Post (DSYF20) to the Bottom Shelf Support Frame (DSYF19) using two 28
mm Screws (DSYF3). Now tighten all Screws fully.
Fig. 4
DSYF12
DSYF15
DSYF13
DSYF17
DSYF18
DSYF4
4X
DSYF1
4X
7. Carefully S IDE the Left and Right
Side Poles (DSYF12, DSYF13) into
the holes in the curved Wood Sides
(DSYF17, DSYF18).
Note (!): Pay close attention to the
position of each Side Pole in re-
gards to its Part Number, and posi-
tion as shown above. The holes in
the top flaps of each Pole should
face the REAR of the stand.
8. INSERT the top flaps of the Left
and Right Side Poles (DSYF12,
DSYF13) into the Top Shelf Front
Support Bar (DSYF15) and SE-
CURE as shown using four 10 mm
Screws (DSYF1).
9. SECURE the Left and Right Side
Poles (DSYF12, DSYF13) to the
Bottom Shelf Support Frame
(DSYF19) as shown using four 70
mm Bolts (DSYF4).
(!)
DSYF19
Fig. 5
DSYF16
DSYF17
DSYF18
DSYF15
DSYF14
DSYF6
DSYF20
DSYF8
2X DSYF11
2X
DSYF7
8X
10. SCREW two Shelf Support
Posts (DSYF11) into the
prethreaded holes in the
sides of the curved Wood
Sides (DSYF17, DSYF18).
11. ATTACH two sets of Shelf
Support Clips (DSYF8) to the
holes in the CMS®(Cable
Management System) Post
(DSYF20) as shown using the
supplied Shelf Clip Screws.
12. SCREW the Top Shelf Spacer
(DSYF6) into the hole in the
center of the Top Shelf Rear
Support Bar (DSYF14) as
shown. Be sure to FU Y in-
sert the Spacer.
13. P ACE six Glass Pads
(DSYF7) along the top edge of
the Bottom Shelf Support Frame
(DSYF19) as shown.
14. P ACE two more Glass Pads
(DSYF7) along the top edge
of the Top Shelf Front Support
Bar (DSYF15) as shown.
Fig. 6
DSYF23
DSYF12
DSYF14
DSYF5
2X
DSYF10
2X
DSYF13
15. With the help of an assistant, CAREFU Y P ACE the Top Glass Shelf (DSYF23) onto the stand assembly as shown. SE-
CURE the Top Shelf using two 35 mm Screws (DSYF5) as shown from beneath the Top Shelf Rear Support Bar (DSYF14) and
into the Shelf Discs on the underside of the Shelf. Be careful not to over tighten Screws.
16. SECURE the front of the Top Glass Shelf (DSYF23) to the tops of the Left and Right Side Poles (DSYF12, DSYF13) using one
12 mm Bolt (DSYF10) for each Pole as shown.
Fig. 7
DSYF20
DSYF8
DSYF21
DSYF19
DSYF17
DSYF18
DSYF22
17. Taking extreme caution not to
damage the Wood Sides
(DSYF17, DSYF18), CAREFU Y
P ACE the Bottom Glass Shelf
(DSYF22) onto the Glass Pads
(DSYF7) on the Bottom Shelf Sup-
port Frame (DSYF19).
18. Taking extreme caution not to
damage the Wood Sides
(DSYF17, DSYF18), CAREFU Y
P ACE the Middle Glass Shelf
(DSYF21) onto the Shelf Support
Posts (DSYF11) and INT the
Shelf Support Clips (DSYF8) in the
CMS®Post (DSYF20).
19. SECURE the Middle Glass Shelf
by tightening the Screw in the un-
derside of the Shelf Support Clips
(DSYF8) as shown.
Be careful not to overtighten.
NOTE (!): M ke sure the CW343
is on fl t nd level
surf ce, nd th t ll Gl ss
Shelves re secure nd
level before ttempting to
pl ce ny components on
the TV st nd.

Other Bell'O Indoor Furnishing manuals

Bell'O WAVS335 User manual

Bell'O

Bell'O WAVS335 User manual

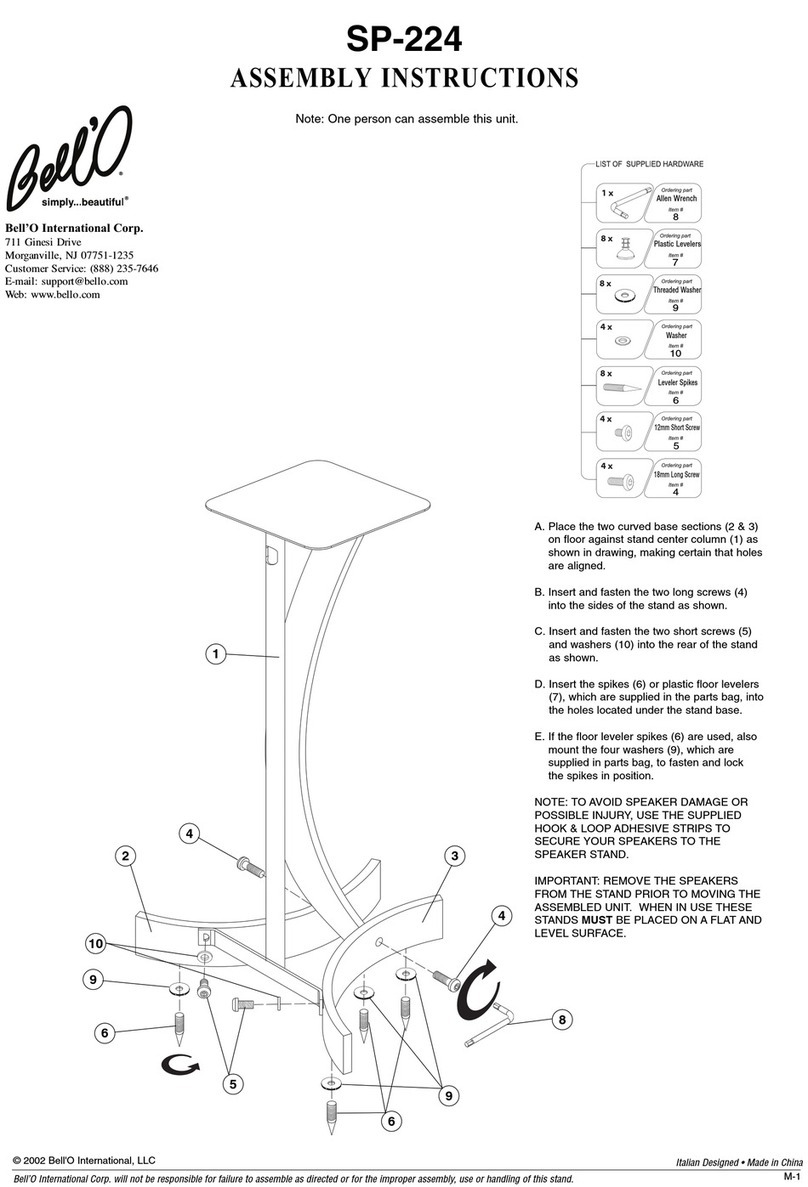
Bell'O SP-224 User manual

Bell'O

Bell'O SP-224 User manual

Bell'O WAVS333 User manual

Bell'O

Bell'O WAVS333 User manual
Bell'O PVs4208HG User manual

Bell'O

Bell'O PVs4208HG User manual

Bell'O HTS100 User manual

Bell'O

Bell'O HTS100 User manual

Bell'O WmFc503 User manual

Bell'O

Bell'O WmFc503 User manual

Bell'O WAVS321 User manual

Bell'O

Bell'O WAVS321 User manual

Bell'O oA351 User manual

Bell'O

Bell'O oA351 User manual

Bell'O AVSC2141 User manual

Bell'O

Bell'O AVSC2141 User manual
Bell'O PR12 User manual

Bell'O

Bell'O PR12 User manual
Bell'O AVSC2155 User manual

Bell'O

Bell'O AVSC2155 User manual
Bell'O TC56-7301 User manual

Bell'O

Bell'O TC56-7301 User manual

Bell'O ATC402 User manual

Bell'O

Bell'O ATC402 User manual
Bell'O WAVs99144 User manual

Bell'O

Bell'O WAVs99144 User manual

Bell'O TC48-6092 User manual

Bell'O

Bell'O TC48-6092 User manual
Bell'O CW356 User manual

Bell'O

Bell'O CW356 User manual
Bell'O 82206PM User manual

Bell'O

Bell'O 82206PM User manual

Bell'O ATC402 User manual

Bell'O

Bell'O ATC402 User manual

Bell'O ATC402 User manual

Bell'O

Bell'O ATC402 User manual
Bell'O ATCA90111 User manual

Bell'O

Bell'O ATCA90111 User manual

Bell'O AVSC-2121 User manual

Bell'O

Bell'O AVSC-2121 User manual

Bell'O WAVS99175 User manual

Bell'O

Bell'O WAVS99175 User manual

Bell'O PVS4204 User manual

Bell'O

Bell'O PVS4204 User manual

Bell'O WAVS329 User manual

Bell'O

Bell'O WAVS329 User manual

Popular Indoor Furnishing manuals by other brands
Home Styles 5580-80 manual

Home Styles

Home Styles 5580-80 manual

feather&black Verona 6 Drawer Wide Chest Wall Fixing Guide
feather&black

feather&black Verona 6 Drawer Wide Chest Wall Fixing Guide

DaVinci Asher 13801 Assembly instructions
DaVinci

DaVinci Asher 13801 Assembly instructions

Simpli Home Brooklyn+Max WyndenHall AXCART30-RUS manual
Simpli Home

Simpli Home Brooklyn+Max WyndenHall AXCART30-RUS manual

HAMPTON BAY LEMON GROVE BISTRO TABLE D11230-TB Use and care guide
HAMPTON BAY

HAMPTON BAY LEMON GROVE BISTRO TABLE D11230-TB Use and care guide

HumbleCrew TC604 quick start guide

HumbleCrew

HumbleCrew TC604 quick start guide
QU-AX HavanA 54 01 35PXL BR Series manual

QU-AX

QU-AX HavanA 54 01 35PXL BR Series manual

M-TI 322 Instruction guide

M-TI

M-TI 322 Instruction guide

RealFlame Outdoor Living 2371 manual

RealFlame

RealFlame Outdoor Living 2371 manual

DaVinci M10687 Care and maintenance

DaVinci

DaVinci M10687 Care and maintenance

West Elm Chelsea Assembly instructions

West Elm

West Elm Chelsea Assembly instructions

HAMPTON BAY 191-A19-26-30T-SLWH Use and care guide

HAMPTON BAY

HAMPTON BAY 191-A19-26-30T-SLWH Use and care guide

Simpli Home AXCART17-RNAB Assembly instructions

Simpli Home

Simpli Home AXCART17-RNAB Assembly instructions

Simpli Home Wyndenhall Brooklyn + Max AXCRCOS01-MAH manual

Simpli Home

Simpli Home Wyndenhall Brooklyn + Max AXCRCOS01-MAH manual

Little Seeds B341860015COM0 Assembly manual
Little Seeds

Little Seeds B341860015COM0 Assembly manual

mlmeble IQ 06 Assembling Instruction

mlmeble

mlmeble IQ 06 Assembling Instruction

Polywood ECA15 Assembly instructions

Polywood

Polywood ECA15 Assembly instructions

New Age HOME BAR SERIES manual

New Age

New Age HOME BAR SERIES manual

manuals.online logo
manuals.online logoBrands
  • About & Mission
  • Contact us
  • Privacy Policy
  • Terms and Conditions

Copyright 2025 Manuals.Online. All Rights Reserved.