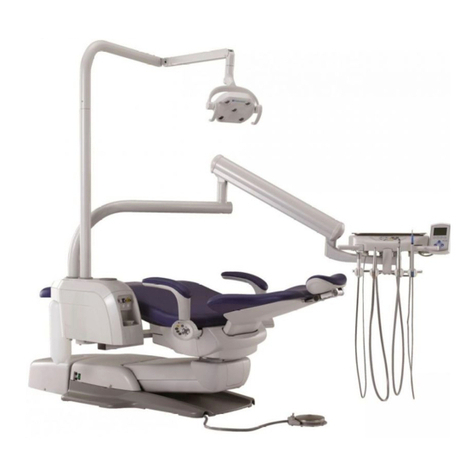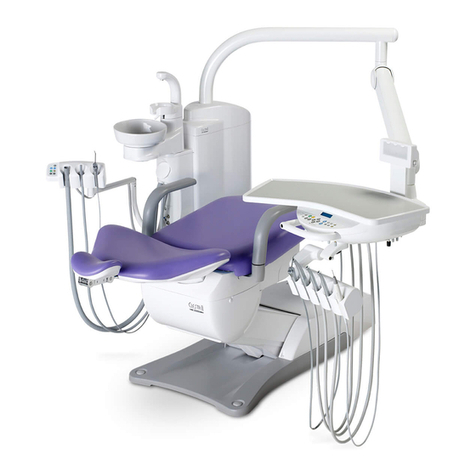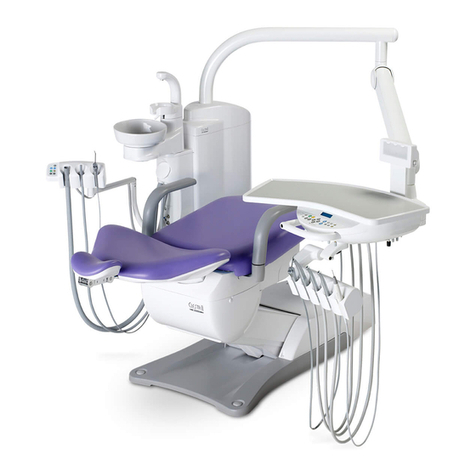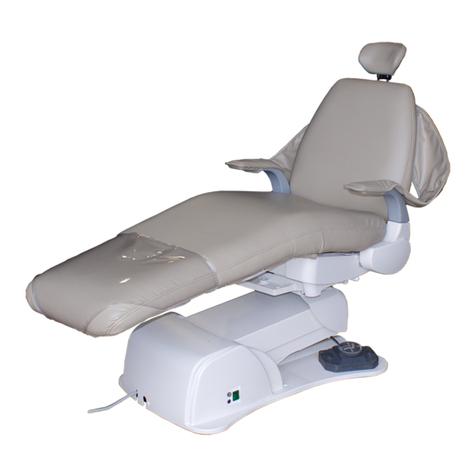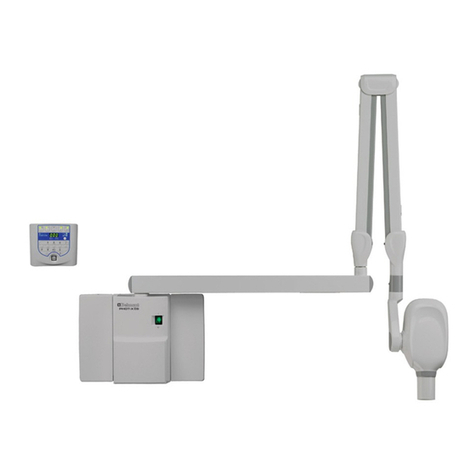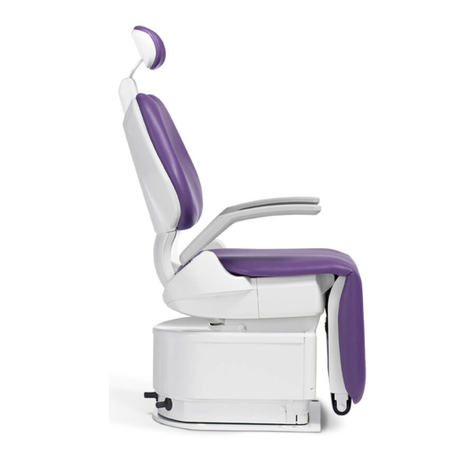
14 ~ 41
Setup of micromotor preset mode
48
Displaying the micromotor gear ratio
49
Recurrence mode at the time of power on and setup
50
Indicator off function 50
Chair Surface Cleaning and Disinfection 35
Tray mat (optional) 45
Doctor control panel 54
Doctor Instrument holder 55
Assistant control panel
56
Assistant Instrument holder
56
Cleaning of Handpiece hose 55
Oil mist separator (optional) 55
Cleaning of spittoon section
57
Cleaning of vacuum / saliva ejector lines
57
Cleaning of vacuum / saliva ejector handpiece
58
Sterilization of vacuum / saliva ejector handpiece
59
Cleaning of Belmont 77 syringe 61
Sterilization of Belmont 77 syringe
61
Cleaning of vacuum /saliva ejector hose
60
Cleaning of the solid collector
60
Cleaning air filter drain valve and
discharging water from air compressor
DESCRIPTION OF OPERATION AND
FUNCTIONS OF COMPONENTS
62
62
Main Switch (Chair Section) 14
Twin Articulating Headrest 14
Single Articulating Headrest (optional) 15
Foot Switch (optional) 15
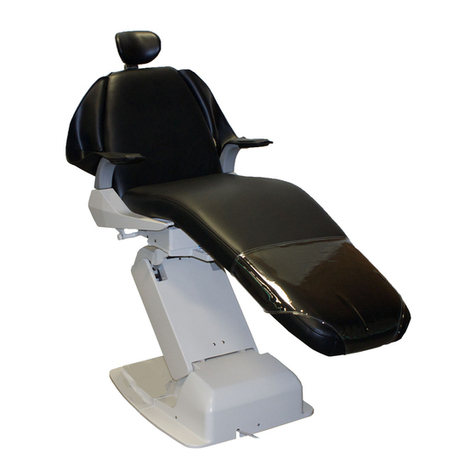
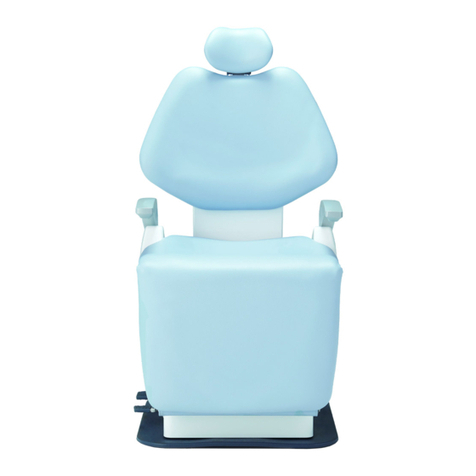
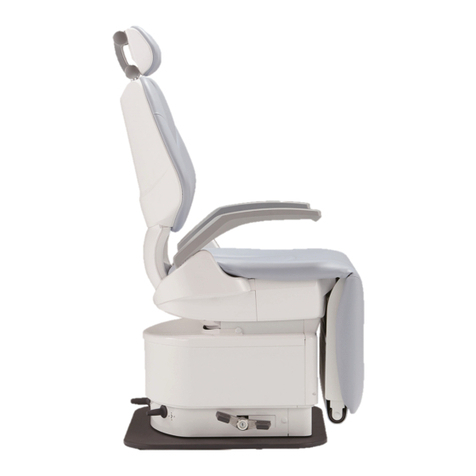
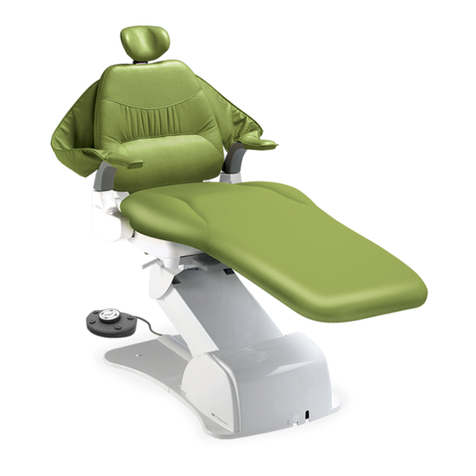
1 Chair Section
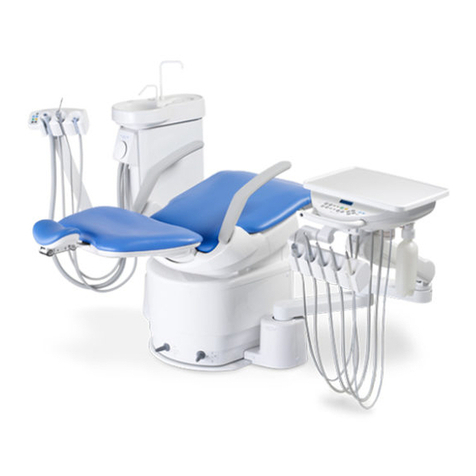
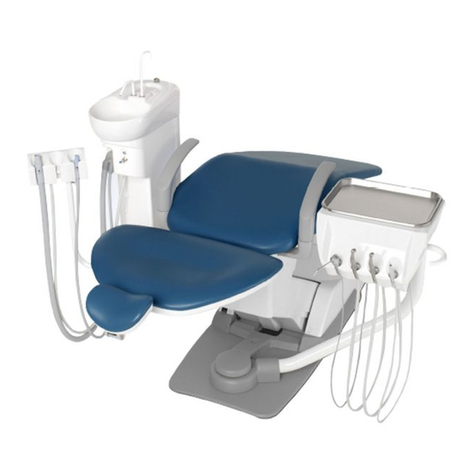
2 Doctor Unit Section
3 Foot Controller
4 Cuspidor Unit Section
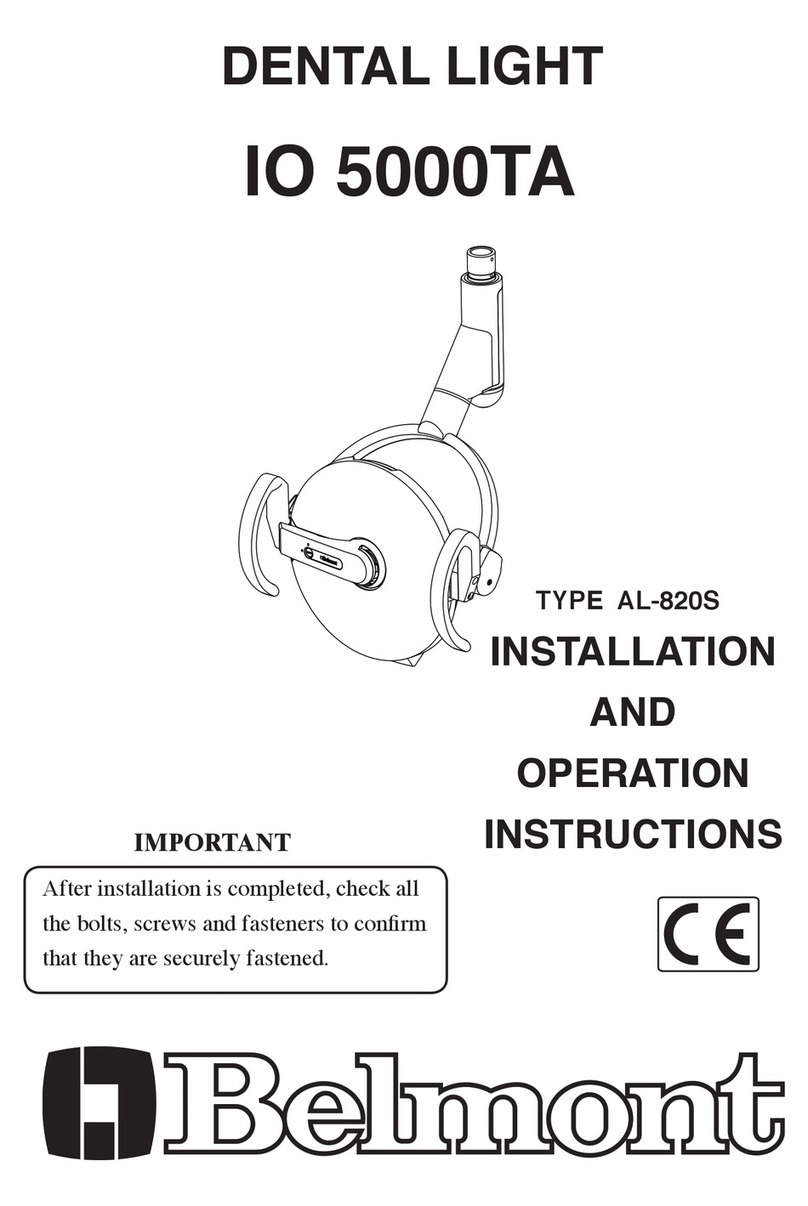
5 Dental Light Section
6 Right/Left Handed Dentistry Conversion
1 Chair Auto Operation Setting
2 Doctor Unit Section
Main Switch (Unit Section) 17
Handpiece 18
Handpiece priority function (first priority) 18
Handpiece air pressure gauge 18
Description of doctor control panel 19
Operation and display of micromotor
26
Operation and display of scaler
26
Table Height Adjustment 27
Intra-oral size film viewer (optional) 27
Panorama size film viewer (optional) 27
Water tank (optional) 28
Foot Controller (SE Type) 28
Maintenance panel and cuspidor control panel 29
Vacuum handpiece 31
Saliva ejector handpiece 31
Spittoon bowl Rotation 31
Assistant control panel 31
Height adjustable assistant arm (optional) 32
Sensor cupfiller (Optional) 32
701 dental light
(Type AL-720PAS)
(optional)
33
900 dental light
(Type AL-920PAS)
(optional)
34
300LED dental light
(Type AL-320PAS)
(optional)
35
Confirm before convert 36
Right/Left handed dentistry conversion 36
Confirm the safety function
41
Preset position setup procedures 42
Last position setup procedures 42
Contents and sequence of function switch 43
1
2
3
4
Dental timer 44
Doctor number 45
Flushout 45
Key touch tone
46
Steps of micromotor limit rotation speed
47
Micromotor spray mode
47
Interlocked action of cupfiller and bowl flush
48
7
8
9
Indicator abnormality and troubleshooting 50
Chair motion stop function 51
Handpiece rotation stop function 51
1 Junction Box Section
Main air pressure reducing valve 52
Main water pressure reducing valve 52
2 Doctor Unit Section
Water adjustment of the handpiece spray 52
Water/air adjustment of the syringe spray 52
1 Chair Section
2 Doctor Unit Section
3 Cuspidor Unit Section
4 Junction Box Section
Handpiece light switching-on timing 46
5
Alarm tone 47
6
Care and Maintenance of Handpiece hose 55
Cleaning and disinfection of product exterior
5 Product Exterior
1 ~ 9
SAFETY PRECAUTIONS
INTENDED USE OF THE PRODUCT
SYMBOLS
(Please observe safety precautions fully)
11 ~ 13
OVERVIEW AND MAJOR COMPONENTS
PRACTICE OF FLUSH OUT 10
OPERATION SETTING 42 ~ 50
51
OPERATION STOPPING FUNCTION
52
ADJUSTMENT OF PARTS
53 ~ 62
CARE AND MAINTENANCE
73 ~ 74
ELECTROMAGNETIC COMPATIBILITY (EMC)
72
LIST OF COMPATIBLE HANDPIECES
69 ~ 71MAINTENANCE AND INSPECTION
65 ~ 68
DIMENSIONS AND SPECIFICATIONS
64BEFORE ASKING FOR REPAIRS
63
CARE STORAGE, LIFETIME, DISPOSAL
AND RESTRICTIONS OF USE
75
DECLARATION OF CONFORMITY
