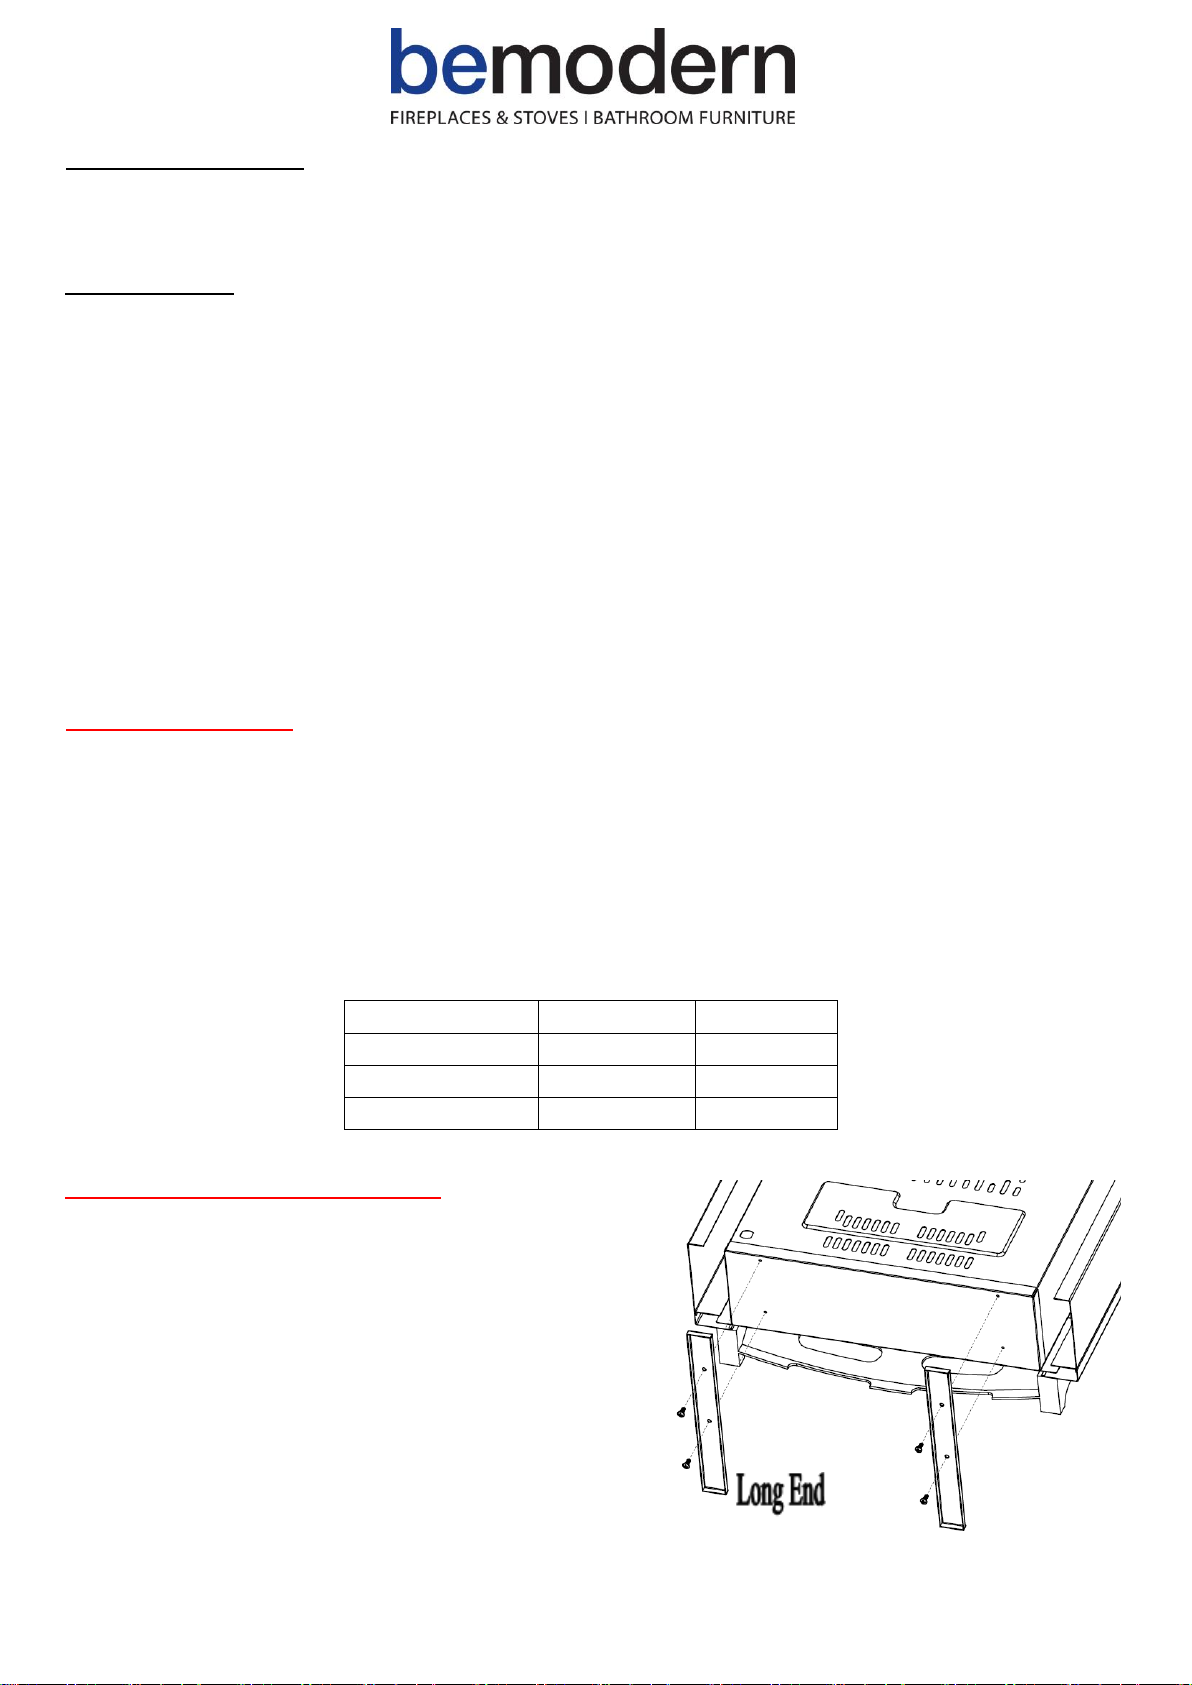
bemodern 2599M User manual


Other bemodern Indoor Fireplace manuals

bemodern
bemodern Pryzm 750 User manual

bemodern
bemodern Beadnell Owner's manual

bemodern
bemodern Arteon Pryzm 10003SL Guide

bemodern
bemodern BM-091 2 Series User manual

bemodern
bemodern BM-06 2 SLIDE Series User manual

bemodern
bemodern BM-10 User manual

bemodern
bemodern Arteon Pryzm 10003SL Programming manual

bemodern
bemodern 2603 HE900E Installation instructions

bemodern
bemodern ELSIE 960 User manual

bemodern
bemodern Juliette Assembly instructions

bemodern
bemodern Pryzm Volta 42 Guide

bemodern
bemodern 2893 User manual

bemodern
bemodern BM-05XXX1 User manual

bemodern
bemodern Pryzm 750 Guide

bemodern
bemodern 2100 User manual

bemodern
bemodern 2599R User manual

bemodern
bemodern 2983 User manual

bemodern
bemodern 600CF User manual

bemodern
bemodern PRIZM MEDIAVUE Programming manual

bemodern
bemodern BM-121 2 Series User manual


Popular Indoor Fireplace manuals by other brands

Amantii
Amantii WM-BI-28-3421 Installation and operating instructions

ruegg
ruegg Premium Series installation guide

Enerzone
Enerzone Destination 2.3 Insert Installation and operation manual

Kingsman Fireplaces
Kingsman Fireplaces Marquis MCVP42N installation instructions

pleasant hearth
pleasant hearth 248-45-70M installation instructions

Char-Broil
Char-Broil 04501128 Assembly instruction

Heatilator
Heatilator NOVUS series Installation & operating instructions

Heat-N-Glo
Heat-N-Glo SL-350TV Installer's guide

FMI
FMI CGDV32NR OWNER'S OPERATION AND INSTALLATION MANUAL

Regency
Regency Alterra CI1200 Owners & installation manual

Quadra-Fire
Quadra-Fire COLBAY-INS owner's manual

Desa
Desa Vanguard BHDV37NC OWNER'S OPERATION AND INSTALLATION MANUAL

Dimplex
Dimplex COMPACT FIREPLACE owner's manual

Desa
Desa VK36N SERIES OWNER'S OPERATION AND INSTALLATION MANUAL

GHP Group
GHP Group Pleasant Hearth PHZCI32LP manual

Montigo
Montigo Homefire plus MD38-BV Installation operation & maintenance data

Napoleon
Napoleon Element NEFB36H-BS-1 Installation and operation manual

IHP
IHP Superior Fireplaces Merit WRT2042WS Installation and operation instruction