manuals.online logo
Brands
  1. Home
  2. •
  3. Brands
  4. •
  5. Benchmark
  6. •
  7. Laboratory Equipment
  8. •
  9. Benchmark Orbi-Shaker CO2 User manual

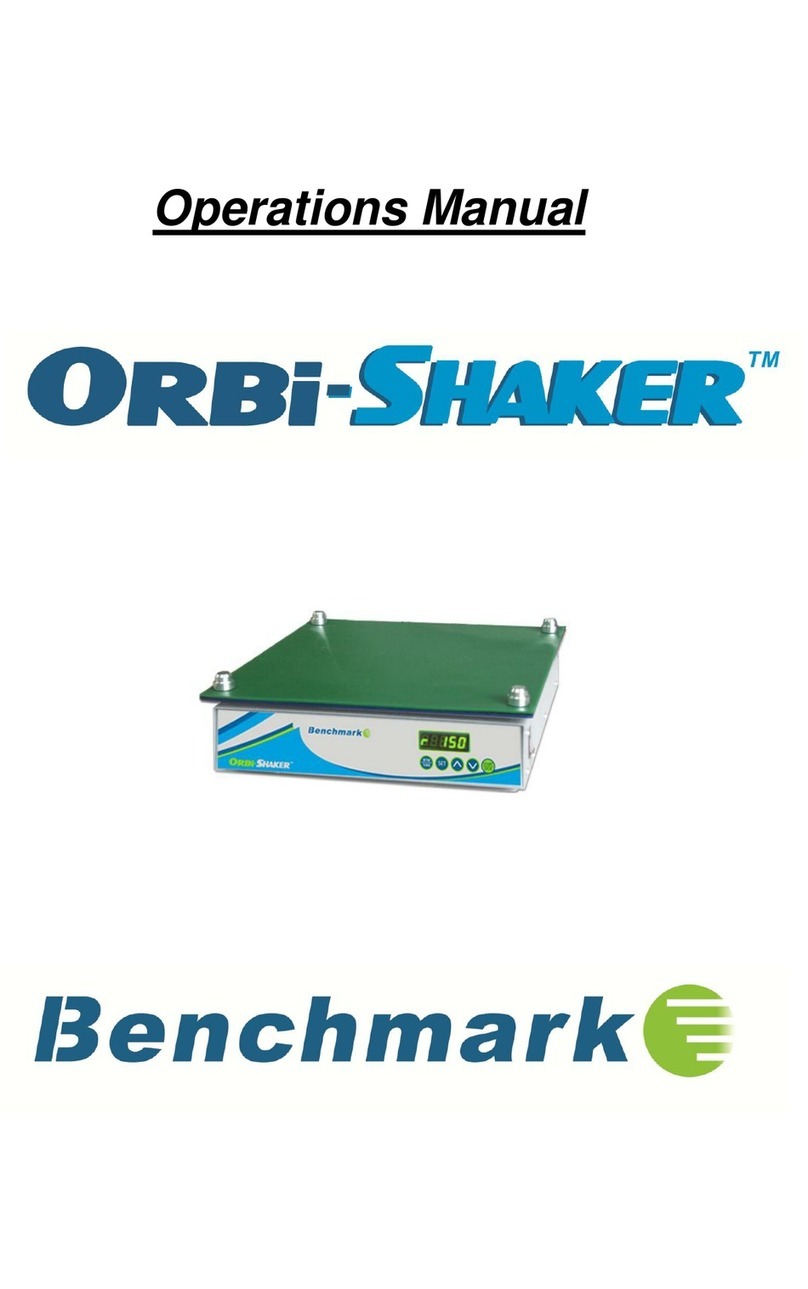
Benchmark Orbi-Shaker CO2 User manual

Operations Manual
Index:
I. General Information
II-1. Introduction
II-2. Installation
II-3. Specifications
II-4. Features
III-1. Operation
III-2. Platform Installation
III-3. Error Messages
III-4. Maintenance
IV-1. Service and Contact
I. General Information
NOTE : Before operating the Orbi-Shaker CO
₂
please take a few
minutes to familiarize yourself with the contents of this manual.
Thank you for purchasing the Orbi-Shaker CO₂. This operations
manual contains instructions for the care of this Instrument. In order
to use the instrument properly, please read this manual carefully
before operation. Please keep it available for future use.
Prior to the initial operation:
Please check the Instrument and the accessories against the packing
list when you first open the shipping carton. If you find there is
damage, a discrepancy, or missing items, please contact your
supplier immediately.
II-1. Introduction
The Orbi-Shaker CO₂is designed for use in extreme environments,
including CO₂incubators. The product is ideal for many applications used
in general research laboratories, including cell culture, bacteria suspension,
etc.
The Microprocessor’s constant monitoring system ensures accurate
shaking speed. The beltless drive system minimizes noise and vibration
while increasing the life span of the unit.Optional accessories are
available for compatibility with a wide variety of laboratory vessels,
including flasks, tubes, dishes and trays.
II-2. Installation
-Choose a location for the shaking mechanism.
-To assure proper ventilation, allow a minimum of 2 inches (5 Cm) of the
clearance between the rear and side of the unit and the adjacent wall.
-Always ensure that the machine is installed on a level surface.
-Once the machine is placed in the desired location, attach the flat cable
to the remote controller.
-Place the remote controller in the desired location.
(Ensure that the remote controller is located in a dry area)
-Before plugging the remote controller into the outlet, ensure that the
electrical specifications (listed on the serial number label on the rear
side of the controller) matches the electrical specifications of your outlet.
-ALWAYS: Connect the flat cable from the remote controller to the
shaking mechanism before connecting the controller to the
electrical outlet.
When installing the instrument inside of an incubator, typically, the
flat cable can exit the incubator through a cable port (usually located
on the back of the incubator). If your incubator does not include a
port, the flat cable is designed so that it can also exit between the
front of the door and the chamber without preventing sealing.
II-3. Specification
1) Dimension (Exterior) : 30 (W) X 34 (D) X 11.8 (H) cm
/ 11.8 (W) x 13.5 (D) x 3.5 (H) in.
(Platform): 30 (W) x 33 (D) cm
/ 12 (W) x 13 (D) in.
2) Speed range : 30 - 300 RPM
(No load & on stable surface)
3) Shaking Orbit: 19mm (3/4”)
4) Timer : Digital - 1 min. to 47hr 59min.
(1 min. increments)
Or continuous
5) Motor : Brushless DC - Beltless
6) Weight: Shaker: 25 lbs / 11.5 kg
Controller: 5 lbs / 2.3 kg
7) Electrical: 120V or 230V, 50-60Hz
/ 600W
8) Operating Environment: 0 to 65℃
II-4. Features
1) Constant Monitoring System (CMS) ensures precise control
over speed
2) Sealed shaking mechanism for use in extreme environments
(humidity up to 100%)
3) Controller allows for speed/time adjustment without opening door when it
is used in an Incubator or a chamber.
4) MAGic Clamp platform available as optional accessory.
5) Blushless DC motor and beltless drive system minimizes
noise and vibration.
6) Digital controller displays speed and time.
7) Wide variety of optional accessories available for most
common laboratory vessels
III-1. Operation
3.1.1 Basic View Screen
▶Basic View Screen
ⓐRUN LED: indicates if the shaker is running.
ⓑTime setting: Indicates the set or remaining time.
(To adjust, TOUCH the time value)
ⓒRPM setting: Displays the set or current RPM
(To set the desired shaking speed, TOUCH the RPM value)
ⓓAlarm Mute : The audible alarm can temporarily deactivated by TOUCHING
the key when the audible alarm is active (beeping). This silences/mutes
the alarm for 10 minutes and the icon is displayed as . Following the 10
minute mute, if alarm event continues, audible alarm is unmuted.
To unmute the alarm, TOUCH the key to toggle to the unmuted
setting, .
Alarm Disabled : The alarm can be disabled by TOUCHING and holding
the key for 3~5 seconds. To reactivate the alarm setting, TOUCH the
OFF
once.
ⓔMenu: TOUCH to activate the main menu
ⓕShaker Start/Stop Button
TOUCH to start or to stop the shaker.
ⓖShaker end: Indicates that the setting time has expired and the
shaker stops running.
▶Booting
Press the power switch into the ON position, the display
illuminates and the booting screen is displayed for 2
seconds before showing the “Basic View” screen.
NOTE: If the shaker has been powered off before the
completion of a run, the unit will automatically power on to
the previous settings.
▷RPM setting change
ⓐTOUCH the RPM value, The numbers become red
ⓑ“SET MODE” is displayed (flashes)
ⓒInput the desired value by pressing UP(▲)/DOWN(▼) buttons
NOTE: Press and hold the buttons to increase or decrease the value
quickly.
ⓓApply: To store the newly set value TOUCH
(Or wait 5 seconds for the value to store automatically)
ⓔExit: If you press after changing any values, the values are not
saved and the screen returns to the previous screen
ⓓ
ⓑ
ⓒ
ⓔⓕ
SHAKER END
ⓖ
ⓐ
ⓐ
ⓑ
ⓒ
ⓓ
ⓔ
▷Time setting change
ⓐTOUCH the time value, The numbers become red
ⓑ“SET MODE” is displayed (flashes)
ⓒInput the desired value by pressing UP(▲)/DOWN(▼) buttons
NOTE: Press and hold the buttons to increase or decrease the value
quickly.
ⓓApply: To store the newly set value TOUCH
(Or wait 5 seconds for the value to store automatically)
ⓔExit: If you press after changing any values, the values are not
saved and the screen returns to the previous screen
NOTE: The time cannot be adjusted during a run. To change the time
during a run, you must TOUCH . Change the time value and
press and
3.1.2. Advanced View Screen
▶Advanced Mode
To switch from the standard BASIC view
To the ADVANCED view,
TOUCH “MENU” and choose ADVANCED View.
NOTE: To return to the BASIC View, TOUCH
“MENU” and choose the BASIC View.
The ADVANCED View provides the user with access to the
STEP mode for linking consecutive mixing cycles.
BASIC to ADVANCED
ADVANCED to BASIC
▶Shaker setting (Advanced)
▷RPM setting change
ⓐTOUCH the RPM Shaker value, the screen turns to the
Shaker setting screen
ⓑTOUCH the “RPM Set” Value to adjust the set speed.
ⓒInput the desired value by using the key pads in
the setup screen
ⓓApply: When you press , the changed
setting values are saved and the screen turns to
the previous screen
ⓔExit: If you press button, the changed setting
values are not saved and the screen turns to the
previous screen
ⓕThe RPM setting range is 30~300rpm
When entering a value out of this range and
pressing , the message
“Incorrect range” is displayed.
ⓐ
ⓑ
ⓒ
ⓓ
ⓔ
ⓕ
ⓐⓑ
ⓒⓓⓔ
▶Shaker setting (Advanced ONLY)
▷Alarm setting change
The alarm value is the difference between
the set speed and the measured (displayed)
speed. If the difference exceeds this value
(once the temperature has been reached) the
alarm will trigger.
ⓐTOUCH the RPM Shaker value, the screen turns
to the Shaker setting screen
ⓑTOUCH the “Alarm Set” Value to set the timer
ⓒInput the desired value by using the key pads
in the setup screen
ⓓApply: When you press , the changed
setting values are saved and the screen turns to
the previous screen
ⓔExit: If you press button, the changed setting
values are not saved and the screen turns to the previous
screen
ⓕThe RPM setting range is 1~30rpm
When selecting the value out of this range and
pressing , the message “Incorrect range” is
displayed.
▷Alarm Mute
The audible alarm can temporarily deactivated by TOUCHING the key
when the audible alarm is active (beeping). This
silences/mutes the alarm for 10 minutes. and the icon is displayed as
. Following the 10 minute mute, if alarm event continues,
audible alarm is unmuted.
To unmute the alarm, TOUCH the key to toggle to the
unmuted setting, .
▷Alarm Disabled
The alarm can be disabled by TOUCHING and holding
the key for 3~5 seconds. To reactivate the alarm
setting, TOUCH the once.
OFF
BASIC View ADVANCED View
OFF
OFF
ⓑ
ⓒ
ⓓ
ⓔ
▶Shaker setting (Advanced)
Adjusting the Shaking Time
ⓑTOUCH the “Time Set” Value to adjust the set shaking
time.
ⓒInput the desired value by using the key pads in the
setup screen
ⓓApply: When you press , the changed
setting values are saved and the screen turns to the
previous screen
ⓔExit: If you press button, the changed setting
values are not saved and the screen turns to the
previous screen.
ⓐ
ⓑ
ⓒ
ⓓ
ⓔ
ⓕ
3.1.3. Shaker Step Setting
▷
RPM, time setting
ⓐTOUCH the RPM Shaker value to enter the shaker setup screen.
ⓑSelect , the screen moves to the shaker step & setup screen
ⓒYou can select/link up to 4 desired shaking speeds.
Choose each of the 4 desired speeds by pressing on the speed value.
(If less than 4 linked speeds are desires,
leave the time and speed values as “0” to skip.)
ⓓOnce a RPM step is selected, use the keypad in the setup screen
to select the desired RPM value
ⓔApply: When you press , the changed setting values are saved
and the screen turns to the previous screen
ⓕExit: If you press button, the changed setting values are not saved
and the screen turns to the previous screen
ⓖOnce the desired RPM speeds have been chosen,
adjust the time values by following the same steps.
ⓗThere are 3 modes available for Step Operation :
“One cycle”, “Repeat Cycle”, “Step off”
NOTE: Repeat cycle will result in continue repeating of all programmed steps
until the stop button is pressed.
ⓐ
ⓓ
ⓔ
ⓕ
ⓒⓖ
ⓗ
ⓑ
3.1.4. Warning Messages
▶Step Cycle Ending Screen
ⓐWhen the time for each step has expired, the “Shaker End” message
is displayed
ⓑ“Set” displays the setting value of 1st step
(Default value is displayed when Step Off)
Time is displayed as 0
ⓒis displayed as the instrument can be restarted at any
time.
▷Shaker Alarm
The message “low’ or “high” is displayed on the display
when the measured value is deviating from the set value.
The message is only displayed when the difference exceeds
the user programed value for the alarm
NOTE: The message is cleared when the equipment
maintains the values for 1 minute following the activation of
the alarm.
ⓐ
ⓑ
ⓒ
BASIC View
ADVANCED View
III-2. Platform Installation
The Orbi-Shaker CO₂includes a flat non-slip platform for low speed
operation with many common vessels, including trays and dishes. For
installation of the optional MAGic Clamp platform, please follow the
instructions below:
1.) Unscrew the four metal thumb screws from the corners of the
internal platform and remove the green rubber mat.
2.) Unscrew the four center screws and two additional screws (using a
Phillips screw driver.
3.) Remove the included platform and apply the MAGic Clamp platform.
4.) Screw in the six screws that were previously removed from the
included platform.
When installing the microplate platform (H1000-P-MP) or universal
spring platform (H1000-P-SP), please follow the simple instructions
below:
1.)Unscrew the four metal thumb screws from the corners of the
included platform.
2.)Apply the desired platform lining up the four corner holes and screw
in the 4 thumb screws.
III-3. Maintenance:
The platform of the Orbi-Shaker CO₂should be cleaned regularly with
a soft cloth dampened with water or alcohol. (Always ensure that the
machine has been powered down prior to cleaning.)
In the event of a spillage: Power down the unit, remove the platform and
dry the internal chamber with a soft cloth. DO NOT attempt to operate the
unit until the spillage had been properly dried.
IV-1. Service and Contact
Service on the Orbi-Shaker CO₂should only be performed by qualified
service personnel. To request service or technical support, please contact
Benchmark Scientific or your local Benchmark Scientific representative.
Ph: +1-908-769-5555
Fax: +1-908-222-1864
Em: Info@BenchmarkScientific.com
Web: www.BenchmarkScientific.com
P.O. Box 709 Edison, NJ 08817, USA

Other manuals for Orbi-Shaker CO2

1

This manual suits for next models

1

Other Benchmark Laboratory Equipment manuals

Benchmark BSH1001 User manual

Benchmark

Benchmark BSH1001 User manual

Benchmark Micro Bead Sterilizer B1201 User manual

Benchmark

Benchmark Micro Bead Sterilizer B1201 User manual

Benchmark MyBath B2000-2 User manual

Benchmark

Benchmark MyBath B2000-2 User manual

Benchmark R4040 User manual

Benchmark

Benchmark R4040 User manual

Benchmark Orbi-Shaker User manual

Benchmark

Benchmark Orbi-Shaker User manual

Benchmark Orbi-Shaker CO2 User manual

Benchmark

Benchmark Orbi-Shaker CO2 User manual

Benchmark MyBath B2000-2 User manual

Benchmark

Benchmark MyBath B2000-2 User manual

Benchmark H2020 User manual

Benchmark

Benchmark H2020 User manual
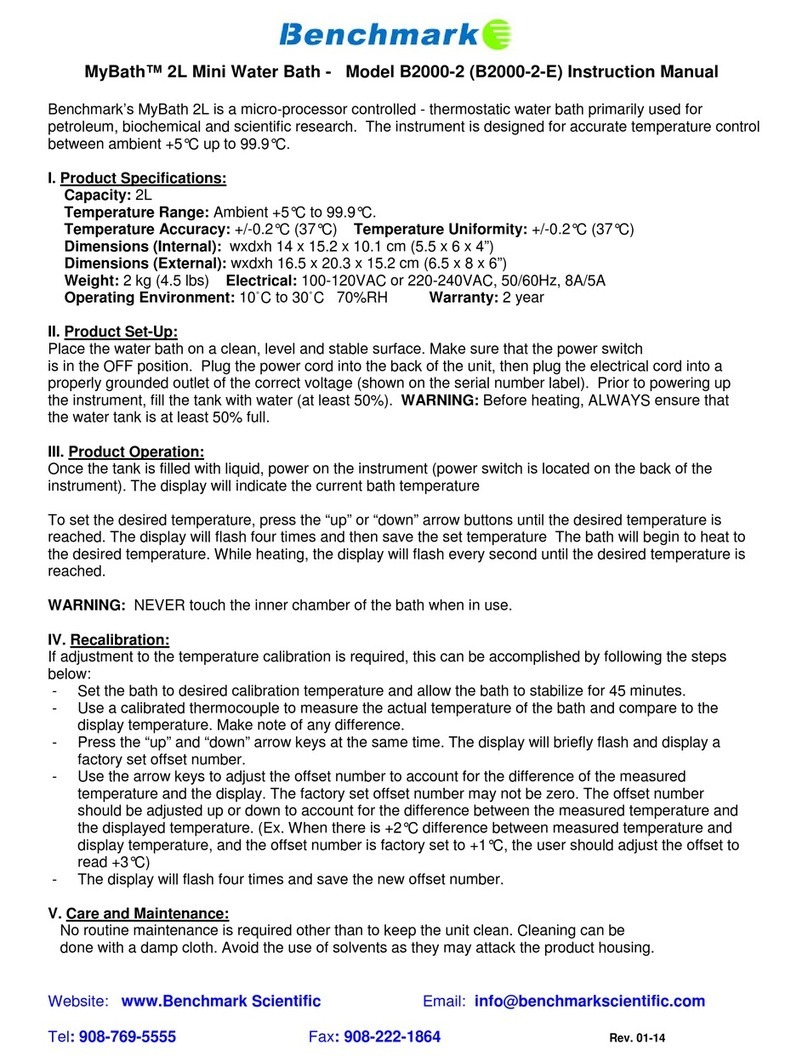
Benchmark Orbi-Shaker User manual

Benchmark

Benchmark Orbi-Shaker User manual
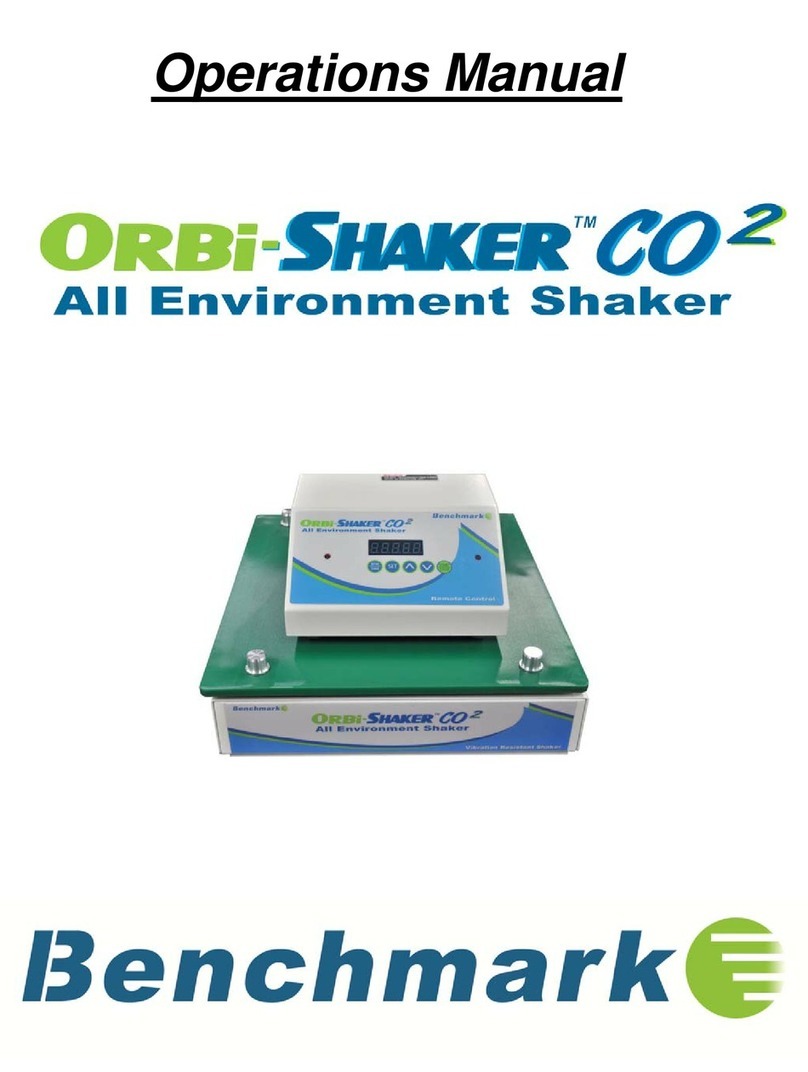
Benchmark TC 9639 User manual

Benchmark

Benchmark TC 9639 User manual
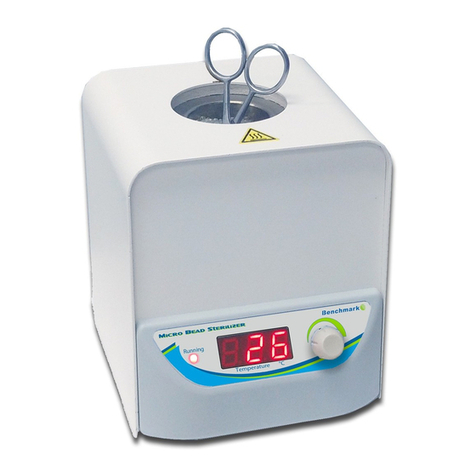
Benchmark R2020 User manual

Benchmark

Benchmark R2020 User manual

Popular Laboratory Equipment manuals by other brands
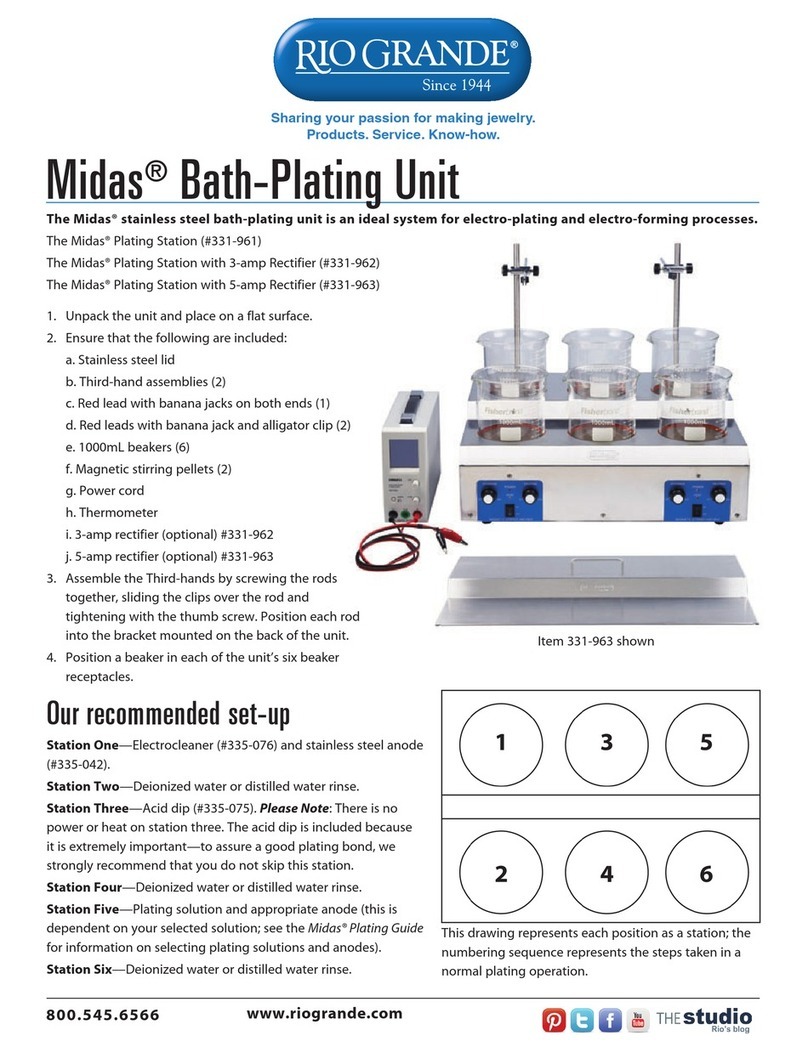
PASCO ME-9847 instruction sheet

PASCO

PASCO ME-9847 instruction sheet

Ametek mocon OX-TRAN 2/48 Operator's manual

Ametek

Ametek mocon OX-TRAN 2/48 Operator's manual

CETAC ASX-510 Replacement Instruction

CETAC

CETAC ASX-510 Replacement Instruction

Arroyo Instruments LaserSource 4200 Series user manual

Arroyo Instruments

Arroyo Instruments LaserSource 4200 Series user manual

NoiseKen EPS-02Hv2 instruction manual

NoiseKen

NoiseKen EPS-02Hv2 instruction manual

Tencor AlphaStep 200 manual

Tencor

Tencor AlphaStep 200 manual

Biosan S-Bt Smart BioTherm manual

Biosan

Biosan S-Bt Smart BioTherm manual

ELGA CENTRA-R 60 US Operator's manual

ELGA

ELGA CENTRA-R 60 US Operator's manual

Tokai Hit Thermo Plate TPi Series instruction manual

Tokai Hit

Tokai Hit Thermo Plate TPi Series instruction manual

Glass Expansion 70-803-1923 instruction manual

Glass Expansion

Glass Expansion 70-803-1923 instruction manual

Christ Epsilon 1-4 LSCplus operating manual

Christ

Christ Epsilon 1-4 LSCplus operating manual

usi KK 6610TP installation manual

usi

usi KK 6610TP installation manual

Weinmann ACCUVAC WM 15261 Description of the equipment and instructions for use

Weinmann

Weinmann ACCUVAC WM 15261 Description of the equipment and instructions for use

Retsch RS200 manual

Retsch

Retsch RS200 manual

Hygiena Autosampler III user manual

Hygiena

Hygiena Autosampler III user manual

Planet Networking & Communication POE-164 user manual

Planet Networking & Communication

Planet Networking & Communication POE-164 user manual

Bio-Optica BEC150 Instructions for use

Bio-Optica

Bio-Optica BEC150 Instructions for use

Atlas Scientific IoT pH meter user guide

Atlas Scientific

Atlas Scientific IoT pH meter user guide

manuals.online logo
manuals.online logoBrands
  • About & Mission
  • Contact us
  • Privacy Policy
  • Terms and Conditions

Copyright 2025 Manuals.Online. All Rights Reserved.