manuals.online logo
Brands
  1. Home
  2. •
  3. Brands
  4. •
  5. Benchmark
  6. •
  7. Laboratory Equipment
  8. •
  9. Benchmark R4040 User manual

Benchmark R4040 User manual

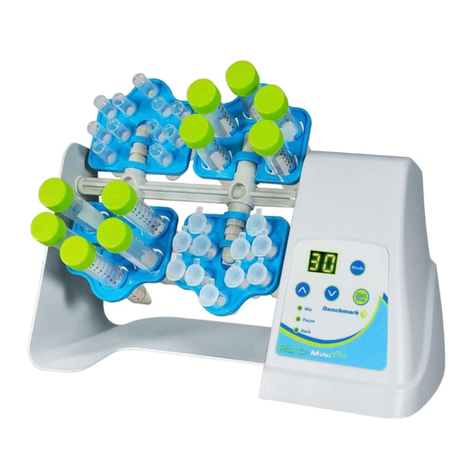
Operations Manual
Item: R4040 and R4045 (-E) V1.0
I. Specifications:
Speed: Adjustable from 1 to 99, (1 to 65rpm)*
Capacity: R4040: 6 x 50ml R4045: 12 x 50ml
Timer: 1min to 99hr 59 min / Cont.
Dimensions: (wxdxh)
R4040: 29 x 13.7 x 19.9 cm (11.4 x 5.4 x 7.8 in.)
R4045: 41 x 13.7 x 19.9 cm (16.1 x 5.4 x 7.8 in.)
Weight: R4040: 4lbs / 1.8kg R4045: 5lbs / 2.27kg
Electrical: 100 to 240VAC, 50-60Hz, 3A
Operating environment: 4°C (cold room) to 70°C
Warranty: 2 years
*Maximum speed may be limited in modes with a mixing function.
II. Product Set-Up:
Place the rotator on a clean and stable surface.
Ensure that there is at least 3 inches of open space
both in front of and behind the instrument.
Plug the instrument into an outlet of the appropriate
voltage (100 to 240V). Press and hold the power
button for 3 seconds, the instrument powers on.
III. Tube Holder Installation / Exchange:
The instrument includes an assortment of tube
holders. To exchange the tube holders, remove the
rotational bar from the instrument by unscrewing
the thumb screw on the left side. Once fully
loosened the bar can now be removed by pressing it
fully to the right and then lifting the left side
upward. Tube holders can be installed or removed
from the rotational bar by sliding them in either the
left or right direction.
To load test-tubes, press them firmly into the
appropriate holder. ALWAYS ensure a balanced load
across both sides of the rotational axis. (When
mixing 15 and 50ml tubes, always load a similar
quantity of tubes on each side of the rotational axis.)
IV. Product Operation:
Choose the Mixing Mode: Press the “Mode” to
toggle through the available modes:
F1 – F9 Rotational Modes
C1-C2 Custom Modes
-- -- Short Rotational Mode (aggressive mixing)
Set the Rotational Speed:
After choosing the mode, the rotational speed can
be selected by pressing the up and down keys to
adjust the display to the desired speed setting.
(Level: 1 to 99)
Set the Run Time and Frequency:
Press the “SET” key so that the run time is flashing.
Once flashing, use the up and down keys to select
the desired run time. Press the “SET” key again to
adjust the frequency. When the frequency is
flashing, use the up and down keys to adjust the
frequency. NOTE: The frequency is only adjustable
in modes that include a shaking segment. The
frequency permits the user to adjust the distance
travelled during the shaking segment. Choose a
small frequency for short distance (vibrating mixing).
Starting and Stopping the Rotator:
Once the settings are finalized, press the “Start/Stop”
key to begin the rotation. To stop the rotator before
the time has expired, press the “Start/Stop” key.
NOTE: The mixer may continue rotating for up to 1
second to return to the “home” position.
V. Custom Modes (C1-C2)
The C1 & C2 modes can be used to create your own
personal mixing cycle by linking up to 6 mixing
functions together.
To begin, use the “MODE” key to select mode C1 or
C2 and then press the “SET” key. Choose the first
mixing function by pressing the “MODE” key to
toggle between CLOCKWISE rotating,
COUNTERCLOCKWISE rotating, PAUSE, FREQUENCY
or OFF. When choosing a CLOCKWISE or
COUNTERCLOCKWISE rotation, press the up and
down keys to determine the length of the rotation
(from 1 to 360º). When choosing a PAUSE function,
use the up and down keys to choose the length of
the pause in seconds (1 to 99 sec.) and when
choosing a FREQUENCY function, choose the length
of the frequency angle from 1 to 9. Once your first
mixing action has been configured, press the “SET”
key to advance to the next action. After the sixth
setting, press “SET” to select the SHAKE TIME. The
shake time refers to the length of time the rotator
will conduct in FREQUENCY mode. Once selected,
press the “SET” key to advance to select the total run
TIME. Then press the“SET” key to store all selections.
Press the Up & DOWN keys to select the speed and
press the “START/STOP” key to begin the cycle.
V. Mode Chart:
V1. Rocking Mode
When purchasing the option rocking platform, the
rotator MUST be programmed to enter the PP Mode
(Platform Rocking Mode). To enter this mode, press
and hold the“SET” key for 10 seconds.
Set the Rotational Speed:
After choosing the mode, the rotational speed can
be selected by pressing the up and down keys to
adjust the display to the desired speed setting
(Levels: 1 to 50).
Set the Run Time and Rocking Angle:
Press the “SET” key so that the run time is flashing.
Once flashing, use the up and down keys to select
the desired run time. Press the “SET” key again to
adjust the rocking angle. When the frequency is
flashing, use the up and down keys to adjust the
angle.
Manually Adjusting the Rocking Platform:
Prior to starting a rocking cycle, the user MUST
manually adjust the platform to the home position.
Ensure that no sample shave been loaded on the
platform and press the “Start/Stop” key. The platform
begins to rock. Manually adjust the platform by
hand so that the peak of each rocking step is
equidistant from the horizontal position.
Once manually configured, the samples can now be
loaded onto the platform.
Starting and Stopping the Rotator:
Once the settings are finalized and the platform has
been manually configured, the samples can be
loaded and the “Start/Stop” key can be pressed to
begin the rotation. NOTE: The platform requires
manual configuration after each time that the stop
key is pressed.
VII. Accessories:
IV. Care and Maintenance:
No routine maintenance is required other than to
keep the unit clean. Cleaning can be done with a
damp cloth. Avoid the use of harsh solvents.
Service and Contact: In the event that service or
technical support is required, please contact Benchmark
by phone at 1-908-769-5555 or by email at
info@benchmarkscientific.com.

This manual suits for next models

1

Other Benchmark Laboratory Equipment manuals

Benchmark Orbi-Shaker User manual

Benchmark

Benchmark Orbi-Shaker User manual

Benchmark MyBath B2000-2 User manual

Benchmark

Benchmark MyBath B2000-2 User manual

Benchmark H2020 User manual

Benchmark

Benchmark H2020 User manual

Benchmark Orbi-Shaker CO2 User manual

Benchmark

Benchmark Orbi-Shaker CO2 User manual

Benchmark R2020 User manual

Benchmark

Benchmark R2020 User manual

Benchmark Orbi-Shaker User manual

Benchmark

Benchmark Orbi-Shaker User manual

Benchmark Orbi-Shaker CO2 User manual

Benchmark

Benchmark Orbi-Shaker CO2 User manual

Benchmark Micro Bead Sterilizer B1201 User manual

Benchmark

Benchmark Micro Bead Sterilizer B1201 User manual

Benchmark BSH1001 User manual

Benchmark

Benchmark BSH1001 User manual

Benchmark MyBath B2000-2 User manual

Benchmark

Benchmark MyBath B2000-2 User manual

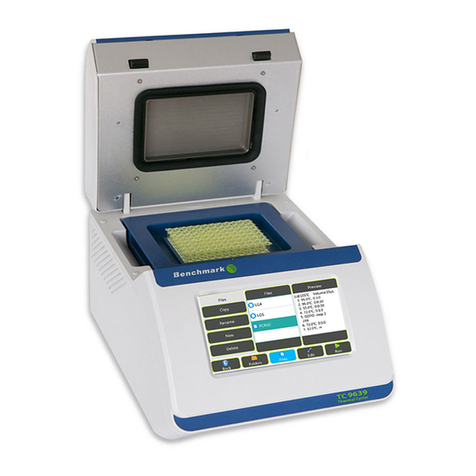
Benchmark TC 9639 User manual

Benchmark

Benchmark TC 9639 User manual

Popular Laboratory Equipment manuals by other brands

Nahita 601/3 user manual

Nahita

Nahita 601/3 user manual

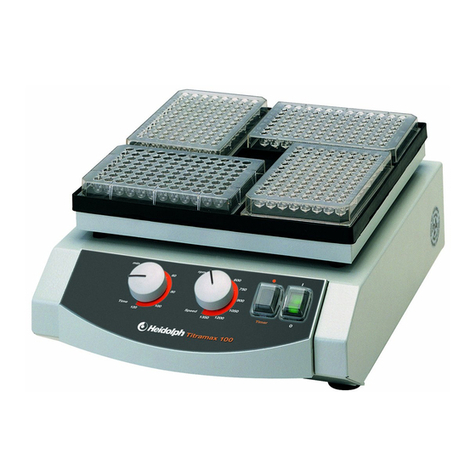
Heidolph Titramax 100 instruction manual

Heidolph

Heidolph Titramax 100 instruction manual

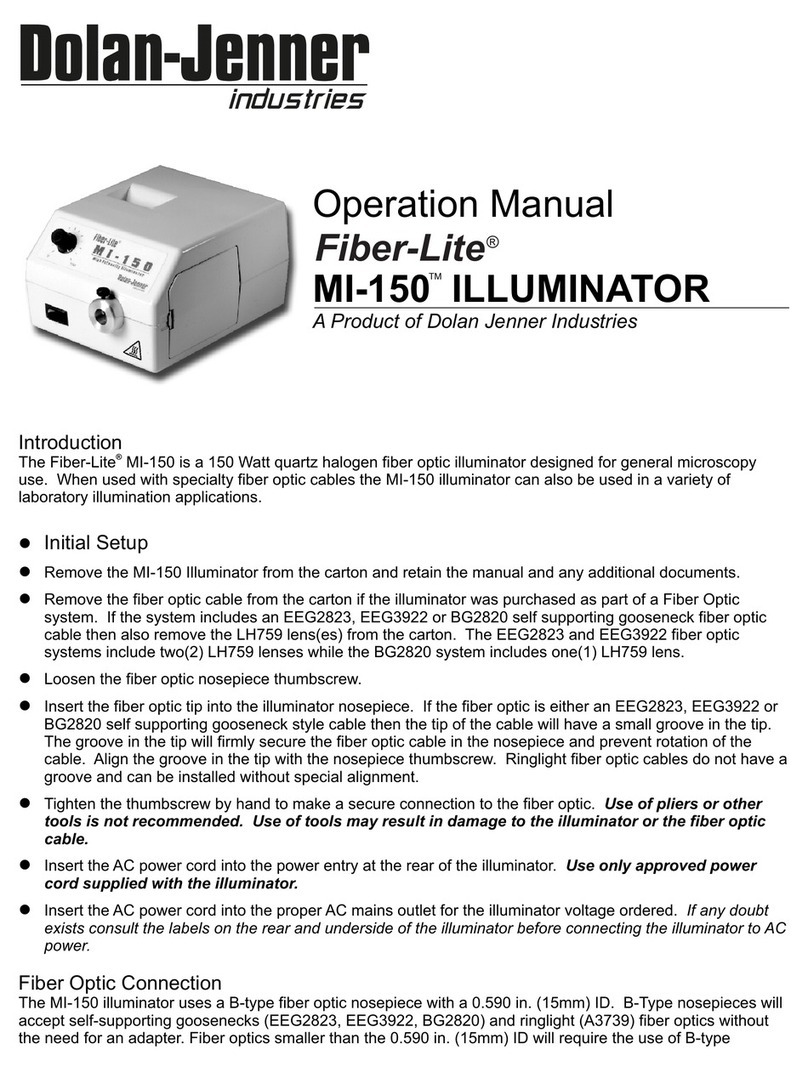
Dolan-Jenner Fiber-Lite MI-150 Operation manual

Dolan-Jenner

Dolan-Jenner Fiber-Lite MI-150 Operation manual

Costway BB4878DE user manual

Costway

Costway BB4878DE user manual

FLIR B series Getting started guide

FLIR

FLIR B series Getting started guide

Defiant FROG-4000 quick start guide

Defiant

Defiant FROG-4000 quick start guide

Microscan QX Hawk C-Mount quick start guide

Microscan

Microscan QX Hawk C-Mount quick start guide

Hettich HAEMATOKRIT 210 operating instructions

Hettich

Hettich HAEMATOKRIT 210 operating instructions

Anderson FHA97 Operation manual

Anderson

Anderson FHA97 Operation manual

Agilent Technologies E2960B Series Hardware guide

Agilent Technologies

Agilent Technologies E2960B Series Hardware guide

Drucker Diagnostics 642VES Operator's manual

Drucker Diagnostics

Drucker Diagnostics 642VES Operator's manual

PolyScience DuraChill 58 Series user guide

PolyScience

PolyScience DuraChill 58 Series user guide

SCHOTT KL 2500 LCD Instructions for use

SCHOTT

SCHOTT KL 2500 LCD Instructions for use

Agilent Technologies 6850 Series II Installing manual

Agilent Technologies

Agilent Technologies 6850 Series II Installing manual

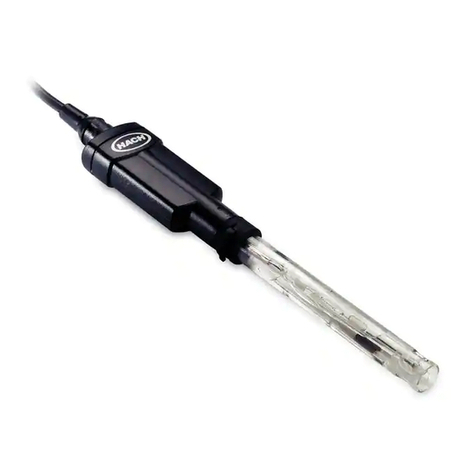
Hach PHC281 user manual

Hach

Hach PHC281 user manual

Endress+Hauser Liquiport 2010 CSP44 operating instructions

Endress+Hauser

Endress+Hauser Liquiport 2010 CSP44 operating instructions

Thermo Scientific SSRZ Instruction Notice

Thermo Scientific

Thermo Scientific SSRZ Instruction Notice

Bio-Optica WB1770 User and service manual

Bio-Optica

Bio-Optica WB1770 User and service manual

manuals.online logo
manuals.online logoBrands
  • About & Mission
  • Contact us
  • Privacy Policy
  • Terms and Conditions

Copyright 2025 Manuals.Online. All Rights Reserved.