Bertin Technologies CORIOLIS Compact User manual

Page 3
CORIOLIS Compact
Page 2
USER GUIDE
User Guide Coriolis®Compact
Designed by:
BERTIN TECHNOLOGIES
Parc d’activités du Pas du Lac
10 bis, avenue Ampère
78180 Montigny le Bretonneux
France
Tél: + 33 (0)1 39 30 61 60
Coriolis© is a registered trade mark of Bertin Technologies.
© 2023 Bertin Technologies. All rights reserved
Document reference: CORC-083-DU001-EN
TABLE OF CONTENTS
1. INTRODUCTION
1.1 Safety instructions and recommendations
1.2 Technical assistance
1.3 Warranty
2. EQUIPMENT DESCRIPTION
2.1 Operating principle
2.2 Specications
2.3 CE marking
3. TRANSPORT/STORAGE
3.1. Transport
3.2. Storage
4. INSTRUCTIONS FOR USE WHEN PERFORMING A COLLECTION
4.1 Installing the single-use assembly
4.2 Starting up the air sampler
4.3 Self-testing
4.4 Battery and mains power supply
4.5 Starting/stopping collection
4.6 Suspending the collected sample in a solution
5. SETTINGS
6. CLEANING AND DECONTAMINATION
6.1 Cleaning
6.2 Decontamination
7. MAINTENANCE AND SERVICING
8. DISPOSAL
9 Appendix 1: EC Declaration of Conformity
DISCLAIMER
Bertin Technologies and/or its subsidiaries accept no responsibility with
respect to the present document, whether explicit or implicit, in particular,
but not limited to commercial warranties or individual warranties.
In the absence of legislation to the contrary, neither Bertin Technologies
nor its subsidiaries shall be held liable, either in contract or in tort, in
terms of warranty or any provision, for any damage arising in particular
but not exclusively during the use of this document.
Neither Bertin Technologies nor its employees shall be held responsible
for losses or costs arising from said use.
The information contained in the present document is intended solely
for use with this Bertin Technologies product. Bertin Technologies shall
not be liable for any use of this information in its application to other
products.
Bertin Technologies reserves the right to revise the present document
and make periodic modications without prior warning.
This liability disclaimer clause is governed by and interpreted in
accordance with French law. Any dispute arising from the content of said
clause is therefore subject to the exclusive jurisdiction of the Courts of
Paris, France.
PROPRIETARY RIGHTS AND CONFIDENTIALITY
The information, research, drawings, and diagrams contained in the
present document remain the property of Bertin Technologies and are
condential.
The information contained in the present document may not be used
(whether in part or in full), disclosed, or reproduced without prior
authorization from Bertin Technologies.

Page 5Page 4
CORIOLIS Compact USER GUIDE
Manufacturer address:
Recommendations:
Do not remove the Coriolis Compact casing
Do not attempt to remove the battery from the Coriolis Compact unit
(See §3.1)
Specic recommendations relating to the battery and charger:
Use only the charger supplied with the unit.
Never charge the unit when close to ammable materials or products.w
Never dispose of the unit or battery on a re and never subject them to
high temperatures.
The battery cells contain electrolytes, which may pose a risk to health.
In the event of contact, rinse well with cold water and seek medical
assistance immediately.
Units containing a lithium battery must be stored with the battery
charge being at least 30%. If it is stored fully discharged, the integral
battery will quickly become unusable and potentially hazardous. It is
recommended to check the battery’s state of charge every 6 months
and to recharge it as necessary.
If you notice any damage to the unit or battery, do not recharge it.
Contact your local distributor or the manufacturer.
Never leave the unit in a location where the temperature could exceed
60°C.
1. INTRODUCTION
Bertin Technologies is grateful that you have purchased the Coriolis
Compact air sampler.
The Coriolis Compact is an air sampler that has been designed specically
for collecting micro-organisms through the implementation of cyclonic
technology. The Coriolis Compact is an innovative air sampler that
assesses bio-contamination levels. It is mainly designed to monitor
and control air quality in environmental research on pollution, in the
pharmaceutical, food-processing and veterinary industries and in the
biomedical and health sectors.
This manual provides all of the required information for the installation,
routine use, maintenance and transport of your Coriolis Compact.
This document also summarises the operating mode for obtaining
a sample with the Coriolis Compact and for liquid suspension of the
collected sample.
The user must read this manual carefully before using the Coriolis
Compact air sampler.
Contact the manufacturer immediately if there is any doubt relating to
the safety of this unit.
The technical specications of this product and all information in this
manual are subject to change without prior warning.
1.1 Safety instructions and recommendations
This manual must be read carefully by any user before using the Coriolis
Compact air sampler.
Operating this unit without following the instructions provided in this
manual may impact the protection provided by this unit.
If you have any doubts or concerns regarding device safety, please contact
You can nd your local distributor on the Bertin Instruments website.
Bertin Technologies shall not be held liable for any damage or injury
that may arise from the use of this device in any manner other than that
indicated in the present document.
BERTIN TECHNOLOGIES
Parc d’activités du Pas du Lac
10 bis, avenue Ampère - BP 284
78053 Saint-Quentin-en-Yvelines Cedex
FRANCE
Tel: +33 (0)1 39 30 60 21
E-mail: [email protected]

Page 7Page 6
CORIOLIS Compact USER GUIDE
1.3 Warranty
BERTIN TECHNOLOGIES guarantees that the equipment is fault-free at the
time of shipping.
This warranty is limited to a one-year (1 year) period and does not cover
the batteries.
It is not applicable in the following scenarios:
If the equipment has not been installed, handled or maintained in
accordance with the instructions provided in this manual.
If the equipment has been opened, repaired or modied by unqualied
personnel.
If the product serial number has been defaced or removed.
2 EQUIPMENT DESCRIPTION
The Coriolis Compact is a dry-cyclone technology-based system for
collecting physical and biological particulates from the air. It is supplied in
a carry case containing:
The Coriolis Compact unit
A battery charger
1 pack of 10 single-use collection assemblies (cone + air intake)
1 pack of 10 collection cone caps
This instruction manual
The calibration certicate
1.1.1 Risk of electric shock
In order to avoid any risk of electric shock, the equipment’s power supply
must be connected to an installation that complies with the standards
in force.
If the system does not start up, we ask that the operator contacts the
manufacturer.
It is essential that all users are aware of the potential risks associated with
the use of liquids near to an electrical power supply. If any liquid is spilled,
the unit must be disconnected immediately from its electrical power
supply by pulling out the mains plug, even if the unit is running. The unit
must then be dried and the spilled liquid wiped up.
1.1.2 Risk of explosion
The equipment is not ATEX-rated, so it must never be used in an explosive
atmosphere.
1.1.3 Risk of bio-contamination
Where applicable, gloves must be worn when handling the sample,
in order to avoid any risk of contamination of the sample by the user
and vice-versa. Please refer to the applications employed within your
laboratory to ensure that the laboratory best practices are applied.
1.1.4 Noise level
During normal operation, the device generates a noise level of 62dB(A)
(acoustic pressure measurement obtained at a distance of 1m from the
unit’s surface).
1.1.5 Heavy-duty operation
Heavy-duty use of the system (sample collection >8 hours) may result in
components heating up and therefore premature system wear.
1.2 Technical assistance
Should a problem occur for which the solution is not listed in this
manual, please contact the manufacturer or your local distributor.
Figure 1: Coriolis Compact carry case
1
2
4
3
Carry case: includes a specic foam inlay for
holding the unit’s various components.
Charger: for charging the device’s battery.
Coriolis Compact: detailed view in Figure 2
Cones, caps, and air intakes: supplied in
packs of 10 single-use units
1
2
3
4

Page 9Page 8
CORIOLIS Compact USER GUIDE
Control panel: for powering the unit On/O, operating controls and
menu navigation
Play/Pause button: for switching on the unit, starting a collection
cycle, pausing a collection cycle and conrming selections when
navigating the menu
Up/Down arrows: for menu navigation
Back button: for exiting the menu, stopping a collection
Carry strap clip (optional): for attaching a carry strap for
transporting the unit
Quick Connect Collar: for securing the air intake and the collection
cone
Collection cone: for collecting micro-organisms (the cap is screwed
at the the end of the collection to preserve the sample)
Air intake: screws directly onto the collection cone, directs air ow
into the collection cone
Charger connector: for recharging the unit’s battery when it is
plugged into the mains power supply.
1
5
2
6
3
7
4
8
9
2
6
3
7
9
4
1
5
8
Figure 2: Coriolis Compact description
Figure 3:
Coriolis Compact
operating principle
2.1 Operating principle
During the collection process, airborne particulate matter in the ambient air
is aspirated into the collection cone via cyclonic action and pulled towards
its walls.
Stages:
1. A sterile cone is placed onto the unit and locked into position
2. The aspirated air enters the cone
3. The airborne particles adhere to the cone wall
4. The collected particles are recovered by adding suspension
liquid to the cone

Page 11Page 10
CORIOLIS Compact USER GUIDE
Technical specications
Power supply voltage 90 ->264 VAC @47-63Hz
Energy consumption 36W max
Temperature cut-out 50°C (+- 5°C)
Electrical safety rating Class 3
Dimensions
Coriolis Compact dimensions 255 x 135 x 130mm
Carry case dimensions 464 x 366 x 176mm
Weight
Coriolis Compact weight 1.4Kg
Carry case weight when full 5.060Kg
Operating conditions
Use Indoor and outdoor (IPX3)
Temperature +5°C to +45°C
Temperature during charging +0°C to +40°C
Humidity 10% - 90%
Mean ow rate 50L/min
2.3 CE marking
This equipment is compliant with the requirements of the CE marking and
FCC Part 15 guidelines:
3 TRANSPORT/STORAGE
3.1 Transport
The Coriolis Compact unit must be transported in its carry case.
The equipment contains Li-Ion batteries, which are type-approved in
accordance with subsection 38.3 of the UN Manual of Tests and Criteria and
have a low power output (<100 Wh), so they are not classed as dangerous
goods.
When in its carry case, the Coriolis Compact unit may be transported by
road without any specic restriction and by air either in the cabin or in the
baggage hold of a passenger aircraft.
When transporting the unit (with its battery), a label stating “UN3481:
Lithium-Ion batteries contained in or packed with the equipment” must be
axed to the exterior packaging (see example below).
In all instances, please refer to the legislation in force in your country.
2.2 Specications
Figure 4: Summary table of Coriolis Compact main specifications
Figure 5: Example Coriolis Compact identification plate
health & life sciences
Please refer to the current legislation applicable in your country if necessary
(see Section 3.1 TRANSPORT and §1.1 recommendations relating to batteries)
The battery charger is specically for the unit. Do not use any other charger.
The batteries are of the Li-Ion type in compliance with subsection 38.3 of
the UN Manual of Tests and Criteria.

Page 13Page 12
CORIOLIS Compact USER GUIDE
3.2 Storage
The unit must be kept in a dry location at a temperature of between +5°C
and +45°C.
The unit may be charged in a dry location at a temperature of between
+0°C and +40°C.
Please refer to Section 1.1 Safety instructions and recommendations, for
details of how to store the batteries.
4 INSTRUCTIONS FOR USE WHEN PERFORMING A COLLECTION
4.1 Installing the single-use assembly
1- Ensure that the lock is in
the open position on the
quick connect collar
2- Insert the top of the cone
into the designated location
4- The secured padlock
symbol is visible on the quick
connect collar and the cone
is held in place
3- Lock the securing collar by
turning softly it to the right
(not more 180°)
until you feel some resistance
Handle the securing collar with precaution, you don’t need to
force the system.
Check that the quick connect collar is indeed in the locked
position and that the cone is located and secured correctly.
If it is not, unscrew the securing collar through one quarter of a turn to set it
to the correct position (the “open padlock” symbol is visible).
Insert the single-use assembly into the securing collar cradle.
Once the single-use assembly is placed correctly, set the collar to
the closed position to lock the assembly in position.
WARNING – IMPORTANCE
Check that the single-use
assembly is positioned correctly

Page 15Page 14
CORIOLIS Compact USER GUIDE
4.4 Battery and mains power supply
The Coriolis Compact unit may be battery-operated or run on a main power
supply.
Display screen: displays the menu, collection selections and unit settings
Play/Pause button: for switching on the unit, starting a collection cycle,
pausing a collection cycle and conrming selections when navigating the
menu.
Device On/O: press and hold to switch the unit on or o
Back button: for exiting the menu, stopping a collection
Up arrow button: for menu navigation
Down arrow button: for menu navigation
Padlock: pressing and holding this button locks the keypad and prevents
a collection from being stopped unintentionally once started.
4.3 Self-testing
The system performs self-testing during start-up.
If the self-test reveals no faults, the message “Autotest OK” will be
displayed for 1 second, after which the main menu will appear.
If the self-test fails, the message “Autotests KO” followed by an error code
will be displayed until the operator conrms this.
4.2 Starting up the air sampler
1
2
3
2’
5
4
5’
0x0040 MOTNOTOK Turbine state reading KO Return to the manufacturer.
0x0100 BLUETOOTH Communication with
Bluetooth module KO Return to the manufacturer.
0x0200 GPS Communication with GPS
module KO Return to the manufacturer.
0x0400 SDCARD SD card corrupt or full Return to the manufacturer.
0x0800 HORLOGE
The date and time have
not been specied by
the user.
Set the date and time via
the HMI. If the fault persists,
return to manufacturer.
Battery charge: indicates the battery charge level
1
1
Code Nom Signication Action
0x0002 LOGICIEL Software error.
Restart the unit. If the
fault persists, return to
manufacturer
0x0004 BATLOW
Insucient battery
voltage.
The unit saves the current
settings then powers
down. After charging and
restarting the system, it
will resume operation in
the state that it was in
when it powered down.
Charge the battery.
If the fault persists, return
to manufacturer.
0x0008 BATHIGH Battery overvoltage Return to the manufacturer.
0x0010 DEFCHARGE Charger fault Return to the manufacturer.
2’
5’
2 &
&
5
1
3
4
Figure 1: Interface

Page 17Page 16
CORIOLIS Compact USER GUIDE
The battery life when in operation is approximately 8 hours.
If the battery charge level is not sucient for the duration or number of
collections to be performed, connect the charger to the equipment via
the jack socket then connect the charger to the mains power supply.
Samples may be taken while the battery is charging (unit plugged into
the main power).
Jack socket: For charging the Coriolis Compact
Charger: Coriolis Compact charger
4.5 Starting/stopping collection
Once the device has been started up and the single-use assembly
installed correctly, use the arrows to navigate the main menu and select
collection mode, then conrm with the “PLAY”button.
The “RESET” button returns you to the previous menu. Pressing and
holding the down arrow locks or unlocks the keypad, to prevent
unintentional operations during the collection (unintentionally stopping
the collection process, etc.).
1
2
1
2
Figure 2: Charging
2
1
3
Immediate collection: Starts collection without programming,
stops at user request.
Simple collection: Starts a collection delayed by an interval T1 and
stops after a programmed period T2.
Advanced collection: Starts a collection delayed by an interval T1,
stops after a programmed period T2 and then restarts after a timed
delay T3, performed over N cycles (T1+T2).
1
2
3
Note: For the immediate sampling, the screen continuously displays the time
elapsed from the start of the collection throughout the entire collection
process For the simple and advanced program it displays the time remaining
since the start of the collection process.
4.5.1 Immediate collection
In immediate collection mode, you may set the collection to start without
programming and to stop upon user request.
1- Press the “Play” button to
select Immediate collection
2- The start-up menu
is displayed
3 bars = battery charge > 75%
2 bars = battery charge > 50%
1 bar = battery charge > 25%
Indicator empty and ashing = battery discharged (< 25%)
Indicator with lightning bolt = battery charging

Page 19Page 18
CORIOLIS Compact USER GUIDE
4.5.2 Simple collection
In Simple collection mode, you may set a collection start time delayed by
an interval T1 and set it to stop after a programmed period T2. Otherwise, you can stop the current collection cycle by pressing the “Back”
button.
3- Press the “Play” button to start
the collection: the collection
starts without
a predened period
1- Navigate through the menu
and press the Play button
to select Simple collection
5- Press the “Play” button to
conrm stopping the collection
4- Once the required collection
time has been reached, press
the “Back” button to stop the
collection in progress
2- Select the rst
pre-programmed setting by
pressing the “Play” button
3- Dene the settings using
the “Play” button to conrm
and the arrows to select the
correct values
(duration, delay period)
5- The collection starts after the
defined delay interval and stops
automatically at the end of the
programmed period
4- Use the arrows to return
to the “Start collection” option
then press the “Play” button
to start the collection
6- Press the “Play” button
again to return
to the start menu
WARNING – IMPORTANCE
Stopping the collection before the given instruction

Page 21Page 20
CORIOLIS Compact USER GUIDE
Otherwise, you can stop the current collection cycle by pressing the “Back”
button.
4.6 Suspending the collected sample in a solution
The suspension protocol detailed below is provided for information
purposes. Optimisation may be required depending on the samples being
collected and the applicable recommendations within your laboratory.
The following protocol has been drawn up with the aim of limiting the risk
of contamination of samples by the user and vice-versa.
Depending on the biological sample being sought, we recommend the user
to wear the following personal protective equipment as applicable from this
solution suspension stage onwards: gloves (latex or nitrile laboratory-type),
mask and protective goggles, handling samples under a fume extractor
hood if necessary.
4.5.3 Advanced collection
In Advanced collection mode, you may set a collection to start after a
delay interval T1, stop after a programmed period T2 and then restart
after a timed delay T3, performed over N cycles (T1+T2).
1- Navigate through the menu
and press the “Play” button to
select Advanced collection
2- Select the first
pre-programmed setting by
pressing the “Play” button
4- Use the arrows to return to
the “Start collection” option
then press the “Play” button to
start the collection
6- Press the “Play” button
again to return
to the start menu
3- Dene the settings using the
“Play” button to conrm and the
arrows to select the correct values
(duration, delay period, number of
cycles and pause)
5- The collection starts after the
dened delay interval and stops
automatically at the end of the
programmed period once the
various programmed cycles have
been completed
WARNING – IMPORTANCE
Stopping the collection before the given instruction
2- Unscrew the quick
connect collar to recover
the single-use assembly
(open position)
1- Remove the cap from its
packaging

Page 23Page 22
CORIOLIS Compact USER GUIDE
5 SETTINGS
The various unit congurations can be accessed in settings mode.
1. Date and time: Use the arrows to set
the date and time
2. Language: Use the arrows to set the
language (French/English)
3. Standby mode: Use the arrows to
activate the unit’s Standby mode
Recommendations:
You may adapt the suspension buer solution according to the biological
sample being sought and as a function of its compatibility with the
analysis protocol.
Note: If collecting samples in a contaminated zone, the external surface of
the single-use assembly must be decontaminated before being returned
to a clean zone to ensure that the clean zone is not contaminated.
3- Remove the single-use
assembly from its position
4- Release the cone from
the collection head by
unscrewing the latter and
add between 0.5 ml and 4
ml of buer solution (not
provided) into the cone
6- Agitate the sample
by hand by inverting it
(or using a vortex if
equipment is available)
and seal the cone again
using the cap. The sample is
now ready for analysis
5- Wipe the walls of the
collection cone using a swab
(not provided).

Page 25Page 24
CORIOLIS Compact USER GUIDE
4. Contrast: Use the arrows to adjust the
unit’s contrast
5. Bluetooth: Use the arrows to activate
or deactivate Bluetooth mode
6 CLEANING AND DECONTAMINATION
DISCONNECT the charger before cleaning
DO NOT USE abrasive sponges
DO NOT USE lye or acetone
6.1 Cleaning
The Coriolis Compact unit must be cleaned after every sampling,
following the procedure below:
Disconnect the charger
Place the cap on the power supply jack socket
Use a wipe dampened with a surfactant-water solution to
clean the external parts of the Coriolis Compact unit
If the power supply cable has been in contact with the
contaminated environment, clean it in the same way
Wipe down the assembly using a soft cloth
6.2 Decontamination
If samples have been obtained in a zone that is contaminated by biological
agents, a decontamination step is required after cleaning.
The decontamination procedure detailed below is that implemented
by Bertin during testing. It is recommended that you adapt the
decontamination procedure according to the risk of infection.
Spray the external parts of the Coriolis Compact with 12°
chlorometric bleach
Leave to incubate for 30 minutes
Rinse carefully with fresh water
Dry using a soft cloth
Note 1: decontamination must only be performed on equipment items that
have already undergone cleaning.
Note 2: decontamination must not be performed multiple times in
succession to avoid damaging the unit.
7 MAINTENANCE AND SERVICING
With the exception of decontamination, no specic maintenance is required.
BERTIN TECHNOLOGIES recommends performing manufacturer ow
testing of the unit at least once per year.
8 DISPOSAL
In order to comply with legislation, Bertin Technologies contributes to
the ECOSYSTEM environmental organisation’s recycling programme,
which recovers, free of charge, items such as end-of-life electrical lighting
equipment, testing and monitoring equipment and medical equipment
sold in France (for further information, visit www.ecosystem.eco)
Please refer to the legislation for your country to
conrm the methods for recycling this unit. For further
information, please contact your local distributor.
For safety reasons and to avoid damage to the units
or personal injury, the following instructions must be
followed closely:

Page 27Page 26
CORIOLIS Compact USER GUIDE
9 APPENDIX 1: EC DECLARATION OF CONFORMITY NOTE
Table of contents
Other Bertin Technologies Laboratory Equipment manuals
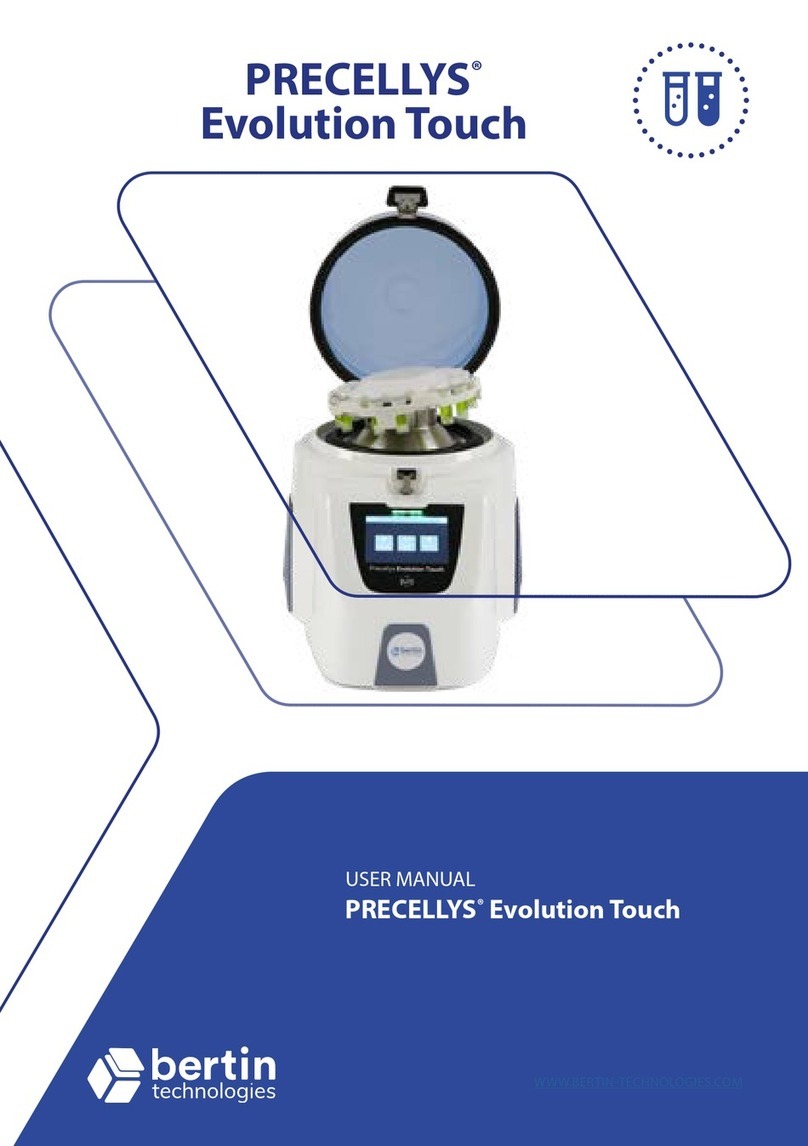
Bertin Technologies
Bertin Technologies PRECELLYS Evolution Touch User manual
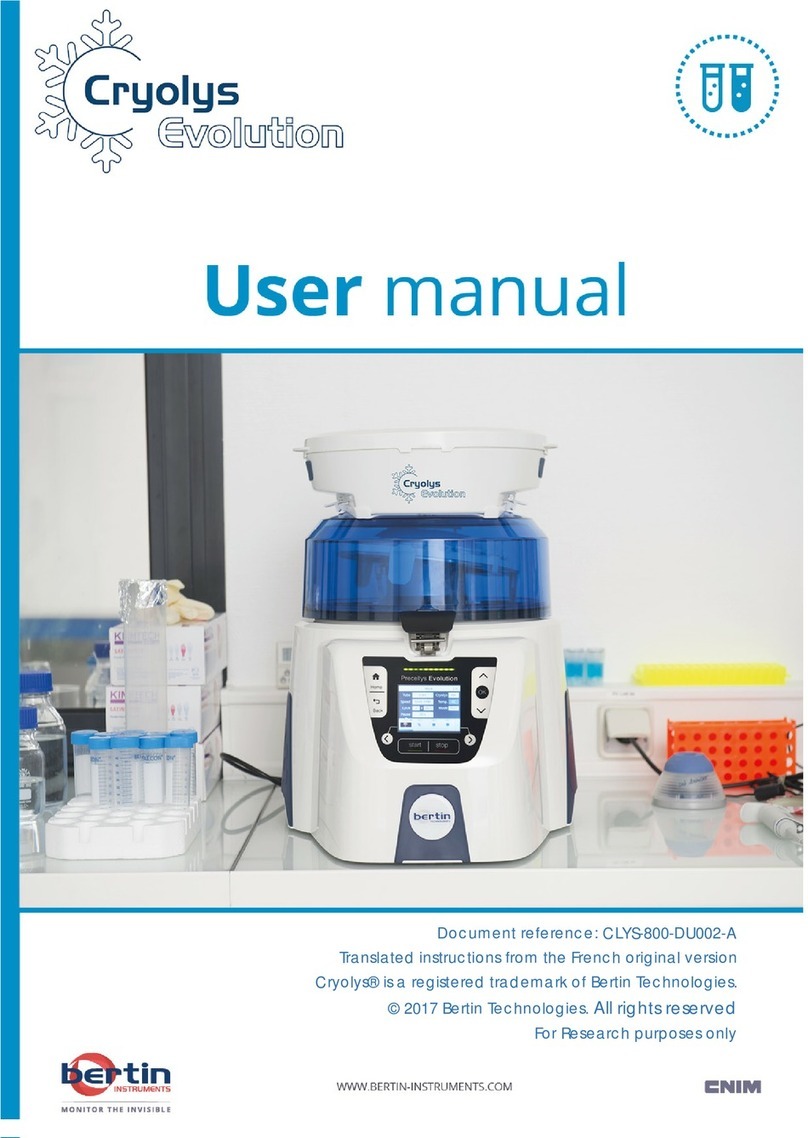
Bertin Technologies
Bertin Technologies Cryolys Evolution User manual
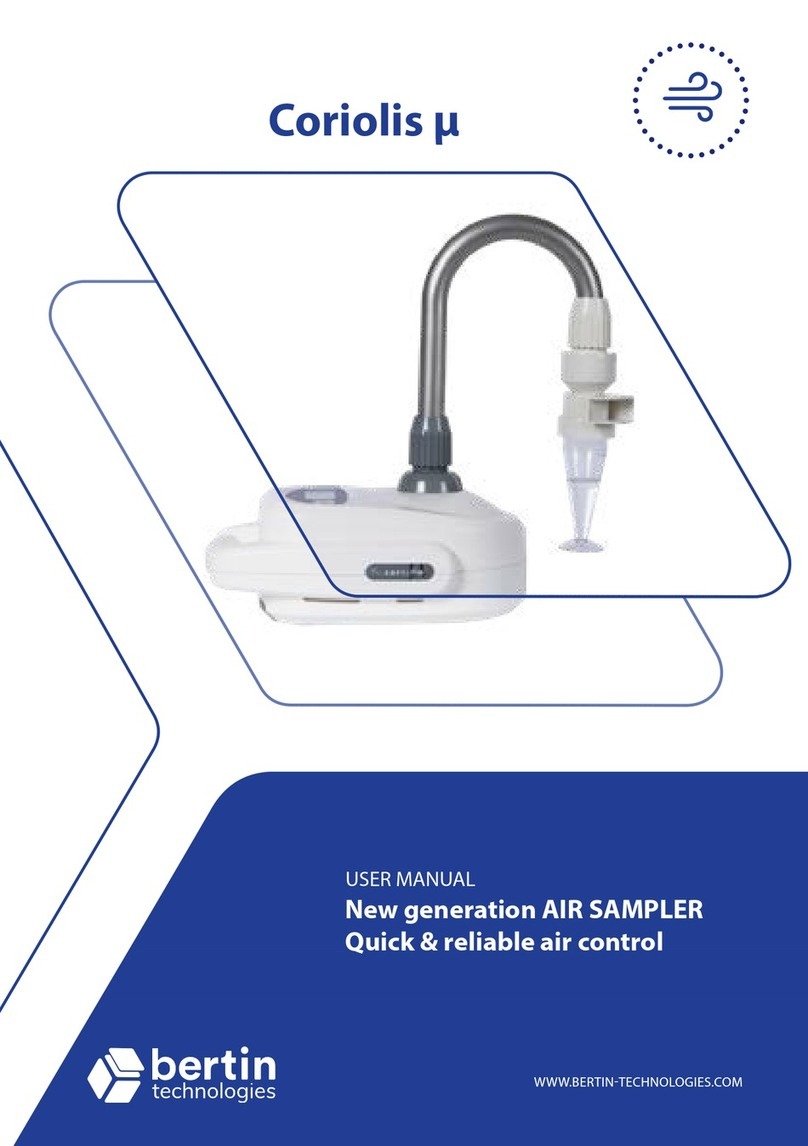
Bertin Technologies
Bertin Technologies Coriolis m User manual
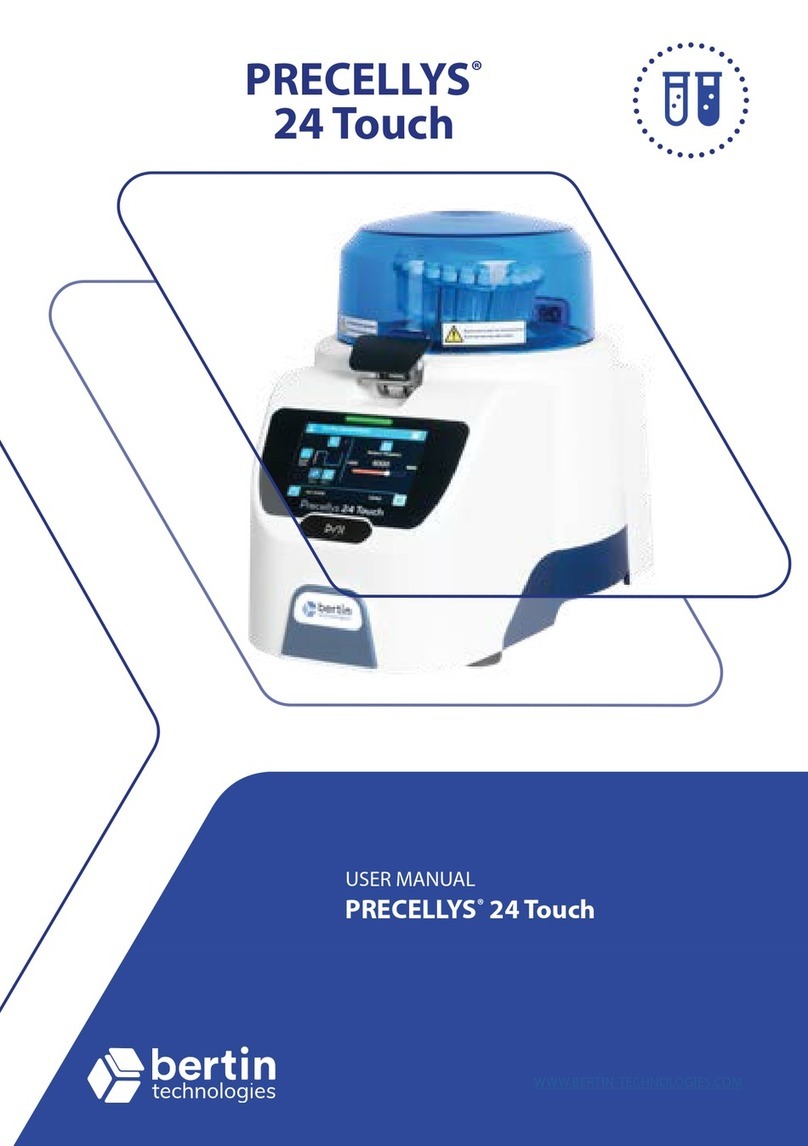
Bertin Technologies
Bertin Technologies PRECELLYS 24 Touch User manual

Bertin Technologies
Bertin Technologies Coriolis m User manual
Bertin Technologies
Bertin Technologies Cryolys Evolution User manual

Bertin Technologies
Bertin Technologies PRECELLYS 24 User manual
Bertin Technologies
Bertin Technologies PRECELLYS 24 User manual
Bertin Technologies
Bertin Technologies CORIOLIS COMPACT User manual


