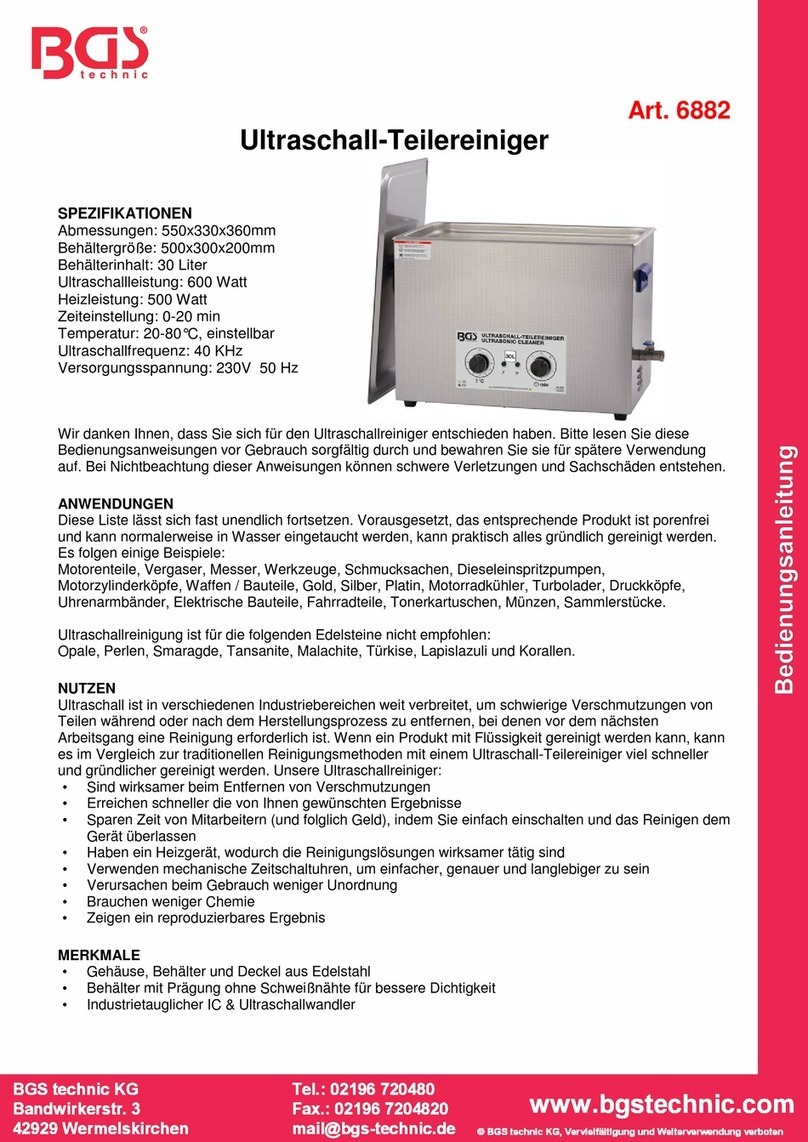
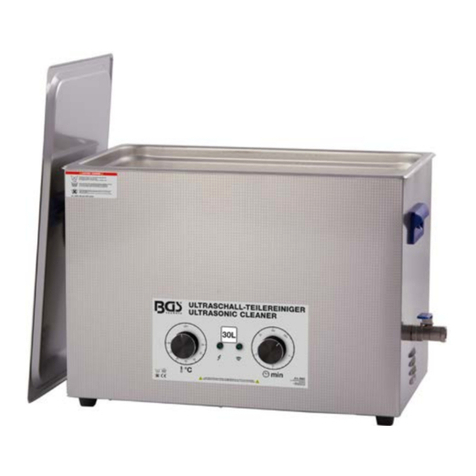
BGS technic BGS 63080 User manual

SW-Stahl und Werkzeugvertriebs GmbH Tel. +49 (0) 2191 / 46438-0
F5 6 e s s a r t S r e s u k r e v e Lax +49 (0) 2191 / 46438-40
e d . l h a t s w s @ o f n i : l i a M - Ed i e h c s m e R 7 9 8 2 4 - D
Instruction Manual
BGS technic KG
Bandwirkerstr. 3
D-42929 Wermelskirchen
Tel.: 02196 720480
Fax.: 02196 7204820
www.bgstechnic.com
BGS 63080
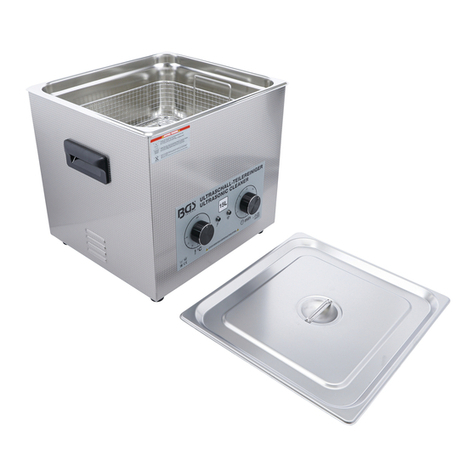
Ultrasonic Parts Cleaner, 700 ml
SPECIFICATIONS
Mains supply: AC 220-240 V | 50-60 Hz
Ultrasonic power: 35 Watt
Ultrasonic frequency: 42 KHz
Time control: 0-30 minutes, (18 time steps)
Tank capacity: 700 ml
Tank dimensions: 154 x 88 x 65 mm
Tank material: Stainless steel (SUS304)
Housing material: Stainless steel
Overall dimensions: 180 x 110 x 128 mm
Weight: 1 kg (1.3 kg)
Thank you for purchasing the ultrasonic cleaner. Please take the time to read these operating
instructions before use and keep them for future reference. Failure to follow these instructions may
lead to serious injury and damages to the product.
APPLICATIONS
This list is almost endless, provided the product is non porous and can normally be immersed in water
almost anything can be thoroughly cleaned. Here are some examples:
Knives, tools, jewelry, gold, silver, platinum, printer heads, watch bands, electrical components, coins,
etc. but the ultrasonic cleaner is not recommended for gemstones like Opal, Pearl, Emerald,
Tanzanite, Malachite, Turquoise, Lapis and Coral.
FEATURES
•Digital control and Degas function
•42KHz for intensive rinse
• 1-30 minutes working time
•Die casting stainless steel tank
ULTRASONIC PRINCIPLE
Ultrasonic cleaning is based on the cavitation effect caused by high frequency ultrasonic wave
vibration signal in the fluid. Microscopic bubbles are formed, and they implode violently causing the
cavitation which create an intense scrubbing action on the surface of the item being cleaned.
The bubbles are small enough to penetrate microscopic crevices, cleaning them thoroughly and
consistently. Ultrasonic cleaning is extremely effective at removing dirt and grime which would
normally require tedious manual cleaning by hand. It has been used to clean a wide variety of parts
and returning them to almost “like new” condition without damage to delicate parts.

SW-Stahl und Werkzeugvertriebs GmbH Tel. +49 (0) 2191 / 46438-0
F5 6 e s s a r t S r e s u k r e v e Lax +49 (0) 2191 / 46438-40
e d . l h a t s w s @ o f n i : l i a M - Ed i e h c s m e R 7 9 8 2 4 - D
Instruction Manual
BGS technic KG
Bandwirkerstr. 3
D-42929 Wermelskirchen
Tel.: 02196 720480
Fax.: 02196 7204820
www.bgstechnic.com
SAFETY INSTRUCTIONS
•Keep children and unauthorized persons away from the working area.
•Do not allow children to play with this tool or its packaging.
•This device is not intended to use by individuals with restricted physical, sensory or metal
capacities or those with lack of experience or knowledge, include children, unless they are
supervised by an individual who is responsible for their safety or have received training in
operating the device.
•Do not run the cleaner continuously for more than 30 minutes at a time, as doing so can
damage the internal components.
•Do not operate the unit without fluid in the tank. Always ensure the fluid is no higher than the
max. mark, always ensure there is a minimum depth.
•Do not drop any Item into the tank as this may cause damage to the transducer. Always place
the items gently into the tank.
•The more items that you place in your cleaning bath the less efficient it will clean. It is not
advised to overlap items. Always allow plenty of clear space between the items.
•Do keep the lid on during use. This will prevent splashes and reduce evaporation of the fluid.
•Never immerse the machine or power cord in water or other liquid.
•Do not touch the power plug with wet hands, especially when inserting or removing the plug.
•Do not touch the unit if the machine has fallen into water during operation. Remove the power
plug from the socket first.
•Do not disassemble the machine, except by professionals.
•Unplug the power source while filling or emptying the tank.
•Do not spray water or liquid over the device and the control panel
•Do not operate the cleaner without proper grounding.
•Do not place the device on a soft surface, where the vents could be blocked.
•Upon completion of the cleaning cycle, isolate the machine from the electrical supply.
•Take care when adding items to the cleaning tank, displaced fluid can damage the internal
components. Any displaced fluid must be dried up immediately.
•In the event of failure/emergency, disconnect the mains supply by removing the plug from the
mains socket.
PREPARATION
1. Carefully unpack the cleaner and remove all traces of packing materials from it. Visually inspect
the cleaner for any parts that may have become loose or damaged during transit. Check if the
package contents the main machine, the lid, the power lead and the manual.
2. Place the cleaner on a flat, clean surface where the cleaner will receive adequate ventilation and
ensure all controls are set to off.
3. Ensure the power lead is securely plugged into the cleaner and that no part of the lead is likely to
come into contact with moisture.
4. Carefully fill the tank. For demanding cleaning we recommend a small amount of washing up
liquid, this will help increase the cleaning performance. The cleaner is now ready for use.
COMPONENTS
1 Indicator for ready to work
2LED screen
3Ultrasonic indicator
4Time button
5On/Off button
6DEGAS button

SW-Stahl und Werkzeugvertriebs GmbH Tel. +49 (0) 2191 / 46438-0
F5 6 e s s a r t S r e s u k r e v e Lax +49 (0) 2191 / 46438-40
e d . l h a t s w s @ o f n i : l i a M - Ed i e h c s m e R 7 9 8 2 4 - D
Instruction Manual
BGS technic KG
Bandwirkerstr. 3
D-42929 Wermelskirchen
Tel.: 02196 720480
Fax.: 02196 7204820
www.bgstechnic.com
OPERATION
1. Dismantle the spare parts to be cleaned as possible as you can, and remove the dirt, oil
contaminants, carbon deposit etc. with a high-pressure jet, wire brush, scraper knife or other tools
so as to prolong the service life of the cleaning solution and ensure the cleaning speed and
performance.
2. Put the spare parts to be cleaned into the tank and make them fully-immersed, but not overlapped
as possible as you can.
3. Start Ultrasonic Cleaner:
a. Connect the power socket on the back to a power with the power cord. The red indicator lamp
will turns on and the LED screen will display “180”.
b. Press the “TIME” button to switch the cleaning time in the following time circulation:
90-120-150-180-210-240-270-300-330-360-540-720-900 sec. then 18-21-24-27-30 min. and
then it starts again at 90 sec. (18 cleaning time in total).
c. Press “ON/OFF” button once to start ultrasonic cleaning. The blue ultrasonic indicator turns
on, the setting time starts counting down.
d. When the time reaches “886”, the machine stop working automatically. Besides, the ultrasonic
cleaning can also be stopped by pressing “ON/OFF” button once again.
e. Press “DEGAS” button once to start degas mode which makes the device be in a work
circulation of 7-seconds cleaning and 1-second pause.
f. Unplug the power cord, pour the cleaning solution, clean the tank and the housing with a clean
cloth.
4. In order to enhance the cleaning effect, you can add appropriate amount of detergent into the
cleaning solution or prolong the cleaning time.
5. The machine will stop working after 45 minutes continuous work, and can started working again
after 4 minutes break.
TROUBLESHOOT
Problem: Ultrasonic cleaning does not work
Reason: The power cord is not connected
Solution: Check the power connection and plug the power cord
Problem: Ultrasonic cleaning does not work
Reason: The fuse is burned
Solution: Change the burned fuse with a good one of the proper voltage / ampere
Problem: Ultrasonic cleaning does not work
Reason: Other reasons
Solution: Consult the after sale service department
Problem: The time setting does not work
Reason: Electronic problem
Solution: Reset the power
Problem: The time setting does not work
Reason: Electronic problem
Solution: Consult the after sale service department
Problem: Bad cleaning effect
Solution: Prolong the cleaning time
Solution: Adjust the cleaning solution to a best cleaning level
Solution: Choose the right detergent
ENVIRONMENTAL PROTECTION
Recycle unwanted materials instead of disposing of them as waste. All tools, accessories and
packaging should be sorted, taken to a recycling centre and disposed of in a manner which is
compatible with the environment.
DISPOSAL
Dispose of this product at the end of its working life in compliance with the EU Directive on Waste
Electrical and Electronic Equipment. Contact your local solid waste authority for recycling
information or give the product for disposal to BGS technic KG or to an electrical appliances
retailer.

-D
BGS technic KG
Bandwirkerstr. 3
D-42929 Wermelskirchen
Tel.: 02196 720480
Fax.: 02196 7204820
mail@bgs-technic.de
www.bgstechnic.com
Wir erklären in alleiniger Verantwortung, dass die Bauart des Produktes:
We declare that the following designated product:
Nous déclarons sous propre responsabilité que ce produit:
Declaramos bajo nuestra sola responsabilidad que este producto:
folgenden einschlägigen Bestimmungen entspricht:
complies with the requirements of the:
est en conformité avec les réglementations ci-dessous:
esta conforme a las normas:
Angewandte Normen:
Norme appliquée:
Normas aplicadas:
ppa.
Frank Schottke, Prokurist
BGS technic KG, Bandwirkerstrasse 3, D-42929 Wermelskirchen
Wermelskirchen, den
EU-KONFORMITÄTSERKLÄRUNG
EC DECLARATION OF CONFORMITY
DÉCLARATION „CE“ DE CONFORMITE
DECLARATION DE CONFORMIDAD UE
Ultraschall-Teilereiniger (Art. 63080)
Ultrasonic Parts Cleaner
Bac à ultrason
Limpiador de piezas por ultrasonido
EMC Directive 2014/30/EU
LVD Directive 2014/35/EU
EN 55014-1:2006+A1:2009+A2:2011
EN 55014-2:1997+A1:2001+A2:2008
EN 61000-3-2:2014
EN 61000-3-3:2013
EN 60335-1:2012/AC:2014
EN 60335-2-14:2006/A11:2012/AC:2013
EMC Certificate No.: ECT2017E04090-Y5 / DK-80
LVD Certificate No.: ECT2017S04042-X1
Test Report: ECT2017E04090-Y5
15.11.2019
Table of contents
Other BGS technic Ultrasonic Jewelry Cleaner manuals

BGS technic
BGS technic 6880 User manual

BGS technic
BGS technic 63080 User manual

BGS technic
BGS technic 6879 User manual

BGS technic
BGS technic 6879 User manual

BGS technic
BGS technic 6881 User manual

BGS technic
BGS technic 6880 User manual

BGS technic
BGS technic 6881 User manual

BGS technic
BGS technic 6882 User manual

BGS technic
BGS technic 6882 User manual

BGS technic
BGS technic 6881 User manual