Bico ECHO CELLCYTE X User manual

CELLCYTE X
Quick Start Guide
TM

2| CELLCYTE X
Welcome to the world
of live-cell imaging
Details are vital in live-cell imaging. That is why we have designed the CELLCYTE X™
to give scientists maximum insight into every experiment. Our goal is to remo-
ve the obstacles and variables in live-cell imaging so researchers can focus on the
results. The most cost-efficient and high-throughput live-cell imaging system on
the market is ready to address cell culture needs and empower research.
Live-cell imaging is a powerful tool for ensuring successful cell monitoring, but
most systems are large, costly, and hard to use. The CELLCYTE X com-
bines compact size with reliable power to deliver fast, sharp live-cell imaging
from an incubator. Keep cells stationary without ever missing a relevant inte-
raction or response. Tap into a study’s full potential with automatic data ac-
quisition and analysis.
This Quick Start Guide will help new users get started with the CELLCYTE X.
Please review the entire document before using the product for the first time.
Welcome to the future of cell monitoring!

1 Content 3
2 Safety information 4
2.1 General safety information 5
2.2 Unpacking, lifting and carrying 6
2.3 Electrical information 6
2.4 Protective equipment 7
2.5 Hazardous materials 7
3 Specifications 8
3.1 Product map 8
3.2 Technical specifications 11
3.3 CELLCYTE X main unit 11
3.4 CELLCYTE X computer unit 11
4 Hardware setup 12
4.1 Contents of the box 12
4.2 Unpacking the CELLCYTE X 13
4.3 Manually cleaning or sterilizing the CELLCYTE X 14
4.4Mounting the objective lens 15
4.5 Setting up CELLCYTE X inside an incubator 16
5 Connecting to CELLCYTE X 18
5.1 Connection: Existing network 18
5.2 Netowrk connection setup 19
5.3 Connection: No existing network 20
6 Getting started 21
6.1 System Requirements for laptop/PC 21
6.2 Software installation and update 22
6.3 Initial Setup in CELLCYTE Studio 23
7 Understanding the CELLCYTE X status light 27
Content

4| CELLCYTE X
2. Safety Information
Review the complete document before using the CELLCYTE X™. Mishandling can
lead to equipment damage and severe injury. The following symbols are used
to indicate the risk of equipment damage or personal injury:
Manufacturer
CYTENA GmbH
Zollhallenstr. 5
79106 Freiburg
Germany
This symbol indicates the risk of personal injury or damage to
the product or equipment.
This symbol indicates the presence of UV light. Wear pro-
per safety attire while operating the CELLCYTE X microscope.

5CELLCYTE X |
If the CELLCYTE X acts in a way that is not described by this document, turn it
off and contact CELLINK.
Use the CELLCYTE X for its intended purposes only. Do not modify
its instruments, sub-components or accessories. Do not open the
CELLCYTE X, disassemble it, or otherwise use in ways not described
in this manual.
2.1 General Safety Information
Never place your fingers near the machine until all parts have sto-
pped moving. Moving parts can cause serious injury.
Never clean or service the CELLCYTE X while the machine is opera-
ting. Always turn off the power and disconnect any external sources
of power before cleaning or servicing the CELLCYTE X.
Always ensure that equipment is correctly mounted before opera-
ting. Improperly mounted vessel trays, objective lenses, accessories,
and cables can be dangerous. If any equipment appears damaged,
turn off the machine, unplug all external connections, and contact
CELLINK before further use.
The CELLCYTE X uses UV light to illuminate samples. Never look di-
rectly at the UV light! Never expose skin to the UV light! Eye or skin
exposure can result in serious personal injury.

6| CELLCYTE X
CELLCYTE X is designed to operate inside a controlled incubator.
Operating the instrument outside its indented environment may
cause harm. Harmful conditions include, but are not limited to, li-
quids getting into the system or hostile environments such as X-rays
or hard UV. Please contact CELLINK for additional inquiries.
Never tamper with the optics or electronics of the CELLCYTE X.
Tampering risks equipment damage and personal injury.
Read how to safely unpack and set up the CELLCYTE X in Chapter 3.
The CELLCYTE X is a heavy instrument. Always use a minimum of
two people to unpack and move the machine.
2.2 Unpacking, Lifting and Carrying
Always connect the CELLCYTE X to a grounded socket and use the
voltage described in the specifications. Improper electrical handling
can cause equipment damage and personal injury.
2.3 Electrical Information

7CELLCYTE X |
Always wear gloves and proper personal protective equipment
(PPE) during CELLCYTE X operation.
2.4 Protective Equipment
Always wear appropriate PPE while handling hazardous materials
including materials that are toxic, corrosive, or carcinogenic.
Read the material safety data sheets, packing labels, and the ma-
nufacturer’s or distributor’s catalogue before using the
CELLCYTE X.
Consult material safety data sheets, packaging labels, and the ma-
nufacturer’s or distributor’s catalogue before handling hazardous
materials such as flammable and corrosive materials. Ensure any
users are informed of the material’s characteristics and compati-
bility with the CELLCYTE X. Always use appropriate safety equi-
pment and attire. If you are unsure of a material’s compatibility,
contact CELLINK.
2.5 Hazardous Materials
Use ethanol to disinfect the CELLCYTE X, taking care not to lea-
ve liquid on the linear guides. After using ethanol, wait at least 60
seconds for the liquid to evaporate to ensure that all flammable
vapors have dissipated. The CELLCYTE X can then be placed inside
the incubator for operation. For inquiries about other disinfectants,
please contact CELLINK.

8| CELLCYTE X
3. Specifications
3.1 Product
A. CELLCYTE X Main Unit
B. Transmission Unit
C. Objective Lens
D. Vessel Tray
A B
CD
Figure 1 Product map: CELLCYTE X main unit.

9CELLCYTE X |
A. USB-C port
B. DC Power Port
Figure 2 CELLCYTE X main unit power port and USB-C port.
Figure 3 CELLCYTE X computer unit.
AB

10 | CELLCYTE X
Serial number
Figure 5 CELLCYTE X serial number on the backside of the computer unit. The
MAC addresses can be found on a sticker at the bottom of the CELLCYTE X
computer box.
A. Power Switch
B. Power Port
C. DC Power Port
D. Computer USB ports 1 and 2
E. Ethernet Output
Figure 4 CELLCYTE X computer unit ports and power switch.
C D E
A
B

11CELLCYTE X |
3.2 Technical Specifications
Power input: 100–240 VAC, 50–60 Hz, 70 W
Fuse: 250 VAC, 1.25 A
3.3 CELLCYTE X Main Unit
Height: 334 mm
Width: 406 mm
Depth: 496 mm
Operate the CELLCYTE X microscope unit inside an incubator at
a temperature between 20-40 degrees Celsius.
3.4 CELLCYTE X Computer Unit
Height: 90 mm
Width: 250 mm
Depth: 250 mm
Operate the CELLCYTE X computer unit indoors in a
standard laboratory at ambient room temperature.

12 | CELLCYTE X
4. Hardware Setup
4.1 Contents of the Box
• 1x CELLCYTE X Main Unit
• 1x CELLCYTE X Computer Unit
• 1x 10X Microscope Objective
• 1x Power Cord
• 1x USB-C Data Cable
• 1x DC Power Cable
• 1x Ethernet Cable
• 1x USB stick containing software installation files and user manual
4.2 Unpacking the CELLCYTE X
Follow these steps to unpack the CELLCYTE X:
Do not attempt to unpack the CELLCYTE X without reviewing the
procedure below. Doing so risks personal injury and equipment da-
mage.
13CELLCYTE X |
Carefully remove the tape on the top of the box.
3
Use the packaging handles to remove the contents of the box, and
then place the contents on a soft, smooth surface.
4
Clear a stable table and floor space of at least 2 by 3 meters.
1
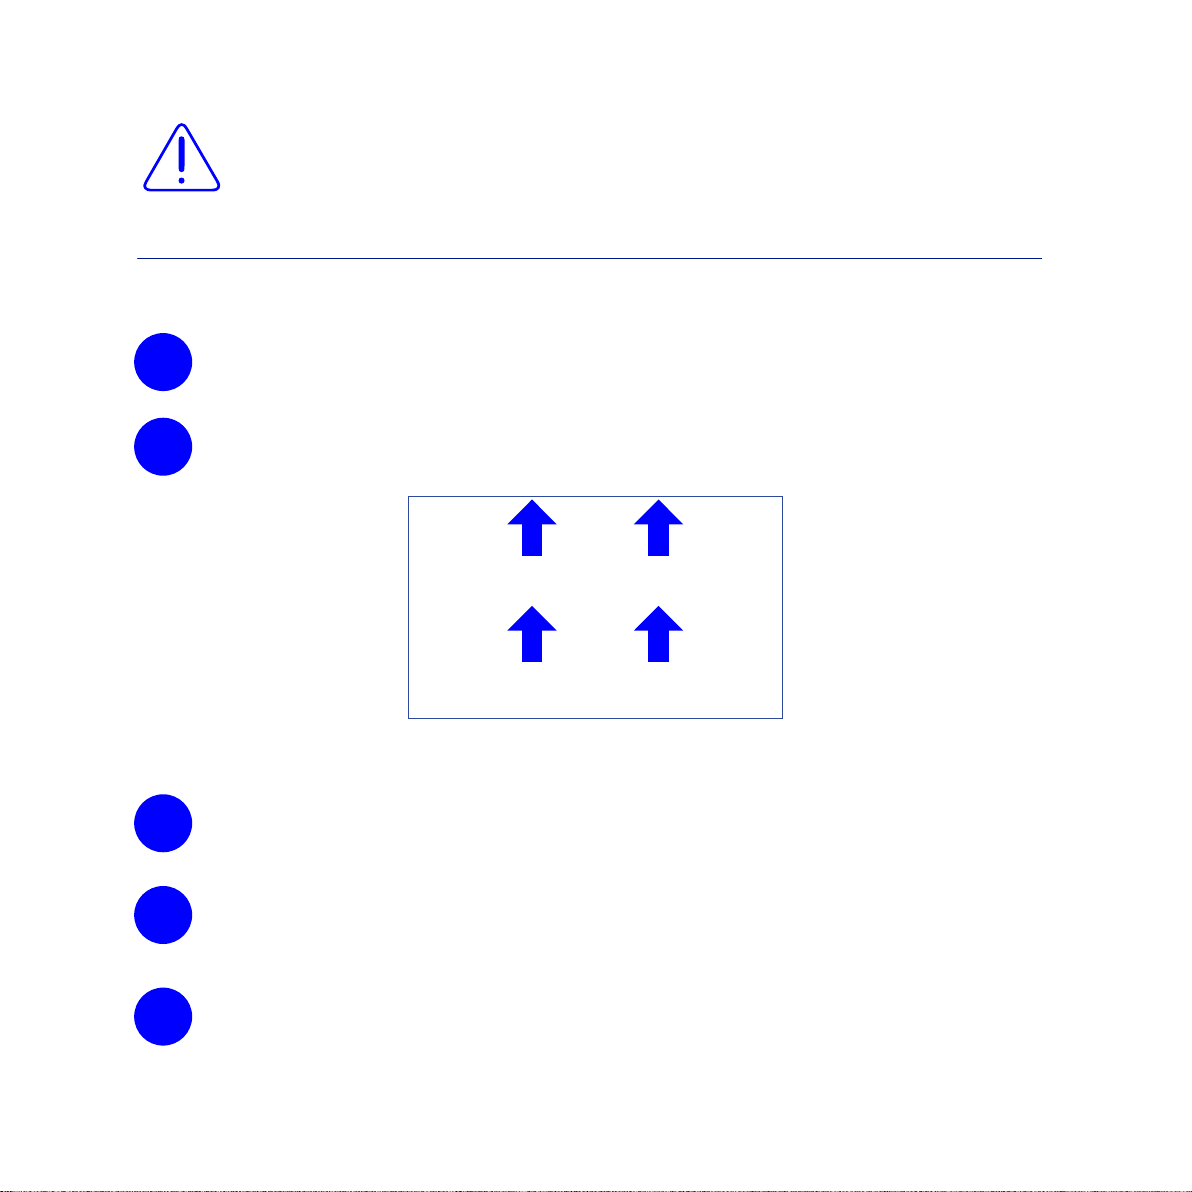
Place the box on its bottom according to the arrows on the side of
the box.
2
This side up during transport
This side up during unpacking
Do not attempt to unpack the CELLCYTE X without reviewing the
procedure below. Doing so risks personal injury and equipment
damage.
Remove the top piece of the packaging. Hold the bottom edge to lift
the CELLCYTE X out of the bottom packaging. Place the CELLCYTE
X on a table.
5
Figure 6 Place the box upwards according to the arrows

14 | CELLCYTE X
4.3 Manually Cleaning or Sterilizing the CELLCYTE X
The CELLCYTE X has a chemical-resistant coating. Clean or sterilize it with
ethanol. Before using ethanol, turn off and unplug the CELLCYTE X. Spray the
surface and wipe it down with a soft cloth.
Be careful not to spray the exposed linear guides with ethanol. This
could affect performance overtime.
After using ethanol, wait at least 60 seconds before starting the
CELLCYTE X. Ethanol is flammable, and taking this precaution en-
sures that all remaining ethanol vapors have dissipated. Failure to
wait can cause equipment damage and personal injury.
Remove any remaining packaging material from the CELLCYTE X.
6
Remove the remaining contents of the box and check that you have
received all equipment listed in the 4.1 Contents of the box.
7
Either store or recycle the shipping materials.
8

15CELLCYTE X |
Figure 7 Remove microscope cap.
4.4 Mounting the Objective Lens
First, remove the microscope
cap mounted in the optics cube
of the main CELLCYTE X unit.
Then, proceed to screw in
the provided objective lens.
Figure 8 Screw in the provided objective lens.
Note: The objective lens can be
sterilized with ethanol before
being mounted into the CELL-
CYTE X. Make sure that there
is no ethanol residue left on the
top lens of the objective after
sterilization.

16 | CELLCYTE X
4.5 Setting up CELLCYTE X inside an incubator
To set up the CELLCYTE X inside an incubator, follow these steps:
Place the CELLCYTE X inside the incubator. Make sure that the
transmission bar can move freely inside the incubator. Depending
on the dimensions of the incubator, the CELLCYTE X can be placed
either with the logo facing out of the incubator (recommended if
possible), or with the logo facing sidewards.
1
Connect the USB-C data cable and DC power cable between the CE-
LLCYTE X instrument and computer unit (Figure 9). Many incuba-
tors have a hole on the back side wall that can be used to pass the
cables. To ensure best operating conditions of the incubator, pass
the two cables through this hole and seal the opening afterwards.
2
Figure 9 Connecting CELLCYTE X main unit and computer unit.

17CELLCYTE X |
Connect the CELLCYTE X computer unit’s power outlet (Figure 4)
to a grounded wall socket using the included power cord.
3
Use the provided ethernet cable to connect the CELLCYTE X com-
puter unit to the ethernet port or wall socket. If no ethernet wall
socket is available, you can also connect the CELLCYTE X to a Wi-
Fi network, or connect the CELLCYTE X directly to the laptop/PC
using the ethernet cable. The different connection methods are des-
cribed in detail in the next chapter.
Turn on the CELLCYTE X using the power switch on the back of the
computer unit (Figure 4).
Let the system equilibrate to the temperature and humidity levels
of the incubator for at least 30 minutes before starting a study.
4
5
6
Always connect the CELLCYTE X to a grounded outlet. Connecting
to an ungrounded outlet can cause equipment damage and perso-
nal injury.

18 | CELLCYTE X
5.1 CELLCYTE X Setup using an existing network
While you can work with the CELLCYTE X without using an existing network,
the preferred setup is to connect both the CELLCYTE Computer Box and the
Laptop/PC(s) running CELLCYTE Studio to the same existing network - prefe-
rably via Ethernet.
5. Connecting to CELLCYTE X
If you use an existing network, it is important that both CELLCYTE Computer
Box and the Laptop/PC running CELLCYTE Studio are connected to the same
(sub) network.
Figure 10

19CELLCYTE X |
5.2 Network Connection Setup
Again, most important the laptop/PC and the control unit need to be connected
to the same (sub) network in order to see each other. If you want to setup via
ethernet make sure there is an active ethernet wall port close to the device.
There are a lot of different networks out there. The flowchart below should gui-
de you to request the appropriate support you will need from your IT depart-
ment. Please relay the desired connection setup to your installation specialists.
*If you want to run CELLCYTE Studio on the PC you are already using, you can
check if it is connected to a DHCP managed network by opening the network
center (figure 11):
Figure 11

20 | CELLCYTE X
Click on the Network icon on the bottom left of your screen and then right click.
Choose “Open Network Internet settings”.
Open “Network and Sharing Center”
Figure 12 Figure 13
Figure 14
Table of contents
Other Bico Laboratory Equipment manuals


