Operation Quick Start
15-3. Click on “Result Name ” and enter the name of result files.
14. Cartridge Calibration:
New cartridge needS to be calibrated before using.
Please proceed with the following steps.
14-1. Click “HV Check”.
14-2. Click “Calibrate”.
* The storage and
transportation condition may
influence the Gel-matrix and
cause unstable current. During
HV Check, check current (gray
line) and see if it’s stable. if
current is unstable, please
repeat this step 2-3 times.
* For troubleshooting, please refer to cartridge unpacking
guide for details.
Bio-Fragment Analyzer: Qsep1Document No.: F0016
Ver.: C-20190726
Page: 3/3
*The “Calibrate” button will only
display after HV check passed.
15. To analyze samples, click on the blank column and designate
the sample locations, test method, runs and result name
followed steps 15-1 to 15-4
15-1. Click the “Sample Position”, mark the position of sample on
the plate and then click “OK”.
15-2. Click on “Method” to select a proper method for your application.
15-4. Click the icon “Para” and set the parameters. (Baseline
Factor, Peak Threshold, Calculate…etc.).
16. Click “Run” to start the process.
During Calibration
Please check the Alignment Marker has been located
at correct position.
Software will recognize two peaks from Alignment
Marker signal. DO NOT use Size Marker or DNA sample
doing “Calibrate”.
Brief introduction of the Signal Chart:
Fluorescence Intensity (red line)
Current Unit
Related Fluorescence Unit
Current (gray line)
Unstable
①②③ ④
blue
green
red
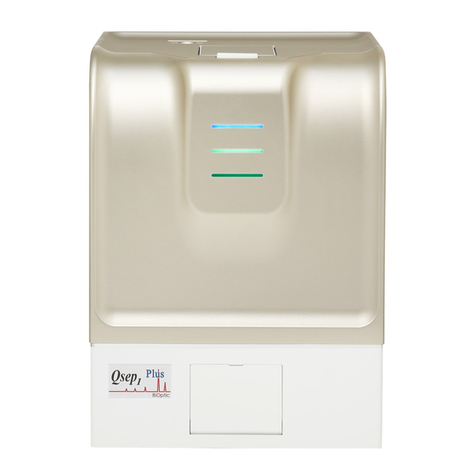
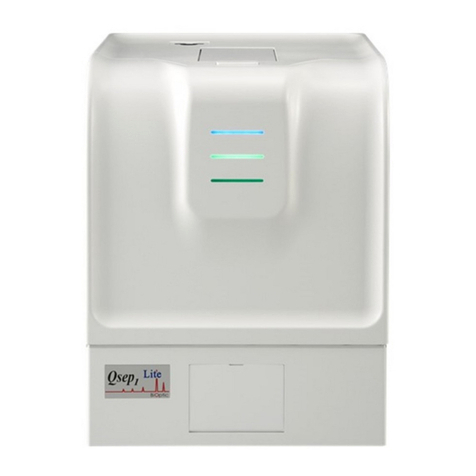
During the “HV Check”, the
last LED will show red light
Blue→ SD card
green→ WiFi connectable
red→ HV check
