manuals.online logo
Brands
  1. Home
  2. •
  3. Brands
  4. •
  5. Birlea
  6. •
  7. Indoor Furnishing
  8. •
  9. Birlea Highgate HIGSTVCRO User manual

Birlea Highgate HIGSTVCRO User manual

Page 1 of 8
ASSEMBLY INSTRUCTIONS
HIGHGATE SMALL TV UNIT
IMPORTANT: READ THESE INSTRUCTIONS CAREFULLY BEFORE ASSEMBLING OR USING
YOUR HIGHGATE SMALL TV UNIT.
PLEASE KEEP THESE INSTRUCTIONS FOR FUTURE REFERENCE.
HEALTH & SAFETY:
DO NOT use this item if any parts are missing, damaged or worn.
DO NOT use this item unless all fixings are secured.
Please keep small parts out of reach of children.
Always use on a level, even surface.
It is recommended that two people handle and assemble the item.
Birlea advise you use the wall straps provided to further enhance the safety of this product.
CARE & MAINTENANCE:
Assemble in the room of use.
To avoid damages assemble the item on a soft, clean surface
Periodically check all screws & fixings to ensure they are secure.
DO NOT push the item as this will damage the base.
Always lift the item with two people to reposition.
Keep any sharp objects away from the item.
This product is manufactured in pine which is a wood with natural characteristics including knots,
grains, clusters or indentations.
On unpacking the item you may notice an odour due to production processes but this will disappear
after a period of time.
DO NOT place the item next to a radiator or direct sunlight - this item is susceptible to temperature
change. It is recommended an even room temperature be maintained with no sudden fluctuations.
DO NOT place hot or cold items directly onto the surface of the item as marking will occur
For general cleaning use a duster or damp cloth (almost dry) not wet - do not use soap and water,
detergents, aerosol sprays or any polish as use of these materials would invalidate any claims.
DO NOT place the item onto wet or damp flooring as staining may occur to the floor.
Vendor: S000398
www.birlea.com
Page 2 of 8
** WARNING: THE USE OF POWER TOOLS TO ASSEMBLE THIS PRODUCT WILL INVALIDATE
ANY CLAIM AND MAY DAMAGE THIS PRODUCT MAKING IT UNSAFE.
PARTS LIST HARDWARE LIST: Carton 1 of 1
Part Description Qty Part Description Qty
1 Top Panel 1 ACAM NUT 15mm 25
BCAM BOLT
C WOOD DOWEL M6 x 25mm 26
D 4
PVC NAIL
Carton 1 of 1:
2 Bottom Panel
3 Divider Panel 1
4 1
5
8Plinth Panel
9
** You will need a screwdriver and a small mallet
( NOT provided)
Shelf Panel
Left Panel
Right Panel
6
7
Vendor: S000398
10 Door
Back Panel11
1
1
1
1
2
2
Left Front & Right Back Post Panel
Right Front & Left Back Post Panel
ECSK SCREW M4 x 45mm
FCSK SCREW M4 x 16mm 8
GHINGES 7/8"
HT/MS SCREW M4 x 22mm
ITXM NOSE ROUND HANDLE
J NAIL 35
2
25
1
1
2
1
1
1
11 36
9
58
9
4
8
2
710
Page 3 of 8
1A13
B
C26
4
Insert hardware part A & part B using a screwdriver (not provided). Insert hardware part C
using a small mallet (not provided). Insert hardware part D using a small mallet (not
provided). Fix Hinges (G) using Screw (F) by screwdriver (not provided).
DO NOT use any power tools as this may damage the frame and will invalidate any claim.
D
25
Vendor: S000398
4
5
3
9 x2pcs 8 x2pcs
CCCC
CCB
B
B
D
DCCCC
C
CB
BB
D
D
A
A
CC
C
C
B
B
D
B
B
B
B
A
C
B
10
GG
FFG
4
F2
G
B
B
B
B
B
B
1
B
B
7
A
A
A
C
C
AA
AA
C
C
CC
6
B
A
A
A
A
C
C
C
C
2
Page 4 of 8
Attach the Divider Panel (3) to Shelf Panel (6) by screwdriver (not provided).
DO NOT use any power tools as this may damage the frame and will invalidate any claim.
2
3Attach the Plinth Panel (7) to Bottom Panel (2) by screwdriver (not provided).
DO NOT use any power tools as this may damage the frame and will invalidate any claim.
B
A
C
Vendor: S000398
B
A
C
3
6
7
2
Page 5 of 8
4
5
Attach the Divider Panel (3) to Bottom Panel (2) with Screw (E) by screwdriver (not
provided).
DO NOT use any power tools as this may damage the frame and will invalidate any claim.
Attach the Right Front & Left Back Post Panel (8) and Left Front & Right Back Post Panel
(9) to Left Panel (4) and Right Panel (5) by screwdriver (not provided).
DO NOT use any power tools as this may damage the frame and will invalidate any claim.
Vendor: S000398
A12
AA
AAA
AB
A
C
E2
8
9
8
9
A
AA
A
A
A
45
E
E
2
3
Page 6 of 8
6
7
Attach the Right Panel (5) to Shelf Panel (6) and Bottom Panel (2) and Plinth Panel (7) by screwdriver
(not provided).
DO NOT use any power tools as this may damage the frame and will invalidate any claim.
Attach the Left Panel (4) to Bottom Panel (2) and Plinth Panel (7) by screwdriver (not provided).
DO NOT use any power tools as this may damage the frame and will invalidate any claim.
Vendor: S000398
B
A
C
B
A
C
6
2
7
5
4
27
Page 7 of 8
8Attach the Top Panel (1) to Divider Panel (3) and Left Panel (4) and Right Panel (5) by screwdriver (not
provided).
DO NOT use any power tools as this may damage the frame and will invalidate any claim.
Vendor: S000398
9Attach the Back Panel (11) with Nail (J) by small mallet (not provided).
DO NOT use any power tools as this may damage the frame and will invalidate any claim.
B
A
C
J35
J
J
1
4
3
5
11
2
8
9
1
Page 8 of 8
.Additional Information:
.For complete product information, images and dimension diagrams please visit the website www.birlea.com
.If you have any issues with your item please contact the retailer directly you purchased it from who will be able to resolve any
issues with Birlea.
.Why don't you send us photos of your assembled furniture to [email protected] to be shared in our #birleahome feature on
lnstagram.
Vendor: S000398
10 Fix Hinges (G) onto Left Panel (4) with Screw (F) by screwdriver (not provided).
Fix Handle (I) with Screw (H) as shown by screwdriver (not provided).
DO NOT use any power tools as this may damage the frame and will invalidate any
claim.
FG
F
HI
F4
H
I1
H
G
G
1
10
I
4

This manual suits for next models

5

Other Birlea Indoor Furnishing manuals
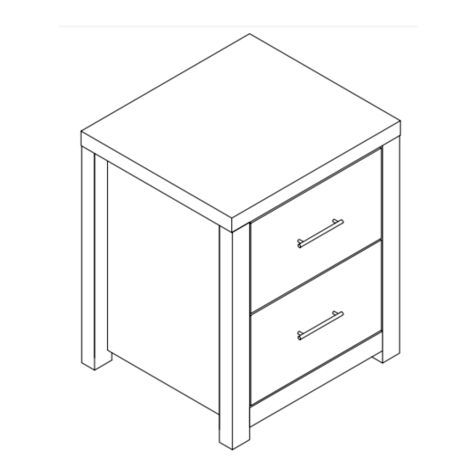
Birlea HAVANA 2 DRAWER BEDSIDE CABINET User manual
Birlea

Birlea HAVANA 2 DRAWER BEDSIDE CABINET User manual

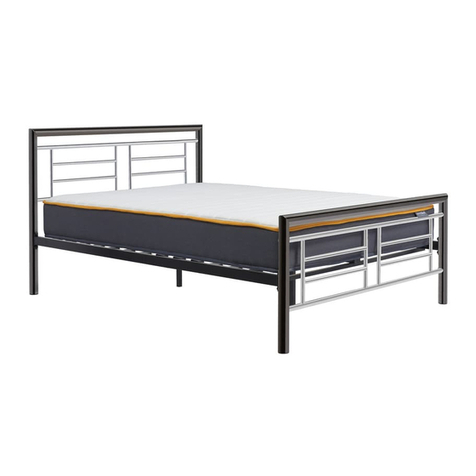
Birlea MONTANA 5' BED User manual

Birlea

Birlea MONTANA 5' BED User manual

Birlea MIDTOWN S000350 User manual

Birlea

Birlea MIDTOWN S000350 User manual
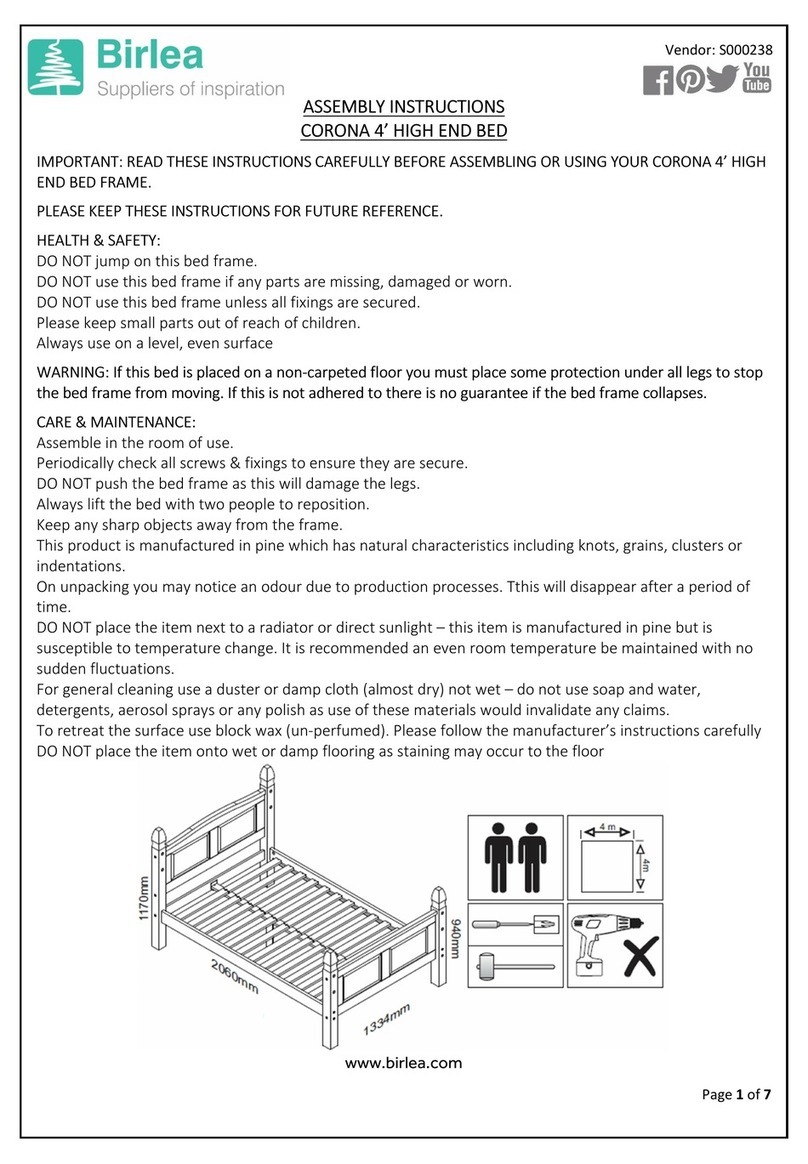
Birlea corona User manual

Birlea

Birlea corona User manual
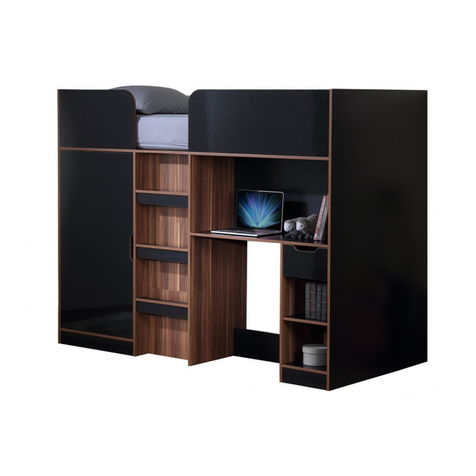
Birlea MERLIN HIGH SLEEPER User manual
Birlea

Birlea MERLIN HIGH SLEEPER User manual

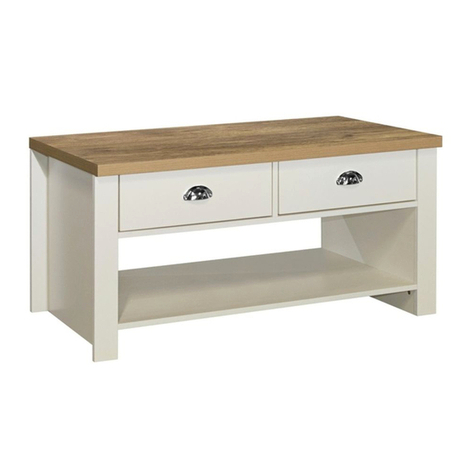
Birlea Highgate HIG2CTCRO User manual

Birlea

Birlea Highgate HIG2CTCRO User manual
Birlea URBCDSSRUS User manual

Birlea

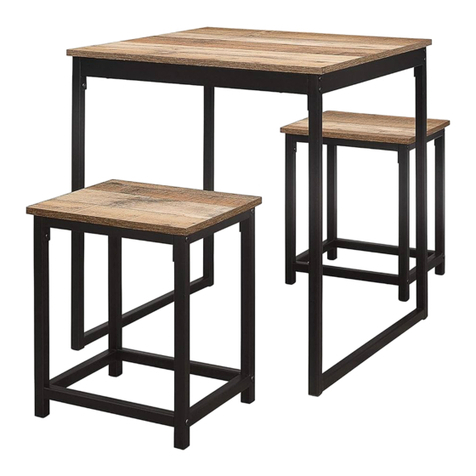
Birlea URBCDSSRUS User manual
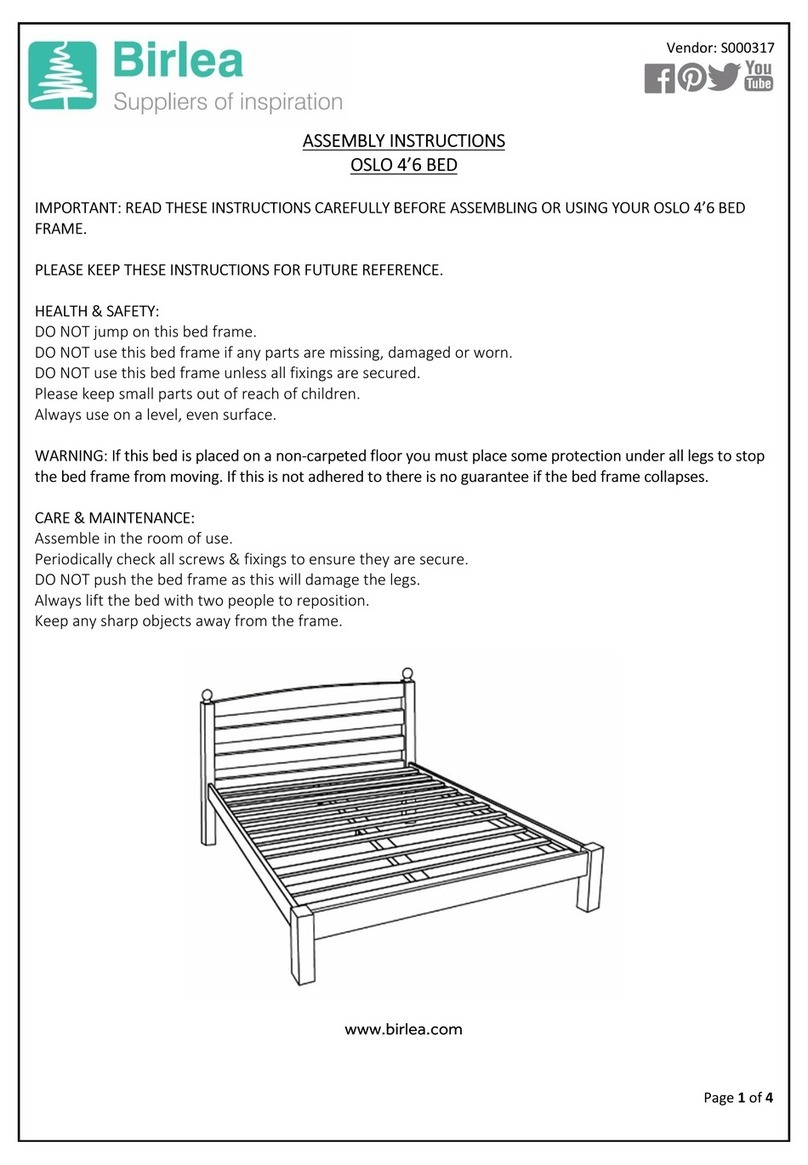
Birlea OSLO 4'6 BED User manual

Birlea

Birlea OSLO 4'6 BED User manual
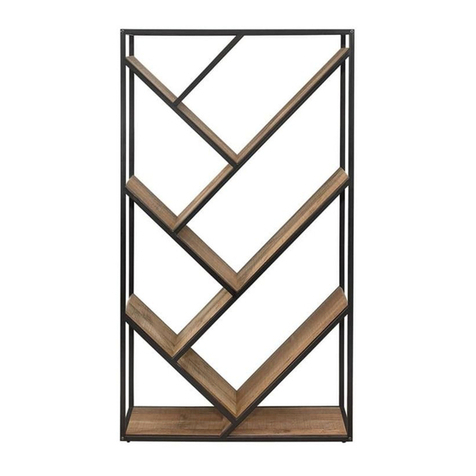
Birlea URBDBCRUS User manual

Birlea

Birlea URBDBCRUS User manual

Birlea BERLIN OTTOMAN 4’6 User manual

Birlea

Birlea BERLIN OTTOMAN 4’6 User manual

Birlea SANTIAGO 2 DRAWER CONSOLE TABLE User manual

Birlea

Birlea SANTIAGO 2 DRAWER CONSOLE TABLE User manual

Birlea URBAN URB1NBSRUS User manual

Birlea

Birlea URBAN URB1NBSRUS User manual
Birlea Woburn 1 Door 1 Drawer Wardrobe User manual
Birlea

Birlea Woburn 1 Door 1 Drawer Wardrobe User manual

Birlea Sienna User manual

Birlea

Birlea Sienna User manual

Birlea Toronto Bed User manual

Birlea

Birlea Toronto Bed User manual
Birlea Berlin King Fabric Bed User manual

Birlea

Birlea Berlin King Fabric Bed User manual

Birlea MAYFAIR 5' BED User manual

Birlea

Birlea MAYFAIR 5' BED User manual

Birlea Urban 1 Drawer Bedside User manual

Birlea

Birlea Urban 1 Drawer Bedside User manual

Birlea FARO User manual

Birlea

Birlea FARO User manual

Birlea NOVA BED User manual

Birlea

Birlea NOVA BED User manual

Birlea AZTEC User manual

Birlea

Birlea AZTEC User manual

Birlea CROXLEY User manual

Birlea

Birlea CROXLEY User manual

Birlea WINCHESTER CORNER TV UNIT User manual

Birlea

Birlea WINCHESTER CORNER TV UNIT User manual

Birlea Ava 5 Drawer Dressing Table & Mirror User manual

Birlea

Birlea Ava 5 Drawer Dressing Table & Mirror User manual

Popular Indoor Furnishing manuals by other brands
PIETBOON TOOS 105 quick start guide

PIETBOON

PIETBOON TOOS 105 quick start guide

Life Span Unity owner's manual

Life Span

Life Span Unity owner's manual
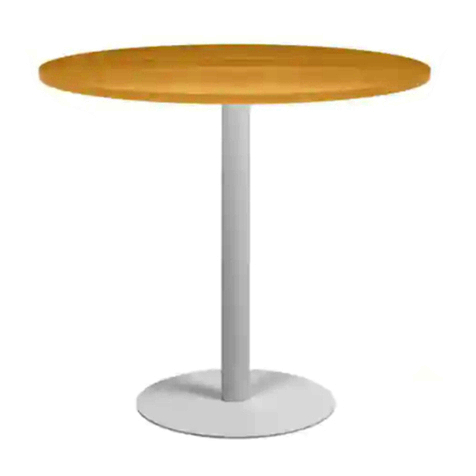
Jason.L Sapphire Disc Round Base Table Assembly instructions
Jason.L

Jason.L Sapphire Disc Round Base Table Assembly instructions

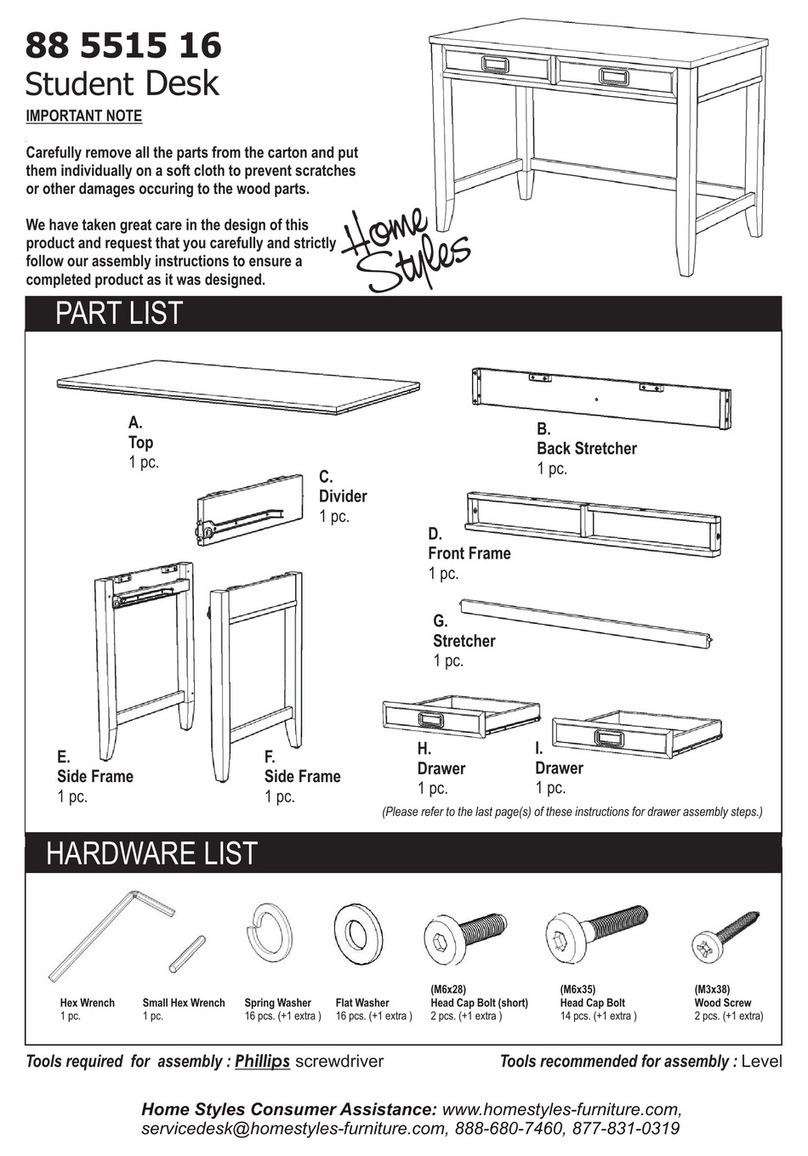
Home Styles 88 5515 16 Assembly instructions

Home Styles

Home Styles 88 5515 16 Assembly instructions

Happy Beds Yorkie 5ft Assembly instructions

Happy Beds

Happy Beds Yorkie 5ft Assembly instructions

PotteryBarn Marble and Metal Floor Storage Assembly manual

PotteryBarn

PotteryBarn Marble and Metal Floor Storage Assembly manual

Simpli Home WyndenHall brooklyn+max AXCAMH-007W Assembly instructions
Simpli Home

Simpli Home WyndenHall brooklyn+max AXCAMH-007W Assembly instructions

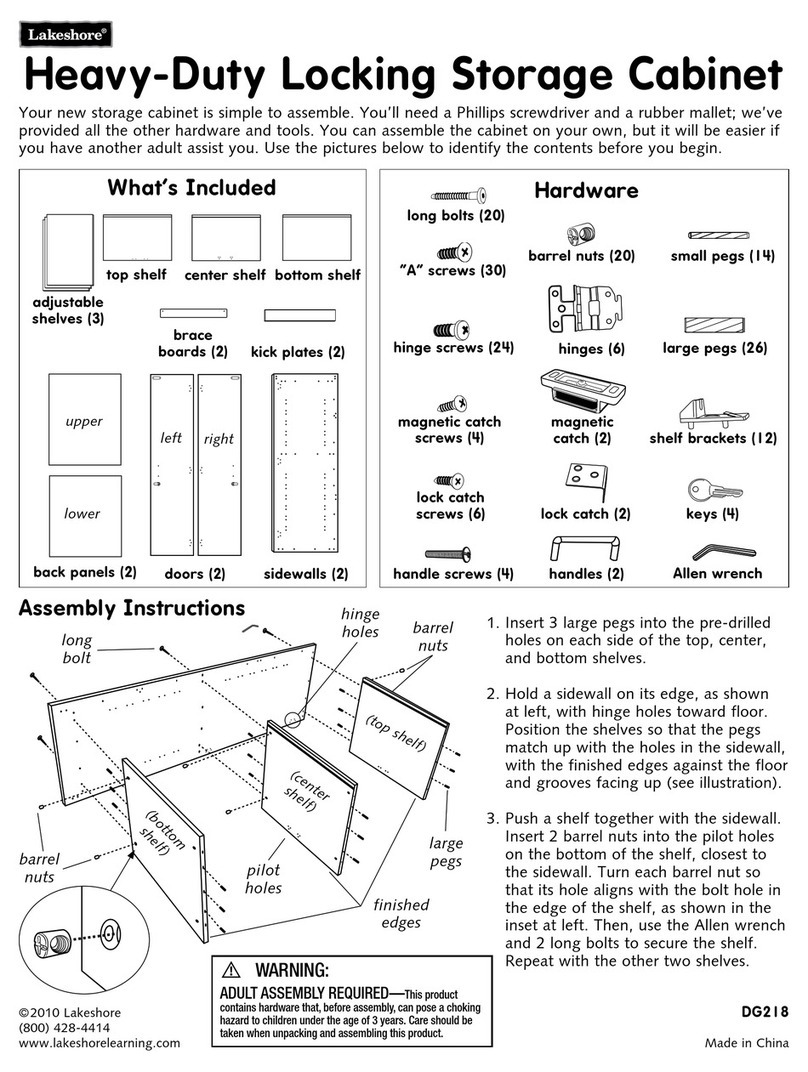
Lake Shore DG218 manual

Lake Shore

Lake Shore DG218 manual

ID USA 182341 Assembly instruction

ID USA

ID USA 182341 Assembly instruction
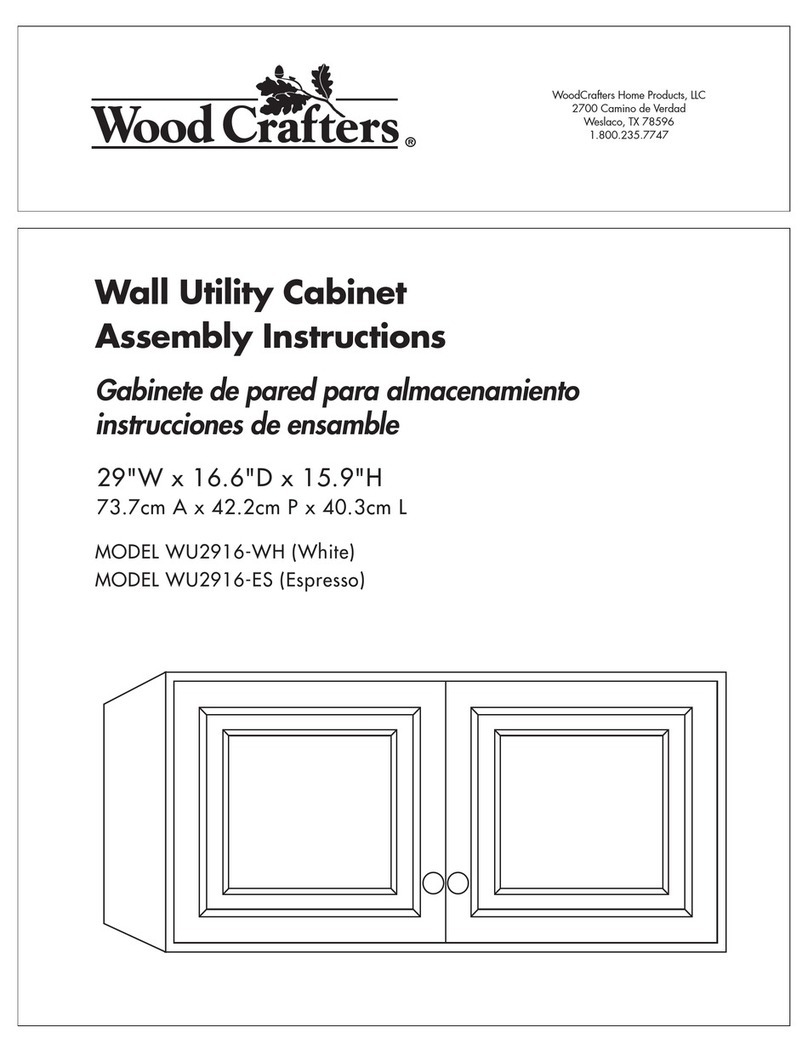
Wood Crafters WU2916-WH Assembly instructions
Wood Crafters

Wood Crafters WU2916-WH Assembly instructions

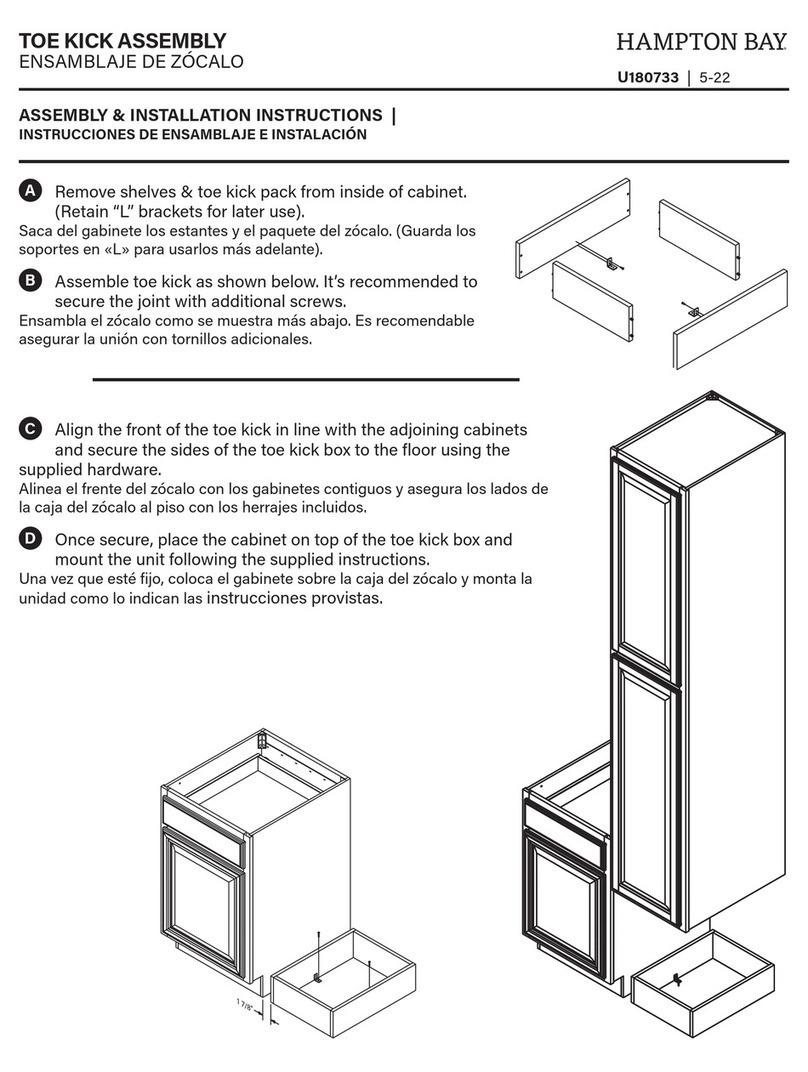
HAMPTON BAY U180733 Assembly/installation instructions
HAMPTON BAY

HAMPTON BAY U180733 Assembly/installation instructions

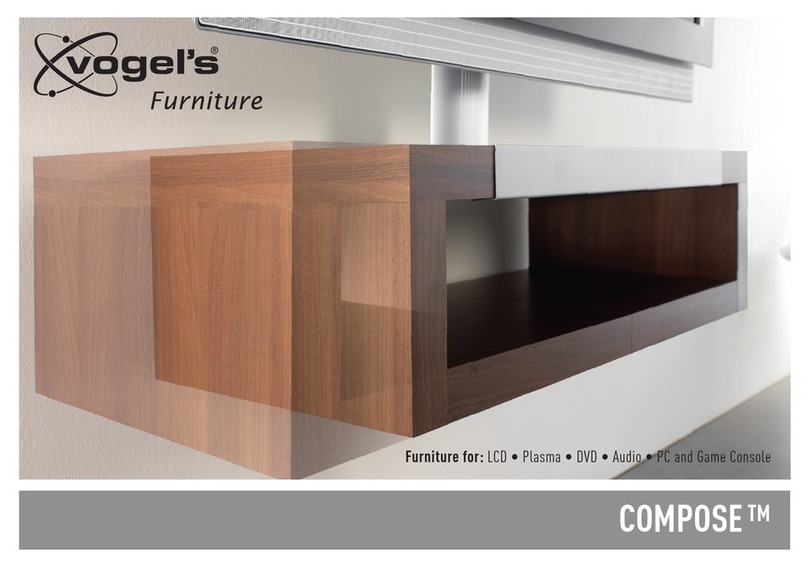
VOGELS CFM 060 - VOGEL'S COMPSE CONSUMER  SEPTEMBER... brochure
VOGELS

VOGELS CFM 060 - VOGEL'S COMPSE CONSUMER SEPTEMBER... brochure

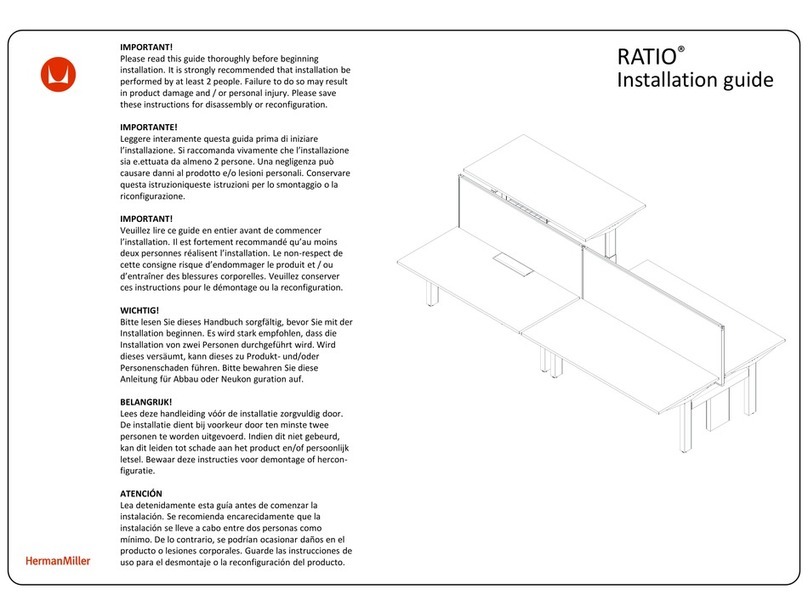
Herman Miller RATIO installation guide
Herman Miller

Herman Miller RATIO installation guide

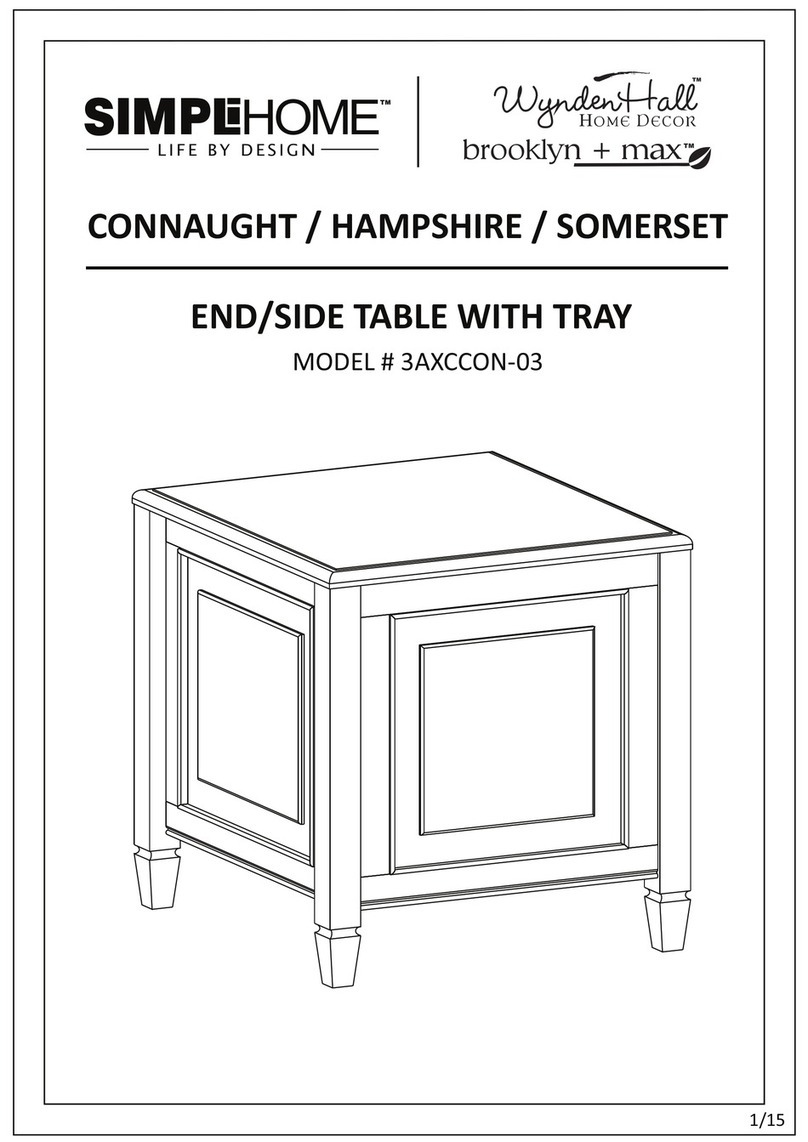
Simpli Home WyndenHall brooklyn + max 3AXCCON-03 quick start guide

Simpli Home

Simpli Home WyndenHall brooklyn + max 3AXCCON-03 quick start guide

Jason.L Quadro Square 4P workstation Assembly instructions
Jason.L

Jason.L Quadro Square 4P workstation Assembly instructions

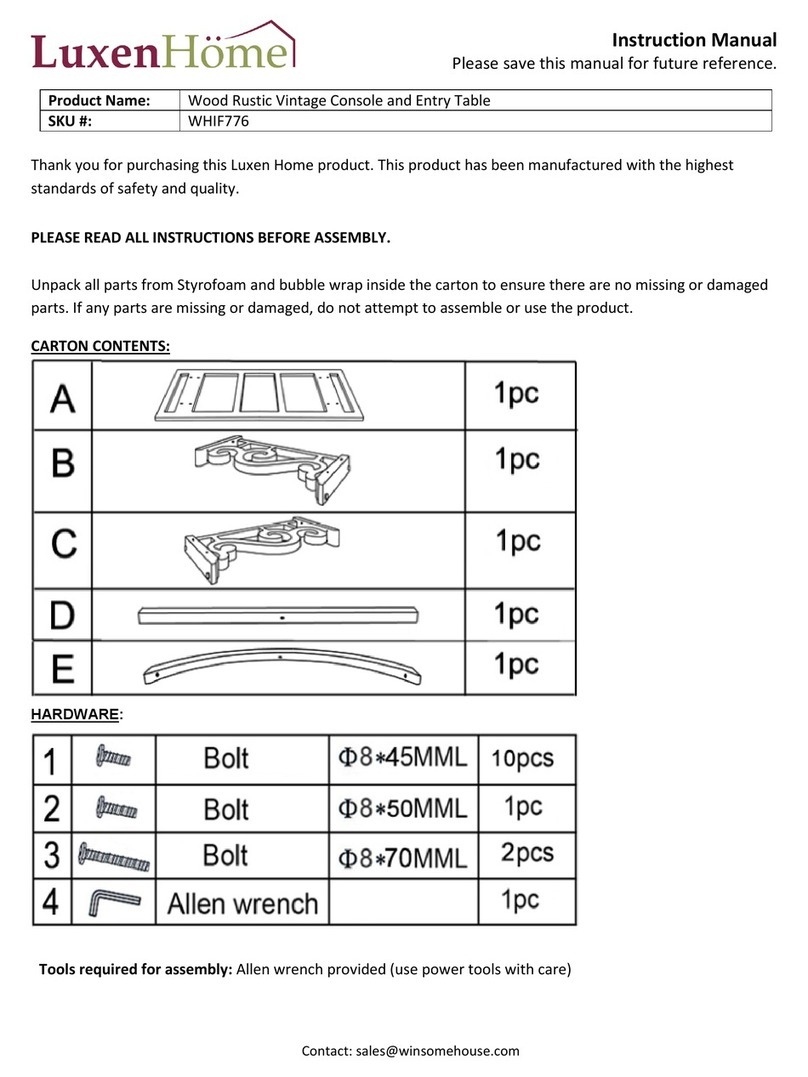
LuxenHome WHIF776 instruction manual

LuxenHome

LuxenHome WHIF776 instruction manual
Konig + Neurath INSIDE.60 Assembly instructions
Konig + Neurath

Konig + Neurath INSIDE.60 Assembly instructions

Disc-O-Bed 2XL Outfitter Assembly instructions

Disc-O-Bed

Disc-O-Bed 2XL Outfitter Assembly instructions

manuals.online logo
manuals.online logoBrands
  • About & Mission
  • Contact us
  • Privacy Policy
  • Terms and Conditions

Copyright 2025 Manuals.Online. All Rights Reserved.