manuals.online logo
Brands
  1. Home
  2. •
  3. Brands
  4. •
  5. Birlea
  6. •
  7. Indoor Furnishing
  8. •
  9. Birlea WINCHESTER S000401 User manual

Birlea WINCHESTER S000401 User manual

Assembly Instructions
Thank you for
purchasing a
Birlea product.
Forachancetowina
Love 2 Shop
voucher
simplypostapictureofyournewproduct
onyourpreferredsocialchannelstagging
Birlea Furniture and using the hashtag
#ShareYourStyle
and
#Birlea
.Onewinner
willbeselectedatrandomeachmonth.
To view our full terms and conditions please visit our website. www.birlea.com
Are you happy with your purchase?
Yes:
That’sgreat,wewouldlovetohearmorefromyou.Pleaseleaveusareviewon
oursocialmediachannelsorTrustpilot.Yourfeedbackwillbegreatlyappreciated.
No:
Ifforanyreasonthereissomethingmissing,indifferentorincorrectwith
yourorder,pleasecontacttheretaileryoupurchasedtheitemfrom.Wewill
workwiththeretailertoresolveyourissueasquicklyaspossible.
www.birlea.com
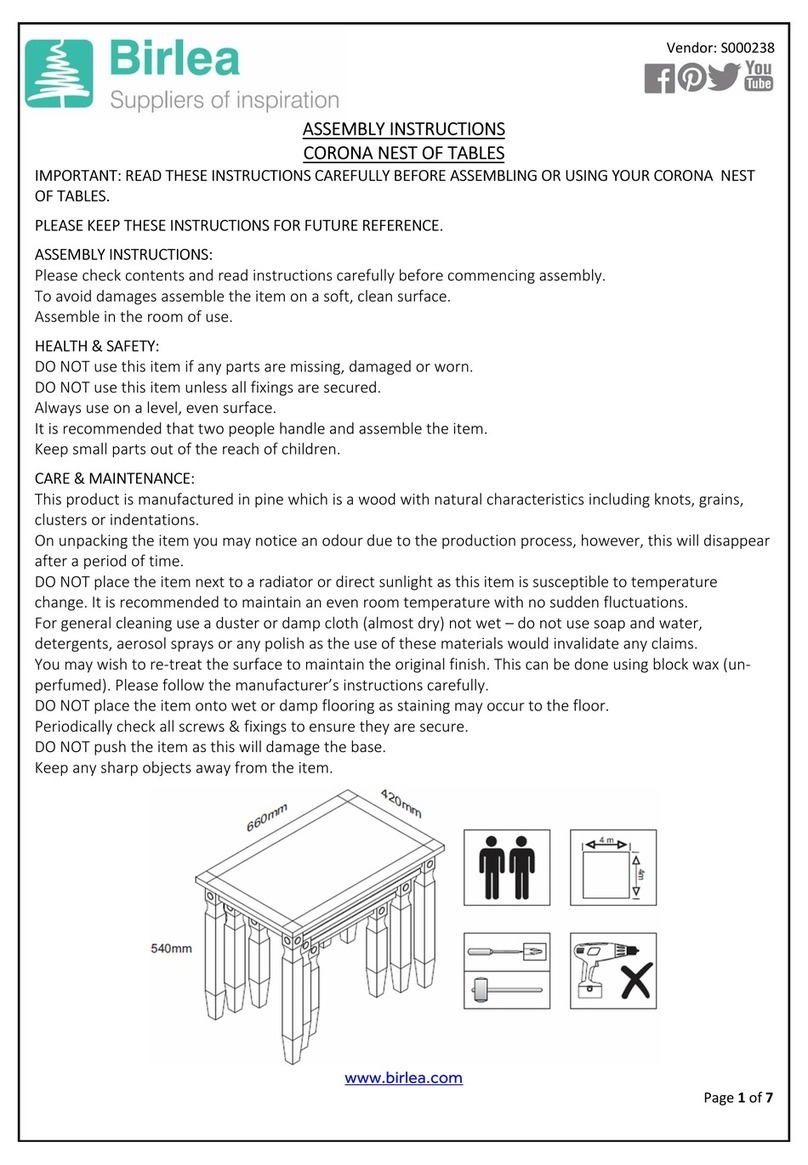
ASSEMBLY INSTRUCTIONS
WINCHESTER 2 DRAWER CONSOLE TABLE
IMPORTANT: READ THESE INSTRUCTIONS CAREFULLY BEFORE
ASSEMBLING OR USING YOUR WINCHESTER 2 DRAWER CONSOLE TABLE.
PLEASE KEEP THESE INSTRUCTIONS FOR FUTURE REFERENCE.
HEALTH & SAFETY:
DO NOT use this item if any parts are missing, damage or
worn.
DO NOT use this item unless all fixings are secured.
Please keep small parts out of reach of
children. Always use on a level, even
surface.
It is recommended that two people handle and assemble the item.
Birlea advise you use the wall straps provided to further enhance the safety of this product.
CARE &MAINTENANCE:
Assemble in the room of use.
To avoid damages assemble the item on a soft, clean
surface Periodically check all screws & fixings to ensure
they are secure. DO NOT push the item as this will
damage the base.
Always lift the item with two people to
reposition. Keep any sharp objects away
from the item.
This product is manufactured in pine which is a wood with natural characteristics including knots,
grains, clusters or indentations.
On unpacking the item you may notice an odour due to production processes but this will disappear
after a period of time.
DO NOT place the item next to a radiator or direct sunlight – this item is susceptible to temperature
change. It is recommended an even room temperature be maintained with no sudden fluctuations.
DO NOT place hot or cold items directly onto the surface of the item as marking will occur
For general cleaning use a duster or damp cloth (almost dry) not wet - do not use soap and water ,
detergents, aerosol sprays or any polish as use of these would invalidate any claims.
DO NOT place the item onto wet or damp flooring as staining may occur to the floor.
Page 1 of 7
www.birlea.com
Vendor: S000401
755mm
990mm
356mm
Page 2 of 7
Vendor: S000401
Hardware List
Part Item Qty
A Wooden Dowel 18
B Cam Bolt 32
C Cam Lock 32
D Tack 5
E Slip Shoe 5
F 40mm Screw 2
G 14mm Screw 24
H Sticker 5
I Handle 2
J Side Slide 2
K Drawer Slide 2
L Safety Strap 1
2X
012345 6 78 9 1 0 1 1 1 2 1 3 1 4 1 5 1 6
mm
Parts List
Part Item Qty
1 Right Side 1
2 Left Side 1
3 Base 1
4 Top 1
5 Division 1
6 Back Traverse 1
7 Baseboard 1
8 Traverse 1
9 Right Column 2
10 Left Column 2
11 Drawer Front 2
12 Drawer Back 2
13 Drawer Side 4
14 Drawer Bottom 2
1
2
3
4
56
10
9
10
9
11 14
13
12
13
8
7
Page 3 of 7
Vendor: S000401
A
A
7
1
A
G
J
G
G
G
J
8
A
A
2
B
B
B
B
G
GJ
B
B
B
B
B
B
4
B
B
910
Step 1: Insert hardware (A) into the division (5), baseboard (7), traverse (8) and the drawer side (13).
Then fix hardware (j) to the division (5) using hardware (G).
Do NOT use any power tools are this may damage the frame and will invalidade any claim.
Step 2: Insert hardware (B) into right side (1), left side (2), top (4), the right column (9), left column
(10), the drawer front (11) and the drawer back (12). Then fix hardware (J) to the right side (1) and left
side (2) using hardware (G).
Do NOT use any power tools are this may damage the frame and will invalidade any claim.
A
5
A
A
13
4X
B
B
B
B
11
12 2X
2X
Page 4 of 7
Vendor: S000401
C
C
C
C
C
C
C
B
1
3
6
2
10
9
9
10
8
Step 3: Attach the right column (9), the back traverse (6), traverse (8), the base (3) and the left
column (10) to the right side (1) and left side (2) using hardware (C). Then attach the baseboard (7)
to the bottom of the base (3).
Do NOT use any power tools are this may damage the frame and will invalidade any claim.
7
Page 5 of 7
Vendor: S000401
Step 4: Attach the division (5) to the back traverse (6) and the traverse (8) using hardware (F) and a
screwdriver (not provided).
Do NOT use any power tools are this may damage the frame and will invalidade any claim.
F
5
F
Step 5: Attach the top (4) to the assembled console table using hardware (C). Then fix hardware (E)
and (D) to the bottom of the right column (9), left column (10) and the baseboard (7).
Do NOT use any power tools are this may damage the frame and will invalidade any claim.
4
C
C
C
C
D
E
6
8
10
9
10
Page 6 of 7
Vendor: S000401
B
C
C
G
K
K
2X
2X 2X
14
13
13
12
11
GG
G
G
GI
C
Step 6: Attach the drawer side (13) to the drawer back (12) using hardware (B) and (C) then insert
the drawer back (14) as shown below.
Attach the drawer side (13) to the drawer front (11) using hardware (B) and (C) then attach hardware
(K) to the drawer side (13) using hardware (G).
Attach hardware (I) to the drawer front using hardware (G).
Do NOT use any power tools are this may damage the frame and will invalidade any claim.
Page 7 of 7
Vendor: S000401
Step 7: Insert the drawers as shown below.
Insert the hardware (H) into the apparent holes.
Do NOT use any power tools are this may damage the frame and will invalidade any claim.
Additional Information:
•
For complete product information, images and dimension diagrams
please visit the website www.birlea.com
•
If you have any issues with your item please contact the retailer
directly you purchased it from who will be able to resolve any
issues with Birlea.
•
Why don’t you send us photos of your assembled furniture to [email protected]
to be shared in our #birleahome feature on Instagram.
K
J
H
Inserting the Drawers
L
Safety Strap
Attach the safety strap (L) in the assembly, following
the image on the side.

Other Birlea Indoor Furnishing manuals
Birlea SANTIAGO User manual

Birlea

Birlea SANTIAGO User manual

Birlea CORONA NEST OF TABLES User manual
Birlea

Birlea CORONA NEST OF TABLES User manual

Birlea corona User manual

Birlea

Birlea corona User manual
Birlea NOVA BED User manual

Birlea

Birlea NOVA BED User manual

Birlea CORONA 2 DOOR 5 DRW SIDEBOARD User manual
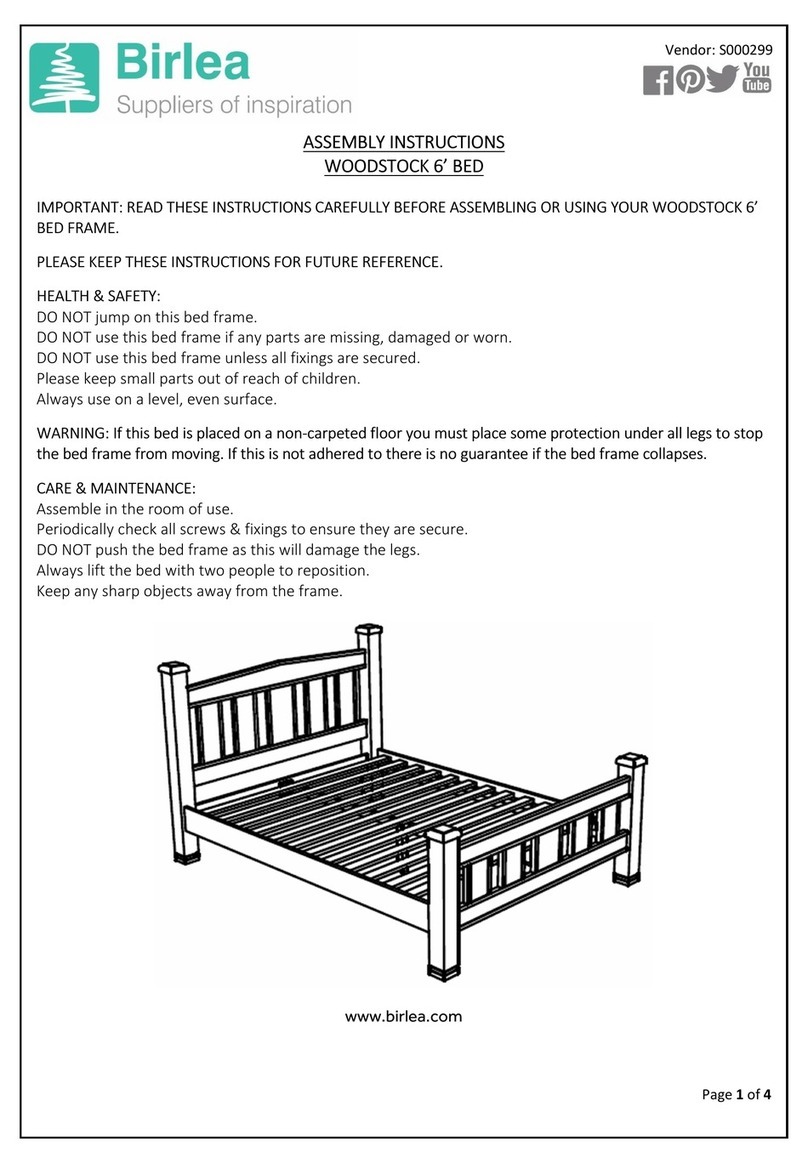
Birlea

Birlea CORONA 2 DOOR 5 DRW SIDEBOARD User manual

Birlea WOOB6GRY User manual

Birlea

Birlea WOOB6GRY User manual
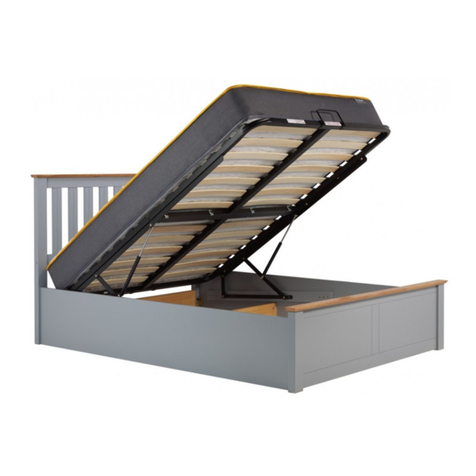
Birlea PHONENIX User manual

Birlea

Birlea PHONENIX User manual
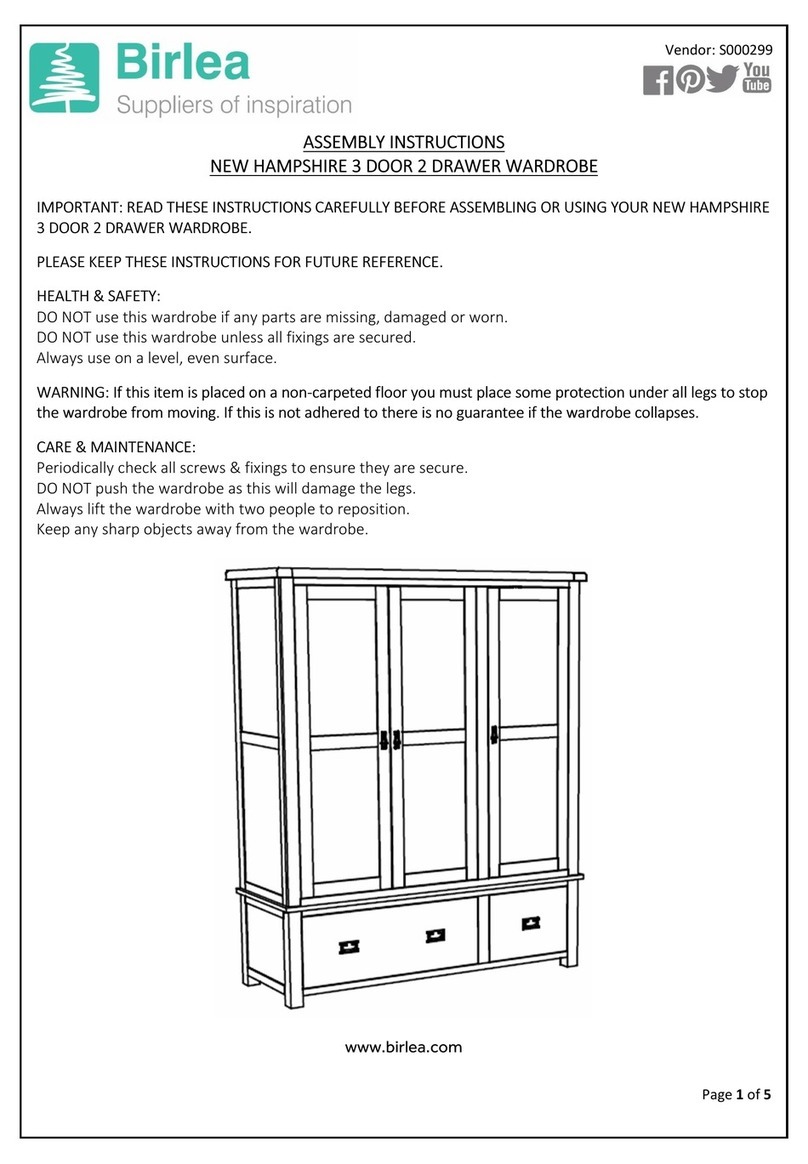
Birlea CORONA 2 DOOR 5 DRW SIDEBOARD Installation guide
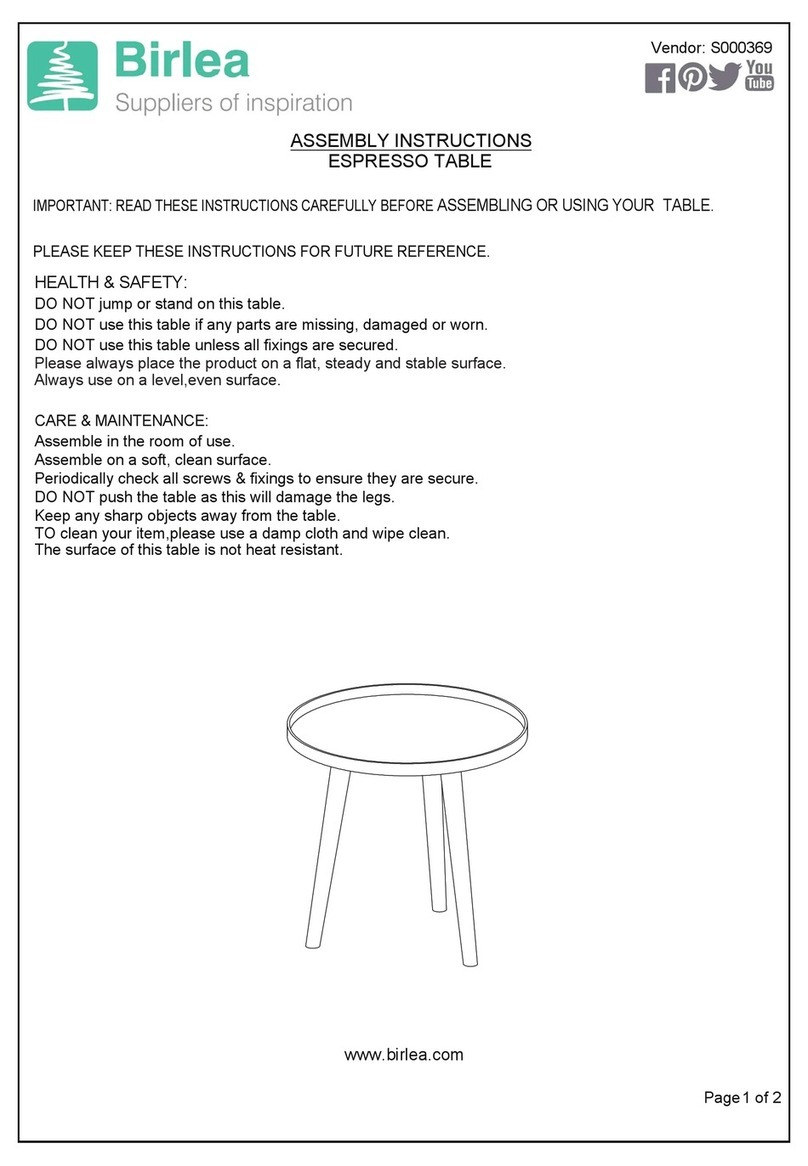
Birlea

Birlea CORONA 2 DOOR 5 DRW SIDEBOARD Installation guide

Birlea ESPRESSO TABLE User manual

Birlea

Birlea ESPRESSO TABLE User manual

Birlea Lille Drop Leaf Dining Set User manual
Birlea

Birlea Lille Drop Leaf Dining Set User manual

Birlea Croxley 5 Drawer Rattan Chest User manual

Birlea

Birlea Croxley 5 Drawer Rattan Chest User manual

Birlea 135CM ARLO BED User manual

Birlea

Birlea 135CM ARLO BED User manual

Birlea MARQUIS FABRIC User manual

Birlea

Birlea MARQUIS FABRIC User manual
Birlea URBDSBRUS User manual

Birlea

Birlea URBDSBRUS User manual
Birlea WINCHESTER 4 DRAWER CHEST User manual
Birlea

Birlea WINCHESTER 4 DRAWER CHEST User manual

Birlea WOODSTOCK MIRROR User manual

Birlea

Birlea WOODSTOCK MIRROR User manual
Birlea CORFU User manual

Birlea

Birlea CORFU User manual
Birlea EMILY 3' BED User manual

Birlea

Birlea EMILY 3' BED User manual
Birlea Winchester WIN3WCRO User manual
Birlea

Birlea Winchester WIN3WCRO User manual

Birlea MIDTOWN User manual

Birlea

Birlea MIDTOWN User manual

Birlea S000013 User manual

Birlea

Birlea S000013 User manual

Birlea SUFFOLK 2 DOORS WARDROBE User manual

Birlea

Birlea SUFFOLK 2 DOORS WARDROBE User manual

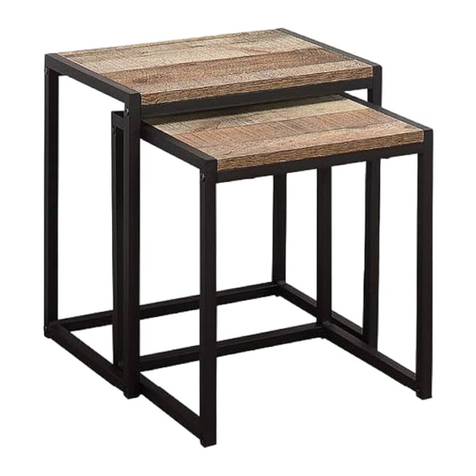
Birlea URBAN NEST OF TABLES User manual

Birlea

Birlea URBAN NEST OF TABLES User manual

Birlea HAVANA 2 DRAWER BEDSIDE CABINET User manual

Birlea

Birlea HAVANA 2 DRAWER BEDSIDE CABINET User manual

Popular Indoor Furnishing manuals by other brands

Regency LWMS3015 Assembly instructions

Regency

Regency LWMS3015 Assembly instructions

Furniture of America CM7751C Assembly instructions

Furniture of America

Furniture of America CM7751C Assembly instructions

Safavieh Furniture Estella CNS5731 manual

Safavieh Furniture

Safavieh Furniture Estella CNS5731 manual

PLACES OF STYLE Ovalfuss Assembly instruction

PLACES OF STYLE

PLACES OF STYLE Ovalfuss Assembly instruction

Trasman 1138 Bo1 Assembly manual

Trasman

Trasman 1138 Bo1 Assembly manual

Costway JV10856 manual

Costway

Costway JV10856 manual

moss DESIGN Caisson Credenza Assembly instructions

moss DESIGN

moss DESIGN Caisson Credenza Assembly instructions

Aquaglide FULL DECK 15.0 owner's manual

Aquaglide

Aquaglide FULL DECK 15.0 owner's manual

AREBOS AR-HE-SW30 user manual

AREBOS

AREBOS AR-HE-SW30 user manual

Till-Hilft Fulda 87005.330 Assembly instructions

Till-Hilft

Till-Hilft Fulda 87005.330 Assembly instructions

Twoey Outside 2010 quick start guide

Twoey Outside

Twoey Outside 2010 quick start guide

Hettich Easys 200 operating instructions

Hettich

Hettich Easys 200 operating instructions

The bedboss RELAX 404 Series owner's manual

The bedboss

The bedboss RELAX 404 Series owner's manual

Oeseder Möbelindustrie Bern 991 720 Assembly instructions

Oeseder Möbelindustrie

Oeseder Möbelindustrie Bern 991 720 Assembly instructions

Costway HW68469 user manual

Costway

Costway HW68469 user manual

Next ALIX A27743 Assembly instructions

Next

Next ALIX A27743 Assembly instructions

BROSA Hans Assembly guide

BROSA

BROSA Hans Assembly guide

Prodigg MINIKA PBA015T-FUR installation manual

Prodigg

Prodigg MINIKA PBA015T-FUR installation manual

manuals.online logo
manuals.online logoBrands
  • About & Mission
  • Contact us
  • Privacy Policy
  • Terms and Conditions

Copyright 2025 Manuals.Online. All Rights Reserved.