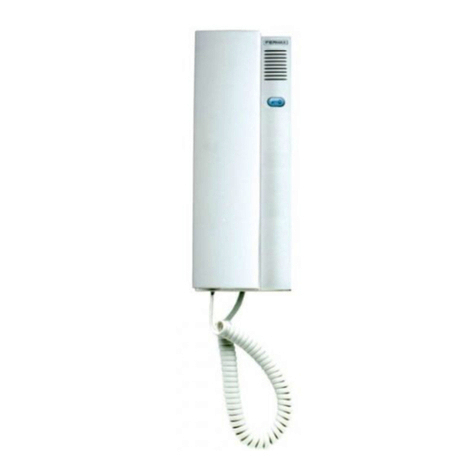
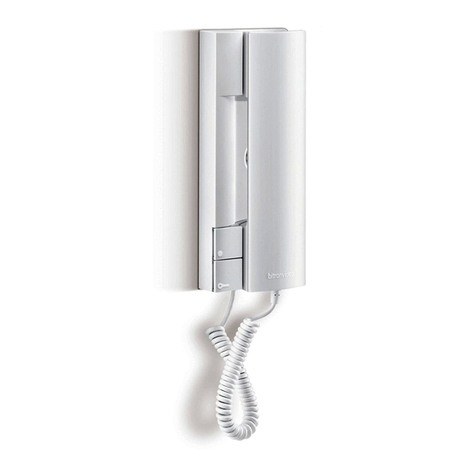
Bitron Video AV1860/30 User manual

AV1860/30
CITOFONO SUPPLEMENTARE PER KIT 2 FILI
ADDITIONAL DOOR PHONE FOR 2-WIRE KIT
INTERPHONE SUPPLEMENTAIRE POUR KIT 2 FILS
ZUSÄTZLICHE SPRECHANLAGE FÜR 2-DRÄHTE-KIT
INTERFONO ADICIONAL PARA KIT DE 2 HILOS
MANUEL D’INSTRUCTIONS
CARATERISTIQUES DE FONCTIONNEMENT ET INSTALLATION
INSTRUCTIONS MANUAL
OPERATING AND INSTALLATION FEATURES
MANUALE ISTRUZIONI
CARATTERISTICHE DI FUNZIONAMENTO E INSTALLAZIONE
GEBRAUCHSANWEISUNG
BETRIEBSDATEN UND INSTALLATION
MANUAL DE ISTRUCCIONES
CARACTERÍSTICAS DE FUNCIONAMIENTO E INSTALACIÓN
DS901860-002 LBT90282

2
DS901860-002 DS901860-002
3
ITALIANO
FISSAGGIO CITOFONO AL MURO
1) Aprire il citofono facendo leva con un cacciavite, nelle apposite feritoie inferiori.
2) Dopo aver eseguito i fori nel muro ed inserito i tasselli dati a corredo, far passare i fili di collegamento
nella feritoia centrale. Bloccare con le viti il citofono al muro, utilizzando gli appositi fori asolati.
Successivamente collegare al citofono i conduttori come da schema elettrico.
3) Richiudere il citofono a scatto facendo attenzione a non pizzicare i fili tra i due gusci.
1,48 ÷ 1,52 m
PRESTAZIONI DEL CITOFONO
1
2
3
1.PULSANTE APRIPORTA
2. PULSANTE APRI CANCELLO
3. COMANDO REGOLAZIONE VOLUME / MUTE DELLA SUONERIA
Con il selettore in posizione superiore si imposta il massimo volume della suoneria; con il selettore in posizione
intermedia si ha il minimo volume e con selettore in posizione inferiore, si esclude completamente la suoneria.
Quest’ultima posizione è evidenziata dalla fuoriuscita dal fondo del citofono di una bandierina segnalazione
di colore rosso.
ENGLISH
FIXING OF THE DOOR PHONE TO THE WALL
1) Open the door phone front cover by prying a screwdriver in the lower slots.
2) Drill two holes in the wall, then insert the nogs supplied and pass the connection wires through the
central slit. Fix the handset to the wall by means of its mounting screws through the appropriate slots.
Then make all connections as indicated in the electrical diagram.
3) Close the door phone and snap it in position being careful not to squeeze the wires between the two
shells
1,48 ÷ 1,52 m
DOOR PHONE PERFORMANCES
1
2
3
1. DOOR OPENER BUTTON.
2. GATE OPENING BUTTON
3. RINGER COMMAND FOR VOLUME / MUTE ADJUSTMENT
When the selector is in the upper position the maximum ringer volume is set; with the selector in middle
position the minumum ringer volume is set and with the selector in the lowest position the ringer is completely
excluded. This last position is signalled by a little red flag, that appears at the bottom of the door phone.

4
DS901860-002 DS901860-002
5
FRANÇAIS
FIXATION DE LA PLATINE AU MUR
1) Ouvrir le combiné soulevant la coiffe, en insérant un tournevis dans les fentes inférieures.
2) Après avoir fait les trous dans le mur, insérer les chevilles (fournies) et faire passer les fils dans la fente
centrale. Bloquer, à l’aide des vis, le combiné au mur en utilisant les trous appropriés. Brancher ensuite
les fils au combiné, comme indiqué dans le schéma électrique.
3) Refermer le combiné par pression en veillant à ne pas pincer les fils entre les deux coquilles.
1,48 ÷ 1,52 m
PERFORMANCES DE L’INTERPHONE
1
2
3
1. TOUCHE OUVRE-PORTE
2. TOUCHE OUVRE PORTAIL
3. COMMANDE POUR RÉGLAGE VOLUME / EXCLUSION DE LA SONNERIE
Si le sélecteur est en position supérieure on programme le volume maximal de la sonnerie; avec le sélecteur en
position intermédiaire on programme le volume minimal et avec le sélecteur en position inférieure la sonnerie
est complètement exclue. Cette dernière position est indiquée par la sortie du fond de l’interphone d’un petit
drapeau rouge de signalisation.
DEUTSCH
BEFESTIGUNG DER SPRECHANLAGE AN DER WAND
1) Die Sprechanlage öffnen, indem ein Schraubenzieher in den entsprechenden unteren Schlitzen als Hebel
eingesetzt wird.
2) Nachdem die Bohrungen an der Wand angebracht und die in der Lieferung enthaltenen Dübel eingesetzt
wurden, die Anschlussdrähte in den mittleren Schlitz einführen. Mit den Schrauben die Sprechanlage an
der Wand befestigen, indem die entsprechenden Langlöcher verwendet werden.
Anschließend die Leiter gemäß Schaltplan an die Anlage anschließen.
3) Die Sprechanlage wieder durch Einrasten schließen und dabei darauf achten, die Drähte nicht zwischen
den beiden Teilen einzuklemmen.
1,48 ÷ 1,52 m
LEISTUNGEN DER SPRECHANLAGE
1
2
3
1. TÜRÖFFNERTASTE
2. TORÖFFNERTASTE
3. BEDIENUNGSSCHALTER DER EINSTELLUNG DER LAUTSTÄRKE/MUTE
Steht der Auswahlschalter auf der oberen Stellung, wird die höchste Lautstärke ausgewählt; steht der
Auswahlschalter auf der Zwischenstellung, erlangt man die niedrigste Lautstärke; steht der Auswahlschalter
auf der unteren Stellung, wird die Lautstärke ganz ausgeschlossen. Diese untere Stellung wird vom Austritt aus
der Sprechanlage-Unterseite eines roten Signalfähnchens hervorgehoben.

6
DS901860-002 DS901860-002
7
ESPAÑOL
FIJACIÓN DEL INTERFONO EN LA PARED
1) Abrir el interfono haciendo palanca con un destornillador en las correspondientes ranuras inferiores.
2) Después de realizar los orificios en la pared y de colocar los tacos entregados con el equipo, hacer pasar
los cables de conexión por la ranura central. Fijar el interfono en la pared con los tornillos, utilizando los
correspondientes orificios rebordeados.
Luego, conectar los conductores en el interfono como se indica en el diagrama eléctrico.
3) Cerrar otra vez el interfono (a presión), prestando atención a no pellizcar los cables entre las dos
cubiertas.
1,48 ÷ 1,52 m
PRESTACIONES DEL INTERFONO
1
2
3
1. PULSADOR DE APERTURA DE LA PUERTA
2. TECLA ABRE PORTÓN
3. CONTROL DE LA REGULACIÓN DEL VOLUMEN / MUTE DE LLAMADA
Con el selector en posición superior se obtiene el volumen máximo de llamada; con el selector en posición
central se obtiene el volumen mínimo y con el selector en posición inferior, se excluye totalmente el timbre
de llamada. Esta última posición está acentuada por la salida desde el fondo del interfóno de un banderín de
aviso de color rojo.
TABELLA SEZIONE CONDUTTORI
WIRE SECTION
SECTION CONDUCTEUR
TABELLE DER QUERSCHNITTE DER LEITUNGEN
TABLA SECCIONES CONDUCTORES
CONDUTTORE
WIRE
FIL
DRAHT
CABLE
DISTANZA
DISTANCE
DISTANCE
ABSTAND
DISTANCIA
FUNZIONE
FUNCTION
FUNCTION
FUNKTION
FUNCIÓN
50 m 100 m
Ømm
2Ømm
2
Da trasformatore a posto esterno
From trasformer to external unit
Du trasformateur au poste extérieur
Vom Transformator zum externen Lautsprecher
Del trasformador al altavoz externo
0,8 0,5 1,2 1,0
Da serratura a pulsantiera
From lock to push button panel
De la serrure à la plaque de rue
Von Verriegelung zum Tastenfeld
Desde cerradura hasta pulsador
Da pulsante apriporta a pulsantiera
From door lock release button to push button panel
De la touche ouvre porte à la plaque de rue
Von Türöffnertaste zum Tastenfeld
Desde tecla apertura de la puerta hasta pulsador

8
DS901860-002 DS901860-002
9
IMPIANTO CITOFONICO (KIT AV1860/11-/21) CON 1 POSTO ESTERNO, 1 UTENTE
ESEMPIO A) COLLEGAMENTO DI UN CITOFONO SUPPLEMENTARE IN PARALLELO
EXAMPLE A) CONNECTION OF 1 ADDITIONAL DOORPHONE IN PARALLEL
EXAMPLE A) CONNECTION D'1 INTERPHONE SUPPLÉMENTAIRE EN PARALLÈLE
BEISPIEL A) PARALLELSCHALTUNG VON 1 ZUSATZSPRECHANLAGE
EJEMPLO A) CONEXIÓN DE 1 INTERFONO ADICIONAL EN PARALELO
(KIT AV1860/11-/21) DOORPHONE SYSTEM WITH 1 DOOR UNIT, 1 USER
SYSTÈME D'INTERPHONE (KIT AV1860/11-/21) AVEC 1 POSTE EXTERNE, 1 UTILISATEUR
SPRECHANLAGE (KIT AV1860/11-/21) MIT 1 AUSSENSTELLE, 1 TEILNEHMER
SISTEMA INTERFONICO (KIT AV1860/11-/21) CON 1 MICROALTAVOZ, 1 USUARIO
BV-K2F-0003
All rights reserved - Diritti riservati a Norma di Legge
Apriporta esterno
External door opener
Bouton de sortie
Externer Türöffner
Apertura de puerta externo
Serratura
Lock
Serrure
Schloss
Cerradura
RETE
MAINS
SECTEUR
NETZ
RED
AV1860/11_/21
0 ~
12 ~
S-
0
S+
12
2
1
2
2C
AV1860/30
S-
S+
12
1
AP1
NA12 1 2 SE1 SE2
AP2
C
EXT
INT
ESEMPIO B) COLLEGAMENTO DI 4 CITOFONI
SUPPLEMENTARI IN PARALLELO
EXAMPLE B) CONNECTION IN PARALLEL OF 4
ADDITIONAL DOORPHONES
EXAMPLE B) CONNECTION DE 4 INTERPHONES
SUPPLÉMENTAIRES EN PARALLÈLE
BEISPIEL B) PARALLELSCHALTUNG VON 4
ZUSATZSPRECHANLAGEN
EJEMPLO B) CONEXIÓN DE 4 INTERFONOS
ADICIONALES EN PARALELO
BV-K2F-0003
All rights reserved - Diritti riservati a Norma di Legge
IMPIANTO CITOFONICO (KIT AV1860/11-/21) CON 1 POSTO ESTERNO, 1 UTENTE
(KIT AV1860/11-/21) DOORPHONE SYSTEM WITH 1 DOOR UNIT, 1 USER
SYSTÈME D'INTERPHONE (KIT AV1860/11-/21) AVEC 1 POSTE EXTERNE, 1 UTILISATEUR
SPRECHANLAGE (KIT AV1860/11-/21) MIT 1 AUSSENSTELLE, 1 TEILNEHMER
SISTEMA INTERFONICO (KIT AV1860/11-/21) CON 1 MICROALTAVOZ, 1 USUARIO
Apriporta esterno
External door opener
Bouton de sortie
Externer Türöffner
Apertura de puerta externo
Serratura
Lock
Serrure
Schloss
Cerradura
RETE
MAINS
SECTEUR
NETZ
RED
AV1860/11_/21
2
2C
AV1860/30
S-
S+
12
1
2
2C
AV1860/30
S-
S+
12
1
S-
0
S+
12
2
1
2
2C
AV1860/30
S-
S+
12
1
AP1
NA
12 1 2 SE1 SE2
AP2
C
EXT
INT 0 ~
12 ~
2
2C
AV1860/30
S-
S+
12
1

10
DS901860-002 DS901860-002
11

BITRON VIDEO s.r.l.
http://www.bitronvideo.com
Bitron Video adotta una politica di continuo sviluppo. Bitron Video
si riserva il diritto di effettuare modifiche e miglioramenti a qualsiasi
prodotto descritto nel presente documento senza preavviso.
Bitron Video follows a policy of continuous evolution of its products.
Therefore Bitron Video reserves the right to introduce changes or
modifications all its products in any moment and without prior
notice.
Bitron Video applique une mèthode de dèveloppement continu.
Par conséquent, Bitron Video se réserve le droit d’apporter des
changements et des améliorations à tout produt décrit dans ce
document, sans aucun préavis.
Bitron Video verfolgt eine Strategie der kontinuierlichen Entwicklung
und behält sich daher das Recht auf Änderungen und Verbesserungen
an jedem in dieser Anleitung beschriebenen Produkt ohne
Vorankündigung vor.
Bitron Video sigue una política de constante desarrollo; por lo tanto,
se reserva el derecho de aportar modificaciones y mejoras a cualquier
producto descrito en este documento sin aviso previo.
LBT90282DS901860-002
Designed in Italy
Assembled in P.R.C.
Other Bitron Video Intercom System manuals
Bitron Video
Bitron Video AV1860/1 User manual

Bitron Video
Bitron Video GVM3000 User manual
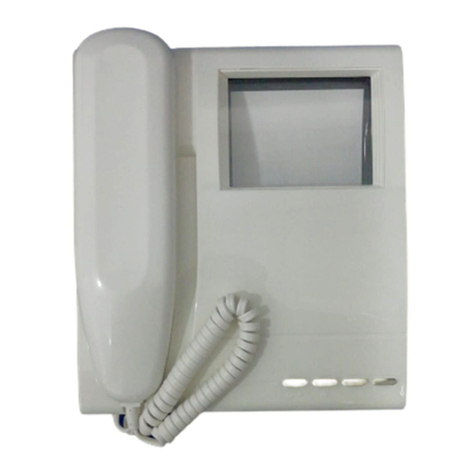
Bitron Video
Bitron Video MV1000 User manual

Bitron Video
Bitron Video AV1423/15 User manual
Bitron Video
Bitron Video AN9508 User manual
Bitron Video
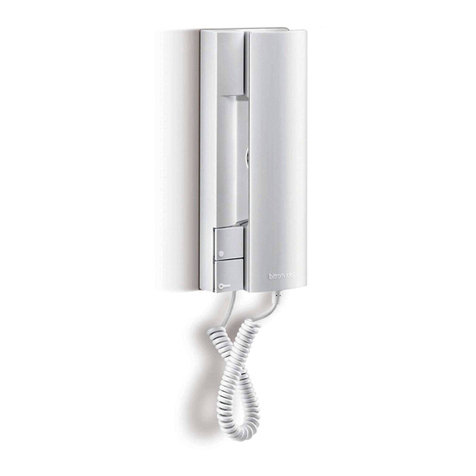
Bitron Video AV1407/010 User manual
Bitron Video
Bitron Video ECHO 1 User manual
Bitron Video
Bitron Video AV1407/005 User manual
Bitron Video
Bitron Video AV1860/11 User manual
Bitron Video
Bitron Video AV1183 Series User manual
