manuals.online logo
Brands
  1. Home
  2. •
  3. Brands
  4. •
  5. Akuvox
  6. •
  7. Intercom System
  8. •
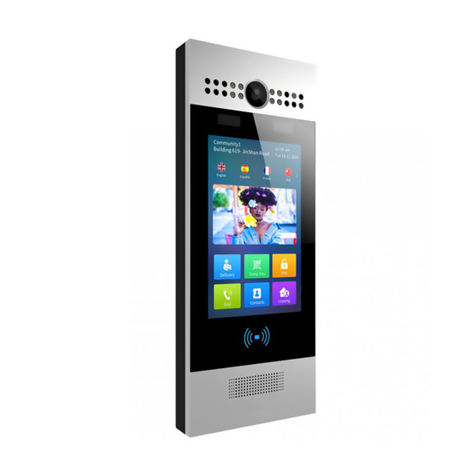
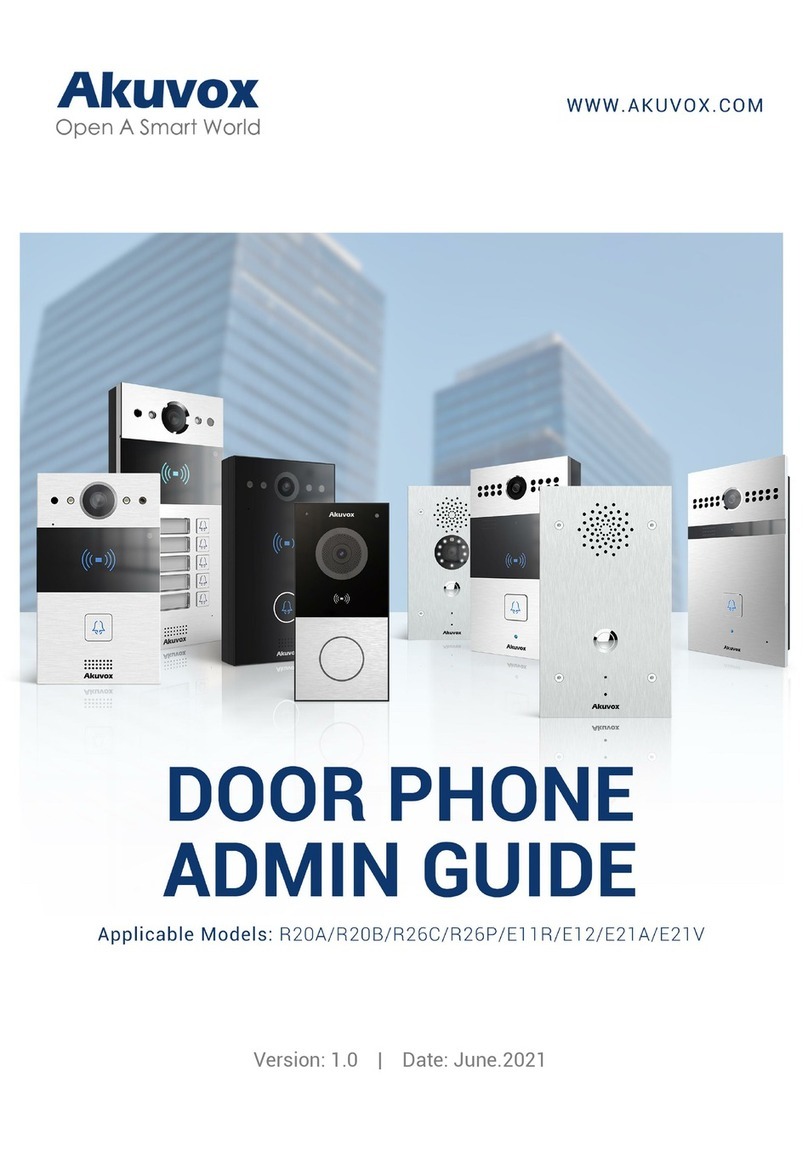
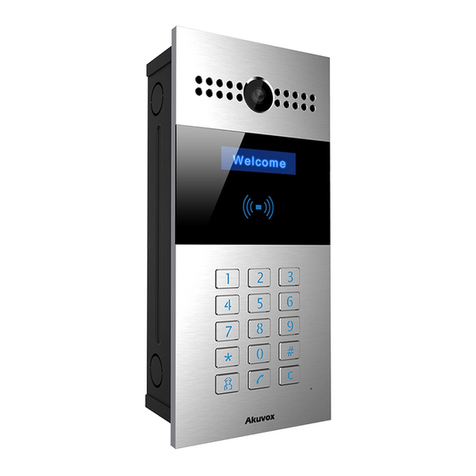
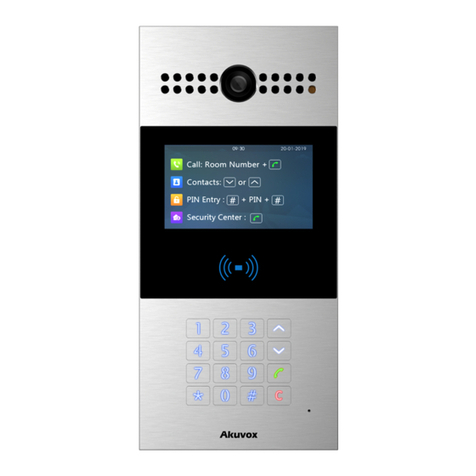
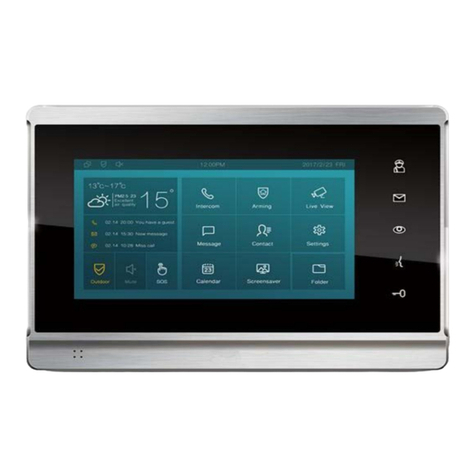
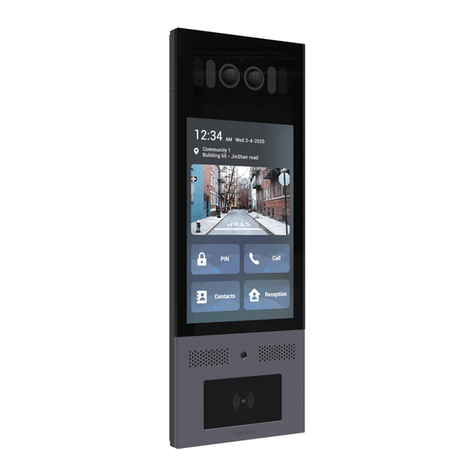
  9. Akuvox X915 Series User manual

Akuvox X915 Series User manual

Flush-mounng Accessories (Please find in In-Wall Installaon Kit box):
Wall-mounng Accessories (Please find in On-Wall Installaon Kit box):
Mainframe Accessories :
Before you being using the device, please check the version you obtained and ensure that the following items are included in the
shipped box:
X915X
Back Cover x 1
Rubber Plug(Small)x 2 Rubber Plug(Medium)x 2X915 x 1
Flush-mounting box x 1 ST4 x 35 screw x 4 Plastic Wall Anchor x 4
Wall-mounting box x 1
Unpacking
Product Overview
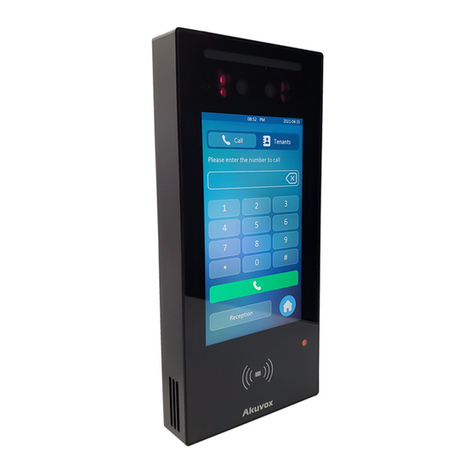
Face-liveness detection camera
X915X
M3x4 Screw x 6
Silicon Rubber Sealing Ring x 1
M4 x 30 Screw x 2 ST4 x 20 screw x 4
Torx Screw x 2
Torx Wrench x 1 Card Reader Touch Plate x 1
Rubber Plug(Large)x2
Plate Removal Key x 1 Rope x 1
2 x 6 PIN Terminal Blockx 1 2 x 5 PIN Terminal Blockx 1 2 PIN Terminal Block x 1 Pry barx 1
Plastic Wall Anchor x 4
Main camera
MIC
Infrared LED
White light LED
MIC
Infrared LED
White light LED
Touch screen
IR sensor
Card reader
Loudspeaker
Diode x 3
1. Wall-Mounng
Step 1:Wall-mounng Box or Flush-mounng Box Installaon
Installaon Environment
Indoor and outdoor installation are supported.
If installing the device outdoors, please do not place device under direct sunlight.
If installing the device indoors, please keep device at least 2 meters away from light, and at least 3 meters away from window and door .
Backlight Direct sun
through window
Close to lightDirect sunlight Indirect sunlight
through window
X915X
Installaon
Fix the wall-mounng box on to the embedded
box (86) with two M4x30 Screws, mark the
posions of the four holes of the wall mounng
box at the hole center.
Place the wall mounng box closely against the
wall while lining up its four holes with their
corresponding drilled holes and then fix the wall
mounng box on the wall by ghtening the four
ST4 x 20 screws and two M4x30 screws to the
plasc wall anchors.
Take off the box and drill the four marked
holes using 5 mm drill bit hand drill before
inserng the plasc wall anchors into the
drilled holes.
According to the posion of the wire on the wall, put the
wall-mounng box closely on to the wall and mark the
four posioning holes, while making sure that relave
posions between wall-mounng box and wiring hole are
correct.
Note: It is suggested that you move the boom edge the square hole 10 mm
away from the wring hole on the wall as highlighted in green in the drawing.
Drill the marked holes using 5 mm drill bit
hand drill before inserng plasc wall
anchors in to the drilled holes.
Place the wall-mounng box closely against the wall
while lining up its four holes with their
corresponding drilled holes and then fix the
wall-mounng box on the wall by ghtening four ST x
20 screws and two M4x30 screws to the plasc wall
anchors.
1.2 Without embedded junction box in the wall
1.1 With 86x86 mm embedded junction box in the wall
X915X
2. Flush-Mounng
Cut out a square hole
with the dimension
(height*width*depth
= 337*122*57 mm).
Insert the flush-mounting box in to
the hole and mark the the
positions of the four holes of the
flush-mounting box on the wall,
then take off the box and drill the
holes on the marked positions
using 5 mm drill bit hand drill
before inserting the plastic
anchors in to the drilled holes.
Break off the round knock-out
wiring holes and lead the wires
through the corresponding hole in
to the flush-mounting box, then
press the flush-mounting box in to
the square hole. The upper and
lower folded edges of the
flush-mounting box must fit snugly
against the wall. Then fix the box
using the four plastic wall anchors
and the four ST4x20 screws.
STEP 2:Back cover Installaon
Connect the wires to the terminal
blocks as needed (for details, refer to
"Device Wiring"), then insert the
terminal blocks into the corresponding
interface of the main board as
indicated in the drawing according to
the number of PIN.
Note: The pry bar attached can be used to unplug
the terminal blocks if needed.
Choose a suitable size rubber plug
(small, large and medium) to hold
down the wires, while tearing off the
adhesive sticker on the selected
rubber plug and stick it on to the
X915 back cover and then tear off the
adhesive sticker on the other rubber
plug of the same size and stick it on
to the back cover in the position as
indicated in the drawing.
STEP 3:Device Mounng
Take off the rope and hang the device on to the
two square hangers on the wall-mounting/
flush-mounting box.Stick the plate removal key
in to the small hole on the upper left corner of
the card reader touch plate to pull out the plate.
Installation is completed.Press the card reader
touch plate in to the
card reader opening.
Drive the two Torx screws in to
their corresponding holes.
Press the X915 back cover
silicone rubber sealing ring in
to the corresponding groove
as indicated by the arrow and
then tighten the back cover
using the six M3x4 screws to
its corresponding holes.
Hang the one end of the rope on
to the square hanger on the
wall-mounting/flush-mounting
box then hang the other end of
the rope on to the square hook
on the device for the
convenience of the later wire
installation etc.
Make sure that the flush-mounting
box are well tightened and its upper
and lower folded edges are fit snugly
against the wall, fill in the gap
between the wall and the
flush-mounting box using cement or
non-corrosive structural adhesive
and wait until the cement is
hardened before proceeding to the
next step.
or
铝后盖
出线压盖
沉头螺丝
压线盖密封硅胶垫
Operaon
Make a call:
Enter the IP or SIP number and press Dial tab to make a call.
Receive a call:
X915 supports Auto Answer by default. Incoming call from indoor device will be
answered automatically.
Unlock by PIN:
Enter the PIN code on the home screen for the door access.
Unlock by RF Card:
Place the configured RF card on the RF card reader area for the door access.
Configuraon
1.IP address Checking: Press 9999 on the dial screen, then press
3888 to enter the system screen and click Info to check the device IP
address. X915 uses DHCP by default.
2.Account Registration: On the web interface, go to the path
Account -> Basic page to register and fill in the account information.
(please refer to user manual for more information)
X915X
Device Wiring
Applicaon Network Topology
AKUVOX (XIAMEN) NETWORKS CO., LTD.
ADD: 10/F, NO.56 GUANRI ROAD, SOFTWARE PARK II, XIAMEN 361009, CHINA
www.akuvox.com
Information contained in this document is believed to be accurate and reliable at the time of printing. This document is subject to change without notice, any update
to this document can be viewed on Akuvox’ s website: http://www.akuvox.com © Copyright 2020 Akuvox Ltd. All rights reserved.
X915 X915 X915 X915
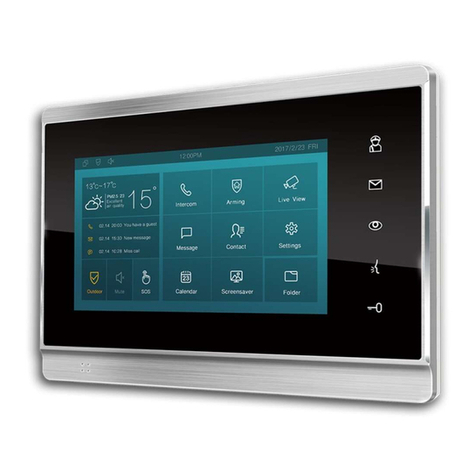
Indoor Monitor
PoE+ PoE+ PoE+ PoE+
When you connect a device containting a
coil, such as a relay or an electromagnetic
lock, it is necessary to protect the
intercom against voltage peak while
switching off the induction load. For this
way of protection we recommend a diode
1 A / 200 V (included in the accessories)
connected antiparallet to the device.
Warning

Other manuals for X915 Series

2

This manual suits for next models

1

Other Akuvox Intercom System manuals

Akuvox R20A User manual

Akuvox

Akuvox R20A User manual

Akuvox R29C Assembly instructions

Akuvox

Akuvox R29C Assembly instructions

Akuvox SPD-R25 User manual

Akuvox

Akuvox SPD-R25 User manual

Akuvox R27 series User manual

Akuvox

Akuvox R27 series User manual

Akuvox SDP-R29 User manual

Akuvox

Akuvox SDP-R29 User manual

Akuvox C313 Series User manual

Akuvox

Akuvox C313 Series User manual

Akuvox R27V Manual

Akuvox

Akuvox R27V Manual

Akuvox Smart Intercom R29 Series Manual

Akuvox

Akuvox Smart Intercom R29 Series Manual

Akuvox E21 Series User manual

Akuvox

Akuvox E21 Series User manual

Akuvox X912 User manual

Akuvox

Akuvox X912 User manual

Akuvox R20K User manual

Akuvox

Akuvox R20K User manual

Akuvox R26P Manual

Akuvox

Akuvox R26P Manual

Akuvox R20AF Manual

Akuvox

Akuvox R20AF Manual

Akuvox E18 User manual

Akuvox

Akuvox E18 User manual

Akuvox R29C-L Assembly instructions

Akuvox

Akuvox R29C-L Assembly instructions

Akuvox R20K User manual

Akuvox

Akuvox R20K User manual

Akuvox R28 Series Manual

Akuvox

Akuvox R28 Series Manual

Akuvox E16 Series Service manual

Akuvox

Akuvox E16 Series Service manual

Akuvox R20K Manual

Akuvox

Akuvox R20K Manual

Akuvox R26B User manual

Akuvox

Akuvox R26B User manual

Akuvox R20AS User manual

Akuvox

Akuvox R20AS User manual

Akuvox R27 series User manual

Akuvox

Akuvox R27 series User manual

Akuvox C312 Series User manual

Akuvox

Akuvox C312 Series User manual

Akuvox R27 series User manual

Akuvox

Akuvox R27 series User manual

Popular Intercom System manuals by other brands

Dnake A416 user manual

Dnake

Dnake A416 user manual

Comelit Mini 6721W Technical manual

Comelit

Comelit Mini 6721W Technical manual

Commax CMV-70S user manual

Commax

Commax CMV-70S user manual

Aiphone JP-DVF-RP10 instructions

Aiphone

Aiphone JP-DVF-RP10 instructions

Fanvil i10 user manual

Fanvil

Fanvil i10 user manual

2easy DK1721 quick guide

2easy

2easy DK1721 quick guide

ACT ACTPRO 1000 datasheet

ACT

ACT ACTPRO 1000 datasheet

System Q Door Knox VDP304 instruction manual

System Q

System Q Door Knox VDP304 instruction manual

SSS Siedle MO 950-01/10 C Product information

SSS Siedle

SSS Siedle MO 950-01/10 C Product information

Tynetec Touch 2 instructions

Tynetec

Tynetec Touch 2 instructions

Commax WI-3SN user manual

Commax

Commax WI-3SN user manual

Passotel Telpass STD user guide

Passotel

Passotel Telpass STD user guide

Jupiter Avionics wiJAC-T Series operating manual

Jupiter Avionics

Jupiter Avionics wiJAC-T Series operating manual

Fermax MDS Digital Guard Unit manual

Fermax

Fermax MDS Digital Guard Unit manual

Aiphone DB-1SD Operation manual

Aiphone

Aiphone DB-1SD Operation manual

Smartwares DIC-221 series instruction manual

Smartwares

Smartwares DIC-221 series instruction manual

Bpt HAVC/200 installation guide

Bpt

Bpt HAVC/200 installation guide

AES global CellCOM Prime 7 4G manual

AES global

AES global CellCOM Prime 7 4G manual

manuals.online logo
manuals.online logoBrands
  • About & Mission
  • Contact us
  • Privacy Policy
  • Terms and Conditions

Copyright 2025 Manuals.Online. All Rights Reserved.