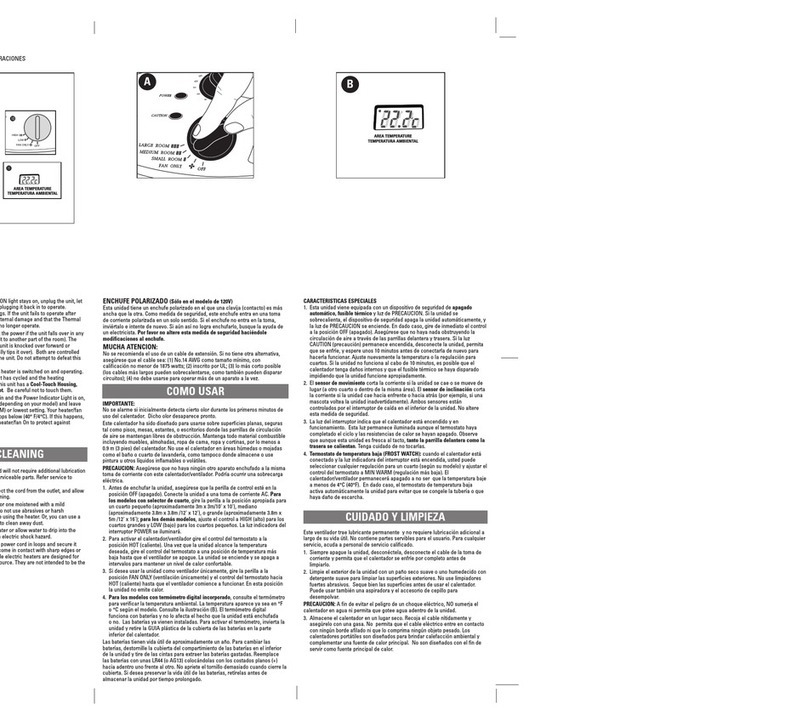
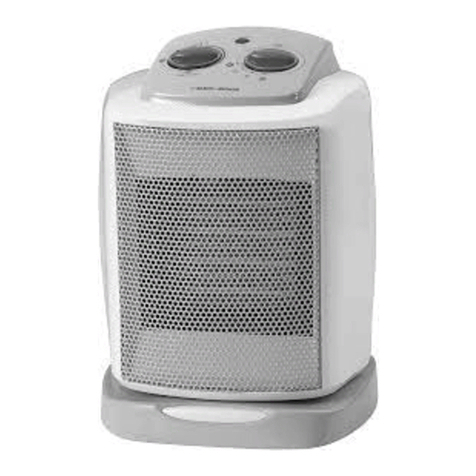
Black & Decker BXRA43006GB User manual
Other Black & Decker Heater manuals

Black & Decker
Black & Decker BDUH100-201 Installation instructions

Black & Decker
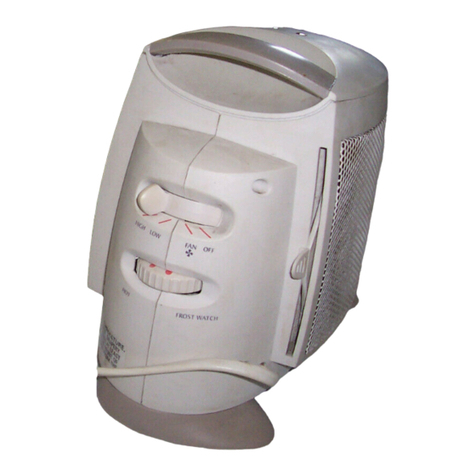
Black & Decker BHTC3AR User manual
Black & Decker
Black & Decker Heat Xtreme BDCH100 Installation instructions
Black & Decker
Black & Decker BXCSH2001E User manual

Black & Decker
Black & Decker MICA BXMRA1500E User manual

Black & Decker
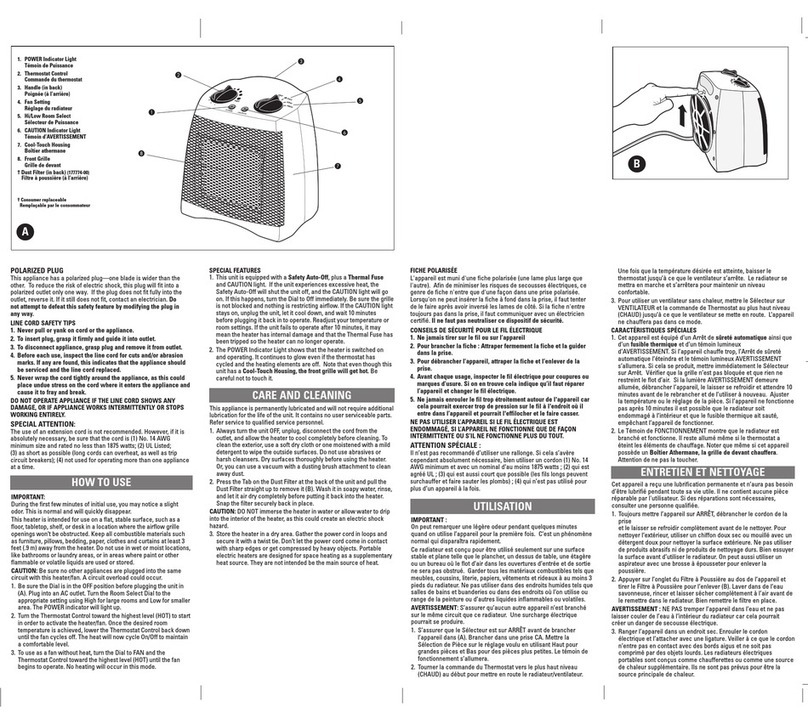
Black & Decker BXSH2003E User manual
Black & Decker
Black & Decker pmn Installation instructions

Black & Decker
Black & Decker BXSH37006GB User manual

Black & Decker
Black & Decker BDH55 Installation instructions

Black & Decker
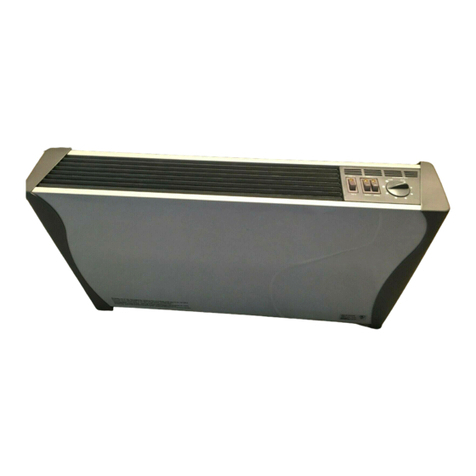
Black & Decker BXRA43013GB User manual
Black & Decker
Black & Decker BDCV200 Installation instructions

Black & Decker
Black & Decker Stanley ST-52-231-E User manual

Black & Decker
Black & Decker BHUC201B User manual

Black & Decker
Black & Decker BHTC301B User manual

Black & Decker
Black & Decker BHDS156W User manual

Black & Decker
Black & Decker BDH-J12 User manual

Black & Decker
Black & Decker HX230 User manual

Black & Decker
Black & Decker BDCH550 Installation instructions

Black & Decker
Black & Decker BXSH44004GB User manual

Black & Decker
Black & Decker BDTH600 Installation instructions
Popular Heater manuals by other brands

oventrop
oventrop Regucor Series quick start guide

Blaze King
Blaze King CLARITY CL2118.IPI.1 Operation & installation manual

ELMEKO
ELMEKO ML 150 Installation and operating manual

BN Thermic
BN Thermic 830T instructions

KING
KING K Series Installation, operation & maintenance instructions

Empire Comfort Systems
Empire Comfort Systems RH-50-5 Installation instructions and owner's manual

Well Straler
Well Straler RC-16B user guide

EUROM
EUROM 333299 instruction manual

Heylo
Heylo K 170 operating instructions

Eterna
Eterna TR70W installation instructions

Clarke
Clarke GRH15 Operation & maintenance instructions

Empire Heating Systems
Empire Heating Systems WCC65 Installation and owner's instructions
