724-746-5500 | blackbox.com
Page 4 AC1003A-R2 Quick Start Guide
724-746-5500 | blackbox.com
Quick Start Guide
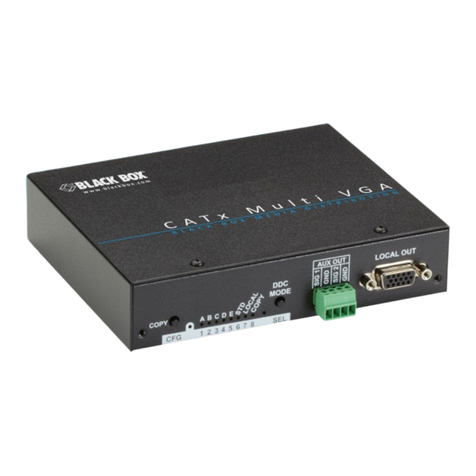
ToperfomaDDCcopyoperation:MakesuretheCOPYmodeisselected(LED#8isON).Next:
A. Connect a display to the LOCAL OUT port.
B. Press and hold the COPY button until the Copy Status indicator flashes three times, indicating a successful operation. If it only
flashes once, the operation failed and the previously stored DDC profile (if any) will remain unchanged.
STEP 4: Changing Internal Settings: In Configuration mode (CFG indicator is ON or flashing), the CFG and SEL buttons, plus
theLEDindicators(#1–8)willallowyoutochangeinternalconfigurationsettings.Thechangesareeffectiveimmediatelyandare
saved in non-volatile memory.
•ToenterConfigurationMode1:PresstheCFGbuttononce.TheCFGindicatorwillturnON.Onceinthismode,theLED
indicators#1–8willdisplaythecurrentsettingsasdescribedinTables2and3.
•ToenterConfigurationMode2:PresstheCFGbuttontwice.TheCFGindicatorwillflash.Onceinthismode,theLED
indicators#1–8willdisplaythecurrentsettingsasdescribedinTables4and5.
•ToexitConfigurationMode:Leavethebuttonsuntouchedfor10seconds.TheCFGindicatorwillturnOFF(Normalmode).
Config Mode 1: Sync Mode Options
The transmitter is factory-configured for autodetecting the proper sync mode (RepliSync-I normal/stretched). This mode is
generally compatible with all existing receiver products that support sync (if they are also using their factory-default settings).
However, some video sources may require a custom sync mode setting (especially at 1080p and 1920 x 1200 video resolutions).
For these cases, you can select one of the other available sync modes.
NOTE: Any connected receiver should generally be set to the same sync mode and may require other configuration adjustments
(such as sync polarity). Otherwise, you may not get a proper video display output at that receiver.
Step
Number* LED 1 LED 2 LED 3 Front-Panel View Sync Mode Setting
1dim dim dim The transmitter will auto-detect the required sync mode (normal or stretched). This is the
factory default setting.
2dim dim ON Force sync “normal,” Horizontal sync, pulse encoding.
3dim ON dim Force sync “stretched,” Horizontal sync, pulse encoding.
4dim ON ON Force sync.
5 ON dim dim
Force fixed-sync mode.
NOTE: A compatible connected receiver must also be in fixed-sync mode and with H/V
polarities selected at the receiver.
Table 2. Config Mode 1, sync-mode options.
Follow these steps*:
1. Starting in normal mode, press and release the CFG button once to access Configuration Mode 1. CFG indicator is ON.
2. Press and release the SEL button once. You will now be able to change sync mode settings.
3.LEDindicators1–3shouldbelit(eitherdimorON);allotherindicators(LEDs4–8)shouldbeOFF.
4. Press the CFG button repeatedly to step through the available sync mode settings.
5. To leave Configuration Mode, step through all the options OR leave the buttons untouched for 10 seconds.
