manuals.online logo
Brands
  1. Home
  2. •
  3. Brands
  4. •
  5. Bonaldo
  6. •
  7. Indoor Furnishing
  8. •
  9. Bonaldo PEANUT B User manual

Bonaldo PEANUT B User manual

Peanut B design: Mauro Lipparini
1
scheda montaggio - assembly instructions - Aufbauanleitung - notice de montage
ATTENZIONE:
MA N E g g I A r E c O N M A N I p u l I T E .
ATTENTION:
HA N d l E w I T H c l E A N H A N d s .
AcHTuNg:
MI T s A u b E r E N Hä N d E N A N f A s s E N .
ATTENTION:
MA N I p u l E r A v E c l E s M A I N s p r O p r E s .
Divano
Sofa
Canapé
12
3 4
Giunzione bracciolo - elemento fisso
Armrest - fix unit connection
Verbindung Armlehne - fixes Element
Jonction accoudoir - élément fixe
Giunzione elemento fisso - elemento mobile
Fix unit - mobile unit connection
Verbindung fixes Element - bewegliches Element
Jonction élément fixe - élément mobile
Giunzione elemento mobile - bracciolo
Mobile unit - armrest connection
Verbindung bewegliches Element
- Armlehne
Jonction élément mobile - accoudoir
Giunzione tra vari elementi fissi e pouf
Connection between various fix units and poufs
Verbindung zwischen fixen Elementen und Hocker
Jonction entre divers éléments fixes et pouf
Bonaldo Spa
Via Straelle, 3 – P.O. Box n. 6 – 35010 Villanova Pd Italia
Tel. +39 049 9299011 Fax +39 049 9299000
www.bonaldo.it - [email protected]
Peanut B design: Mauro Lipparini
scheda montaggio - assembly instructions - Aufbauanleitung - notice de montage
2
1
Posizionare l’elemento fisso a terra. Position the fixed unit on the floor.
Fixes Element am Boden auflegen. Positionner l’élément fixe au sol.
IGB
D F
B
A
A
Agganciare il bracciolo dall’alto verso il basso
inserendolo nelle apposite baionette femmina
(A-A) le baionette maschio (B-B). Tale sistema di
accoppiamento è stato ideato per permettere un
facile smontaggio dell’intero divano per un even-
tuale trasporto o per la pulizia del rivestimento.
Hook the armrest on, from top to bottom, inserting
the male bayonet fittings (B-B) into the special fema-
le bayonet fittings (A-A).
This connecting system has been designed to allow
easy disassembly of the whole sofa for transport or
for cleaning the covering.
Armlehne von oben nach unten einhängen,
indem die Bajonettstecker (B-B) in den Bajonett-
muffen (A-A) eingesetzt werden. Dieses Verbin-
dungssystem wurde entwickelt, um das Sofa für
einen Transport oder die Reinigung der Bezüge
einfach auseinander nehmen zu können.
Fixer l’accoudoir de haut en bas en insérant dans les
baïonnettes femelles (A-A) prévues à cet effet les
baïonnettes mâles (B-B). Ce système d’accouplement
a été conçu pour permettre un démontage aisé de
tout le canapé pour un éventuel transport ou pour le
nettoyage du revêtement.
IGB
D F
1.1
1.2
2
3
B
Peanut B design: Mauro Lipparini
3
scheda montaggio - assembly instructions - Aufbauanleitung - notice de montage
Accoppiare lo schienale alla
seduta, avendo cura di scostare il tessuto
dalla zona interessata all’aggancio.
Join the backrest to the seat, taking care to pull the
fabric away from the area around the hook.
Rückelement auf dem sitz einhängen; dabei
den Bezug sorgfältig vom betroffenen Bereich
zurückschieben.
Accoupler l’accoudoir à l’assise, en veillant à écarter
le tissu dans la zone du dispositif d’accrochage.
IGB
DF
Risultato finale. Final result
Fertiges Ergebnis Résultat final
IGB
D F
4
56
1.3
1.4
Peanut B design: Mauro Lipparini
scheda montaggio - assembly instructions - Aufbauanleitung - notice de montage
4
2.2
Avvicinare l’elemento fisso, completo della staffa a L
premontata, all’elemento centrale mobile.
La staffa a L è munita di tre fori affinchè i due
elementi si possano correttamente allineare.
Approcher l’élément fixe, muni de la patte en L
prémontée, de l’élément central mobile.
La patte en L est munie de trois trous pour que les
deux éléments puissent s’aligner correctement.
Place the fixed unit, complete with pre-fitted angle
bracket, next to the central mobile unit.
The angle bracket has three holes to allow correct
alignment of the two units.
Fixes Element, komplett mit vormontiertem L-Bügel,
an das bewegliche, mittlere Element heranführen.
Der L-Bügel ist mit drei Löchern versehen, damit die
beiden Elemente korrekt ausgerichtet werden
können.
I
GB
D
F
A
Spessore
Spacer
Beilage
Entretoise
a b c B
Rondella
Washer
Scheibe
Rondelle
C
Rondella
Washer
Scheibe
Rondelle
D
Vite TBEI
Hexagon socket screw
Schraube
Vis BHC
E
Chiave esagonale 5
Hexagon key 5
Sechskantschlüssel Nr. 5
Clé six pans de 5
Kit di montaggio / Assembly Kit /
Montagezubehör / Kit de montage
d e
7
2.1
Peanut B design: Mauro Lipparini
5
scheda montaggio - assembly instructions - Aufbauanleitung - notice de montage
Posizionare i vari elementi ferramenta: A,B,C,D,
come indicato in figura 9.
Position the various hardware components: A,B,C,D,
as shown in figure 9.
Die einzelnen Befestigungselemente anordnen:
A,B,C,D, wie in Abb. 9 gezeigt ist.
IGB
DF
10
Serrare la vite D con la chiave a brugola in
dotazione.
Tighten screw D with the supplied hexagon key.
Die Schraube D mit dem mitgelieferten Inbus-
schlüssel befestigen.
IGB
DF
8 9
2.4
2.3
Positionner les différents éléments de la quincaillerie:
A,B,C,D, comme indiqué dans la figure 9.
Serrer la vis D avec la clé six pans de 5 fournie.
Peanut B design: Mauro Lipparini
scheda montaggio - assembly instructions - Aufbauanleitung - notice de montage
6
F
Spessore
Spacer
Beilage
Entretoise
f g i
G
Rondella
Washer
Scheibe
Rondelle
H
Testina
Head
Kopf
Capuchon
I
Spezzone 8x50
Stud 8x50
Gewindestift 8x50
Tige filetée 8x50
1
3
Slitta/ Slide unit/ Schlitten/ Elissière
2
Avvicinare il bracciolo alla slitta pre montata.
Fissare gli elementi posizionando la ferramenta
fornita nel kit come in figura 12-13.
Place the armrest next to the pre-assembled slide
unit.
Secure the components by fitting the hardware
supplied in the kit, as shown in figures 12-13.
Armlehne zum vormontierten Schlitten schieben.
Elemente mit den gelieferten Befestigungsteilen
fixieren, wie in Abb. 12-13 gezeigt ist.
I
GB
D
F
12
h
3.1
3.2
Avvitare nelle apposite sedi i quattro
spezzoni per circa 1/3 della loro lunghezza totale;
come indicato in figura 11.
Inserire negli spezzoni lo spessore cilindrico.
Screw the four studs into their locations, to
about 1/3rd of their total length, as shown in
figure 11.
Fit the cylindrical spacer onto the studs.
Die vier Gewindestifte zu 1/3 ihrer Länge im
vorgesehenen Sitz einschrauben, wie in Abb.11
gezeigt wird. Zylindrische Beilagen auf die
Gewindestifte schieben.
GB
D
F
13
3.3
I
11
Visser les quatre tiges filetées dans les trous, sur
environ 1/3 de leur longueur totale, comme
indiqué dans la figure 11.
Monter sur les tiges l’entretoise cylindrique.
Approcher l’accoudoir de la glissière prémontée.
Fixer les éléments en positionnant la quincaille-
rie fournie dans le kit comme indiqué dans les
figures 12-13.
Peanut B design: Mauro Lipparini
7
scheda montaggio - assembly instructions - Aufbauanleitung - notice de montage
Unire lo schienale con la seduta mediante
l’apposita cerniera, come illustrato in figura 15.
Unir le dossier et l’assise à l’aide du zip, comme
indiqué dans la figure 15.
Join the backrest to the seat by means of
the special hinge, as shown in figure 15.
Rückteil und Sitzfläche mit dem vorgesehenen
Reißverschluss verbinden, wie Abb. 15 zeigt.
I
GB
D
F
14
A questo punto inserire nell’apposita guida la se-
duta dell’elemento mobile (Fig 14);
sollevare leggermente il carrello fino a che le due
coppie di ruote siano entrate completamente nella
sede metallica.
Insérer à ce point dans la glissière l’assise de
l’élément mobile (fig. 14) ; soulever légèrement le
chariot jusqu’à ce que les deux paires de
roulettes soient entrées complètement dans la
glissière métallique.
At this point, insert the seat of the mobile unit into
the special guide (Fig. 14).
Lift the carriage slightly until the two pairs of
wheels fully engage in the metal seating.
Nun das bewegliche Element der Sitzfläche (Abb.
14) auf die Führung setzen; Schlitten leicht anhe-
ben, bis die beiden Räderpaare vollständig in ihrem
metallischen Sitz eingeführt sind.
I
GB
D
F
15
3.4
3.5
Peanut B design: Mauro Lipparini
scheda montaggio - assembly instructions - Aufbauanleitung - notice de montage
8
lmL
Piastra
Plate
Platte
Plaquette
4.1
4.3 Individuare il particolare “M“ e girarlo di circa
90°.
Identifier la pièce « M » et la tourner
d’environ 90°.
Find part “M” and rotate it through about
90°.
Komponente “M“ ermitteln und um 90°
drehen.
I
GB
D
F
Allineare il particolare “L“ con “M“ e quindi
avvicinare i due elementi come indica la
freccia fino ad aggancio avvenuto.
Aligner la pièce « L » avec « M » puis rappro-
cher les deux éléments comme l’indique la
flèche jusqu’à l’accrochage.
Align part “L” with part “M”, then push the
two units together as shown by the arrow,
until the two units are fully connected.
Komponente “L“ mit “M“ ausrichten, dann
die beiden Elemente in Pfeilrichtung zusam-
menschieben, bis sie verbunden sind.
I
GB
D
F
17
18
19
20
4.2
4.4
Elementi fissi e pouf sono provvisti di sistema
di aggancio.
I
GB
D
F
M
Forchetta
Fork
Gabel
Fourche
d’assemblage
M
16
Fix units and poufs are equipped with a con-
necting system.
Fixe Elemente und Hocker sind mit Systemen
zum Einhängen ausgestattet.
Les éléments fixes et le pouf sont munis de
système d’accrochage.

Other Bonaldo Indoor Furnishing manuals
Bonaldo GEOMETRIC TABLE User manual

Bonaldo

Bonaldo GEOMETRIC TABLE User manual

Bonaldo Adone User manual

Bonaldo

Bonaldo Adone User manual

Bonaldo Moglie e Marito Double Bed User manual
Bonaldo

Bonaldo Moglie e Marito Double Bed User manual

Bonaldo Big Table User manual

Bonaldo

Bonaldo Big Table User manual
Bonaldo Thin User manual

Bonaldo

Bonaldo Thin User manual

Bonaldo Prora User manual

Bonaldo

Bonaldo Prora User manual
Bonaldo Art Dining Table User manual

Bonaldo

Bonaldo Art Dining Table User manual
Bonaldo Sol User manual

Bonaldo

Bonaldo Sol User manual
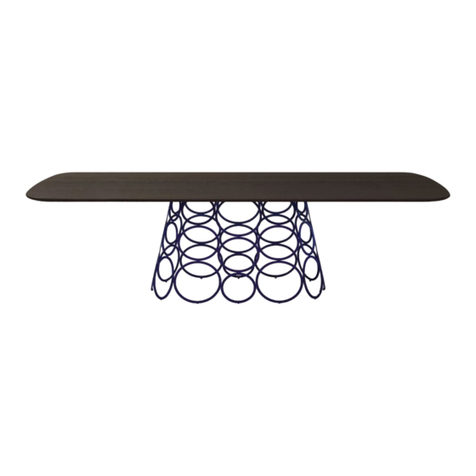
Bonaldo Hulahoop User manual

Bonaldo

Bonaldo Hulahoop User manual
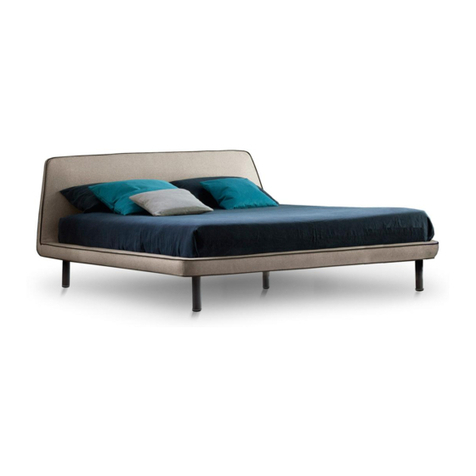
Bonaldo JOE User manual

Bonaldo

Bonaldo JOE User manual
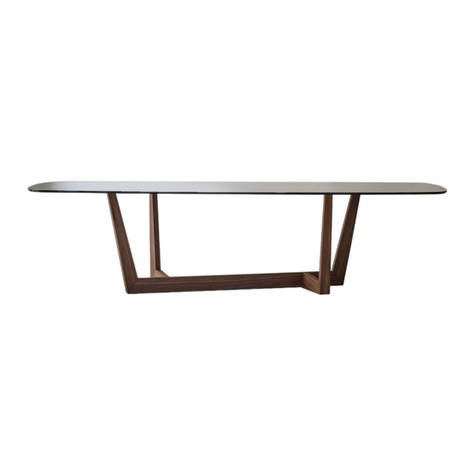
Bonaldo Art Extension Dining Table User manual

Bonaldo

Bonaldo Art Extension Dining Table User manual

Bonaldo CUFF Bed User manual

Bonaldo

Bonaldo CUFF Bed User manual
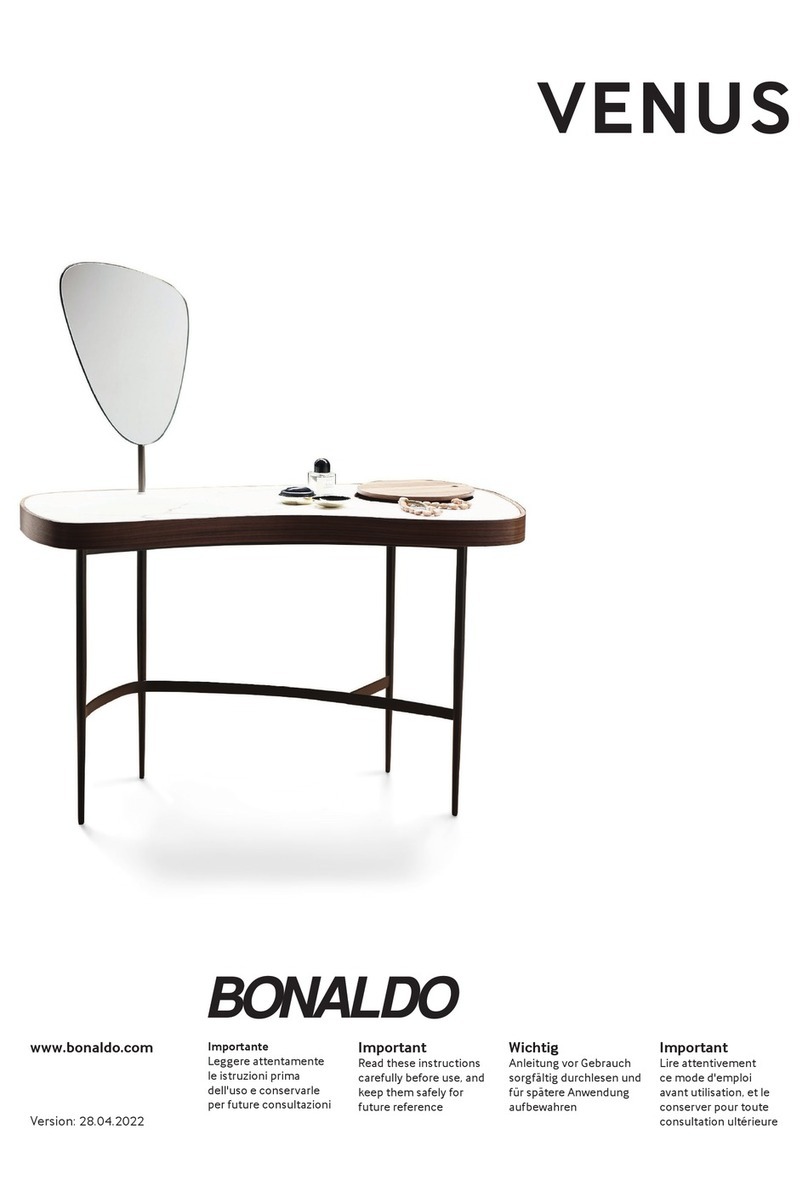
Bonaldo VENUS User manual

Bonaldo

Bonaldo VENUS User manual
Bonaldo FLAME CONSOLE User manual

Bonaldo

Bonaldo FLAME CONSOLE User manual
Bonaldo CURLING User manual

Bonaldo

Bonaldo CURLING User manual
Bonaldo NARCISO User manual

Bonaldo

Bonaldo NARCISO User manual

Bonaldo BASKET AIR User manual

Bonaldo

Bonaldo BASKET AIR User manual
Bonaldo ART User manual

Bonaldo

Bonaldo ART User manual
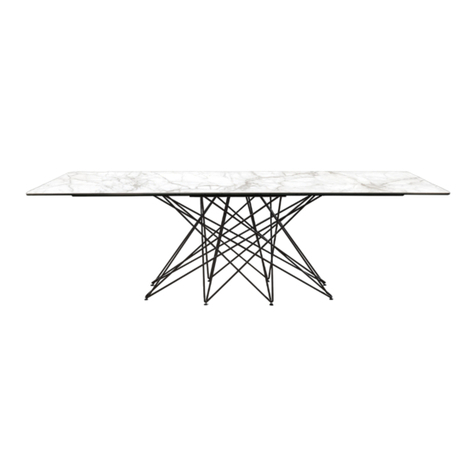
Bonaldo Octa Dining Table User manual

Bonaldo

Bonaldo Octa Dining Table User manual
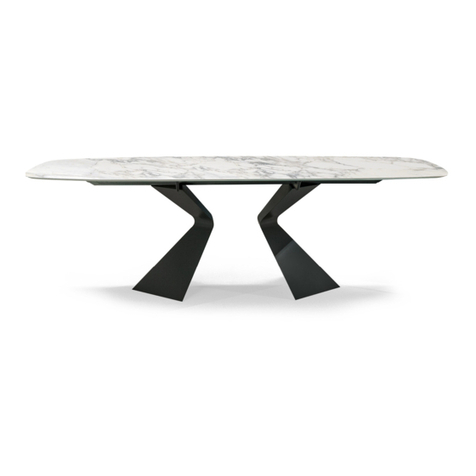
Bonaldo Prora User manual

Bonaldo

Bonaldo Prora User manual

Bonaldo Menu Extending table User manual

Bonaldo

Bonaldo Menu Extending table User manual

Bonaldo MELLOW User manual

Bonaldo

Bonaldo MELLOW User manual

Bonaldo AMLET User manual

Bonaldo

Bonaldo AMLET User manual

Bonaldo BLABLA User manual

Bonaldo

Bonaldo BLABLA User manual

Popular Indoor Furnishing manuals by other brands
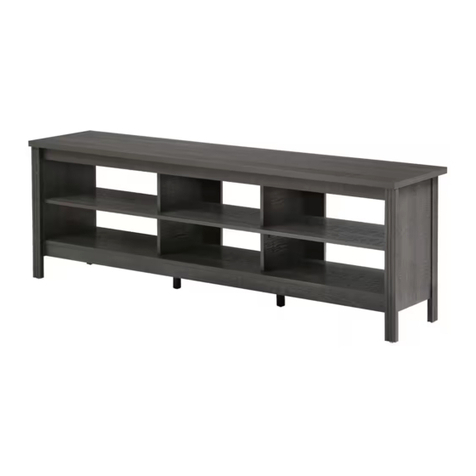
Wampat W01A3181B Assembly instructions
Wampat

Wampat W01A3181B Assembly instructions

Amart Furniture SIGNATURE NERO 2200 Assembly instruction
Amart Furniture

Amart Furniture SIGNATURE NERO 2200 Assembly instruction

WATSON C9 Height Adjustable Desk Assembly

WATSON

WATSON C9 Height Adjustable Desk Assembly

Whalen Amesville MNFP50AV26IA Instruction booklet

Whalen

Whalen Amesville MNFP50AV26IA Instruction booklet

Rauch AD576.03U2 Assembly instructions

Rauch

Rauch AD576.03U2 Assembly instructions

Whittier Wood Furniture Prairie City 1253AFLSOc Assembly instructions

Whittier Wood Furniture

Whittier Wood Furniture Prairie City 1253AFLSOc Assembly instructions
TYPE A Radiant 068-7886-0 Assembly instructions
TYPE A

TYPE A Radiant 068-7886-0 Assembly instructions

Buhl SWB-80 instruction sheet

Buhl

Buhl SWB-80 instruction sheet

Rockler Blum GRP2283 1 instructions

Rockler

Rockler Blum GRP2283 1 instructions

GreenForest PRIMO SI GF Assembly instruction

GreenForest

GreenForest PRIMO SI GF Assembly instruction

Hillsdale Furniture 10065N Assembly instructions
Hillsdale Furniture

Hillsdale Furniture 10065N Assembly instructions

SMITH SYSTEM Acrobat Bullet Assembly instructions
SMITH SYSTEM

SMITH SYSTEM Acrobat Bullet Assembly instructions

Trendteam BLANSHE 2122-422-C9 installation instructions

Trendteam

Trendteam BLANSHE 2122-422-C9 installation instructions

Kaboodle 200mm wall cabinet quick start guide
Kaboodle

Kaboodle 200mm wall cabinet quick start guide

Birlea URB6WCHRUS Assembly instructions
Birlea

Birlea URB6WCHRUS Assembly instructions

Baxton Studio Macayle 0004-2 Assembly instructions
Baxton Studio

Baxton Studio Macayle 0004-2 Assembly instructions

Stevens ToT mate TM2185R manual

Stevens

Stevens ToT mate TM2185R manual

Songmics VASAGLE KDT75 quick start guide

Songmics

Songmics VASAGLE KDT75 quick start guide

manuals.online logo
manuals.online logoBrands
  • About & Mission
  • Contact us
  • Privacy Policy
  • Terms and Conditions

Copyright 2025 Manuals.Online. All Rights Reserved.