manuals.online logo
Brands
  1. Home
  2. •
  3. Brands
  4. •
  5. Bonaldo
  6. •
  7. Indoor Furnishing
  8. •
  9. Bonaldo Prora User manual

Bonaldo Prora User manual

Prora design: M. Lipparini
1
scheda montaggio - assembly instruction - Aufbauanleitung - notice de montage
ATTENZIONE:
MANEggIArE cON MANI pulITE.
ATTENTION:
HANdlE wITH clEAN HANds.
AcHTuNg:
MIT sAubErEN HäNdEN ANfAssEN.
ATTENTION:
MANIpulEr AvEc lEs MAINs prOprEs.
Tavolo fisso
Fix table
Fix Tisch
Table fixe
Kit di montaggio / Assembly kit / Montagezubehör / Kit de montage
A
B
C
vITE TspEI luNgHE
lONg flAT cOuNTErsuNk HEAd scrEw
lANgE scHrAubE
vIs fHc lONguE
N°4
N° 2
vITE TspEI cOrTE
sHOrT flAT cOuNTErsuNk HEAd scrEw
kurZE scHrAubE
vIs fHc cOurTE
pErNO fIlETTATO
THrEAdEd dOwEls
gEwINdEsTIfTE
cHEvIllEs fIlETEés
N° 6
DcHIAvE AbrugOlA
HExAgON kEy
INbusscHlüssEl
clé AllEN
N° 1 - 1 - 1
Prora design: M. Lipparini
scheda montaggio - assembly instruction - Aufbauanleitung - notice de montage
2
B
A
A
Fixer le cadre aux deux piètements en utilisant
les 4 vis A et le 2 vis B comme indiqué (fig.1-2)
Attach the frame to the two legs using the 4
screws A and the 2 screws B, as shown in Figs.
1-2.
1I
Fissare il telaio alle due gambe utilizzando le 4
viti A e le due viti B come indicato in fig.1-2.
Rahmen mit vier Schrauben (A) und zwei Schrau-
ben (B) an den zwei Beinen befestigen (siehe
Abb.1-2).
GB
GB
D
2
2
B
B
A
F
1
I
Girare il piano. Fissare le 6 spine C neggli
appositi inserti.
GB
Turn the top upside down, fix the 6 threaded
dowels (C) to the appropriate inserts.
D
Die Platte umdrehen und die 6 Gewindestiften
(C) in den vorgesehen Einfuegungen einsetzen.
F
Tournez le plateau, fixer les 6 chevilles fileteés
dans les inserts aprropriés.
Prora design: M. Lipparini
3
scheda montaggio - assembly instruction - Aufbauanleitung - notice de montage
3
I
Posizionare il piano sopra al telaio facendo
attenzione che i perni filettati (montati al punto 2)
si inseriscano nei fori del telaio.
GB
Put the top on the frame, making sure that the
threaded dowels (assembled in step 2) enter into
the holes of the flame.
D
Die Platte auf das Rahmen legen. Die
vormontierten Stifte ( Punkt 2) muessen in den
Loecher des Rahmens hingesetzt werden.
Placer le plateau au-dessus du châssis, en
s’assurant que les chevilles fileteés s’engagent
dans les trous du châssis.
F
Prora design: M. Lipparini
scheda montaggio - assembly instruction - Aufbauanleitung - notice de montage
4
Bonaldo Spa
Via Straelle, 3 – P.O. Box n. 6 – 35010 Villanova Pd Italia
Tel. +39 049 9299011 Fax +39 049 9299000
www.bonaldo.it - [email protected]
Prora design: M. Lipparini
1
scheda montaggio - assembly instruction - Aufbauanleitung - notice de montage
ATTENZIONE:
MANEg g I A r E c O N MANI pulITE.
ATTENTION:
HA N d l E w ITH c l EAN HANd s .
AcHTuNg:
MIT s A u b E r E N Hä N d E N A N f A s s E N .
ATTENTION:
MANIpulE r A v E c l E s MAINsp r O p r E s .
rE g I s T r A b I l E
AdjusT A b l E suppO r T
rE g l E r
suppO r T réglA b l E
Tavolo allungabile
Leaf table
Ausziehtisch
Table à rallonges
Kit di montaggio / Assembly kit / Montagezubehör / Kit de montage
A
B
C
vITE TspEI lu N g H E
lO N g f l A T c O u NTErsuN k HEAdscrE w
lA N g E sc H r A u b E
vIs fHc l O N g u E
N°8
N° 4
N° 4
vITE TspEI cO r T E
sH O r T f l AT c O u NTErsuN k HEAdscrE w
ku r Z E sc H r A u b E
vIs fHc c O u r T E
cHIAv E AbrugO l A
HE x A g O N k E y
INbusscH lüssE l
cl é A l l E N
N° 1 - 1 - 1
sp INA
dO w E l
sT I f T
cH E v I l l E
N° 8
sp E s s O r E IN p l A s T I c A
pl A s T I c s p A c E r
Ab s T A N d H A l T E r A u s
ku N s T s T O f f
ép A I s s E u r E N p l A s T I q u E
N° 4
D
E
F
Prora design: M. Lipparini
scheda montaggio - assembly instruction - Aufbauanleitung - notice de montage
2
Montare le due lamine trasversali, avvitandole nei
fori D del telaio, con altre 4 viti A.
Fit the two cross bars, screwing them into holes
D in the frame, using another 4 screws A.
Die beiden Querleisten mit vier weiteren Schrauben
A in den Bohrlöchern D des Rahmens befestigen.
Monter les deux lames transversales, en les
vissant dans les trous D du châssis, avec 4 autres
vis A.
I
GB
D
F
67
D
D
D
Fixer le cadre aux deux piètements en utilisant
les 4 vis A comme indiqué (fig.1-2)
Attach the frame to the two legs using the 4
screws A, as shown in Figs. 1-2.
1I
Fissare il telaio alle due gambe utilizzando le 4
viti A come indicato in fig.1-2.
Rahmen mit vier Schrauben A an den zwei Bei-
nen befestigen (siehe Abb.1-2).
1
GB
GB
D
2
2
B
A
F
Prora design: M. Lipparini
3
scheda montaggio - assembly instruction - Aufbauanleitung - notice de montage
3
4
C
C
C
C
C
5 mm
Visser à la main les 4 supports C jusqu’à 5 mm du
fond (fig. 5).
Screw down the 4 supports C, by hand, to within 5
mm of the bottom (Fig. 5).
I
Avvitare con le mani i 4 supporti C fino a 5 mm
dal fondo (fig.5).
Von Hand die 4 Regler C bis 5 mm vom Anschlag
einschrauben (Abb. 5).
GB
GB
D
F
3
4
5
Disporre le levette delle prolunghe rivolte verso
il centro del piano come in figure 9. Ciò faciliterà
l’assemblaggio dei piani prolunga.
Make sure that the extension leaf levers are facing
towards the centre, as shown in Figure 9. This will
make it easier to fit the extension leaves.
Die Hebel der Verlängerungen gegen die Tisch-
mitte stellen (siehe Abb. 9). Dadurch vereinfacht
sich der Zusammenbau der Ausziehplatten.
Incliner les petits leviers des rallonges vers le
centre du plateau, comme sur la figure 9. Cela
facilitera l’assemblage des rallonges.
I
F
I
GB
D
F
8
9
Prora design: M. Lipparini
scheda montaggio - assembly instruction - Aufbauanleitung - notice de montage
4
1
5
6
Montare i due fianchi laterali utiliz-
zando lo spessore F, cercando di cen-
trarli al meglio tra le due prolunghe
(Fig.14, 15).
Fit the two side members using spa-
cer F, trying to centre them as much
as possible between the two exten-
sion leaves (Figs. 14, 15).
Die zwei Seitenelemente unter Ver-
wendung der Abstandhalter F so gut
wie möglich mittig zu den Verlänge-
rungen montieren (Abb. 14, 15).
Monter les deux bandes latérales en
utilisant l’épaisseur F, en veillant à
les centrer le mieux possible entre les
deux rallonges (fig.14, 15).
D
F
I
GB
Appoggiare le prolunghe alle levette
e fissare i 4 perni filettati nei 4 punti
di ancoraggio Fig. 11,12,13.
Place the extension leaves on top of
the levers and screw the 4 threaded
dowels into the 4 anchor points, Figs.
11, 12, 13.
Verlängerungen auf den Hebeln
auflegen und die 4 Gewindestifte in
den 4 Befestigungspositionen fixie-
ren (Abb. 11,12,13).
Poser les rallonges sur les petits
leviers et fixer les 4 chevilles filetées
dans les 4 points d’ancrage (fig. 11,
12, 13).
D
I
GB
F
10
15
11
12
14
16
13
Prora design: M. Lipparini
5
scheda montaggio - assembly instruction - Aufbauanleitung - notice de montage
7
8
Controllare il serraggio delle viti indicate con la
lettera E in fig. 17.
Check the tightness of the screws indicated by the
letter E in Fig. 17.
Festen Sitz der in Abb. 17 mit E bezeichneten
Schrauben kontrollieren.
Contrôler le serrage des vis indiquées avec la
lettre E sur la fig. 17.
I
GB
D
F
E
E
E
E
17
Con le prolunghe chiuse, regolare l’altezza dei due fianchetti
portandoli a livello delle due prolunghe, agendo sul grano,
come indicato in figura 18.
With the extension leaves closed, turn the grub screw as
shown in Figure 18 to adjust the height of the two side mem-
bers until they are level with the two extension leaves.
Bei geschlossenen Verlängerungen die Höhe der beiden
Seitenelemente mittels Gewindestift auf die Höhe der beiden
Verlängerungen einstellen (s. Abb. 18).
Avec les rallonges fermées, régler la hauteur des deux bandes
latérales en les mettant au même niveau que les deux rallon-
ges, en agissant sur le goujon, comme indiqué (fig. 18).
I
GB
D
F
18
19
Prora design: M. Lipparini
scheda montaggio - assembly instruction - Aufbauanleitung - notice de montage
6
Aprire completamente le prolunghe e alzarle.
Appoggiare il piano superiore cercando di alline-
arlo il più possibile lateralmente alle prolunghe.
Eventuali differenze di altezza tra piano e pro-
lunghe vanno regolate agendo sui regolatori di
profondità C fig.21; Avvitandoli il piano si abbas-
sa, svitandoli si alza.
Fully open and raise the extension leaves. Fit the
top trying, as much as possible, to align it with
the sides of the extension leaves.
Any differences in height between the top and
the extension leaves can be adjusted by turning
the adjustable supports C, Fig. 21. Screw them
down to lower the top or up to raise it.
Verlängerungen vollständig öffnen und anheben.
Obere Tischplatte auflegen und seitlich möglichst
genau mit den Verlängerungen ausrichten.
Etwaige Niveauunterschiede zwischen Tischplatte
und Verlängerungen über die Regler “C” (Abb. 21)
ausgleichen. Werden sie fester geschraubt, senkt
sich die Platte, durch Lockern hebt sie sich.
Ouvrir complètement les rallonges et les soulever.
Poser le plateau supérieur en veillant à l’aligner
parfaitement sur le côté par rapport aux rallonges.
Les éventuelles différences de hauteur entre le pla-
teau et les rallonges doivent être réglées en agis-
sant sur les supports réglables C (fig. 21); quand on
les visse le plateau s’abaisse, quand on les dévisse il
remonte.
I
GB
D
F
6
Bonaldo Spa
Via Straelle, 3 – P.O. Box n. 6 – 35010 Villanova Pd Italia
Tel. +39 049 9299011 Fax +39 049 9299000
www.bonaldo.it - [email protected]
20
21
22

Other manuals for Prora

1

Other Bonaldo Indoor Furnishing manuals
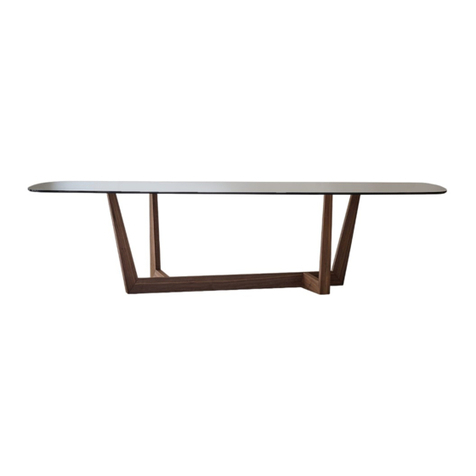
Bonaldo Art Dining Table User manual

Bonaldo

Bonaldo Art Dining Table User manual

Bonaldo Prora User manual

Bonaldo

Bonaldo Prora User manual

Bonaldo Stealth User manual

Bonaldo

Bonaldo Stealth User manual

Bonaldo GEOMETRIC TABLE User manual

Bonaldo

Bonaldo GEOMETRIC TABLE User manual
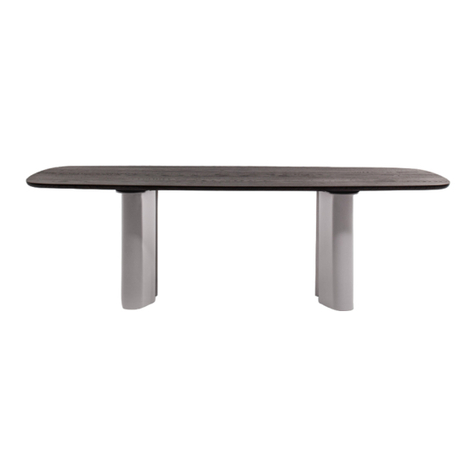
Bonaldo GEOMETRIC TABLE User manual

Bonaldo

Bonaldo GEOMETRIC TABLE User manual

Bonaldo Vanessa User manual

Bonaldo

Bonaldo Vanessa User manual

Bonaldo BLUSH User manual

Bonaldo

Bonaldo BLUSH User manual

Bonaldo AX Console User manual

Bonaldo

Bonaldo AX Console User manual
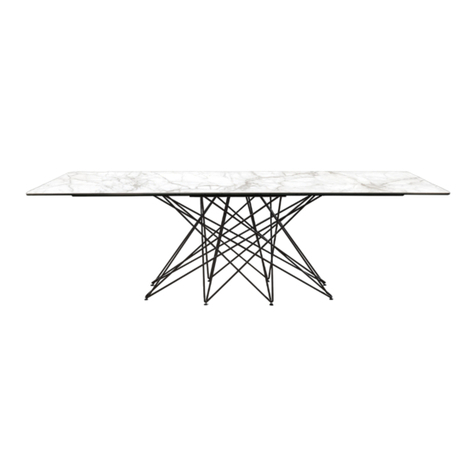
Bonaldo Octa Dining Table User manual

Bonaldo

Bonaldo Octa Dining Table User manual

Bonaldo CURLING User manual

Bonaldo

Bonaldo CURLING User manual
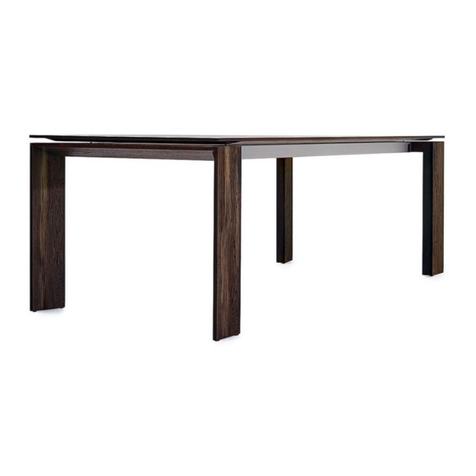
Bonaldo Twice User manual

Bonaldo

Bonaldo Twice User manual
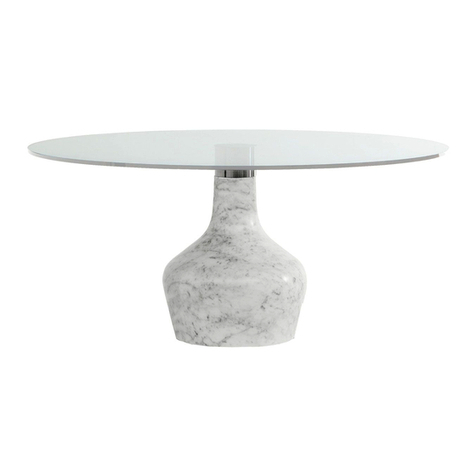
Bonaldo CURLING User manual

Bonaldo

Bonaldo CURLING User manual
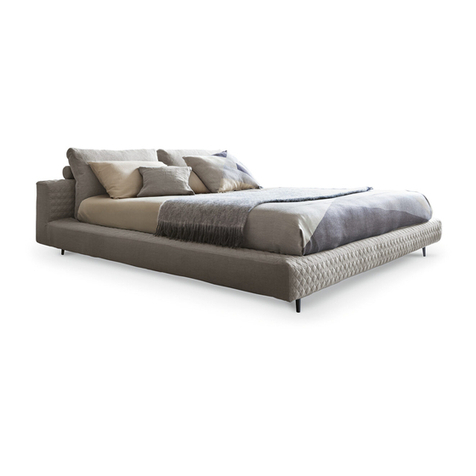
Bonaldo OWEN User manual

Bonaldo

Bonaldo OWEN User manual
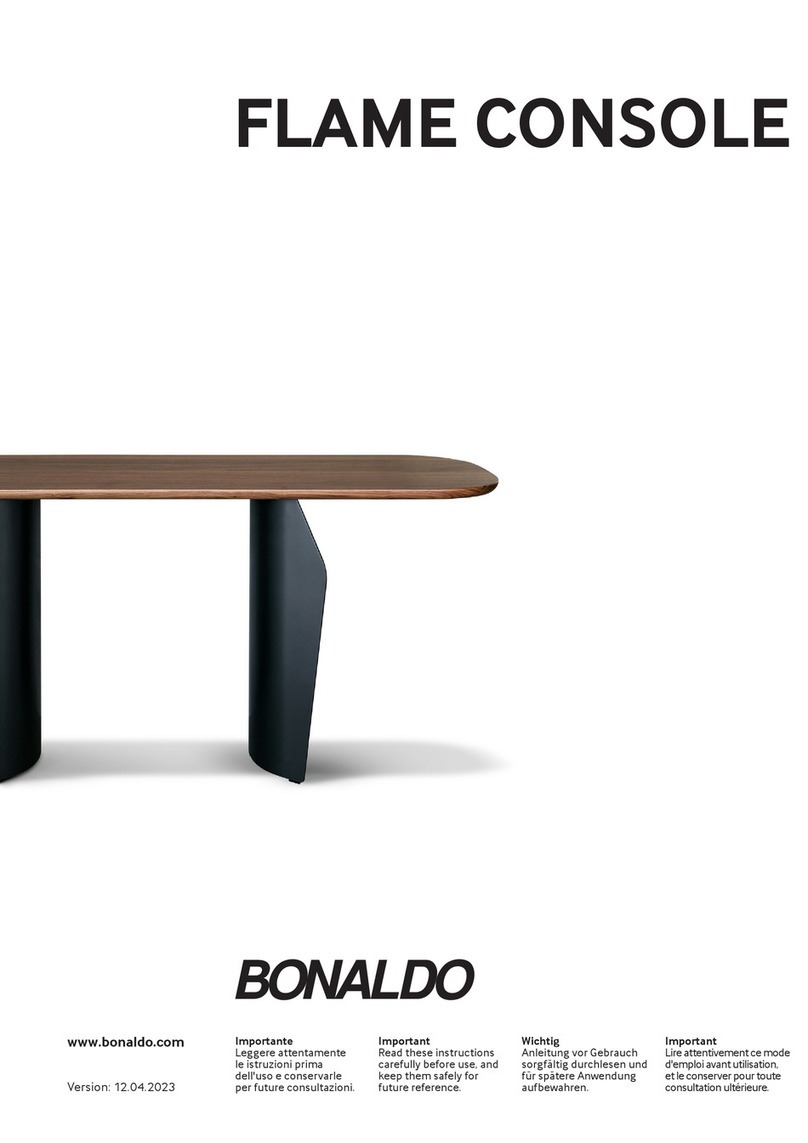
Bonaldo FLAME CONSOLE User manual

Bonaldo

Bonaldo FLAME CONSOLE User manual

Bonaldo CAMPO User manual

Bonaldo

Bonaldo CAMPO User manual
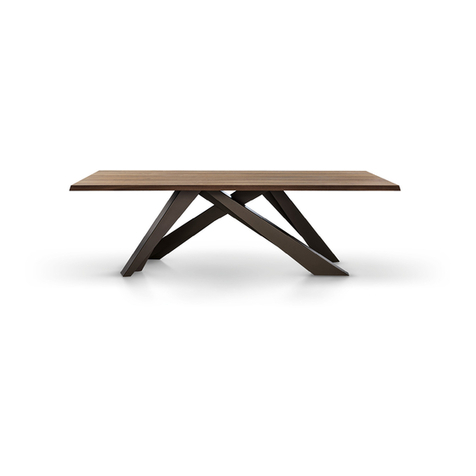
Bonaldo Big Table User manual

Bonaldo

Bonaldo Big Table User manual
Bonaldo Geometric Dining Table User manual
Bonaldo

Bonaldo Geometric Dining Table User manual

Bonaldo ART 220.325.6 User manual

Bonaldo

Bonaldo ART 220.325.6 User manual
Bonaldo Thin User manual

Bonaldo

Bonaldo Thin User manual
Bonaldo COLIBRI User manual

Bonaldo

Bonaldo COLIBRI User manual

Bonaldo Tracks User manual

Bonaldo

Bonaldo Tracks User manual

Bonaldo ROLL User manual

Bonaldo

Bonaldo ROLL User manual

Bonaldo Amond User manual

Bonaldo

Bonaldo Amond User manual

Bonaldo SQUARING 180 ISOLA User manual

Bonaldo

Bonaldo SQUARING 180 ISOLA User manual

Popular Indoor Furnishing manuals by other brands
Multimo 750-SIMPLE BUNK Assembly

Multimo

Multimo 750-SIMPLE BUNK Assembly
Verilux VP02 owner's manual

Verilux

Verilux VP02 owner's manual

Twin-Star International Tresanti CC32-6989 manual

Twin-Star International

Twin-Star International Tresanti CC32-6989 manual

Cheyenne BH47-021-099-31 Assembly instructions
Cheyenne

Cheyenne BH47-021-099-31 Assembly instructions

Aerocool AC60C AIR user manual

Aerocool

Aerocool AC60C AIR user manual

COMPASS HEALTH Roscoe Medical ROS-OBT quick start guide

COMPASS HEALTH

COMPASS HEALTH Roscoe Medical ROS-OBT quick start guide

Walker Edison BR3DSLDR Assembly instructions
Walker Edison

Walker Edison BR3DSLDR Assembly instructions

hayneedle SBP001-1/2 Assembly instructions
hayneedle

hayneedle SBP001-1/2 Assembly instructions

Hailey Home CT1858 Assembly instructions
Hailey Home

Hailey Home CT1858 Assembly instructions

Triton Products 1720 Installation & assembly instructions
Triton Products

Triton Products 1720 Installation & assembly instructions

Electric Mirror INTEGRITY Installation instructions manual

Electric Mirror

Electric Mirror INTEGRITY Installation instructions manual

Next Aleia A98971 Assembly instructions
Next

Next Aleia A98971 Assembly instructions

Threshold Brimfield C70821-4 Assembly instructions
Threshold

Threshold Brimfield C70821-4 Assembly instructions

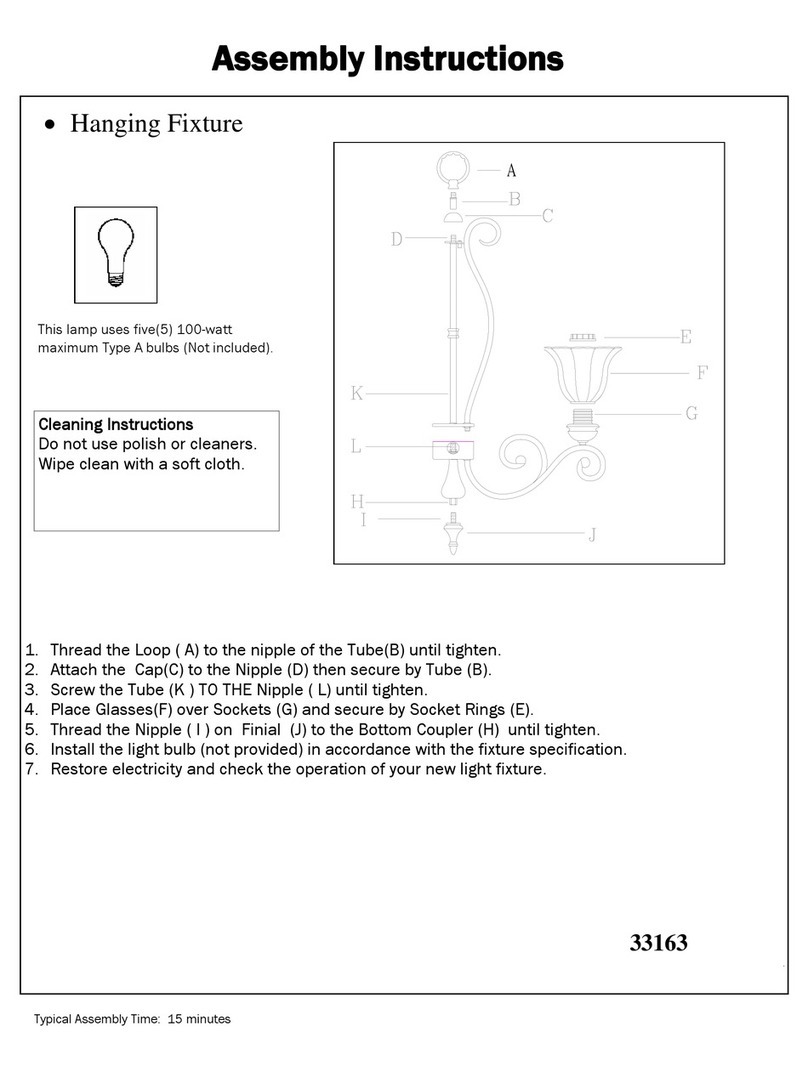
Triarch Indoor Lighting 33163 Assembly instructions

Triarch

Triarch Indoor Lighting 33163 Assembly instructions

Style selections CM18F24-SS quick start guide

Style selections

Style selections CM18F24-SS quick start guide

Serta Dream Convertibles Layla Assembly instructions
Serta

Serta Dream Convertibles Layla Assembly instructions

HOMCOM 837-318V00 manual

HOMCOM

HOMCOM 837-318V00 manual

H+H BS 878 Assembly instructions

H+H

H+H BS 878 Assembly instructions

manuals.online logo
manuals.online logoBrands
  • About & Mission
  • Contact us
  • Privacy Policy
  • Terms and Conditions

Copyright 2025 Manuals.Online. All Rights Reserved.