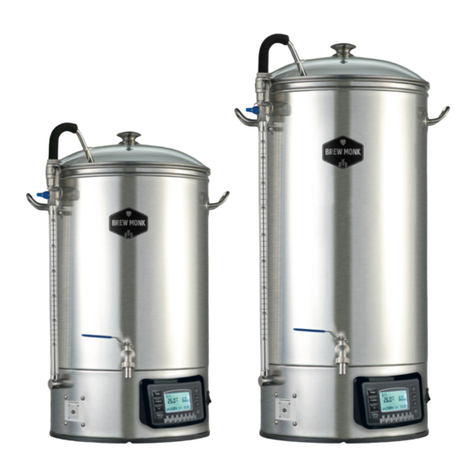
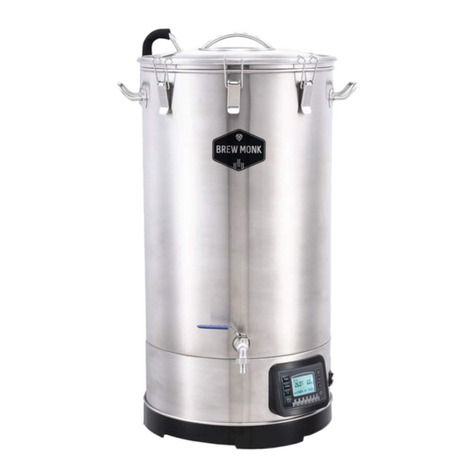
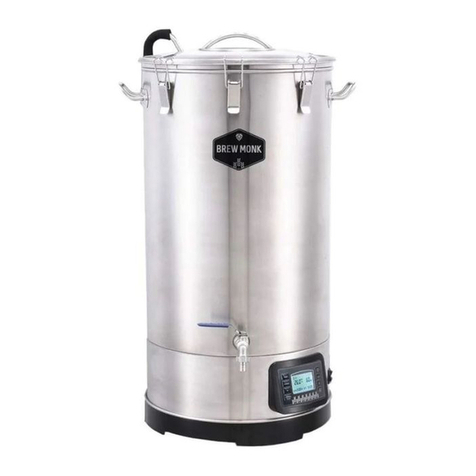
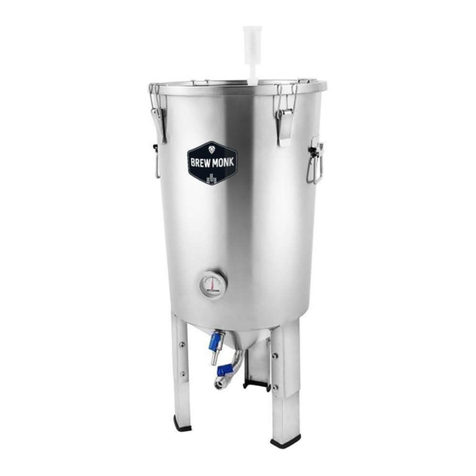
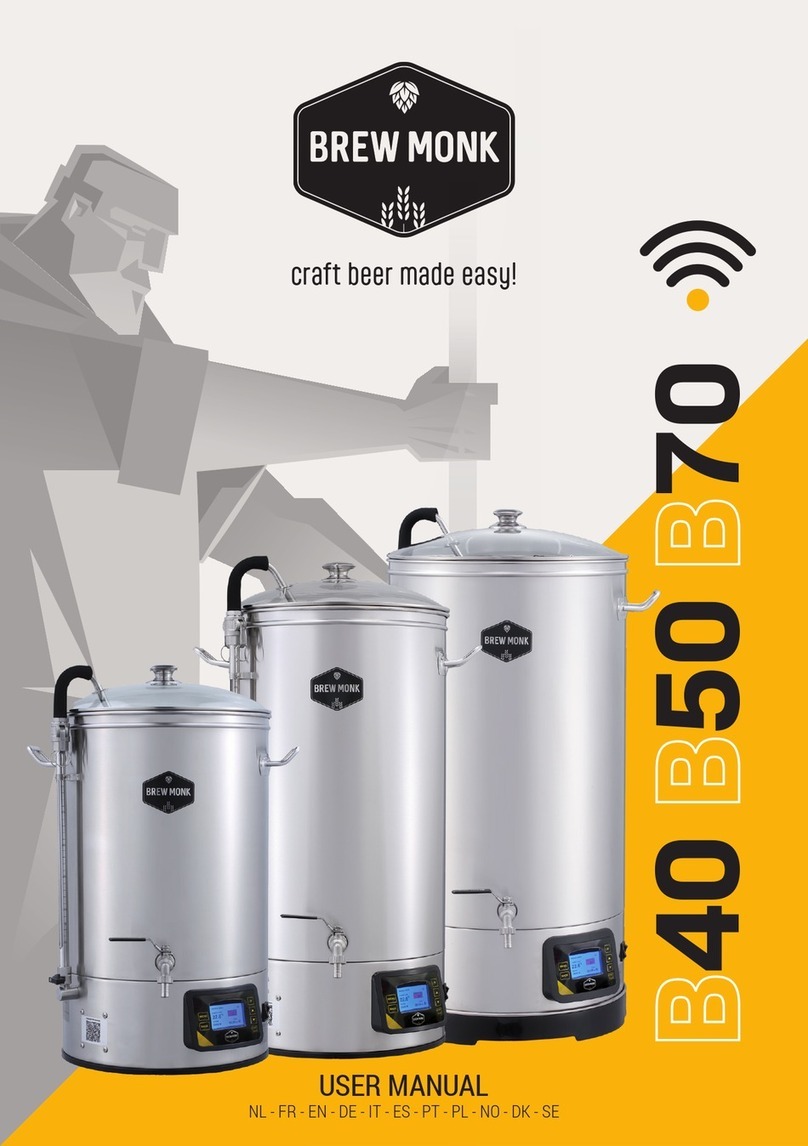
Brew Monk B40 User manual

B40 B50 B70
craft beer made easy!
USER MANUAL
NL - FR - EN - DE - IT - ES - PT - PL - NO - DK - SE

18
EN – Brew Monk User Manual
Stainless steel malt pipe:
B40 up to max. 8 kg malt
B50 up to max. 12 kg malt
B70 up to max. 18 kg malt
Removable handle for lifting malt pipe
Curved pipe + 13 mm hose barb
Stainless steel bazooka lter
Accessories
Brewing kettle 40 litres / 50 litres / 70 litres
Transparent circulation pipe with litre graduation
Removable stainless steel ball valve ½”
+ 13 mm hose barb
Programmable controller with digital display
Glass lid
Extendable stainless steel overflow pipe
Adjustable stainless steel malt screens
On/off switch and pump switch
1
8
2
9
512
3
10
613
411
7
10
Thank you for purchasing the Brew Monk. Use the image and table above to check whether your Brew Monk
is complete. Contact your reseller should you be missing any components.
Please read this manual carefully and take heed of the following information to avoid any damage.
Any failure caused by ignoring the instructions and precautions mentioned in this user manual are not
covered by our warranty and we cannot assume any liability.
TIP: Scan the QR code on the back of your Brew Monk to always keep the manual close to hand.
1
2
5
3
4
9
13
11
10 12
6
7
8

19
EN – Brew Monk User Manual
1. Safety instructions
• Read all the instructions carefully and keep this manual for future reference.
• Do not use the appliance if the cord or plug is damaged; these must be replaced before use.
• The machine is intended for use only with 220-240 V and 50/60 Hz. Do not use an adaptor as the
wattage power of this appliance is high.
• Avoid overloading the electric supply.
• If the appliance requires extra power, do not use multi-sockets of under 13 A, and do not connect any
other device to the socket.
• Check the product’s rating label and make sure its voltage is t for your power socket before use.
• The appliance must only be used as intended. It must be operated safely and correctly under fault-free
conditions. Make sure you check the product’s condition prior to each use.
• The appliance is only to be installed in locations where it is supervised.
2. Preparations before brewing
• The appliance must be positioned on a stable, secure and horizontal support structure prior to use.
• A full vessel contains boiling hot liquids and can weigh up to 40 kg (B40), 50 kg (B50) and 70 kg (B70).
Horizontal positioning is a prerequisite for transfer pumping during the brewing process. Avoid an
unsteady surface.
• Do not move the appliance during the brewing process. The handles are only meant for transporting the
appliance in an empty state.
• It is imperative to keep children and animals away from the appliance while it is in use. Remember
boiling water is very dangerous.
• Always clean all the parts of your brewing equipment. Hygiene is imperative for good brewing results.
• Before use, it is advisable to heat a quantity of hot water in the kettle to clean the brewing equipment by
using a proper cleaning agent (Chemipro®Wash).
2.1 Assembling the circulation pipe and information about the pump
• Important: Never run your pump without water! The kettle must be lled with water before switching on
the pump. If this is not the case, the pump may be damaged.
• We recommend using the pump during the mashing process.
• Before switching on the pump, make sure to install the curved pipe (11). Assemble the curved pipe
(11) by placing it on top of the circulation pipe (2). Check that the seal ring is installed and lock the
curved pipe (11) in place by pressing down the two handles. If you want to use the glass lid (5) during
mashing, you will have to install the lid (5) before assembling the curved pipe (11). The curved pipe
(11) should rst be inserted through the hole in the lid (5).

20
EN – Brew Monk User Manual
• Adjust the flow rate using the black valve on the circulation pipe for the correct circulation speed. If the
pump speed is too fast, the grain basket (8) will overflow down the central pipe, and the bottom of the
kettle may run dry and cause ingredients to burn and overheat the element. It is therefore recommended
to only open the valve halfway for the best results.
• The black valve, on the circulation pipe, in horizontal position closes the ball valve.
The ball valve is open when the black valve on the circulation pipe is in the vertical position.
• Switch off the pump when you close the black valve for longer than 5 seconds.
• Always close the black valve and switch off the pump before removing the curved pipe (11).
• Do not run the pump during wort boiling.
• If you wish to use the pump to cool your wort (using a counterflow chiller, for example), make sure your
wort has rst cooled down to 98°C to ensure there are no air bubbles left. This prevents damage to the
pump. Always make sure you do not put any loose hops or spices in the kettle to ensure the opening
does not get clogged up.
2.2 Assembling the bazooka filter
Attach the bazooka lter (12) on the male thread inside the
Brew Monk using the coupling piece and tighten using a
screwdriver (see the image below).
2.3 Assembling the overflow pipe
1 x top malt screen
(1 centre hole +
2 small holes)
1 x reinforced lower
malt screen
(1 centre hole)
2 x handles
1 x nut
1 x extendable overflow
pipe
A
B
E
C
D
B
C D E
A

21
EN – Brew Monk User Manual
2.3.1 Assembling the malt pipe outside the Brew Monk
Step 1
Place the male thread connector (E) through the bottom malt screen (B) and afx with
one nut (D).
Step 2
You can adjust the overflow pipe according to the amount of malt recommended for your recipe.
To this end, adjust the extendable pipe (E) to the desired height.
Step 3
Connect the two handles (C) to the top malt screen (A).

22
EN – Brew Monk User Manual
2.3.2 Filling the malt pipe with malt
Step 1
Insert the assembled overflow pipe (6) with the malt screen into the malt pipe (9).
Step 2
Extend the overflow pipe (6) to its maximum length.
Step 3
Insert the malt pipe (9) into the Brew Monk (1).
Fill it with water according to the recipe.
Step 4
Put the transparent cap on (13) and add malt to the
malt pipe (9).
Next, remove the transparent cap (13).
Step 5
Adjust the height of the extendable overflow pipe (6) so that it lies 3 to 4 cm above the water
level.
Step 6
Slide the top malt screen onto the malt using the handles.
3. Commissioning and connection
3.1 How do I get started with my
Brew Monk B40/B50/B70?
1. Plug the Brew Monk into a power socket.
2. Press the Power On button on the side of the
appliance. The screen will light up.
3. The kettle will now ask to be connected to the
Wi-Fi. We strongly recommend connecting the
kettle straight away. This will mean you always have
access to the latest, free software update and you
always have the most comprehensive version to
hand.
4. Once you have connected the kettle to the Wi-Fi (or
if you have pressed Skip), you will be taken to the
main menu.

23
EN – Brew Monk User Manual
3.2 Before using the Brew Monk
We recommend rinsing the machine with 5 to 10 litres of water. Clean the malt pipe (9), lter screens
(7), overflow pipe (6) and bazooka lter. Use Chemipro®Wash to do so.
1. Make sure the ball valve (3) and the black valve on the circulation pipe (2) are closed.
2. Pour 5 to 10 litres of water into the appliance.
3. The display will indicate the temperature.
4. Set the wattage to 2,500 watts, the temperature to 55°C and the time to 5 minutes using the arrow
keys and the OK button. Next, press Start.
5. Add the cleaning agent (Chemipro®Wash).
6. Open the black ball valve and switch on the pump (for installation of the curved pipe, see 2.1).
7. Once the programme has nished, switch off the pump and dispose of the hot water using the ball
valve (3).
8. The hot water can be used to clean the bazooka lter (12), malt pipe (9) and malt screens (7) in the
sink.
9. Rinse the kettle again with clean water.
10. You’re now ready to get brewing!
3.3 How do I connect my Brew Monk B40/B50/B70 to the Wi-Fi?
1. When you use your Brew Monk for the rst time, it will ask whether you want to connect it to the
internet straight away. If you ignore this message, you can still connect the appliance at a later
date.
Go to Menu =>Settings =>Connect to Wi-Fi.
2. Next, go to your Wi-Fi settings on your mobile phone and select the network ‘Brew Monk B..’. You
will then see a pop-up appear on your screen.
3. Follow the instructions listed in the pop-up window to connect your Brew Monk to the platform
via Wi-Fi.
3.4 How can I update my Brew Monk?
1. On your kettle’s display, go to Menu => Settings =>Software update and follow the instructions.
3.5 Brewing an online recipe – Recipe mode
1. Go to the Brew Monk platform at www.mybrewmonk.eu.
2. Make sure you always use the same email address on the platform and the kettle.
3. On the platform, go to My Recipes. Here you will see an overview of all your saved recipes. If you
haven’t saved any yet, press ‘Create a recipe’ and follow the instructions.

24
EN – Brew Monk User Manual
4. You have the option to ‘Sync to kettle’ with each recipe. If this is enabled, the software will send the
recipe to your kettle.
5. You can brew a recipe in two ways:
1. You can send the recipe to your kettle from the platform so you can brew it online or offline straight
away or at a later date.
a Go to Recipe mode in your kettle’s menu. Here you will see all recipes you have sent to your kettle
through the platform.
b.Select the desired recipe and follow the instructions on the kettle.
2. You can start a recipe on your kettle directly from the platform. It is always important to stay
connected to the Wi-Fi network when using this method.
3.6 How do I brew offline in Manual mode?
1. Start the kettle.
2. Go to Manual mode.
3. Adjust each of the three settings (temperature, time and wattage):
a. Navigate to the desired setting.
b. Press OK.
c. Use the arrows to raise or lower the setting.
d. Press OK to conrm.
e. Repeat the steps above to adjust the settings and press Start when you’re done.
f. The kettle will now run at the set temperature, time and wattage.

25
Website: www.brewmonk.eu
Platform: www.mybrewmonk.eu
Distributed by Brouwland
Korspelsesteenweg 86
3581 Beverlo, Belgium
www.brouwland.com
EN – Brew Monk User Manual
4. Maintenance
• It is very important to clean the machine after every use. The dry ingredients may stick to the metal
and inside the pump.
• Rinse the machine with 5 to 10 litres of 60°C water for 15 minutes or more until it is clean. Turn on the
pump during cleaning.
• Do not use sharp, metal utensils to remove any residue. Use a soft cloth or soft scouring pad to clean
the inside of the kettle.
• Any wort residue marks on the kettle base should be cleaned before its next use.
• Reverse-flush the pump by connecting a hose to the curved pipe. To do this, connect a silicone hose to
the curved pipe AND to the valve and open both valves. Next, turn on the pump.
• Use suitable cleaning agents (Chemipro®Wash).
• Do not splash any electronic parts of the machine.
• Do not immerse the machine in water.
• Store the machine in a dry place. Do not plug it in when not in use.
Tip: You can nd an FAQ section on the online platform containing answers to frequently asked questions.
Other manuals for B40
1
This manual suits for next models
2
Table of contents
Other Brew Monk Brewing System manuals