ECO CLICK
An innovative water saving feature that offers a subtle resistance
as it reaches, approximately half of its full flow capability. For
increased flow this feature can be overridden. At full flow the click
cartridge uses 32% less water than a standard cartridge and when
in eco click mode the reduction increases to 72%. (JU EBAS C)
WATER PRESSURE
This tap is suitable for use at all supply pressures.
If the tap is installed at low pressure (tank fed), then the minimum distance from the
highest installed position of the shower head to the underside of the cold tank should be
at least 2 metres to ensure adequate performance.
This mixer tap should be installed in compliance with the Water Regulations. Where
the supplies are unbalanced, i.e. hot water from cylinder tank / cold from the mains,
approved check valves must be fitted in the supply pipes.
For further details contact your Local Water Authority.
Operating Pressures: Min 0.2 bar, Max 7.0 bar.
MAINTENANCE AND/OR CARTRIDGE REPLACEMENTS
If the fitting begins to drip:-
1. Turn off both water supplies.
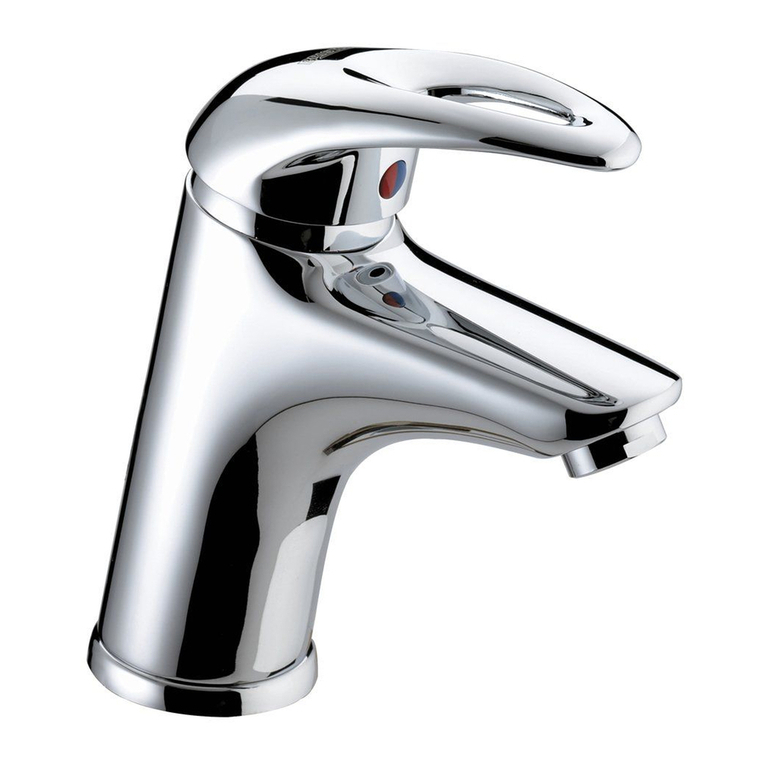
2. Remove cap (2) and grub screw (1), then remove the handle (3).
3. Unscrew shroud (4) and retaining nut (5), then remove cartridge (6).
4. Clean seating and grease rubber washer.
5. Replace cartridge (6), shroud (4) and retaining nut (5).
6. Replace handle (3), grub screw (1) and cap (2), then turn on water supplies.
7. Contact our helpline, if problem persists.
ADDITIONAL SAFETY FEATURE
This mixer tap incorporates a facility to limit/reduce the maximum hot water from the
tap. Simply remove the indice cap (2) grub screw (1) and lever handle (3). A small
plastic collar (temperature limiting ring) can be seen between the cartridge
retaining nut (5) and the control shaft. Carefully prise the plastic collar upwards using
a small screwdriver or similar tool. By replacing in a slightly different position by either
rotating to the left or the right, this can limit the lever movement (when moved
towards the hot or the cold side), thus allowing the maximum hot temperature to be
altered as required.
INSTALLATION
1. Identify all components are present prior to installation.
2. Fit the mixer body to the sink using the ‘C’ plate fixing kit (9). The ‘C’ shaped
rubber washer and metal washers go on the underside of the sink to be
secured by the threaded rod and retainer (9).
3. Fit the copper tail pipes (10) to the mixer (BY HAND ONLLY) and
(DO NOT OVER TIGHTEN) Then connect the hot and cold supplies.
4. Fit the pop-up waste, with the flat washer below and the shaped washer above
the basin/bidet. It is recommended that a silicon sealant be applied to both
sealing faces of the washers. The plug height can be set by adjusting the waste
rod (15), operating rod (11), and rod connector (12) .
Once adjusted,screw in the base of the plug.
Friction for the waste mechanism can be adjusted using the waste cap, which is
attached to the bottom waste (14). (DO NOT OVERTIGHTEN)
5. Turn on the water supplies. Lift the handle both ways for a few minutes letting the
Water flow to check all joints and connections for leaks.
NOTE: JU BASNW C is supplied without a waste.
6. See over the page for aftercare instructions.
CONTENTS
1. Grub Screw
2. Cap
3. Handle Assembly
4. Shroud
5. Retaining Nut
6. Cartridge
7. Aerator Kit
8. ‘O’ Ring
9. ‘C’ Plate Fixing Kit
10. Copper Tails
11. Operating Rod
12. Rod Connector
13. Plug
14. Bottom Waste
(See ADDITIONAL
SAFETY FEATURE)
