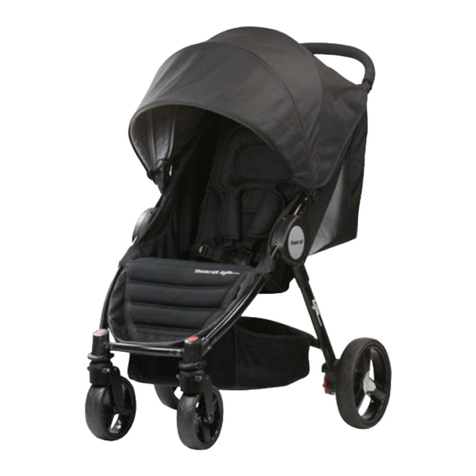
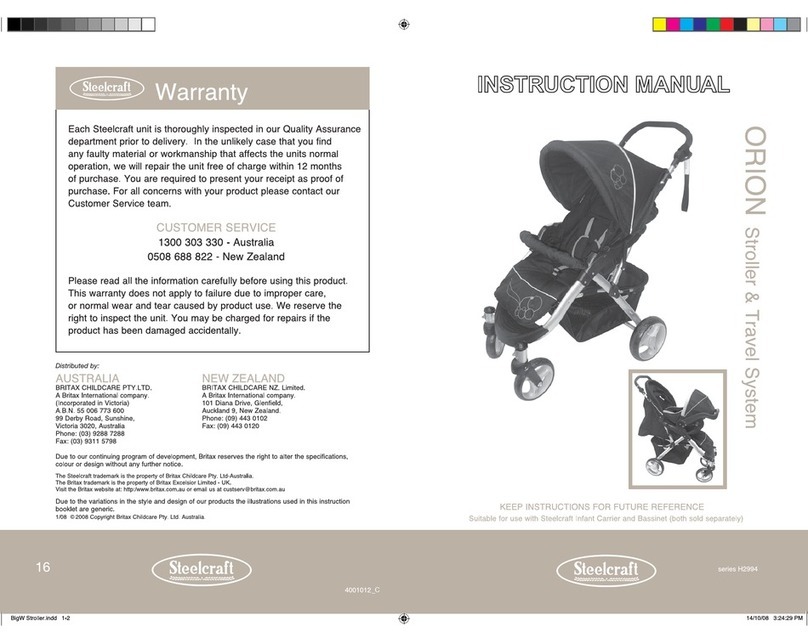
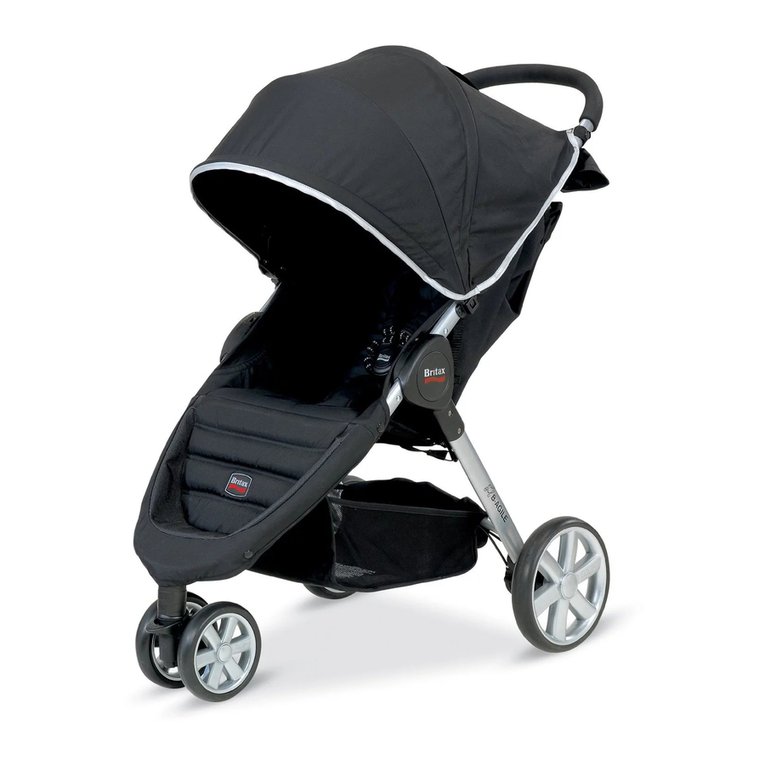
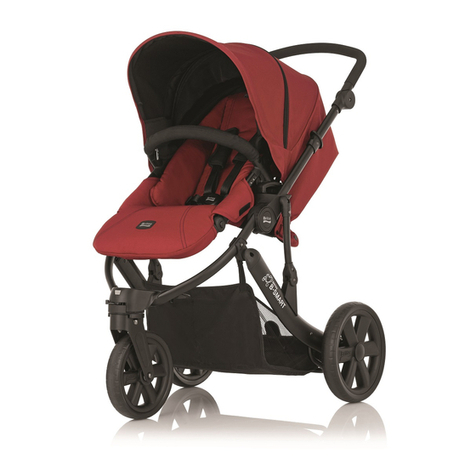
Britax Steelcraft Agile SH908 User manual


• Do not allow children to stand on the seat.
• Do not hang bags or goods from the handle as this could cause
the stroller to tip over.
• To prevent the risk of the stroller catching fire, do not park it near an
exposed heat source such as a radiator, an open fire or a barbecue,
etc.
• Do not run while using this product.
• Always lock swivel wheels when on rough surfaces as this will help
eliminate wheel wobble.
• Always raise the leg support (where fitted) to its highest position
when transporting a baby. This will reduce the risk of the baby
falling out through the front of the stroller if not correctly
harnessed.
• It is unsafe to use accessories other than those tested and approved
by Britax. For maximum safety only use accessories designed for this
stroller.
• Do not place more than 4kg in the basket or 1kg in the Canopy
Pocket (if supplied)
• The maximum weight of the child using this product is not to
exceed 17kg for the Stroller or 9kg for the Infant Carrier.
FOR WARNINGS ON ACCESSORIES - REFER TO THEIR INDIVIDUAL
SECTIONS IN THIS BOOK. THE MAXIMUM WEIGHT VARIES FOR EACH
ACCESSORY.
03
30
NOTES

04 29
IMPORTANT
The upright positions are not suitable for use with children less
than six months old. The lowest recline position should be used
to transport babies, and the backrest can be adjusted to a more
upright position as the child grows older and is able to support
its head without assistance.
SAFETY WARNING
The sun is very strong. DO NOT LEAVE YOUR CHILD EXPOSED TO THE
SUN.The canopy or hood on this product will not give your child
total protection from the harmful rays of the sun.
PARTS LIST NOTES

05
28
PARTS LIST
A 1 x Stroller Frame, Seat & Basket
B 1 x Canopy
C 2 x Rear Wheels
D 2 x Front Wheels
E2 x Infant Carrier Adaptors
AB
CD
E
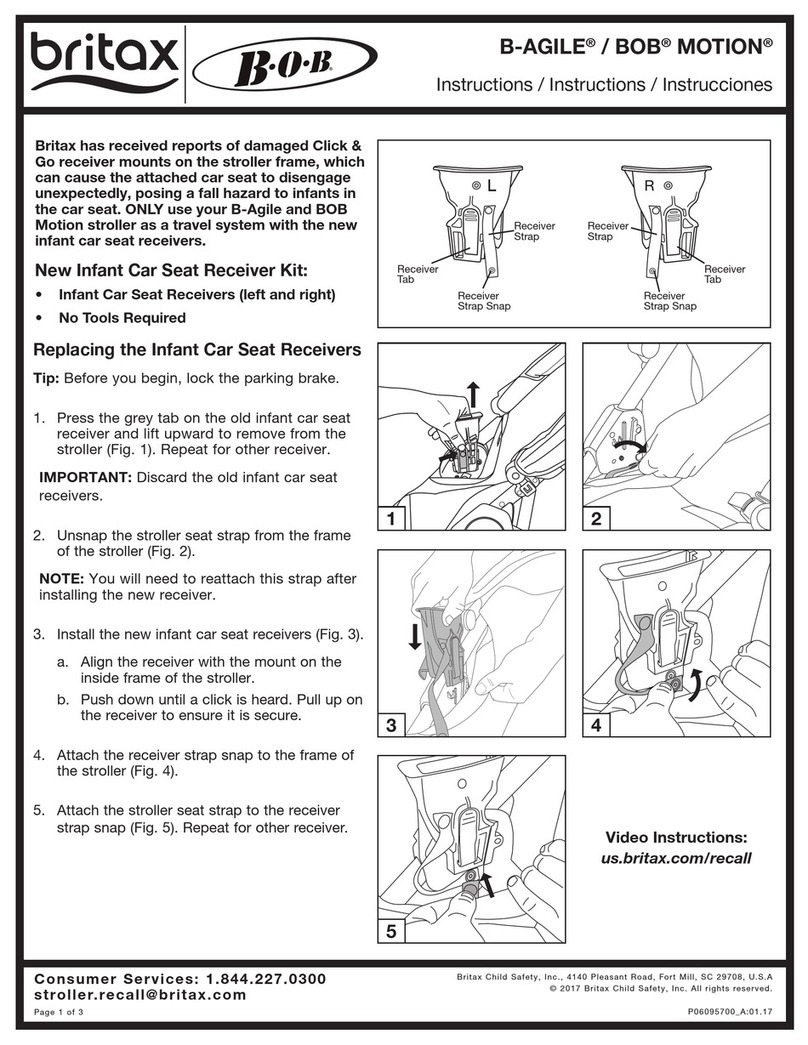
14. TO RELEASE THE INFANT CARRIER (Cont)
C Lift and remove the Infant Carrier away from the stroller.
D To remove the adaptors, press the red lever in on the inside of
the adaptor and pull the adaptor up.
C
Red lever
D
Adaptors

27
ASSEMBLED STROLLER - PARTS LIST
Handle
Tether Strap
Shoulder pads
Harness
Basket
Front leg tube
Rear leg tube
Sure Lock release button
Canopy
Front canopy tube
Upper seat
Inner seat
Folding strap
Front wheel
release button
Front wheel
swivel lock
Leg rest
Lower seat
Canopy window cover
Canopy window
Canopy back flap zipper
14. TO RELEASE THE INFANT CARRIER
A To remove the Infant Carrier, squeeze both handle latches in to
release the locks.The indicator will now be RED.
B Continue to rotate the handle forward until it returns to the
upright position. Release the latches,the indicator should now
be GREEN.
A
Handle latch
Indicator
B
Handle latch

01. TO OPEN THE STROLLER
Storage
latch
A Release the storage latch (1) located on the rear leg.
Open the frame as shown by the arrows (2) until you hear a‘click’
which indicates the frame is fully opened and locked.Push down
on the stroller handle to confirm that frame is locked.
1
2
2
2
02. TO ASSEMBLE AND REMOVE THE FRONT SWIVEL WHEELS
A To assemble the front swivel wheels,take each swivel wheel
assembly and insert and push it into each of the wheel mouldings
until you hear a‘click’ which indicates the wheel is locked in.
Check each wheel is fully locked by pulling against it.
A
A
A
B To remove the front swivel wheels, locate and press in the red
button on top of the wheel moulding.
B
26 07
13. TO INSTALL THE INFANT CARRIER (Cont)
E Squeeze and release the handle latches.Then with one hand
holding the front of the Infant Carrier, push the Infant Carrier
handle all the way down until you hear it lock into the adaptors.
The handle indicator should now be GREEN and the Infant Carrier
should be locked into the adaptors. If the indicator is RED the
Infant Carrier handle is not in the locked position, repeat step D.
IMPORTANT: Ensure that the Infant Carrier is locked into place by
pulling up on both sides. Do not use the Infant Carrier if it is not
correctly installed.
Please Note:The Infant carrier has been fitted with a hood when
using the stroller.The hood can also be used in the car. Refer to
the Infant Carrier instructions regarding placing and securing
your baby in the Infant Carrier.
E

08 25
03. TO FIT AND REMOVE THE REAR WHEELS
04. TO USE THE SWIVEL WHEELS
A To fit the rear wheels, insert each wheel axle into the moulding
and push in until locked.You should hear a ‘click’ which indicates
the wheel has locked in. Pull on the wheel to make sure it is
engaged. Repeat the process if not locked in.
B To remove the wheels, pull the metal latch downwards on the
underneath of the brake moulding to release the wheel, and then
pull the wheel off.
B
A
A Press the swivel lock down to lock the swivel wheels.
Push the swivel wheel lock up to allow the wheels to swivel.
Note: Always lock the swivel wheels when using the stroller on
rough surfaces as it will minimise wheel wobble.
Metal Latch
C Lower the Infant Carrier into the adaptors.Press down firmly on
both sides.
D The Infant Carrier now needs to be locked securely into the
adaptors. Squeeze in and hold the latches on either side of the
handle, rotate the handle backwards.The GREEN indicator will
now turn to RED.

05. TO ATTACH AND USE THE CANOPY
A1 To attach the canopy, insert the canopy mouldings into the frame
mouldings until they connect together.The back flap of the
canopy can be attached to the main canopy with the zipper
attachment.
24 09
A2 Attach the snaps located on the straps on the sides of the canopy
to the top of the handle tubes,then fold the strap up under the
canopy back flap and secure strap with hook and loop to the
underneath of the canopy.
13. TO INSTALL THE INFANT CARRIER (Sold Separately)
A Stand in front of the stroller and pull the fabric back from the sides
of the stroller to expose the stroller hinge.Take one Infant Carrier
adaptor at a time and insert the adaptor into the stroller hinge as
shown. Push on the adaptor until you hear a‘click which indicates
the adaptor has locked in. Pull up on each adaptor to check they
have fully locked in.
B Face the feet end of the Infant Carrier towards the stroller
backrest.With the Infant Carrier handle in the upright position
locate the Infant Carrier handle mouldings over the adaptors on
either side. Notice the indicator is GREEN.
Adaptor
Indicator
Adaptor
A
B
Please Note: Fit adaptors standing in front of the stroller. Infant
Carrier adaptors are marked Left & Right for correct fitting.

10 23
05. TO ATTACH AND USE THE CANOPY (Cont) 12. TO FOLD THE STROLLER (Cont)
A3 Attach the hook square on the inside of the canopy backflap to
the loop strip on the side of the stroller.
A4 Attach the hook strip on the inside edge of the canopy to the loop
strip on the side of the stroller.
13. TO INSTALL THE INFANT CARRIER (Sold Separately)
• THE STEELCRAFT INFANT CARRIER IS THE ONLY INFANT CARRIER
DESIGNED TO FIT THIS STROLLER.
• THE INFANT CARRIER MUST BE CORRECTLY FITTED AND
LOCKED ONTO THE STROLLER.
• THE INFANT CARRIER MUST ONLY BE USED IN THE REARWARD
FACING POSITION, FITTED TO THE STROLLER FACING TOWARD
THE STROLLER HANDLE.
• SECURE THE CHILD IN THE HARNESS AT ALL TIMES.
• DO NOT LEAVE THE CHILD IN THE INFANT CARRIER FOR
EXTENDED PERIODS.
• THE INFANT CARRIER IS DESIGNED TO PROVIDE MOBILITY
OUTSIDE OF THE CAR BUT IT SHOULD NOT BE USED INSTEAD OF
AN APPROPRIATE COT.
• THE INFANT CARRIER MUST BE REMOVED FROM THE FRAME
BEFORE FOLDING.
• THE MAXIMUM WEIGHT OF THE CHILD USING THIS PRODUCT
IS NOT TO EXCEED 9kg.
Please Note: These Instructions are for installing and removing
the Infant Carrier on the stroller only.
For installing and and proper care of the Infant Carrier in the
car please follow the Instruction book that is included with the
Infant Carrier.

05. TO ATTACH AND USE THE CANOPY (Cont)
B To remove the canopy, press in the button on the canopy
moulding and pull out of the frame mouldings.
C To adjust the canopy, open by pulling forward, or close by pushing
it backward.
B
The button on the
canopy moulding.
C
D
Canopy window ap
Canopy window
D To open the canopy window lift the canopy window flap away
from the canopy.
Canopy back ap
zipper
12. TO FOLD THE STROLLER (Cont)
BPress and hold in the RED Sure Lock release button (1) located on
the right hand side of the stroller.With the other hand pull up the
folding strap (2) as shown by the arrow. The stroller will now fold.
B B
CLock the frame together with the storage latch. A carry handle
is supplied for ease of transport when stroller is fully folded.
Only use the handle to carry the stroller.
Storage
latch
C C

12 21
05. TO ATTACH AND USE THE CANOPY (Cont)
E For additional air circulationthe back flap of the canopy can be
removed by opening the zipper. To reattach the back flap to the
main canopy secure with the zipper.
12. TO FOLD THE STROLLER
ATo prevent the canopy back flap from dragging on the ground
when the stroller is folded, either (A1)remove the back flap by
opening the zipper at the top of the back flap, then close the
canopy, or (A2) lift and fold the back flap up through the handle
opening and onto the top of the last section of canopy. Close
the canopy.
Canopy back flap Back flap removed
A1 A1
Canopy back flap
A2 A2

20 13
www.britax.com.au www.britax.com.au
06. TO ADJUST THE BACKREST
A To raise the backrest, hold the main adjuster moulding in one
hand, then grasp the plastic rings fixed to the adjuster straps
with the other hand. Push up on the main adjuster moulding
at the same time pull the adjuster strap to the desired position.
B To lower the backrest, support the backrest with one hand and
with the other hand pull down the on the backrest adjuster
button and lower the backrest to the desired position.
Backrest adjuster button
Main adjuster
moulding
Plastic rings
10. TO FIT THE RAIN COVER
BTo secure the rain cover, (B1)attach the hook and loop strips on
the sides of the rain cover. (B2) Now attach the hook and loop
straps on the front of the rain cover around the wheel
mouldings above the swivel wheel lock.
B1 B2 B2
11. TO USE THE STROLLER
• With your hand through the wrist tether strap loop, push the
stroller holding the handle.
• The stroller can be steered in the desired direction - allowing the
front wheels to swivel will make this easier.
• The front wheels may wobble or oscillate when walking fast.
• Locking the front swivel wheels will stop this.
• The stroller can be taken up kerbs by either pressing down on the
handles and raising the front wheels or turning the stroller around
and pulling the stroller up the kerb.
• Caution is required when pushing the stroller on a steep slope as
the stroller may become unstable. Always hold the handles firmly.
• Whenever you stop, always apply the brakes before you leave the
stroller.

14 19
www.britax.com.au www.britax.com.au
A To lock the rear wheels, press down on either brake pedal.You
can use the left or right brake pedal to lock the brakes. Check
that the brakes have locked by trying to push the stroller
forward. If not locked, repeat this step.
B To release the brakes, push up on either pedal.
09. TO USE THE TETHER STRAP
WARNING: USE THE TETHER STRAP TO PREVENT
THE STROLLER ROLLING AWAY.
AA wrist tether strap is provided on the handle grip. Slide your
hand through the tether strap loop whenever you use the
stroller. Only remove your hand from the tether strap loop when
when the brakes have been applied to the stroller wheels.
10. TO FIT THE RAIN COVER
APull the rain cover over extended canopy and push the
back flap of rain cover through the handle opening.

18 15
www.britax.com.au www.britax.com.au
08. TO SECURE YOUR CHILD IN THE HARNESS(Cont) 06. TO ADJUST THE BACKREST (Cont)
08. TO SECURE YOUR CHILD IN THE HARNESS
WARNING: USE THE HARNESS AT ALL TIMES.
When not in use disconnect shoulder straps from the waist
strap and buckle to prevent strangulation.
A five point harness is provided to restrain your child.
Buckle tongues separate for added safety.
To reconnect buckle tongues and to secure the child in the harness
please follow the steps below carefully.
APosition the shoulder strap tongue (A) on the top of the waist
buckle tongue (B) on both sides.
Crotch strap
Waist
strap
Waist
strap
Shoulder strap
A
BB
A
Buckle
housing
C
FTo release the buckle. Squeeze the top and buckle tongues
together with enough pressure so the buckle tongues can
release from the buckle housing.
GThe stroller seat has *2 or 3 sets of
harness slots at different heights to
accommodate the child.
To change the shoulder harness height,
push the shoulder harness tongue out of
the current harness slot and through the
back of the seat.
* Depending on the model

16 17
www.britax.com.au www.britax.com.au
08. TO SECURE YOUR CHILD IN THE HARNESS (Cont)
Waist
strap
3 bar
slider
3 bar
slider
Crotch strap
3 bar
slider
BPush both buckle tongues (A+B) into the buckle housing
(C) until the buckle tongues lock into position.
CTighten or loosen shoulder and crotch straps by sliding up and
down the 3 bar sliders.
Waist
strap
Shoulder
strap
Shoulder
strap
Buckle
housing
Crotch strap
AB
+AB
+
C
4 bar
slider
DTighten or loosen the waist straps, hold and lift the 4 bar slider
and then pull the harness strap, to adjust to the desired fit. The
waist strap needs to fit firmly around the child.
ETighten or loosen the shoulder straps, slide the 3 bar slider up or
down to adjust to the desired fit. Always adjust the harness strap
when changing the seating position of the child.
CAUTION: DO NOT SLIDE 3 BAR SLIDER OVER THE
SEWN TAB ON SHOULDER HARNESS.
Table of contents
Other Britax Stroller manuals

Britax
Britax Affinity User manual

Britax
Britax SMILE User manual

Britax
Britax SMILE User manual

Britax
Britax STRIDER 4 User manual

Britax
Britax Strider Compact User manual

Britax
Britax Romer GO BIG User manual

Britax
Britax Romer Soft Carrycot User manual

Britax
Britax AFFINITY 2 User manual

Britax
Britax BOB Gear ALTERRAIN User manual

Britax
Britax B Agile User manual

Britax
Britax Steelcraft Zapo User manual

Britax
Britax B-Motion User manual

Britax
Britax Chaperone Stroller User manual

Britax
Britax Brook User manual

Britax
Britax B-Ready User manual
Britax
Britax B-Ready User manual
Britax
Britax B-Ready User manual
Britax
Britax Holiday User manual

Britax
Britax Verve User manual

Britax
Britax B-LIVELY Double User manual