___________________________________________________________________
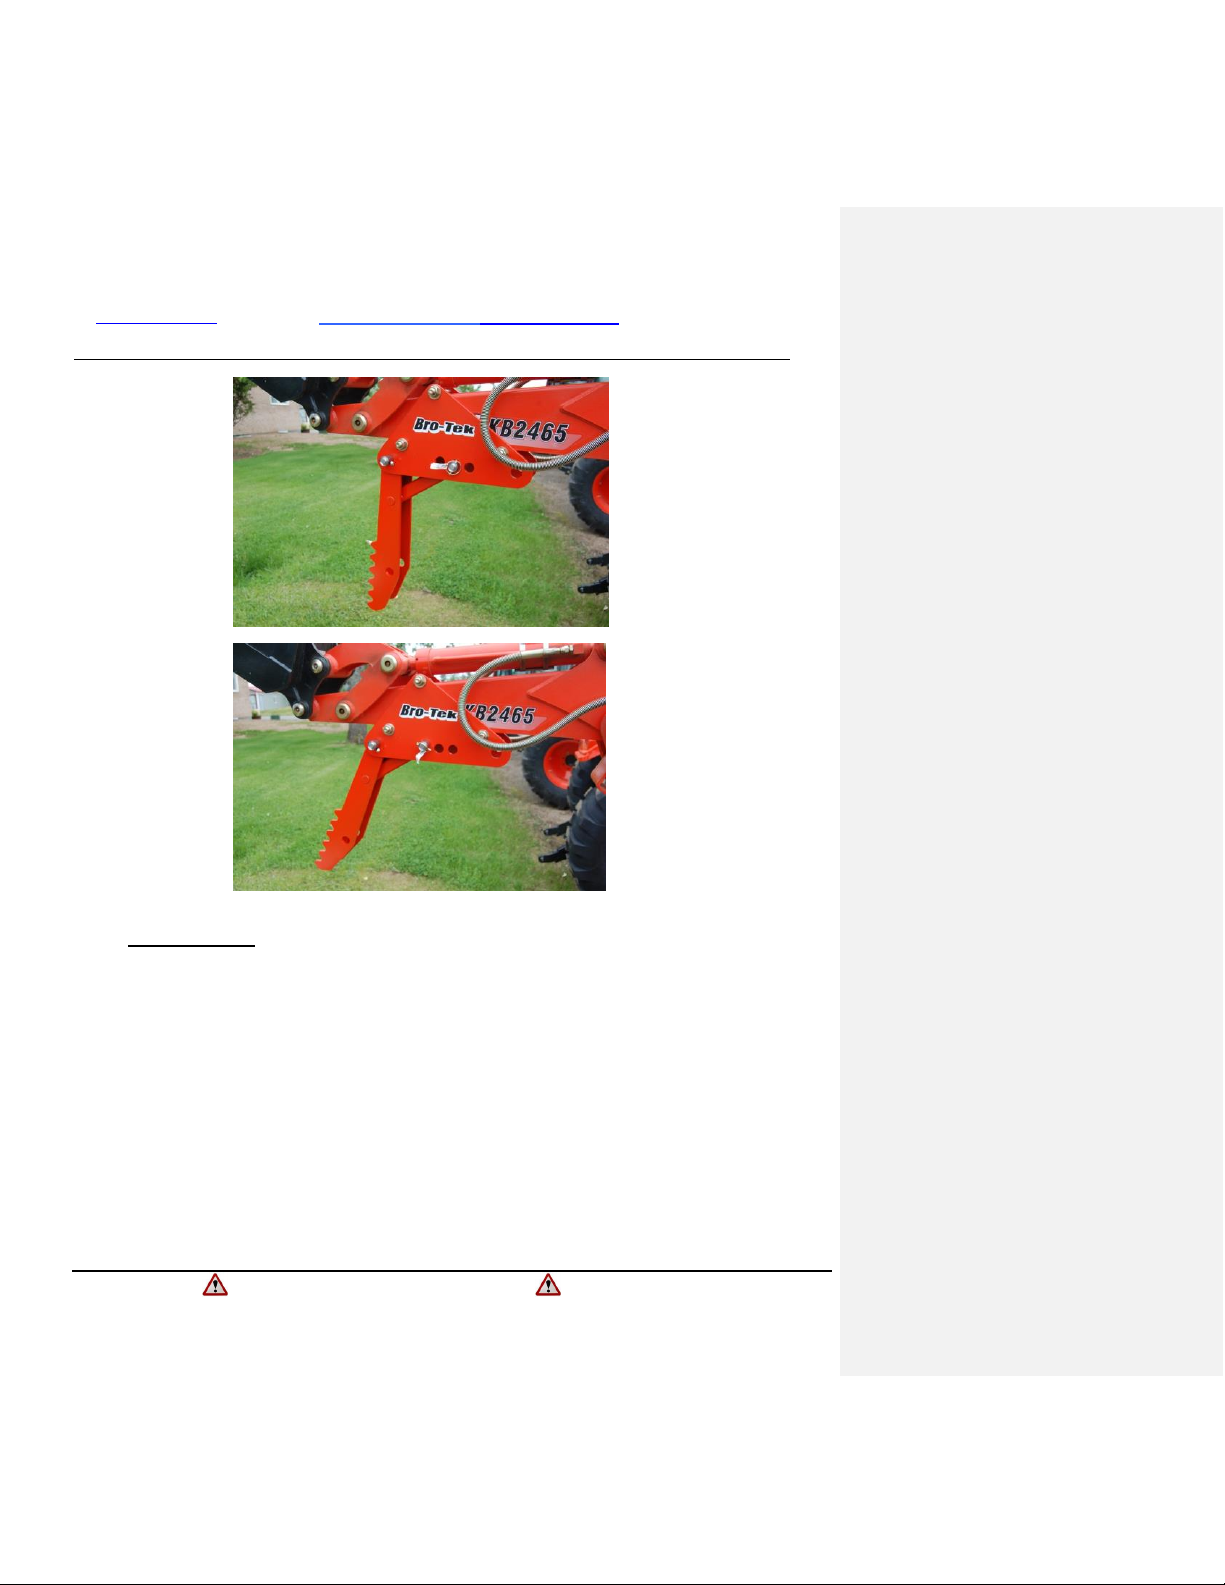
Bro-Tek Thumb
____________________________________________________ _________
Save these Instructions/Safety Manual owner/operator/installer
. We would love any feedback that you could give us
(Positive/Negative), to improve our product line.
Please email us your comments/pictures too:
2. Safety Precautions:Important Safety
A. Park on a firm level area.
B. Stop engine, set brake, remove key and wait for all moving
parts to stop before starting installation.
C. Block up or rest the backhoe before working beneath unit.
D. Read and understand the original Tractor backhoe Operator’s
Manual. Read all precautions found in the tractor and loader
manuals.
E. Never use the Thumb without having the front-end loader &
Stabilizer pads firmly on the ground.
F. Keep all persons, at least 20 feet away from the backhoe/Thumb
at all times. When a heavy load is being moved with the thumb,
this can have serious injury if all precautions are not taken.
Make sure to mark a safety perimeter around the work site.
G. Take special precautions for operator & bystanders on hillside.
The material can tumble a very long distance; use barriers to
secure the material to a tight area.
H. Never go underneath or nearby the thumb, even if the tractor is
stopped. The boom should always be lowered to the ground,
before the operator steps out.
I. Never assume the load is secure in the Thumb. Always keep the
load to the lowest/closest possible to the ground/tractor.
This will help to reduce a tip over.
3. Tools/torque/Parts required:
A. Wrenches or socket (3/4”)
B. Torque wrench (50Lb-Ft =70N/M).
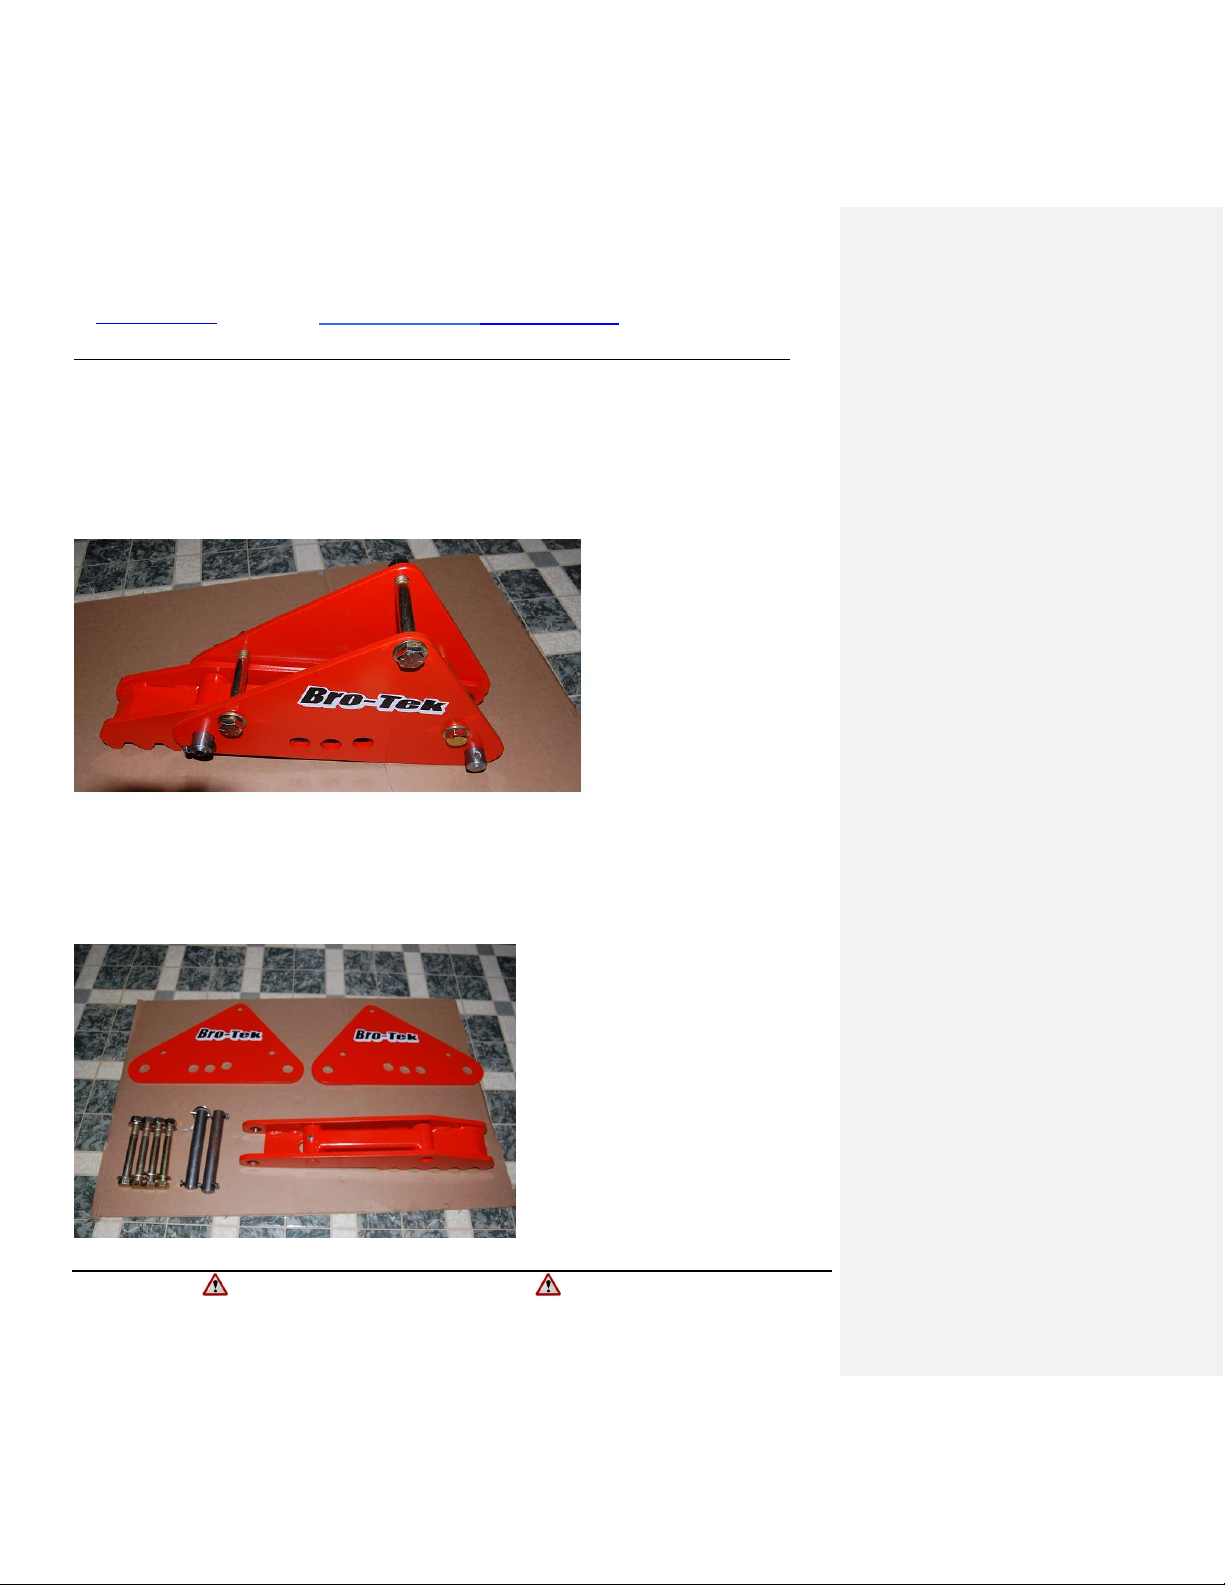
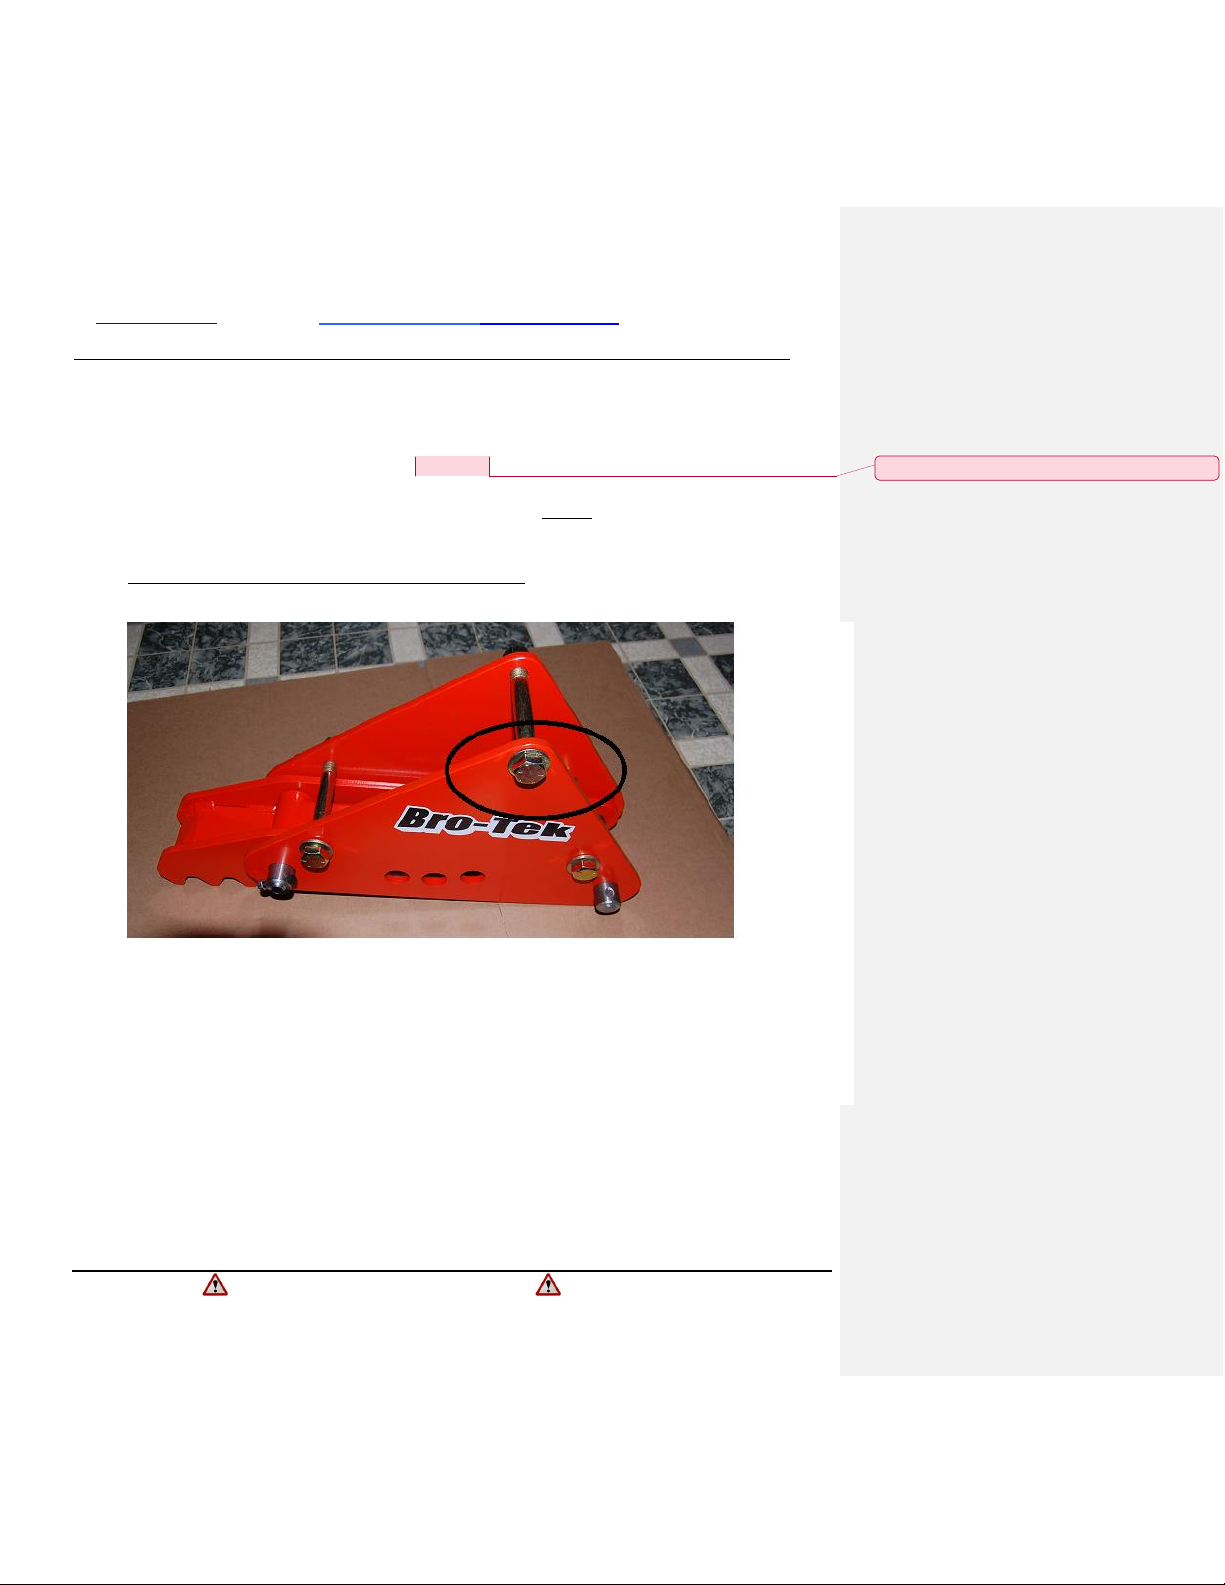
4. Assembly Instructions:
A. Once you have followed the safety precautions & have removed
the Thumb from it’s packaging, please take notes of all the parts
& follow the assembly instruction.
B. Free up work place of all disturbance & clutter. Take your