Quick Start Guide
Ofces worldwide
The services described in this publication are subject to availability and may be
modied from time to time. Services and equipment are supplied subject to
British Telecommunications plc’s respective standard conditions of contract.
Nothing in this publication forms any part of a contract.
© British Telecommunications plc 2008.
Registered Ofce: 81 Newgate Street, London EC1A 7AJ.
Registered in England No. 1800000.
Designed and produced by The Art & Design Partnership Ltd.
Printed in China / Issue 2 / ADP05-08
Answeringmachine
After following the ‘Getting started’ section, your BT Freestyle 750 answering machine
will be set to AnswerandRecord and is ready to start receiving and recording messages.
Press on the base to switch the answering machine on and off.
The answering machine can be operated via the base, handset (via the Answer Machine
menu) or remotely from another telephone. For detailed instructions of all the answering
machine features see the online user guide at www.bt.com/help/userguides
Listeningtoyourmessages
The message counter on the base shows the number of stored messages you have.
When you have new messages, the message counter will ash.
At the base, press to hear your messages. New messages are played rst.
During playback, press:
to pause/resume playback.
once to repeat the current message, twice to play the previous message.
to skip to the next message.
to delete the current message.
to stop playback.
or to adjust the loudspeaker volume.
To delete all old messages, at the end of playback press and follow the voice prompt to
press again.
CallerDisplayandthecallslist
YoumustsubscribetoaCallerDisplayserviceforthisfeaturetowork.Yournetworkprovider
maychargeyouforthisservice.
Caller Display allows you to see the number of the person calling you before you answer
the phone. The calls list holds details of your last 20 callers, including the phone number,
date and time of the call. If a number matches a stored directory entry, the caller’s name is
displayed instead. When you have new missed calls in the list,
New call
will be displayed.
Viewentriesanddialfromthecallslist
1. Press to open the calls list. If you have received any calls, the most recent call is displayed.
2. Press or to scroll through the list. To view details of the call press .
Details
is
highlighted, press again. Press to return to the previous menu.
3. Press to dial the entry displayed.
Or, press to access further calls list options, eg. copy the number to the phonebook
or delete entries.
Personaliseyourphone
Through the Handset settings and Base settings menus, you can change the handset and
base ringer volume and ringtone, switch key beeps on/off, change the handset name
(particulary useful if you have more than handset), change the display contrast and even use
your handset as an alarm clock. See ‘Menu map’ in Section 2 for all the available settings.
1. Press to open the menu, then scroll to
Settings
and press .
2. Scroll to
H/Set settings
or
Base settings
and press . Then press or to
scroll through the options available.
For a full explanation of features and instructions, please see the main
user guide online at www.bt.com/help/userguides
For information on safety instructions,
cleaning, technical information or
connecting to a switchboard, please refer to
the ‘General Information’ section in the full
user guide at www.bt.com/help/userguides
Guarantee
Your BT Freestyle 750 is guaranteed for a period of
12 months from the date of purchase.
Subject to the terms listed below, the guarantee
will provide for the repair of, or at BT’s or its agent’s
discretion the option to replace the BT Freestyle
750, or any component thereof, (other than
batteries), which is identied as faulty or below
standard, or as a result of inferior workmanship or
materials. Products over 28 days old from the date
of purchase may be replaced with a refurbished or
repaired product.
The conditions of this guarantee are:
• The guarantee shall only apply to defects that
occur within the 12 month guarantee period.
• Proof of purchase is required.
• The equipment is returned to BT or its agent
as instructed.
This guarantee does not cover any faults or defects
caused by accidents, misuse, fair wear and tear,
neglect, tampering with the equipment, or any
attempt at adjustment or repair other than through
approved agents.
This guarantee does not affect your statutory rights.
For further information within and outside the 12
month guarantee, please refer to the full user guide
at www.bt.com/help/userguides
Productdisposalinstructions
The symbol shown here and on the product means
that the product is classed as Electrical or Electronic
Equipment and should not be disposed with other
household or commercial waste at the end of its
working life.
The Waste of Electrical and Electronic Equipment
(WEEE) Directive (2002/96/EC) has been put in
place to recycle products using best available
recovery and recycling techniques to minimise the
impact on the environment, treat any hazardous
substances and avoid the increasing landll.
Productdisposalinstructionsforresidentialusers
When you have no further use for it, please remove
any batteries and dispose of them and the product
as per your local authority’s recycling processes. For
more information please contact your local authority
or the retailer where the product was purchased.
Productdisposalinstructionsforbusinessusers
Business users should contact their suppliers and
check the terms and conditions of the purchase
contract and ensure that this product is not mixed
with other commercial waste for disposal.
R&TTEDirective&Declaration
ofConformity
This product is intended for use within the UK for
connection to the public telephone network and
compatible switchboards.
This equipment complies with the essential
requirements for the Radio Equipment and
Telecommunications Terminal Equipment
Directive (1999/5/EC). For a copy of the
Declaration of Conformity please contact the
BT Freestyle Helpline on 0800 218 2182* or
* Calls made from within the UK mainland network are free.
Mobile and International call costs may vary.
General information
A full user guide can be downloaded in PDF format
from www.bt.com/help/userguides
Please consider the environment before printing.
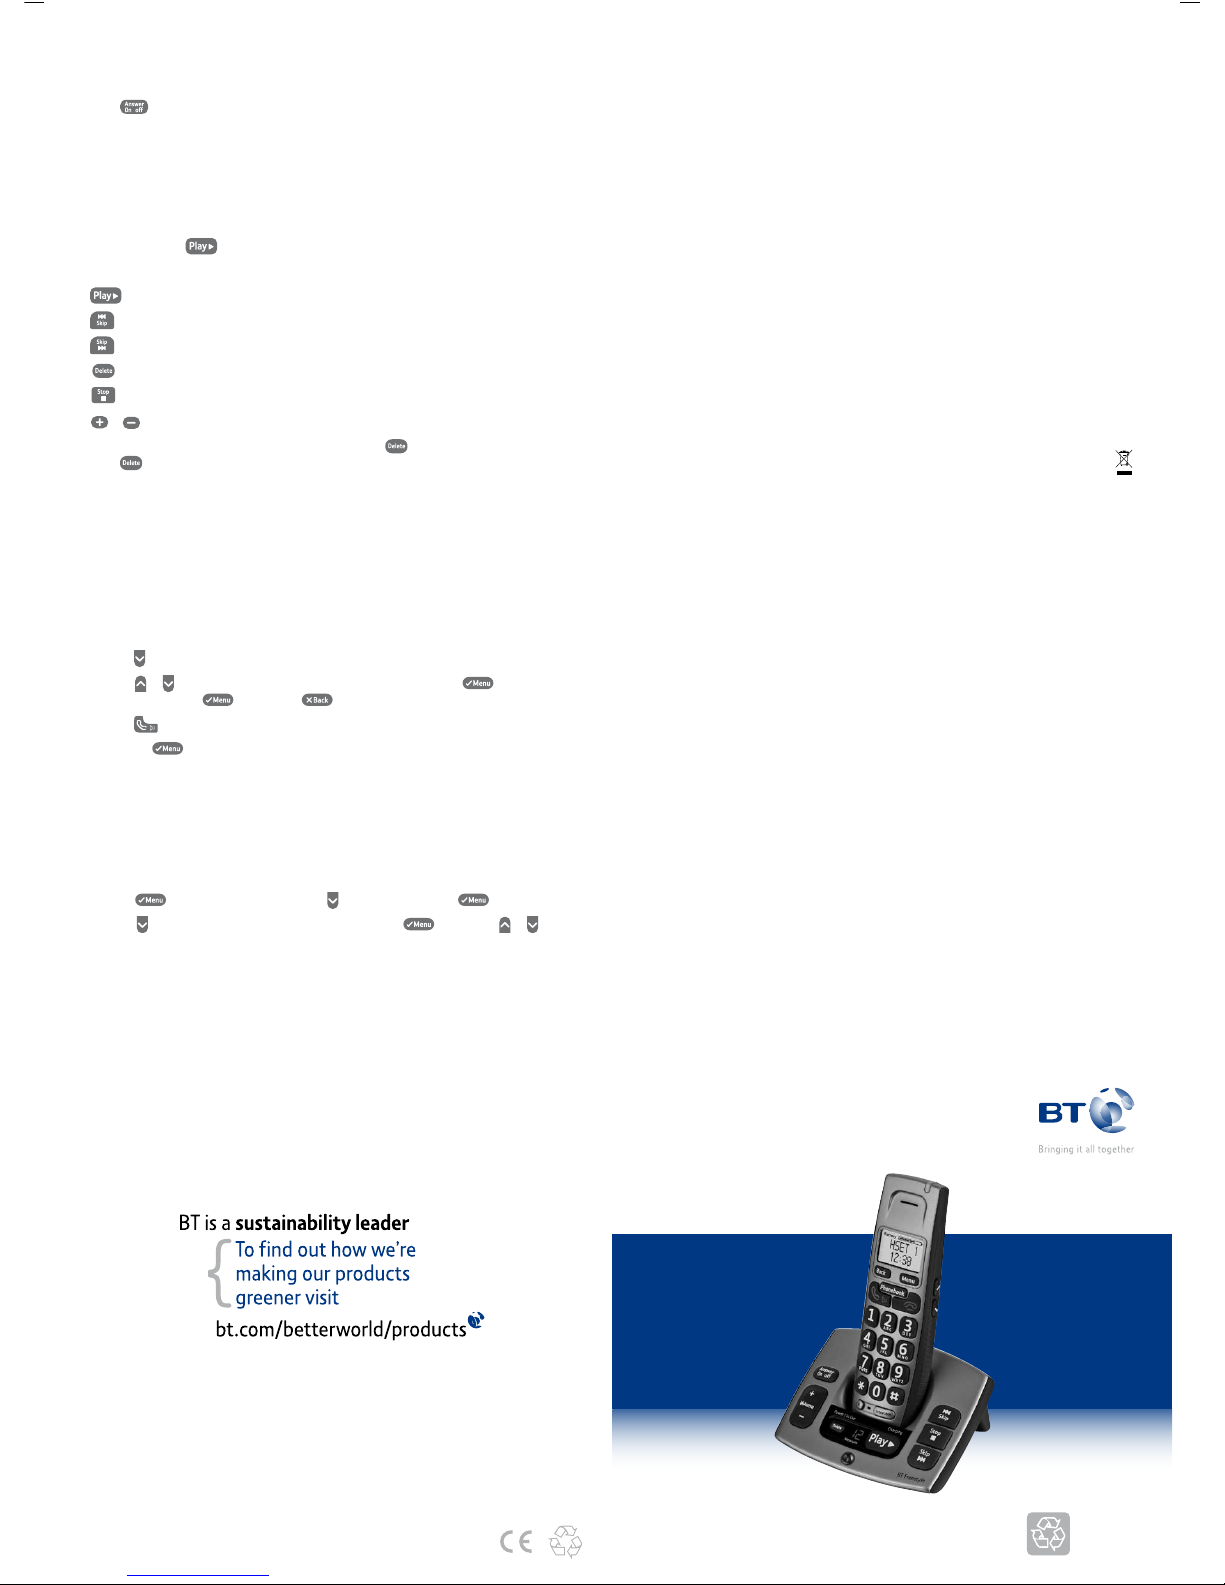
BTFreestyle750
Troubleshooting
Most problems are caused by something very simple and can be xed with a few simple checks:
• Make sure both the mains power adaptor cable and telephone line cord are plugged into
the correct sockets and plugged in at the wall.
• Make sure you use all the cables and batteries that came in the box, not those from a
previous product.
• If you experience poor speech quality or interference, make sure the product is not
located too close to other electrical appliances. This can also help improve the handset
range from the base.
• Make sure you charge the batteries for at least 20 hours before rst use to ensure
maximum battery performance. The charge capacity of the batteries will decrease
over time.
UsingyourBTFreestyle750onabroadbandInternetenabledline?
Remember to plug the phone into the wall socket via an ADSL microlter if you have
broadband Internet on your phone line, otherwise you may have problems with this
product and your broadband service. Additional BT ADSL microlters can be purchased
from www.shop.bt.com
This guide can
be recycled.