manuals.online logo
Brands
  1. Home
  2. •
  3. Brands
  4. •
  5. Bticino
  6. •
  7. Switch
  8. •
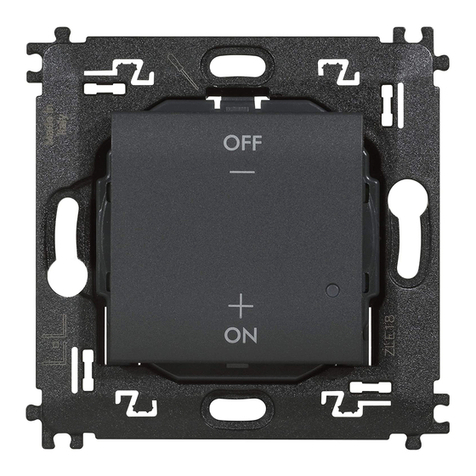
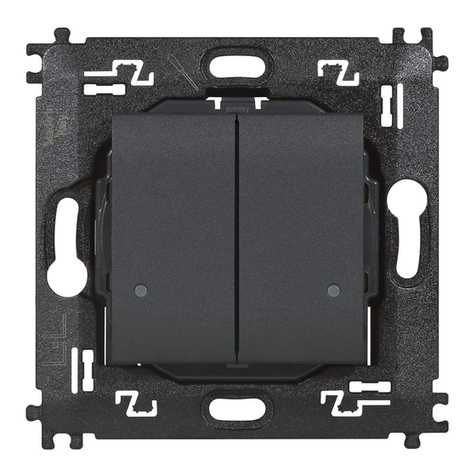
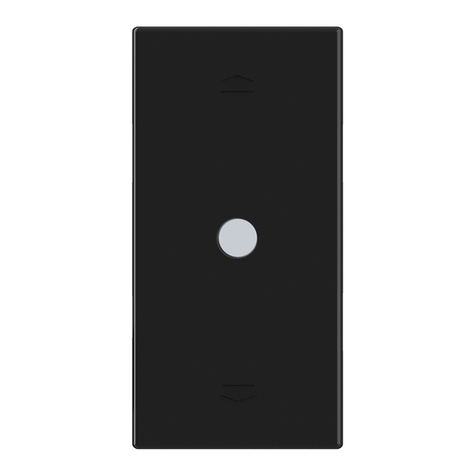
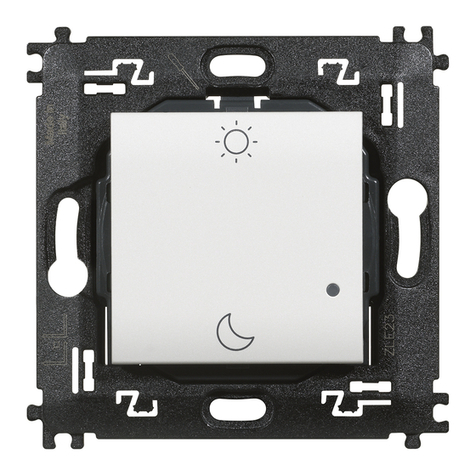
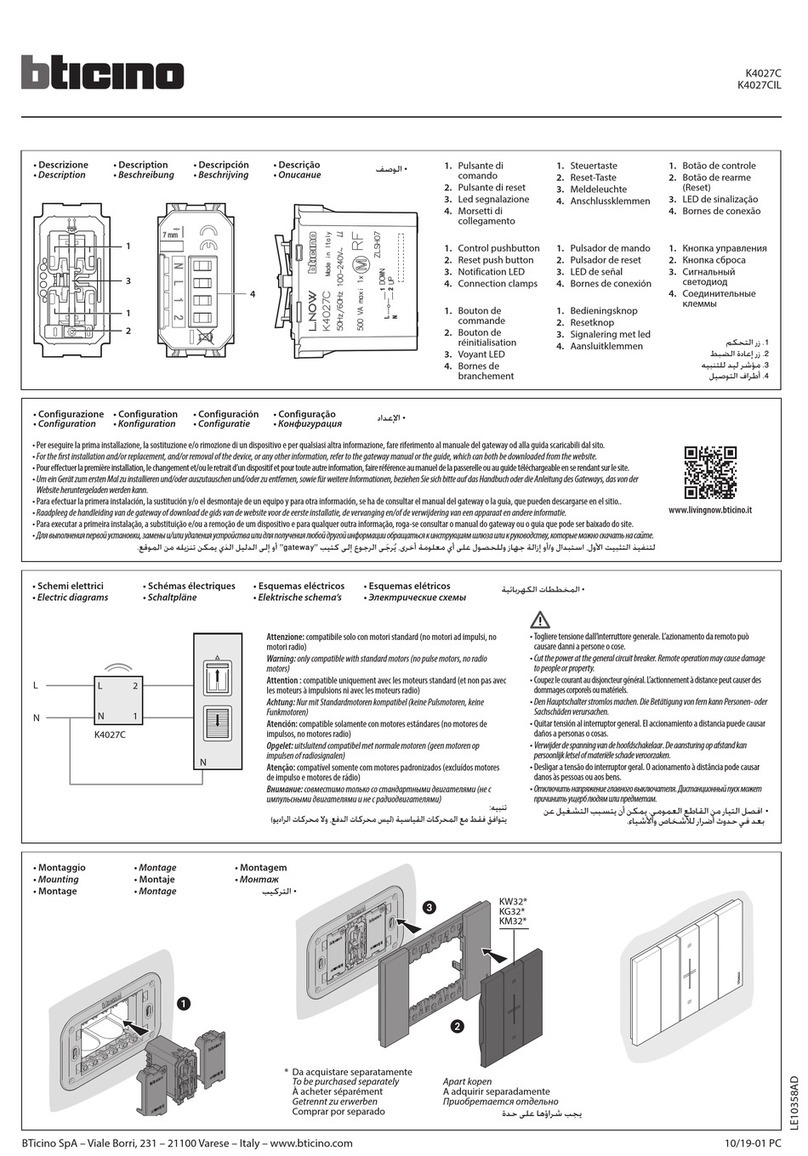
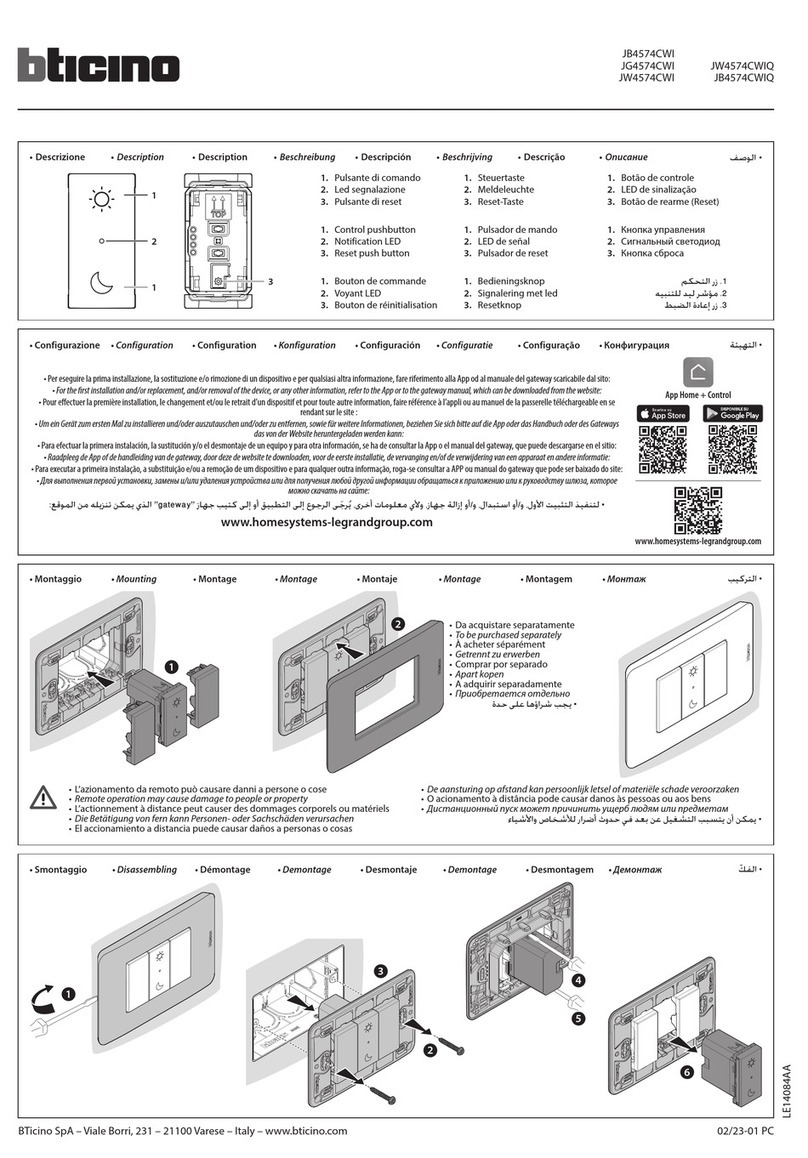
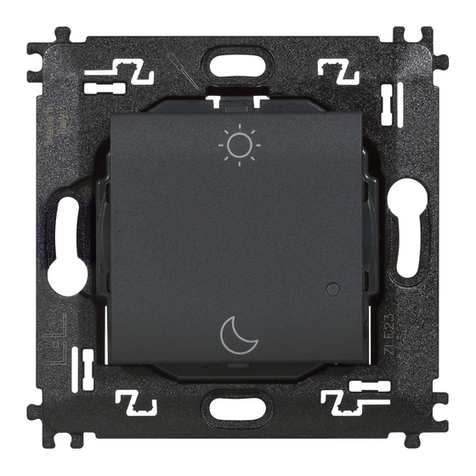
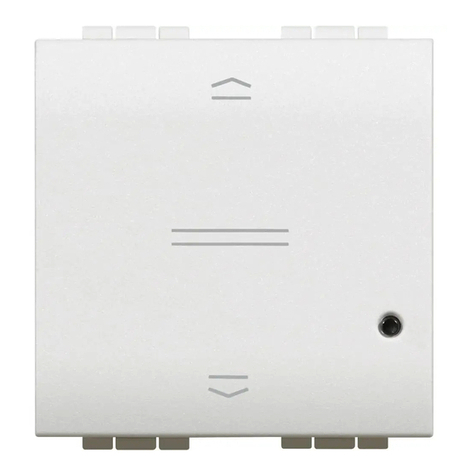
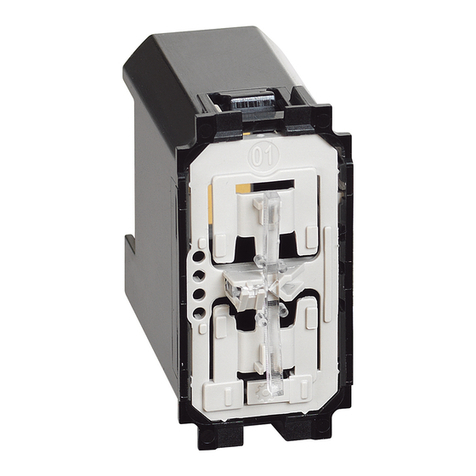
  9. Bticino JW4413CM2 User manual

Bticino JW4413CM2 User manual

JW4413CM2
JG4413CM2
JB4413CM2
06/23-01 PC
LE14093AB
BTicino SpA – Viale Borri, 231 – 21100 Varese – Italy – www.bticino.com
1
1
2
3
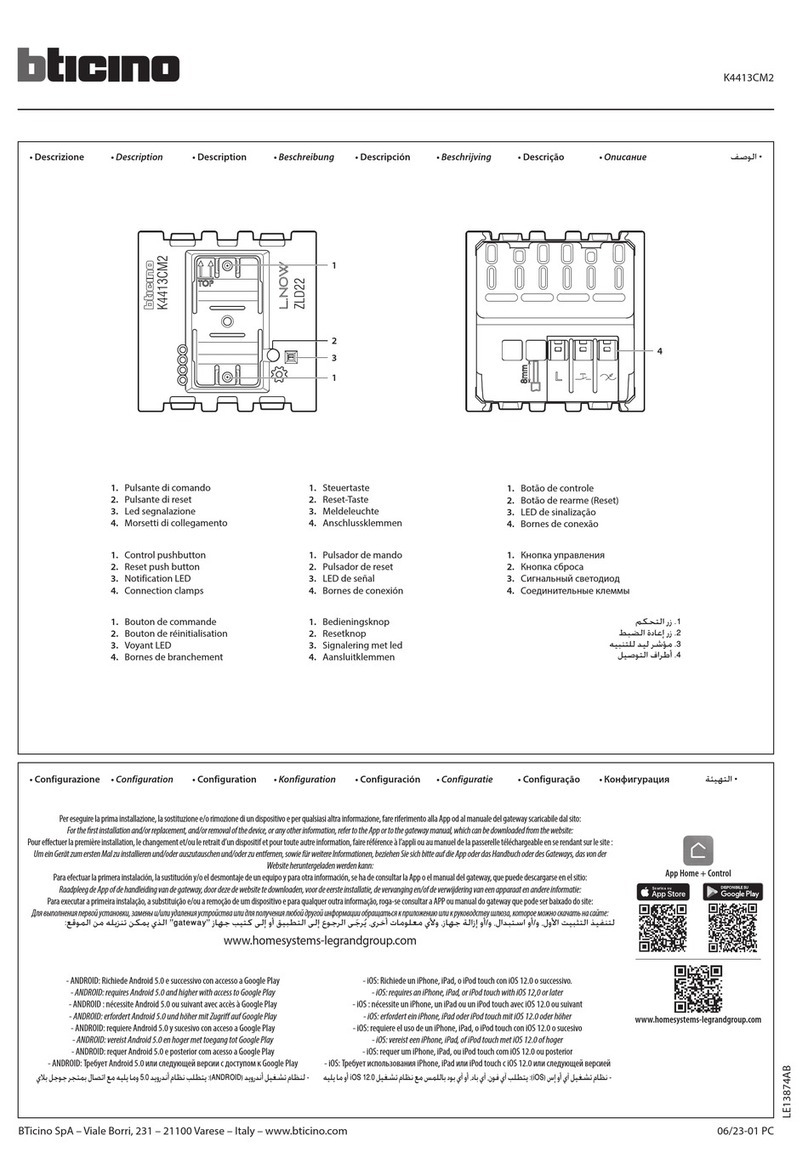
• Descrizione • Description • Description • Beschreibung • Descripción • Beschrijving • Descrição • Описание 
• Configurazione • Configuration • Configuration • Konfiguration • Configuración • Configuratie • Configuração • Конфигурация 
• Per eseguire la prima installazione, la sostituzione e/o rimozione di un dispositivo e per qualsiasi altra informazione, fare riferimento alla App od al manuale del gateway scaricabile dal sito:
• For the rst installation and/or replacement, and/or removal of the device, or any other information, refer to the App or to the gateway manual, which can be downloaded from the website:
• Pour eectuer la première installation, le changement et/ou le retrait d’un dispositif et pour toute autre information, faire référence à l’appli ou au manuel de la passerelle téléchargeable en se rendant sur le site :
• Um ein Gerät zum ersten Mal zu installieren und/oder auszutauschen und/oder zu entfernen, sowie für weitere Informationen, beziehen Sie sich bitte auf die App oder das Handbuch oder des Gateways, das von der
Website heruntergeladen werden kann:
• Para efectuar la primera instalación, la sustitución y/o el desmontaje de un equipo y para otra información, se ha de consultar la App o el manual del gateway, que puede descargarse en el sitio:
• Raadpleeg de App of de handleiding van de gateway, door deze de website te downloaden, voor de eerste installatie, de vervanging en/of de verwijdering van een apparaat en andere informatie:
• Para executar a primeira instalação, a substituição e/ou a remoção de um dispositivo e para qualquer outra informação, roga-se consultar a APP ou manual do gateway que pode ser baixado do site:
• Для выполнения первой установки, замены и/или удаления устройства или для получения любой другой информации обращаться к приложению или к руководству шлюза, которое можно скачать на сайте:
gateway
www.homesystems-legrandgroup.com
• ANDROID: Richiede Android 5.0 e successivo con accesso a Google Play
• ANDROID: requires Android 5.0 and higher with access to Google Play
• ANDROID : nécessite Android 5.0 ou suivant avec accès à Google Play
• ANDROID: erfordert Android 5.0 und höher mit Zugriff auf Google Play
• ANDROID: requiere Android 5.0 y sucesivo con acceso a Google Play
• ANDROID: vereist Android 5.0 en hoger met toegang tot Google Play
• ANDROID: requer Android 5.0 e posterior com acesso a Google Play
• ANDROID: Требует Android 5.0 или следующей версии с доступом к Google Play
5.0ANDROID
• iOS: Richiede un iPhone, iPad, o iPod touch con iOS 12.0 o successivo.
• iOS: requires an iPhone, iPad, or iPod touch with iOS 12,0 or later
• iOS : nécessite un iPhone, un iPad ou un iPod touch avec iOS 12.0 ou suivant
• iOS: erfordert ein iPhone, iPad oder iPod touch mit iOS 12.0 oder höher
• iOS: requiere el uso de un iPhone, iPad, o iPod touch con iOS 12.0 o sucesivo
• iOS: vereist een iPhone, iPad, of iPod touch met iOS 12.0 of hoger
• iOS: requer um iPhone, iPad, ou iPod touch com iOS 12.0 ou posterior
• iOS: Требует использования iPhone, iPad или iPod touch с iOS 12.0 или следующей версией
iOS
www.homesystems-legrandgroup.com
App Home + Control


3
 
 
 
1. Botão de controle
2. LED de sinalização
3. Bornes de conexão
= fase controlada
= entrada botão
= fase
1. Pulsante di comando
2. Led segnalazione
3. Morsetti di collegamento
= fase comandata
= ingresso pulsante
= fase
1. Control pushbutton
2. Notification LED
3. Connection clamps
= controlled phase
= pushbutton input
= phase
1. Bouton de commande
2. Voyant LED
3. Bornes de branchement:
= phase commandée
= entrée bouton
= phase
1. Steuertaste
2. Meldeleuchte
3. Anschlussklemmen
= gesteuerte Phase
= Eingang Taste
= Phase
1. Bedieningsknop
2. Signalering met led
3. Aansluitklemmen
= aangestuurde fase
= ingang knop
= fase
1. Кнопка управления
2. Сигнальный светодиод
3. Соединительные клеммы
= управляемая фаза
= ввод кнопки
= фаза
1. Pulsador de mando
2. LED de señal
3. Bornes de conexión
= fase accionada
= entrada pulsador
= fase
2
• Schema elettrico
• Electric diagram
• Schéma électrique
• Schaltplan
• Esquema eléctrico
• Elektrisch schema
• Esquema elétrico
• Электрическая схема

• Compensatore
• Compensator
• Compensateur
• Kompensator
• Compensador
• Compensator
• Compensador
• Компенсатор

0 401 49
JW4413CM2
JG4413CM2
JB4413CM2
• Schema base
• Basic diagram
• Schéma de base
• Grundschema
• Esquema de base
• Standaardscherma
• Esquema básico
• Базовая схема 
• Schema con i pulsanti di comando remoti
• Diagram with remote control pushbuttons
• Schéma avec les boutons de commande à distance
• Schema mit ferngeschalteten Steuertasten
• Esquema con los botones de accionamiento a distancia
• Schema met bedieningen op afstand
• Esquema com os botões de comando remotos
• Схема с кнопками дистанционного управления

• Compensatore
• Compensator
• Compensateur
• Kompensator
• Compensador
• Compensator
• Compensador
• Компенсатор

0 401 49
JW4413CM2
JG4413CM2
JB4413CM2
JW4005
JG4005
JB4005
• 50 m max.
• 50 m max.
• 50 m max.
• 50 m max.
• 50 m máx.
• 50 m max.
• 50 m máx.
• 50 м макс.
50

• L’azionamento da remoto può causare
danni a persone o cose.
• Remote operation may cause damage to
people or property.
• L’actionnement à distance peut causer
des dommages corporels ou matériels.
• Die Betätigung von fern kann Personen-
oder Sachschäden verursachen.
• El accionamiento a distancia puede
causar daños a personas o cosas.
• De aansturing op afstand kan
persoonlijk letsel of materiële schade
veroorzaken.
• O acionamento à distância pode causar
danos às pessoas ou aos bens.
• Дистанционный пуск может
причинить ущерб людям или
предметам. 


• Per il corretto funzionamento dell'interruttore collegato (con opzione dimmer), è obbligatorio cablare il
compensatore fornito, più vicino al carico, e mettere un carico (lampadina) al momento dell'accensione.
• For correct operation of the connected switch (with dimmer option), it is mandatory to wire the supplied compensator,
the closest to the load, and put a load (bulb) before switching on.
• Pour le bon fonctionnement de votre interrupteur (avec option variateur) connecté, il est obligatoire de câbler le
compensateur fourni au plus près de la charge et de mettre une charge (ampoule) lors de la mise sous tension.
• Für den ordnungsgemäßen Betrieb des angeschlossenen Schalters (mit Dimmeroption) ist es zwingend erforderlich,
den mitgelieferten Kompensator in der Nähe der Stromlast anzuschließen und eine Stromlast (Glühbirne) zur
Betätigung vorzusehen.
• Para el funcionamiento correcto del interruptor conectado (con opción dimmer), es obligatorio cablear el
compensador suministrado más cercado a la carga, y poner en carga (bombilla) durante el encendido.
• Voor een correcte werking van de aangesloten schakelaar (met dimmeroptie), moet de compensator zo dicht mogelijk
bij de lading worden aangesloten en moet bij de inschakeling een lading (lampje) worden geactiveerd.
• Para o funcionamento correto do interruptor conectado (com opção de dimmer), é obrigatório ligar o
compensador, presente no equipamento, mais próximo da carga e colocar uma carga (lâmpada) no momento da
ligação.
• Для правильной работы подсоединенного выключателя (с диммером) необходимо выполнить
электропроводку компенсатора, входящего в комплект поставки, ближе к нагрузке и установить
нагрузку (лампочку) при включении. 

• Togliere l’alimentazione prima di
ogni intervento sull’impianto.
• Switch the power supply OFF before
any work on the system.
• Couper l’alimentation avant toute
intervention sur l’installation.
• Die Stromversorgung abtrennen,
bevor an der Anlage gearbeitet wird.
• Corte la alimentación antes de
intervenir en el sistema.
• Verwijder de spanning alvorens
werkzaamheden aan de installatie
te verrichten.
• Tirar a alimentação elétrica antes
de qualquer intervenção sobre a
instalação.
• Отключить питание перед
выполнением каких-либо
операций с системой. 

• Proteggere con interruttore
magnetotermico da 10 A
• Protect with 10 A thermal magnetic
circuit breaker
• Protéger avec interrupteur
magnétothermique 10A
• Mit magnetothermischem Schalter
zu 10A schützen
• Proteger con interruptor
magnetotérmico 10 A
• Beschermen met een
magnetothermische schakelaar
van 10 A
• Proteger com interruptor
magnetotérmico de 10 A
• Обеспечить защиту
термомагнитным
выключателем 10 А



3
• Montaggio • Mounting • Montage • Montage • Montaje • Montage • Montagem • Монтаж 
• Smontaggio • Disassembling • Démontage • Demontage • Desmontaje • Demontage • Desmontagem • Демонтаж 
• Attenzione: la pressione involontaria breve del pulsante reset, avvia l’associazione dei dispositivi. Per teminarla, premere brevemente e contemporaneamente i due tasti del
comando radio Master (se presente) oppure premere brevemente il pulsante di reset del gateway.
• Warning: a short accidental pressure of the reset pushbutton, starts the device association. To end it, briefly press at the same time the two keys of the Master radio control (if present), or
briefly press the reset button of the gateway.
• Attention: une brève pression involontaire sur le bouton de reset active l’association des dispositifs. Pour l’arrêter, appuyer brièvement et simultanément sur les deux touches de
la commande radio Master (si présente) ou appuyer brièvement sur le bouton de reset de la passerelle.
• Achtung: Durch den kurzen versehentlichen Druck der Reset-Taste wird die Zuordnung der Geräte gestartet. Um sie zu beenden, drücken Sie kurz die beiden Tasten auf der Master-
Funksteuerung (falls vorhanden) oder drücken Sie kurz die Reset-Taste am Gateway.
• Atención: la presión involuntaria breve de la tecla de reset acciona la asociación de los dispositivos. Para acabarla, presione brevemente y, al mismo tiempo, las dos teclas del
mando radio Master (si presente) o brevemente la tecla de reset del gateway.
• Opgelet: het koppelen van de apparaten wordt gestart als de resetknop per ongeluk wordt ingedrukt. Druk de twee toetsen van de draadloze masterbediening (indien aanwezig)
tegelijkertijd kort in of druk kort op de resetknop van de gateway om het koppelen te onderbreken.
• Atenção: a pressão involuntária breve do botão Reset inicia a associação dos dispositivos. Para a terminar, carregar breve e simultaneamente nos nas duas teclas de do comando
rádio Master (se houver) ou brevemente no botão de reset do gateway.
• Внимание: случайное кратковременное нажатие на кнопку сброса запускает сопряжение устройств. Для его завершения следует кратковременно и одновременно
нажать на две кнопки главного устройства радиоуправления (при наличии) или кратковременно нажать на кнопку сброса шлюза.


• Reset alle impostazioni di fabbrica
• Reset to the factory settings
• Rétablissement des réglages par défaut
• Default-Einstellungen wieder herstellen
• Restablecer los ajustes de la fábrica
• Reset van de fabrieksinstellingen
• Resetar definições de fábrica
• Восстановление фабричных настроек

1
• Da acquistare separatamente
• To be purchased separately
• À acheter séparément
• Getrennt zu erwerben
• Comprar por separado
• Apart kopen
• A adquirir separadamente
• Приобретается отдельно

2
1
2
3
4
5
• Premere e mantenere premuto il pulsante reset fino a quando il
LED lampeggia rosso. A questo punto rilascia. Il reset è eseguito.
• Press and hold down the reset pushbutton until the LED flashes
red. Now release. The reset has been done.
• Appuyer sur le bouton de reset et le maintenir enfoncé jusqu’à
ce que le voyant se mette à clignoter sur le rouge. Ensuite
relâcher. Le reset est effectué.
• Drücken die Taste Reset und halten Sie sie gedrückt bis sie rot blinkt
. Dann die Taste loslassen. Reset durchgeführt.
• Presionar sin soltar el botón reset hasta que el led parpadee
en color rojo. Entonces soltar. El reset se ha efectuado.
• Houd de resetknop ingedrukt tot de led rood begint te knipperen
. Laat de knop nu los. De reset is verricht.
• Carregar e manter carregado o botão até o led piscar a
vermelho. Nesta altura soltar. O reset foi efetuado.
• Нажать и удерживать кнопку сброса до тех пор, пока она не
начнет мигать красным светом . После этого отпустить
кнопку. Сброс выполнен.
 

1
2
3
4
Il fabbricante, BTicino S.p.A., dichiara che il tipo di apparecchiatura radio Dimmer connesso 2m art. JW/JG/JB4413CM2 è conforme alla direttiva 2014/53/UE. Il testo completo della dichiarazione di conformità UE è disponibile al seguente
indirizzo Internet: www.bticino.it/red
Hereby, BTicino S.p.A., declares that the radio equipment type Connected dimmer 2m item JW/JG/JB4413CM2 is in compliance with Directive 2014/53/EU. The full text of the EU declaration of conformity is available at the following internet address:
www.bticino.it/red
• Caratteristiche tecniche
• Technical features
• Caractéristiques techniques
• Technische Daten
• Características técnicas
• Technische eigenschappen
• Características técnicas
• Технические характеристики

• - Il prodotto funziona in modalita interruttore o in modalita dimmer
- Viene consegnato in modalita interruttore
- In modalita dimmer, e necessario utilizzare lampade a LED dimmerabili
- Il passaggio alla modalita dimmer avviene tramite app
• - The product works in switch mode or in dimmer mode
- It is provided in switch mode
- In dimmer mode, it is necessary to use dimmer LED lamps
- Switching to dimmer mode is done through the App
• - Le produit fonctionne en mode interrupteur ou en mode dimmer
- Il est livre en mode interrupteur
- En mode dimmer il faut utiliser des lampes à LEDs dimmables
- Le basculement en mode dimmer se fait depuis l'Appli
• - Das Produkt funktioniert entweder im Modus Schalter oder im Modus Dimmer
- Das gelieferte Produkt ist werkseitig auf den Modus Schalter eingestellt
- Im Modus Dimmer sind regelbare LED-Lampen zu verwenden
- Das Umschalten auf den Dimmer-Modus erfolgt uber App
• - El producto funciona en la modalidad interruptor o en la modalidad dimmer
- Se entrega en la modalidad interruptor
- En la modalidad dimmer, se han de utilizar lámparas de LED con regulación de intensidad
- El paso a la modalidad dimmer se realiza mediante la app
• - Het product werkt als een schakelaar of als een dimmer
- Bij de levering werkt het als een schakelaar
- In de werking als dimmer moeten dimbare ledlampen worden gebruikt
- De overschakeling naar de werking als dimmer vindt met de app plaats
• - O produto funciona em modo interruptor ou em modo dimmer
- E fornecido em modo interruptor
- Em modo dimmer, e necessario utilizar lampadas de LED co dimmer (gradadores)
- A passagem ao modo dimmer ocorre atraves da app
• - Устройство может работать в режиме выключателя или в режиме диммера
- Устройство поставляется в режиме выключателя
- В режиме диммера необходимо использовать диммируемые светодиодные лампы
- Переход в режим диммера осуществляется через приложение




• Carichi Lampada incandescente o lampada alogena Lampada a LED DIMMERABILE (*), Trasformatori elettronici dimmerabili
240 VAC 5 – 125 W 5 – 125 VA
110 VAC 5 - 75 W 5 - 75 VA *
• Loads Filament lamp or halogen lamp DIMMER LED lamp (*), Dimmer electronic transformers
240 VAC 5 – 125 W 5 – 125 VA
110 VAC 5 - 75 W 5 - 75 VA *
• Charges Ampoule à incandescence ou lampe halogène Ampoule à LED AVEC VARIATEUR (*), Transformateurs électroniques avec variateur
240 VAC 5 – 125 W 5 – 125 VA
110 VAC 5 - 75 W 5 - 75 VA *
• Stromlasten Glühlampe oder Halogenlampe Dimmbare LED-Lampen (*), Dimmbare elektronische Transformatoren
240 VAC 5 – 125 W 5 – 125 VA
110 VAC 5 - 75 W 5 - 75 VA *
• Cargas Bombilla incandescente o bombilla halógena Lámpara LED REGULABLE (*), Transformadores electrónicos regulables
240 VCA 5 – 125 W 5 – 125 VA
110 VCA 5 - 75 W 5 - 75 VA *
• Ladingen Gloei- of halogeenlamp DIMBARE ledlamp (*). Dimbare elektronische transformatoren
240 VAC 5 – 125 W 5 – 125 VA
110 VAC 5 - 75 W 5 - 75 VA *
• Cargas Lâmpada incandescente ou lâmpada de halogênio Lâmpada de LED COM VARIADOR DIMMER (*), Transformadores eletrónicos com variador dimmer
240 VCA 5 – 125 W 5 – 125 VA
110 VCA 5 - 75 W 5 - 75 VA *
• Нагрузка Лампа накаливания или галогенная лампа Диммируемая светодиодная лампа (*), Диммируемые электронные трансформаторы
240 Пер. 5 – 125 Вт 5 – 125 ВА
110 Пер. 5 - 75 Вт 5 - 75 ВА *
  
55240
755755110
+ 45 °C
45+
+ 5 °C
5+
110 – 240 Vac ; 50/60 Hz
110 – 240 Vca ; 50/60 Hz
110 – 240 В Пер.т ; 50/60 Hz
6050
2x1,5 m² o 1x2,5 m²
2x1,5 m² or 1x2,5 m²
2x1,5 m² ou 1x2,5 m²
2x1,5 m² oder 1x2,5 m²
2x1,5 m² o 1x2,5 m²
2x1,5 m² of 1x2,5 m²
2x1,5 m² ou 1x2,5 m²
2x1,5 m² или 1x2,5 m²
××
*
• Oppure 10 lampade max. Per un buon comfort luminoso, si consiglia di utilizzare
delle lampadine dello stesso tipo e dello stesso produttore. Compatibilità con tutte le
lampadine in modalità ON/OFF.
• Or max 10 lamps. For good lighting comfort, we recommend the use of lamps of the same
type and from the same supplier. Compatibility with all lamps in ON/OFF mode.
• Ou 10 lampes maxi. Pour un bon confort lumineux, il est recommandé d'utiliser
des ampoules de même type et de même fabricant. Compatibilité avec toutes les
ampoules en mode ON/OFF.
• Oder 10 Lampen max. Für einen guten Lichtkomfort empfehlen wir die Verwendung von
Birnen des gleichen Typs und des gleichen Herstellers. Kompatibilität mit allen Birnen im
ON/OFF-Modus.
• O 10 lámparas máx. Para obtener un buen confort luminoso, se aconseja el uso de
bombillas del mismo tipo y del mismo fabricante. Compatibilidad con todas las
lámparas en el modo ON/OFF.
• Of 10 lampen max. Voor een comfortabele verlichting wordt geadviseerd om hetzelfde
type lampen van dezelfde fabrikant te gebruiken. Compatibiliteit met alle lampen in
modus ON/OFF.
• Ou 10 lâmpadas máx. Para um bom conforto luminoso, sugerimos usar lâmpadas
do mesmo tipo e do mesmo fabricante. Compatibilidade com todas as lâmpadas no
modo ON/OFF.
• Или макс. 10 ламп. Для обеспечения светового комфорта рекомендуется
использовать лампочки одного типа и одного производителя. Совместимость
со всеми лампами в режиме ВКЛ./ВЫКЛ.
 



This manual suits for next models

2

Other Bticino Switch manuals

Bticino K4411CM2 User manual

Bticino

Bticino K4411CM2 User manual

Bticino K4411C User manual

Bticino

Bticino K4411C User manual

Bticino 335828 User manual

Bticino

Bticino 335828 User manual

Bticino HA48 VNN Series User manual

Bticino

Bticino HA48 VNN Series User manual

Bticino RW4003DCW User manual

Bticino

Bticino RW4003DCW User manual

Bticino L4003CW User manual

Bticino

Bticino L4003CW User manual

Bticino Living L4531 User manual

Bticino

Bticino Living L4531 User manual

Bticino RW4411CM2 User manual

Bticino

Bticino RW4411CM2 User manual

Bticino Livinglight N4027CM2 User manual

Bticino

Bticino Livinglight N4027CM2 User manual

Bticino RW4003C User manual

Bticino

Bticino RW4003C User manual

Bticino RW4027C User manual

Bticino

Bticino RW4027C User manual

Bticino BTK4003CWI User manual

Bticino

Bticino BTK4003CWI User manual

Bticino RW4027CW User manual

Bticino

Bticino RW4027CW User manual

Bticino Classia W4411CM2 User manual

Bticino

Bticino Classia W4411CM2 User manual

Bticino RW4411C User manual

Bticino

Bticino RW4411C User manual

Bticino BTK4411C User manual

Bticino

Bticino BTK4411C User manual

Bticino K4027C User manual

Bticino

Bticino K4027C User manual

Bticino AM4510C User manual

Bticino

Bticino AM4510C User manual

Bticino 607 User manual

Bticino

Bticino 607 User manual

Bticino K4651M2KNX User manual

Bticino

Bticino K4651M2KNX User manual

Bticino M7TE/2 User manual

Bticino

Bticino M7TE/2 User manual

Bticino AM4531C User manual

Bticino

Bticino AM4531C User manual

Bticino JB4574CWI User manual

Bticino

Bticino JB4574CWI User manual

Bticino Classia RW4574CW User manual

Bticino

Bticino Classia RW4574CW User manual

Popular Switch manuals by other brands

Linksys SD208 - Small Business Unmanaged Switch Brochure & specs

Linksys

Linksys SD208 - Small Business Unmanaged Switch Brochure & specs

Brocade Communications Systems FastIron Administration guide

Brocade Communications Systems

Brocade Communications Systems FastIron Administration guide

ICS ELECTRONICS 9099 instruction manual

ICS ELECTRONICS

ICS ELECTRONICS 9099 instruction manual

ATEN VS481C user manual

ATEN

ATEN VS481C user manual

Ubiquiti ES-48-500W quick start guide

Ubiquiti

Ubiquiti ES-48-500W quick start guide

Logik L4HUBC11 quick start guide

Logik

Logik L4HUBC11 quick start guide

GTR Simulator GTM Motion Platform V2 installation manual

GTR Simulator

GTR Simulator GTM Motion Platform V2 installation manual

HP 445946-001 Application guide

HP

HP 445946-001 Application guide

Panasonic KX-T206 installation manual

Panasonic

Panasonic KX-T206 installation manual

TT electronics S19A01 quick start guide

TT electronics

TT electronics S19A01 quick start guide

LAPP ETHERLINE ACCESS U04TP01T Hardware installation manual

LAPP

LAPP ETHERLINE ACCESS U04TP01T Hardware installation manual

Genius GS4160R Service manual

Genius

Genius GS4160R Service manual

nvent SCHROFF Advantage Series instructions

nvent

nvent SCHROFF Advantage Series instructions

Panasonic CF-VEB Series operating instructions

Panasonic

Panasonic CF-VEB Series operating instructions

Leviton 1221-2KL installation instructions

Leviton

Leviton 1221-2KL installation instructions

Extreme Networks ExtremeSwitching ISW Series Quick installation guide

Extreme Networks

Extreme Networks ExtremeSwitching ISW Series Quick installation guide

EUCHNER CTP-L.-AS1 Unicode operating instructions

EUCHNER

EUCHNER CTP-L.-AS1 Unicode operating instructions

Reely RE-5631033 operating instructions

Reely

Reely RE-5631033 operating instructions

manuals.online logo
manuals.online logoBrands
  • About & Mission
  • Contact us
  • Privacy Policy
  • Terms and Conditions

Copyright 2025 Manuals.Online. All Rights Reserved.