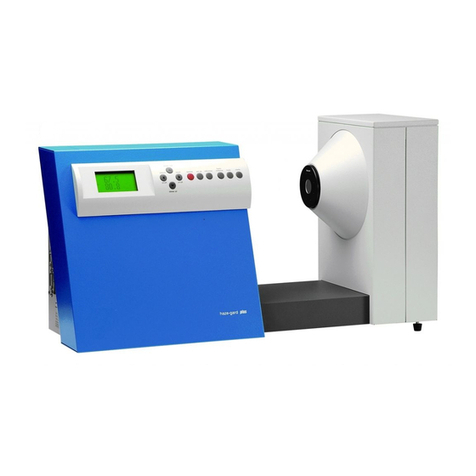
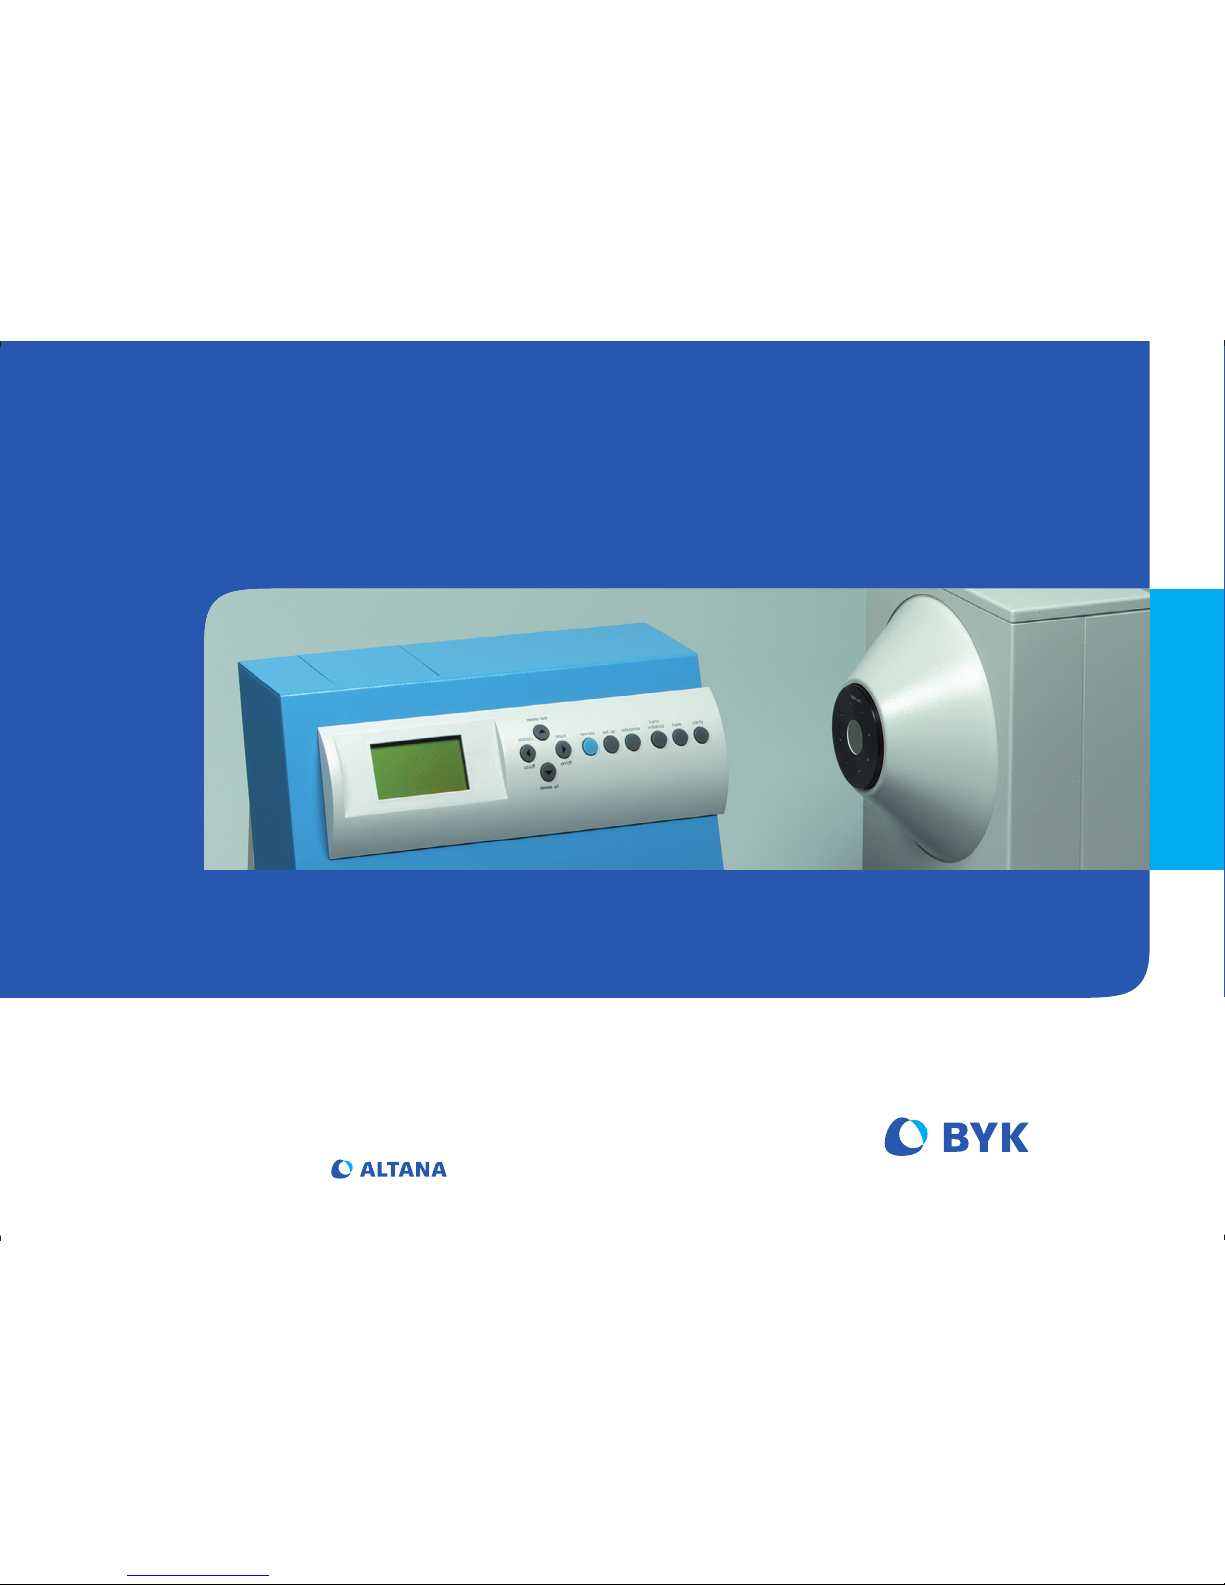
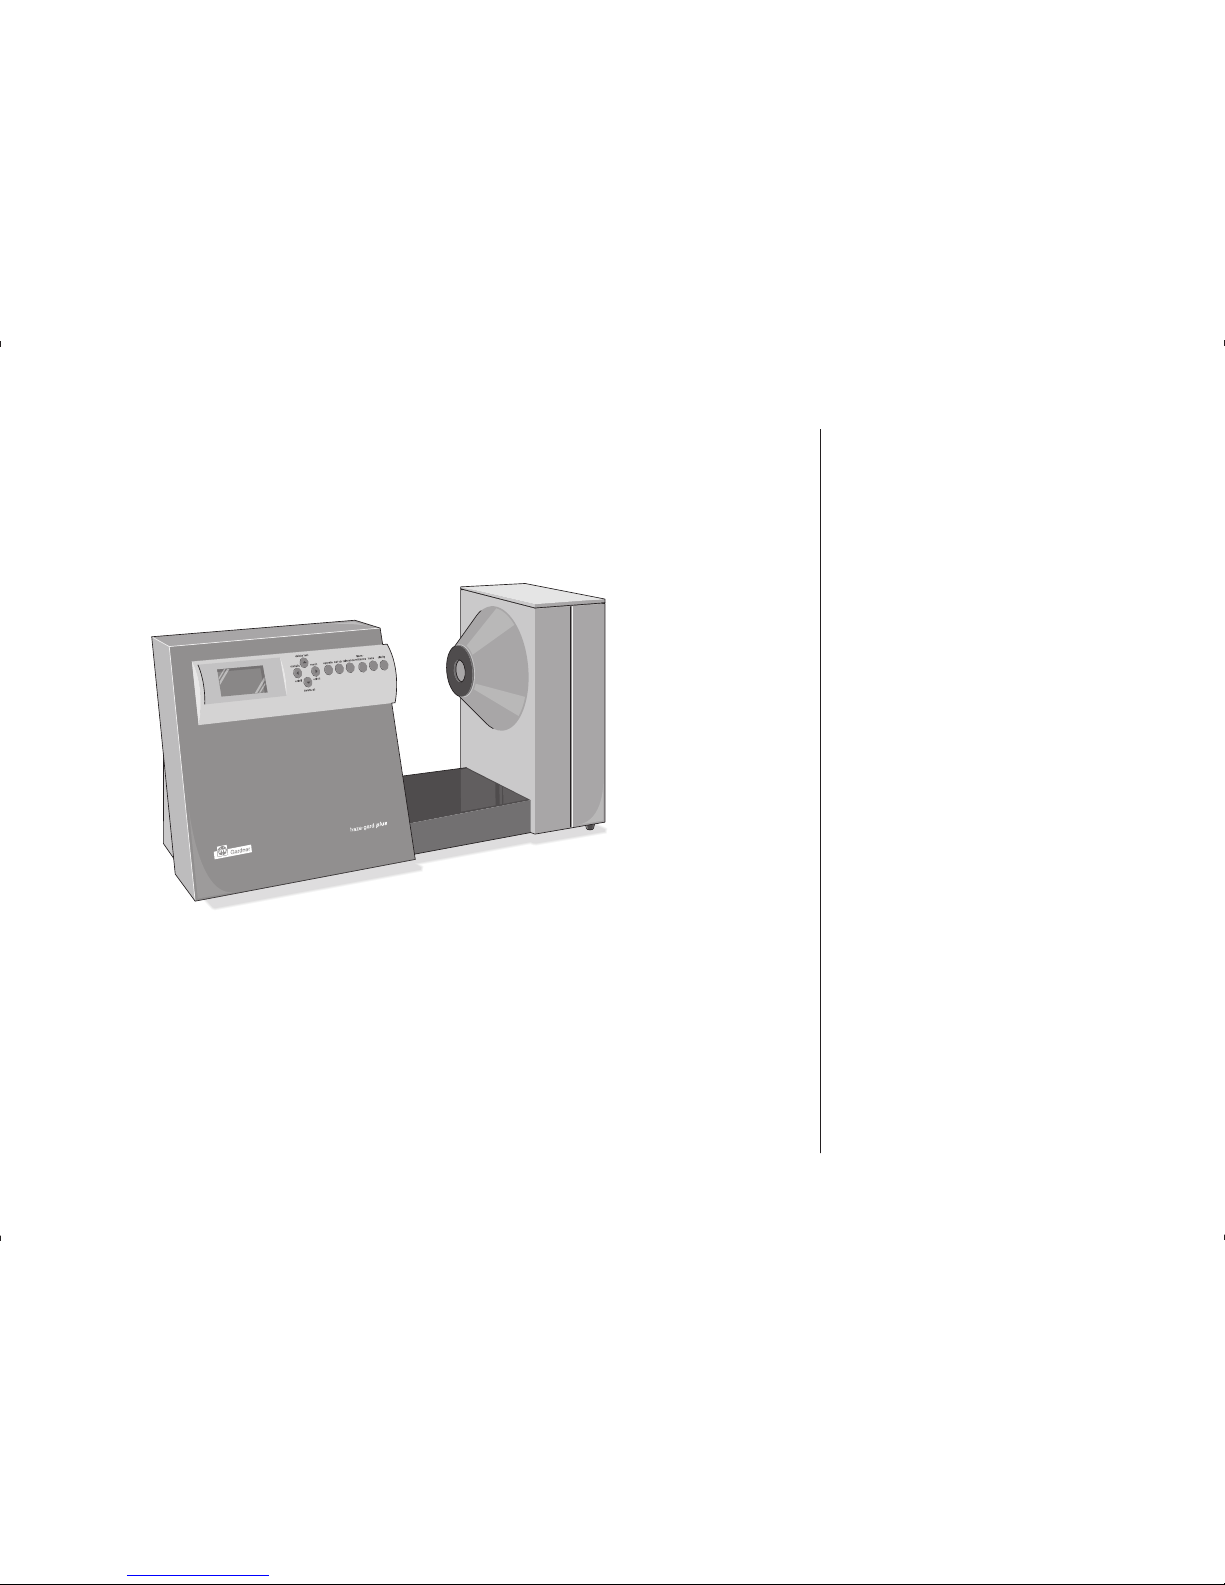
BYK haze-gard plus User manual

Additives & Instruments
A member of
Operating Instructions Betriebsanleitung
Mode d’emploi
Instruzioni d’uso
Measure what you see.
haze-gard plus

haze-gard plus
Cat. No. AT-4725
Cat. No. AT-4726
haze-gard plus
Best.-Nr. AT-4725
Best.-Nr. AT-4726
haze-gard plus
N° Ref. AT-4725
N° Ref. AT-4726
haze-gard plus
No di cat. AT-4725
No di cat. AT-4726
238 013 796 EDFI 0805


haze-gard plus
Cat.No. AT-4725 and AT-4726
Table of Contents
1. Safety Information
2. System Description
3. Startup
4. Operation
5. Calibration
5.1 Additional Standards for
Monitoring Test Equipment
5.2 Cleaning the Standards
5.3 Changing Calibration Values
5.4 Calibration with Taber Abrasion
Holder
6. SET-UP Menu:
Setting Instrument Parameters
7. Measurement Series and
Statistics
8. Continuous Mode
9. Parameters
10. Changing Lamps and Fuses
11. Interface Description
12. Technical Data
13. Ordering Guide
14. Error Message
Technical Data are Subject to Alterations.

Foot Switch
Haze Port
Clarity Port
Control PanelLCD-Display
s-AIN3WITCH
s6OLTAGE3ELECTOR
s&USE
Connection for
s0OWER#ABLE
s&OOT3WITCH
s0#
s0RINTER
(RS-232)

1. Safety Information No claims of product liability
or warrantee can be honored
if the device is not operated in
accordance with the operating
instructions or the instructions
on the instrument.
If you use the unit and acces-
sories properly, there are no
hazards to fear - none of a
mechanical nature and none
caused by electrical shock.
The following paragraphs con-
tain information about the safe
use of the device.
Please use only accessories
that are available for the unit.
See "Delivery Notes" and the
"Technical Data" for further
information.
Avoid exposure to continuous
humidity and condensation
(see Technical Data). Avoid
splashing with water, chemi-
cals or other liquids.
Do not perform any repairs on
the unit, neither mechanical
nor electrical. Please con-
sult our Technical Customer
Service.
Only devices that meet the
requirements for low - voltage
safety may be connected to
the RS 232 interface.
The power supply unit can be
disconnect from the power
supply by disconnecting the
power connection line plug
from the socket. Make certain
that the power supply unit plug
is easily accessible. Use only
the power supply connection
line included with delivery.
Before placing the instrument
into operation please check, if
the line voltage set on the po-
wer entry module corresponds
to the power supply system in
your facility.
Defects and extraordinary
loads
If safe operation can no lon-
ger be presumed, shut down
the device and secure it
against unintended operation.
The device must be presu-
med unsafe to operate:
sIFVISIBLEDAMAGEISEVIDENT
sIFTHEINSTRUMENTISNO
longer working
sIFITHASBEENSTOREDFOR
long periods under adverse
conditions
sAFTERHARSHTREATMENT
during shipping
The instrument shall be con-
nected only to power outlets
with faultless ground wire. If
the connection to the ground
wire is insufficient, the housing
of the instrument may in cases
of error assume voltage poten-
tials which at contact repre-
sent a risk of electric shock.
In case of doubt please have
the proper construction of the
ground wire inspected by a
specialist.
s4HISSYMBOLMEANS$ONOT
dispose of this product
together with your household
waste. Please refer to the
information of your local
community or contact our
dealers regarding the proper
handling of end-of life electric
and electronic equipment.
Recycling of this product will
help to conserve natural
resources and prevent
potential negative
consequences for the
environment and human
health caused by
inappropriate waste handling

Please read the instruction
manual before placing the ins-
trument in service and observe
the safety instructions.
haze-gard plus is a stationary
instrument designed to measure the
appearance of glass and of films,
packaging and parts made of plastic
and other transparent materials.
The specimen surface is illuminated
perpendicularly, and the transmitted
light is measured photoelectrically,
using an integrating sphere (0°/diffuse
geometry). The spectral sensitivity
conforms to CIE standard spectral
value function y, under standard light
C resp. A.
Three parameters:
s TOTALTRANSMITTANCE
s HAZE
s CLARITY
permit visual appearance to be in
characterized fully and objectively.
haze-gard plus sets new standards
transparency measurement instru-
ments. Aside from its speed and ease
of operation, it also offers the follo-
wing features:
s /PENSPECIMENAREAFORSMALLAND
large products
s !UTOMATICCALIBRATIONANDMENU
driven operation
s (IGHACCURACYANDRELIABILITYTHANKS
to reference-beam optics
s ,ONGTERMCALIBRATIONANDSELF
diagnosis
s #LOSEDOPTICSANDELECTRONICS
s 2EADYTOOPERATEIMMEDIATELYNO
lengthy warm-up needed
s &OOTSWITCH
s )NTERNALSTATISTICSFUNCTIONS
s -EMORYTOSTOREREADINGS0#
interface, printer outlet
haze-gard plus conforms to the
standards ASTM D-1003 and
ASTM D-1044.
2. System Description

3. Startup IMPORTANT NOTES!
Please read before you operate the
instrument:
The unit has no special environmental
requirements. However, it is important
to observe the usual operating condi-
tions for electronic instruments.
Avoid:
s %XCESSIVEOSCILLATIONSANDVIBRA-
tions.
s %XTREMEAMBIENTTEMPERATURESOR
rapid temperature changes.
s 2ELATIVEHUMIDITYOVER
Avoid splashing with water or other
liquids.
s #AUSTICANDEXPLOSIVECHEMICALS
vapors and gases.
s %XTREMEELECTROMAGNETIClELDS
s )NTRUSIONOFFOREIGNOBJECTSOREXT-
raneous matter through measuring
apertures.
The instrument chassis is resistant to
a number of solvents, but cannot be
guaranteed to withstand all
chemicals. Use only a soft, damp
cloth for cleaning. A little rubbing al-
cohol or mild soapsuds may be used
to remove stubborn dirt.
Clean the front lens of the clarity port
only with a soft, lint-free cloth (pre-
ferably a damp optical wipe).
NEVER clean the interior of the
detector sphere (haze port)!
If the instrument malfunctions, do not
attempt to repair it yourself. Our Cu-
stomer Service will be glad to provide
you with fast assistance.

CAT.-NR.
S.-NR.
4725
427542
110/220 V50/60 HZ 200VA
BYK-Gardner GmbH
82538Geretsried
Germany
BYK-Gardner USA
Silver Spring
MD-20910
USE ONLY WITH 250 V
FUSES / EMPLOYER
UNIQUEMENT AVEC
DES FUIBLESWITH 250 V
110-120 V
220-240 V
!
T 1,6A 250V (115V)
T 1,0A 250V (230V)
RS-232
foot-
switch
MADE IN GERMANY
Setting Up Always switch off the unit before
plugging in or unplugging the
various connectors (foot switch,
printer cable and power cord).
Make sure the voltage setting is
correct. Otherwise the instrument
will not operate properly or
safely.
s 5NPACKTHEUNITANDCHECKFOR
possible damage sustained during
shipment (visual inspection).
s "EFORESTARTINGTHEUNITFORTHE
first time, make sure all compo-
nents have been delivered (for the
package contents see Chapter 13,
Ordering Guide).
s #HECKTHEVOLTAGESELECTORON
the instrument, and if necessary
change it to the right setting as
follows: Use an appropriate tool
(No. 2 screwdriver) to remove the
fuse insert below the power-cord
receptacle, and plug the insert
back in so that the mark on the
power-switch housing coincides
with the required voltage range.
s -AKESURETHEUNITISSTILLSWITCHED
off. Plug the enclosed power cord
into the unit and into a grounded
power outlet.
s )FAPPLICABLEPLUGTHEFOOTSWITCH
and the printer or PC connection
cable into the appropriate recepta-
cles.

Power-Up
Before switching the unit on,
remove the protective cover/dark
standard from the haze port. Turn on
the unit at the power switch on the left
side.
The logo, version number and a
copyright message will appear on the
display.
The unit will run a self-diagnostic test.
If any system components are outside
the tolerance range, an error message
will appear.
Version: 1.0
Copyright 1994
SELF DIAGNOSTIC
Lamp: ok
Chopper: ok
Shutter: ok

STATUS
Transmission Std.
100.0%
Clarity Standard
75.5%
STATUS
Lamp Status
100%
Sphere Coating
100%
Time: 7.54 am
Date: 14.06.1994
STATISTIC-MEMORY
T: n= 4
H: n= 5
C: n= 0
STATISTIC-MEMORY
T+H: n= 10
T+C: n= 0
H+C: n= 0
T+H+C: n= 5
The stored calibration values will
appear on the display.
The time and date needed for
printouts can be updated with SET-
UP. If the lamp status is below
CHANGETHELAMP#HAPTER
10). If the sphere coating has drop-
PEDBELOWWESUGGESTYOU
contact Customer Service to arrange
for testing.
Number of readings stored in the
unit.

WARM-UP
Only about 2 minutes are needed for
warm-up.
As soon as the instrument has
completed the self-diagnosis and
status displays, it immediately goes
into the mode that was active at
the last shutdown. It is now ready
for operation. Before you can take
measurements after starting the
instrument for the first time, it must
be calibrated (see Chapter 5).

4. Operation
Select the parameter you want to
measure.
By pressing one of the three
buttons you can either switch bet-
ween parameters (in Continuous
Mode), or add a parameter to those
you have already chosen. Pressing
the button a second time displays this
parameter by itself.
Set the specimen at the appropriate
port.
Haze port (right side): For
transmittance and haze.
Clarity port (left side): For clarity.
Check for possible surface defects
such as scratches or fingerprints.
The specimen must lie flat during
measurements.
Start the measurement by pressing
the <operate> button or the foot
switch.

delete all
delete last
statistic result
on/off on/off
operate set up reference
trans-
mittance haze clarity
delete all
delete last
statistic result
on/off on/off
H
14.7
A message on the display will tell you
if it is necessary to change measure-
ment ports (when multiple parame-
ters have been selected). Move the
specimen to the appropriate port and
start the measurement by pressing
the <operate> button or foot switch.
The readings will appear on the
display.
Control panel:
Cursor keys:
Used in SET-UP mode to select
individual menu items and set
values such as time (Chapter 6). In
any measuring mode, these keys are
used to switch statistics
functions on and off, and to delete
values from the statistics memory
(Chapter 7).

operate
set up
reference
In the measuring modes, starts
measurements.
In SET-UP mode, confirms the selec-
ted function.
Calls up the SET-UP menu
(Chapter 6).
Used in Continuous Mode to
determine the reference value for total
transmittance (Chapter 8).

State-of-the-art technology and the
reference-beam principle mean that
calibration is needed only infrequently.
We recommend a calibration interval
of two months.
Calibration is also necessary:
s ATTHElRSTSTARTUP
s INTHEEVENTOFADRASTICCHANGEIN
ambient temperature (for example,
after moving the unit to a new site)
s IF0LEASE2ECALIBRATEAPPEARS
on the display (for example, after
stored calibration values have been
modified).
To ensure accurate calibration, use
only original standards from
BYK-Gardner.
Do not touch the reference surface.
Protect it against scratching.
Even with careful treatment, ambient
conditions may alter a standard’s va-
lues over time. For that reason, have
Customer Service check your stan-
dards regularly (once a year) against
primary standards.
Make sure the values displayed du-
ring calibration match the data for the
standards you use, in order to avoid
mixing up or accidentally changing
the calibration values (see Section
5.3).
To calibrate:
CAUTION: Make sure the
calibration standards are clean
and free from scratches!
5. Calibration

delete all
reference
set up
SET UP MENUE
Calibrate
Print Statistic
Print Online: off
Cont. Mode: on
Language: USA
Escape: SET UP
Calibration
Zero Calibration
Please cover
haze-port
Ready: OPERATE
Escape: SET UP
Calibration
100% Calibration
Please remove cover
from haze-port
Ready: OPERATE
Calibration
Place Transm.stand.
86.3
at haze-port
Ready: OPERATE
Escape: SET UP
Call up the
SET-UP menu
Call up the
calibration
routine
Cover the haze port with the
protective cover/dark standard, and
press the <operate> button to start
the measurement.
The bright measurement follows
after the dark measurement. The
bright measurement is referred to the
amount of light beamed in by
THEILLUMINATIONUNIT

operate operate
Calibration
Place clarity stand.
75.5
at clarity-port
Ready: OPERATE
Escape: SET UP
If you have selected a transmittance
OTHERTHANIN3%450SEE
Section 5.3 and Chapter 9), put the
appropriate standard in the haze
port.
)FYOUHAVESELECTEDFORTHE
transmittance standard, you only
need to clear the instrument’s beam
path.
Start the bright
measurement
Now perform calibration for clarity.
Place the clarity standard at the clari-
ty port (left side).
If the calibration procedure is
cancelled with SET-UP, the last
calibration in effect remains valid.
This concludes calibration. The
instrument goes to the measuring
mode that was active before the
calibration.
Start calibration
Note: If fluctuating or obviously
wrong values are displayed after
calibration, repeat the calibration.
This symptom means the haze port
was either improperly covered (for
the dark measurement) or partially
still covered (for the bright
measurement) during the
measurements.

5.1 Additional Standards for
Monitoring Test Equipment
To check proper operation of the in-
strument, measurements with special
test standards should be performed
at regular intervals (about once every
three months). The appropriate test
standards are listed in the Ordering
Guide.
The displayed readings should fall
within the specified values for the
standard. If they do not, check that
the standard was clean and that the
device was properly calibrated. If
cleaning the standard and recalibra-
tion do not correct the error, please
contact Customer Service.
5.2 Cleaning the Standards
Calibration with a dirty or damaged
standard may severely affect the
accuracy of measurements.
Standard surfaces are very delicate.
Be very careful when cleaning them.
Use a fresh, soft cloth, and wash
the standards in running or standing
cold water. Do not apply a
scrubbing action or heavy pressure.
Make sure no large particles that
might damage the surface adhere to
the cloth.
Do not use aggressive cleaners
like solvents, rubbing alcohol,
trichloroethylene, benzine, or strong
alcohols, acids or lyes. Most chemical
cleaners or polishes will cause
damage.
To remove stubborn dirt, add a little
household dish detergent to the
water. Rinse with distilled water.
Dry with compressed air and blow
off any dust or lint.
Never rub the standard dry!
The rubbing action may cause
scratches from surface dust.
Precise calibration is possible only
with flawless standards. If visual
appearance or measurement errors
suggest that a standard is compro-
mised, we’ll be glad to check it.
Other manuals for haze-gard plus
1
This manual suits for next models
2
Table of contents
Languages:
Other BYK Measuring Instrument manuals

BYK
BYK micro-TRI-color 345 000 015 Series User manual

BYK
BYK multi-angle User manual

BYK
BYK CAP 1000+ User manual

BYK
BYK LC 3 User manual

BYK
BYK spectro2profiler Manual

BYK
BYK micro-TRI-gloss ? User manual

BYK
BYK micro-TRI-gloss ? User manual

BYK
BYK LC 4 User manual

BYK
BYK LCM III User manual

BYK
BYK micro-gloss Installation manual