manuals.online logo
Brands
  1. Home
  2. •
  3. Brands
  4. •
  5. Byron
  6. •
  7. Accessories
  8. •
  9. Byron SX-208 User manual

Byron SX-208 User manual

C
LR14
C
LR14
100m
100m
Operating
Dis tanc e
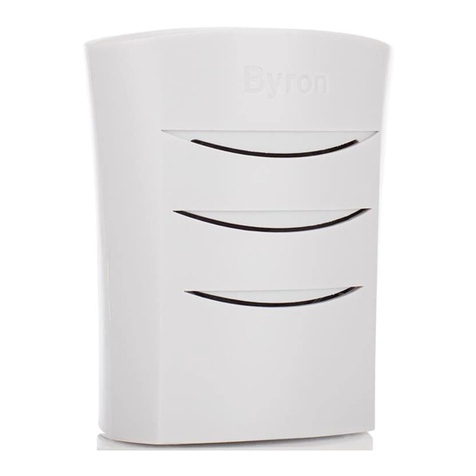
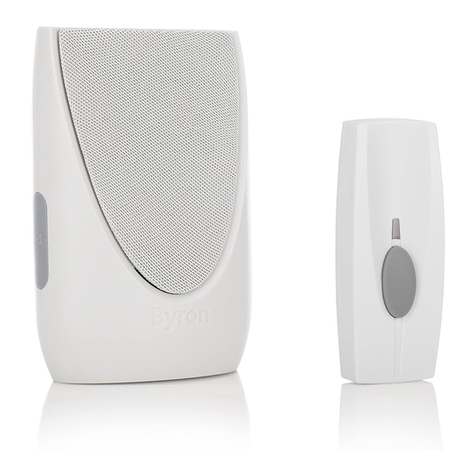
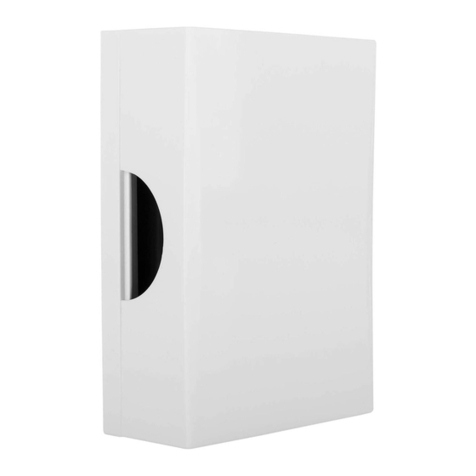
Door C hime Unit
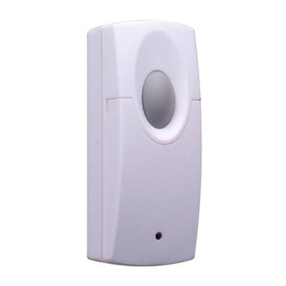
P us h
B utton Unit
Insert 1 x 23A volt battery
(Byron SD100) in the battery
compartment, ensuring the
battery polarity matches the
internal markings.
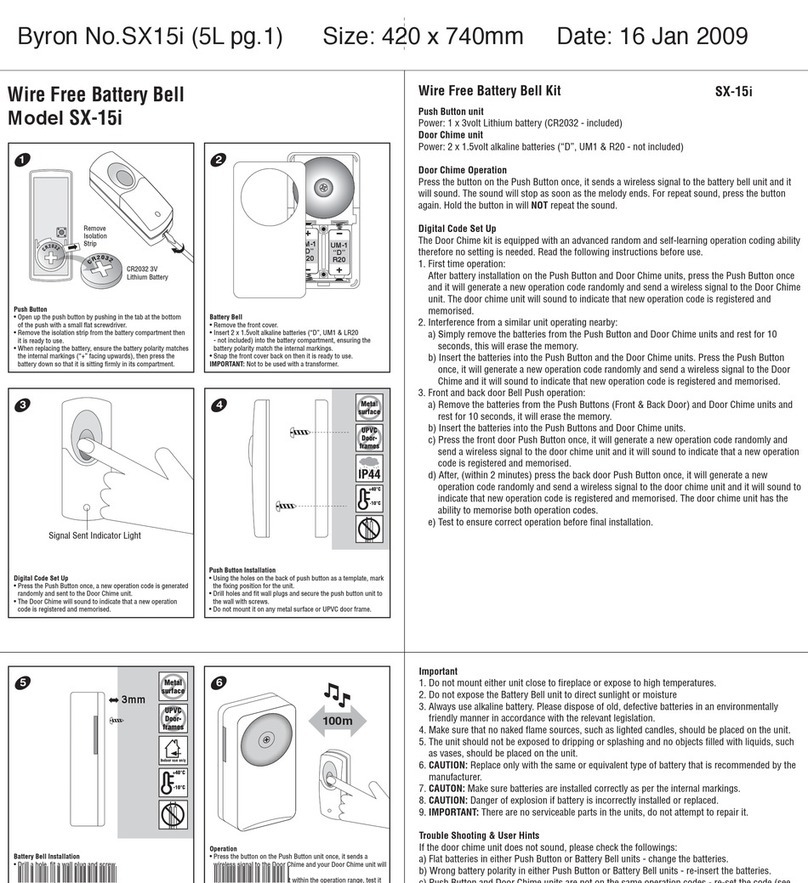
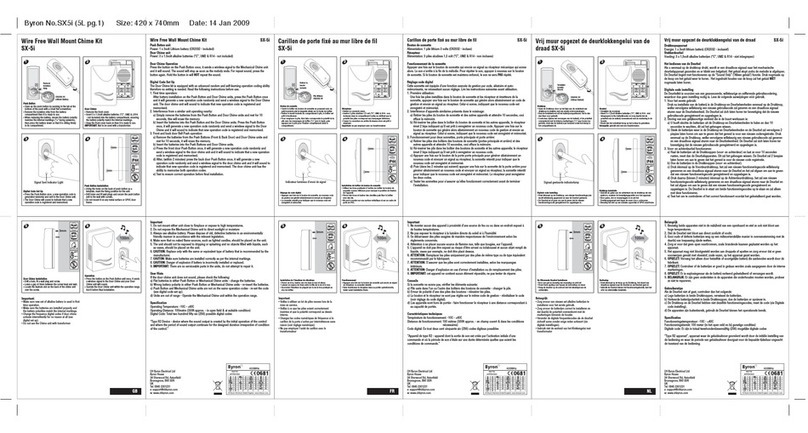
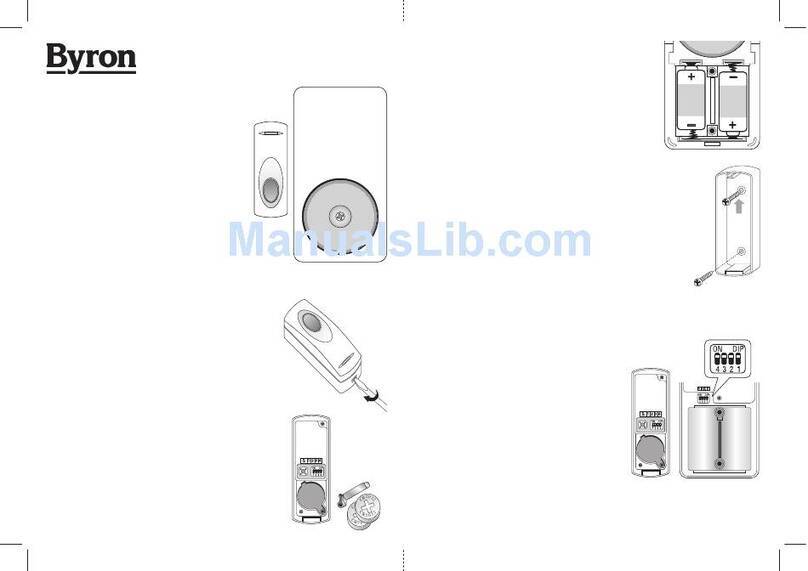
To reveal the battery compartment, Gently lift the lid up and away from the base. Insert 4 x 1.5 volt
alkaline batteries (“C”, LR14 - not included) into the battery compartment, ensuring the battery polarity
matches the internal markings. To replace the cover locate the hole in the lid onto the base. The chime
unit is now ready to use.
To fix your chime to the wall you will find holes in the middle of the base at the top and bottom. First mark
the point of the top hole.
Using the provided screws and wall-plugs, screw the chime to the wall so that the bottom of the chime
swings left and right. You can now align the chime in order that it hangs straight. Mark the bottom hole,
remove the chime from the wall in order that you can prepare the wall for the bottom screw. Now you are
ready to screw your chime to the wall
No wiring is required for this Wire Free Door Chime Kit. When the Push Button is pressed, it sends a wire
free signal to the door chime unit that activates the chime. As the operating range is upto 50 metres
(160 ft. approx. - in open field), you can mount or take the door chime virtually anywhere in the home.
However, the transmission range of the wire free signal will be reduced if the signal is transmitted
through a number of walls or ceilings. Metal, and UPVC doorframes will also reduce the operating range.
Wire FreeTraditional Chime Kit
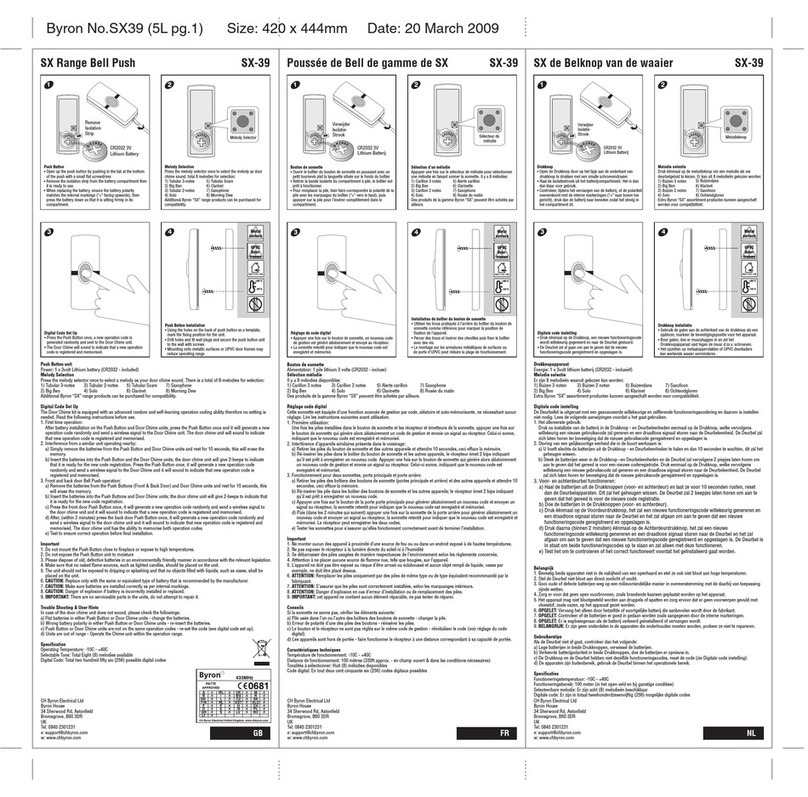
Push Button Unit
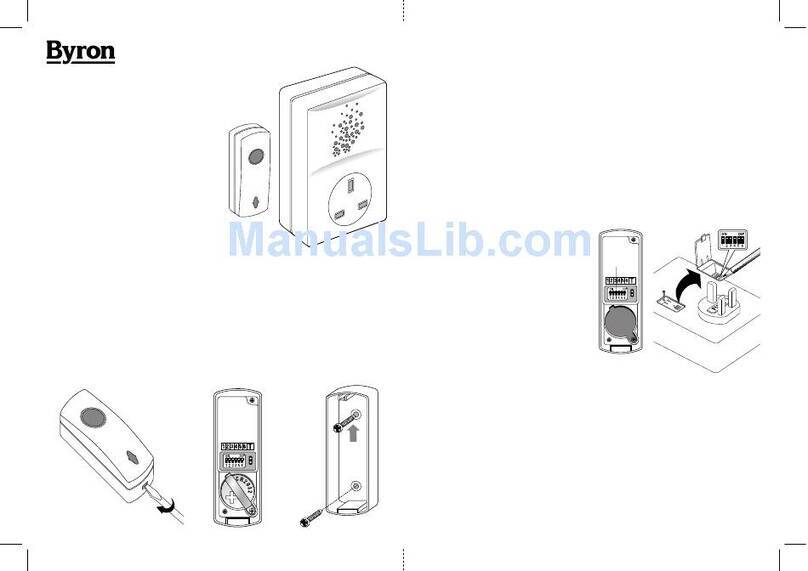
Remove the back of the case by
pushing in the tab on the bottom
with a small, flat screw driver.
Using the two holes on the back
of Push Button as a template,
mark the fixing position for the
unit. Drill holes and fit wall plugs
and secure the Push Button unit
with screws (self tapping N3 x
16mm screw).
Door Chime Unit
R&T T E
approved
W ire F ree B atteries
R equired
B atteries
Included
Operating
Distance
Loudnes s
Open Field
To inset your 1 x 12 volt 23A Lithium batteries (Byron SD-100) .
To Replace
The Batteries
80db
P us h
B utton
Model No. S X-208
This
way
up
C
LR14
C
LR14
Battery
Compartment
Inside
looking at
back of the
push
23A
1. Do not mount either unit close to fireplace or expose to high temperatures.
2. Do not expose the Door Chime unit to direct sunlight or moisture.
3. Always use alkaline battery. Please dispose of old, defective batteries in an environmentally friendly
manner in accordance with the relevant legislation.
4. Make sure that no naked flame sources, such as lighted candles, should be placed on the unit.
5. The unit should not be exposed to dripping or splashing and that no objects filled with liquids, such as
vases, shall be placed on the unit.
6. CAUTION: Replace only with the same or equivalent type of battery that is recommended by the
manufacturer.
7. CAUTION: Danger of explosion if battery is incorrectly installed or replaced.
A. Push Button unit
Power
Consumption
: 1 x 12 volt Lithium battery
(23A - included)
: 7.0mA - ON
0.003mA - OFF
B. Door Chime unit
Power
Consumption
Operating Temperature
Operating Distance
Selectable Tone
Selectable Digital Code
: 2 x 1.5 volt alkaline batteries
(“AA”, UM3 & LR6 - not included)
: 100mA - ON / 0.3mA - Stand By
: -10∞C to +40∞C
: 100 metres (320 feet approx.)
in open field
: Total eight (8) tones available
: Total sixteen (16) possible digital
codes
Model No. SX-208
Important
Problem
Chime does not
sound but LED lights
on Push Button
Chime does not
sound plus no lights
on Push Button LED
Chime sounds without
Push Button being
pressed
Possible Causes
1. Units is out of range (max. range 100M)
2. Push Button and Chime units are not on
same digital code
1. Flat Push Button battery
2. Wrong polarity of battery in Push Button
A similar Wire Free Door Chime product is
operating nearby on the same frequency
digital code
Suggested Remedy
1. Operate the Chime unit within
the operation range (100M)
2. Re-set the digital code
(see Digital Code Set Up)
1. Change the battery
2. Re-insert battery as internal
marking in right polarity
Change the digital code
(see Digital Code Set Up)
Important: There are no serviceable parts in the unit, do not attempt to repair it.
Trouble Shooting & User Hints
Specification
The unit comes from the factory on a pre-set code. However, should your door
chime activate intermittently for no reason at all, it is possible that a similar unit is operating nearby on
the same code. The encoded frequency of the Push Button (transmitter) can be changed to avoid this
problem.
Code Set Up
1. Remove the back of case of Bell Push unit.
2. There is a 4-position dipswitch marked 1,2,3 & 4. Use an screwdriver to alter the dip switch levers to
the “On/Off” position, which can be altered to achieve total sixteen (16) possible digital codes.
3. Select any combination on the Push Button.
4. Select the exact same code in the chime as you have done in the push. The dip switch is located on the
circuit board in the middle of the chime, under the cover.
5. Test to ensure correct operation before final installation.
Push Button
Type R2 Device - device where the sound output is created by the initial operation of the control and
where the period of sound output continues for designed duration irrespective of condition of the control.
Dip-switches
C H Byron
34, Sherwood Rd
Aston Fields
Bromsgrove
B60 3DR
Helpline: 0845 2301231

Other Byron Accessories manuals

Byron DB333 Owner's manual

Byron

Byron DB333 Owner's manual

Byron BY112 Owner's manual

Byron

Byron BY112 Owner's manual

Byron Home Easy HE-205 User manual

Byron

Byron Home Easy HE-205 User manual

Byron SX-209i Owner's manual

Byron

Byron SX-209i Owner's manual

Byron BY30 User manual

Byron

Byron BY30 User manual

Byron BY201 Owner's manual

Byron

Byron BY201 Owner's manual

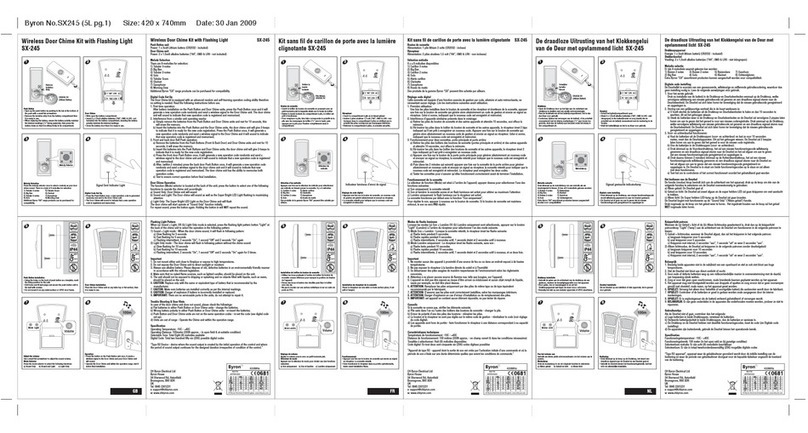
Byron SX-245 Owner's manual

Byron

Byron SX-245 Owner's manual

Byron SX-54 User manual

Byron

Byron SX-54 User manual

Byron SX-15 User manual

Byron

Byron SX-15 User manual

Byron SX-55 Owner's manual

Byron

Byron SX-55 Owner's manual

Byron DB313 User manual

Byron

Byron DB313 User manual

Byron SX-81 Owner's manual

Byron

Byron SX-81 Owner's manual

Byron SX-15i User manual

Byron

Byron SX-15i User manual

Byron DB305 Owner's manual

Byron

Byron DB305 Owner's manual

Byron Home Easy HE-209 User manual

Byron

Byron Home Easy HE-209 User manual

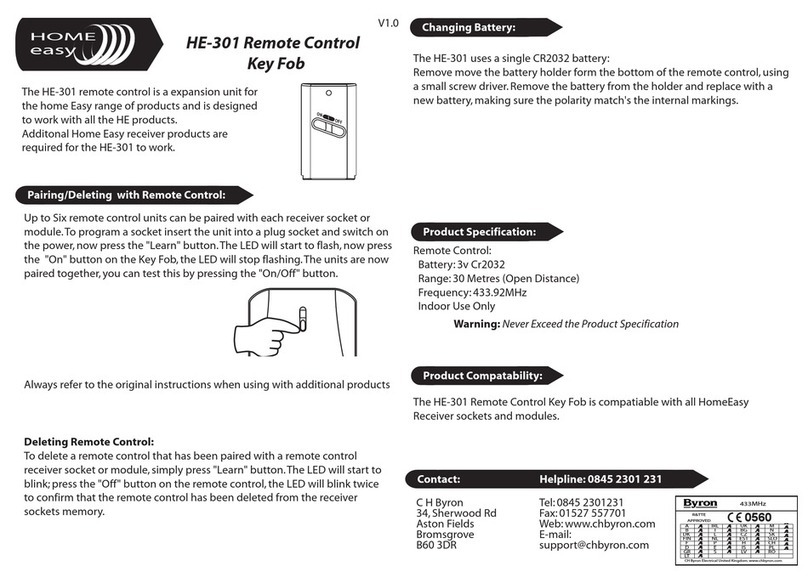
Byron Home Easy HE-301 User manual

Byron

Byron Home Easy HE-301 User manual

Byron SX-34 User manual

Byron

Byron SX-34 User manual

Byron SX-35 Owner's manual

Byron

Byron SX-35 Owner's manual

Byron BY101 Owner's manual

Byron

Byron BY101 Owner's manual

Byron Home Easy HE-206 User manual

Byron

Byron Home Easy HE-206 User manual

Byron DB421E-F User manual

Byron

Byron DB421E-F User manual

Byron 7910 User manual

Byron

Byron 7910 User manual

Byron Home Easy HE-202 User manual

Byron

Byron Home Easy HE-202 User manual

Byron BY102 Owner's manual

Byron

Byron BY102 Owner's manual

Popular Accessories manuals by other brands

Quincy lab 140AE-1 operating manual

Quincy lab

Quincy lab 140AE-1 operating manual

HomePro ZIR000 user manual

HomePro

HomePro ZIR000 user manual

DOL 20SCR Technical user guide

DOL

DOL 20SCR Technical user guide

RAB Smart Task installation manual

RAB

RAB Smart Task installation manual

Kemppi KMS 300 quick guide

Kemppi

Kemppi KMS 300 quick guide

Stearns 57,500 Series Installation and service instructions

Stearns

Stearns 57,500 Series Installation and service instructions

iGuzzini TWILIGHT COPENAGHEN manual

iGuzzini

iGuzzini TWILIGHT COPENAGHEN manual

Adelaide Annexe & Canvas Avan Deluxe installation guide

Adelaide Annexe & Canvas

Adelaide Annexe & Canvas Avan Deluxe installation guide

OHAUS 5000 instruction manual

OHAUS

OHAUS 5000 instruction manual

HOME8 WLS1300 quick start guide

HOME8

HOME8 WLS1300 quick start guide

MAXBOTIX MaxSonar quick start guide

MAXBOTIX

MAXBOTIX MaxSonar quick start guide

ioSmart iSmart56 Installation and user guide

ioSmart

ioSmart iSmart56 Installation and user guide

Focusrite Scarlett 18i8 user guide

Focusrite

Focusrite Scarlett 18i8 user guide

Velleman ED38105 user manual

Velleman

Velleman ED38105 user manual

JumpSport SkyBounce user manual

JumpSport

JumpSport SkyBounce user manual

Prima-Temp PRIYA Instructions for use

Prima-Temp

Prima-Temp PRIYA Instructions for use

Tefcold BC85I-BC85I W user manual

Tefcold

Tefcold BC85I-BC85I W user manual

Vaisala WMS302 user guide

Vaisala

Vaisala WMS302 user guide

manuals.online logo
manuals.online logoBrands
  • About & Mission
  • Contact us
  • Privacy Policy
  • Terms and Conditions

Copyright 2025 Manuals.Online. All Rights Reserved.