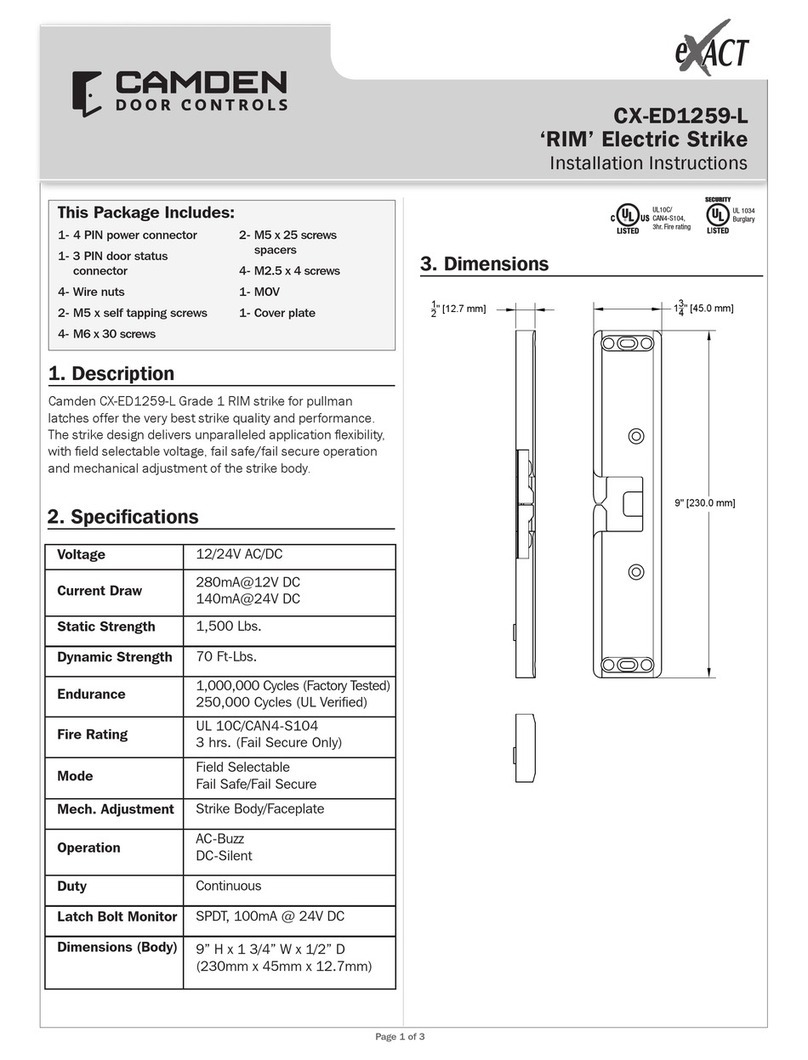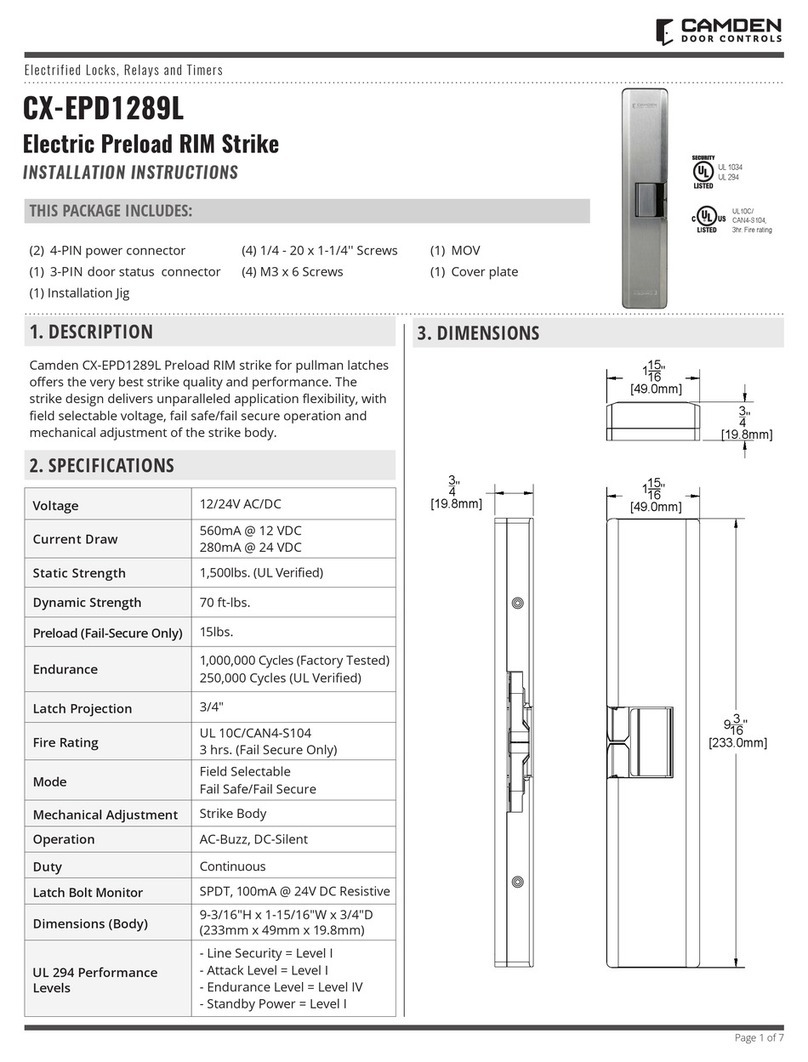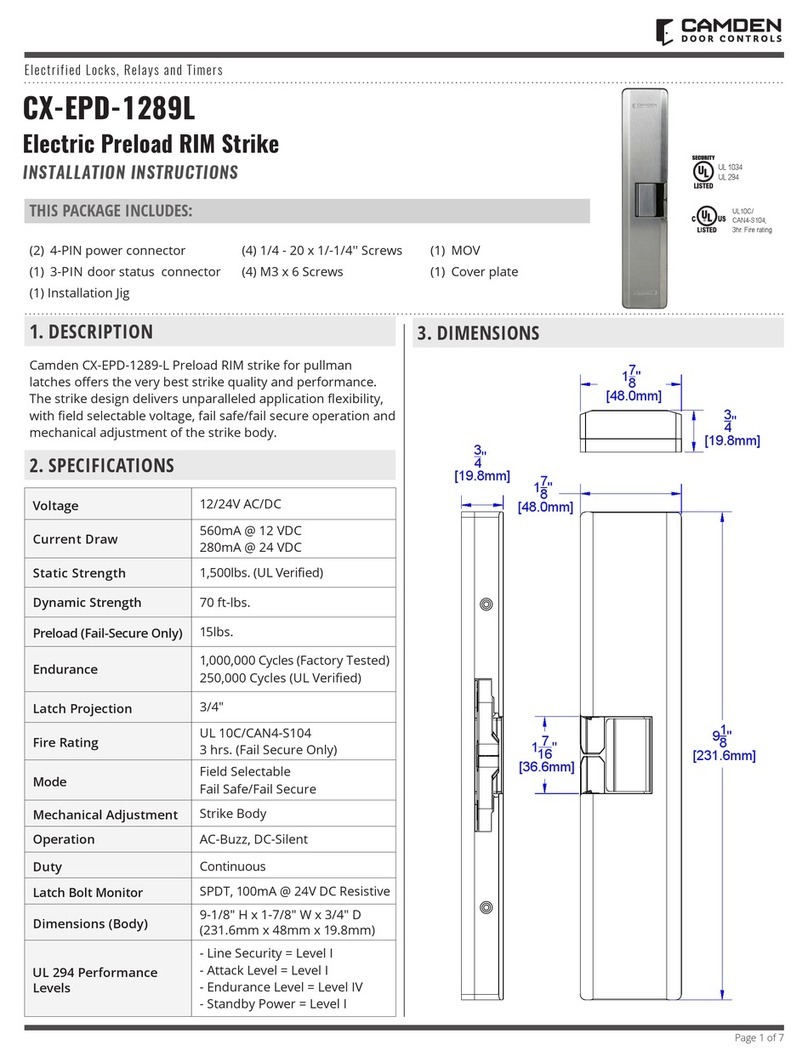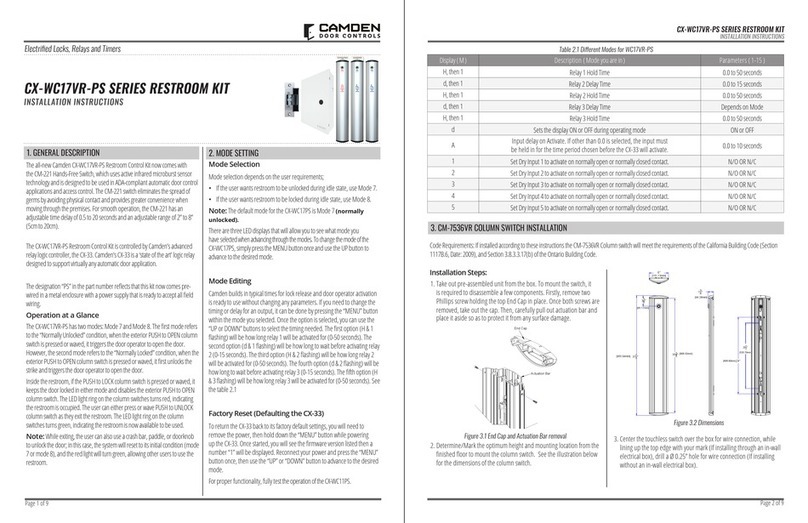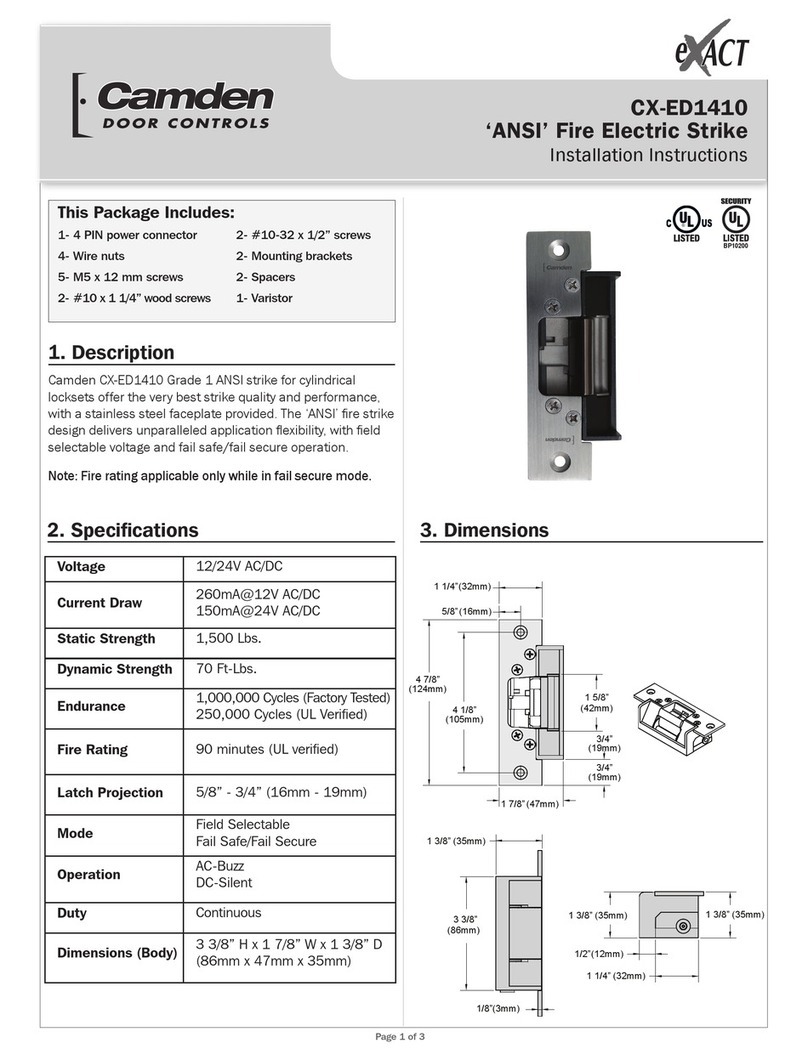
CX-ED1259L ‘RIM’ Electric Strike
INSTALLATION INSTRUCTIONS
Page 7 of 8
5. TROUBLESHOOTING
This guide has been produced to help installers understand
the most important physical considerations that need to be
addressed when installing the CX-ED1259L RIM strike.
Step 1 – Conrm Latch entry to rim strike
The position of the latch held by the RIM strike is of critical
importance to the operation of the strike. The most important
considerations, and potential causes of failure, are as follows:
• The centerline of the keeper
(jaws) of the RIM strike MUST
line up with the centerline
of the latch of the crash bar.
Mark the centerline of the latch
on the door frame, prior to
mounting the strike, to provide
a point of reference.
• The crash bar latch MUST NOT apply pressure on the
keeper (jaws) of the RIM strike. Pre-load pressure on the
jaws of the strike will prevent the strike from operating –
and is the most common reason for a strike failing.
Position the RIM strike so that the jaws of the strike are just
lightly resting against the latch of the exit device.
•The exit device latch MUST depress (activate) the latch
monitor ‘paddle’ of the RIM strike.
Even if the latch monitor is not
used, this placement insures
that the latch of the exit device is
fully held by the keeper (jaws)
of the strike.
(2) Spacer plates are provided
with the CX-ED1259L RIM
strike and are used as needed
for this.
Step 2 – Conrm Door Alignment
Virtually all of Camden’s electric strike models, including the
CX-ED1259L RIM strike, oer horizontal adjustment, to
compensate for doors that are misaligned with the door
frame– but there is a limit to the strike adjustment.
• Check that the door is not binding on the frame. An
electric strike cannot compensate for this. If present, the
door hinges will need to be adjusted.
• Check the gap between the
door and the stop of the
frame (where the top and at
the bottom of the door. A ¼”
dierence in gap is very common
and can be compensated for
by the strike – IF INSTALLED
CORRECTLY.
If the door stop gap at the top and bottom of the door is
dierent, the electric strike cannot be installed plumb
(‘straight’ up and down). The horizontal orientation of the
RIM strike will need to be adjusted to match the angle of the
misaligned door. To do this:
• Mount the RIM strike in position
on the frame, using only the
(2) center (elongated) screw
holes, top and bottom.
• Rotate the strike until both jaws
of the strike very lightly touch the
crash bar latch, with equal gap,
on both jaws.
• Tighten the center screws and open/close door to conrm
that the latch does not bind on the jaws of the strike.
• After this is done, you can then ax the 6 screws that
permanently mount the strike on the frame.
Other Considerations
Although the considerations above will address the majority of
installation steps needed for a successful installation, there are
a few additional items that you will need to check for:
•Consideration for deadlocking
latch (as shown here) If the
exit device has a deadlocking
latch, the CX-ED1259L RIM strike
must be mounted so that the
deadlocking latch does not enter
the latch cavity of the RIM strike.
Position the strike so that the
deadlocking latch rests against
the face of the strike.
