manuals.online logo
Brands
  1. Home
  2. •
  3. Brands
  4. •
  5. CAME
  6. •
  7. Garage Door Opener
  8. •
  9. CAME FL-180 User manual

CAME FL-180 User manual

FL-180
www.came.com





󱯎
󱯐
󱯒
󱵢 󱵣
Italiano
IT
IT
English
EN
EN
Français
FR
FR
Русский
RU
RU
FA00627M4A
FA00627M4A - ver. 1 - 01/2017
ITALIANO
Descrizione
Leva di trasmissione a catena per aperture fino a 180° e con lunghezza
massima dell’anta di 2 m.
Limiti di impiego
Larghezza anta (m) 1,5 2,00
Peso anta (kg) 600 400
È consigliabile prevedere un'elettroserratura qualora l’anta superi 1.50 m.
Dati tecnici
Tempo di apertura a 180°: 30 s.
Descrizioni delle parti 󱵢

Pignone

Leva con corona dentata

Catena

Spina filettata
n°
2 viti UNI 5739 M8 x 20
giunto
Installazione 󱵣
Sostituire il braccio standard del motoriduttore con il pignone. 
Fissarlo con spina filettata e le viti. 
Sostituire la leva di trasmissione con la leva dotata di corona dentata. 󱯎
Appoggiare la catena alla corona della leva e successivamente ruotare
leggermente la leva. 󱯐
Unire i due capi della catena utilizzando il giunto.
󱯒
Nel caso la catena fosse troppo tesa, è possibile allargare i fori di fissaggio
del motoriduttore alla cassa fino a 14 mm.
Applicare alla catena un leggero strato di grasso.
Manutenzione
Lubrificare periodicamente la catena con grasso.
Il prodotto è conforme alle direttive di riferimento vigenti.
DISMISSIONE E SMALTIMENTO - I componenti dell’imballo (cartone, plastica, etc.) sono assimilabili ai
rifiuti solidi urbani. I componenti del prodotto (metallo, schede elettroniche, batterie, etc.) vanno separati
e dierenziati. Per le modalità di smaltimento verificare le regole vigenti nel luogo d’installazione.
NON DISPERDERE NELL’AMBIENTE!
I CONTENUTI DEL MANUALE SONO DA RITENERSI SUSCETTIBILI DI MODIFICA IN QUALSIASI
MOMENTO SENZA OBBLIGO DI PREAVVISO.
LE MISURE, SE NON DIVERSAMENTE INDICATO, SONO IN MILLIMETRI.
FA00627M4A - ver. 1 - 01/2017
ENGLISH
Description
Chain-transmission level for openings of up to 180° and 2 m in length.
Limits to use
Leaf width (m) 1.5 2.00
Gate-leaf weight (Kg) 600 400
We suggest fitting an electric lock when the gate leaf is over 1.50 m long.
Technical data
Opening time at 180°: 30 s.
Description of parts 󱵢

Pinion

Cog-wheel lever

Chain

Threaded plug
two
UNI 5739 M8 x 20 screws
joint
Installing 󱵣
Replace the gearmotor's standard arm with the pinion. 
Fasten it using the threaded plug and the screws. 
Replace the transmission lever with the cog-wheel lever. 󱯎
Rest the chain on the cog-wheel and then slightly turn the lever. 󱯐
Use the joint to join the two ends of the chain.
󱯒
In case the chain is too taut, you can widen the holes, with which the
gearmotor is fastened to the casing, up to 14 mm.
Apply a thin layer of grease to the chain.
Maintenance
Periodically grease the chain.
This product complies with the law.
DISMANTLING AND DISPOSALThe packaging materials (cardboard, plastic, and so on) should be
disposed of as solid household waste. The product components (metals; control boards, batteries,
etc.) must be separated from other waste for recycling. Check your local laws to properly dispose of
the materials.
DISPOSE OF RESPONSIBLY!
THE CONTENTS OF THIS MANUAL MAY CHANGE, AT ANY TIME, AND WITHOUT NOTICE.
MEASUREMENTS, UNLESS OTHERWISE INDICATED, ARE IN MILLIMETRES.
FRANÇAIS
Description
Levier de transmission à chaîne pour des ouvertures jusqu'à 180° et une
longueur max. du vantail de 2 m.
Limites d'utilisation
Largeur vantail (m) 1,5 2,00
Poids vantail (kg) 600 400
Il est conseillé de doter le vantail d'une serrure de verrouillage électrique s’il
devait mesurer plus d’1,50 m.
Données techniques
Temps d'ouverture à 180° : 30 s.
Description des parties

Pignon

Levier avec couronne dentée

Chaîne

Cheville filetée

2 vis UNI 5739 M8 x 20
Joint
Installation
Remplacer le bras standard du motoréducteur avec le pignon. 
Le fixer à l’aide de la cheville filetée et des vis. 
Remplacer le levier de transmission avec le levier doté d’une couronne dentée.
󱯎
Positionner la chaîne sur la couronne du levier puis tourner légèrement le levier.
󱯐
Joindre les deux bouts de la chaîne à l’aide du joint.
󱯒
Si la chaîne est trop tendue, il est possible d’agrandir les trous de fixation du
motoréducteur à la caisse jusqu’à 14 mm.
Appliquer une fine couche de graisse sur la chaîne.
Entretien
Lubrifier périodiquement la chaîne avec de la graisse.
Le produit est conforme aux directives de référence en vigueur.
MISE AU REBUT ET ÉLIMINATION - Les composants de l’emballage (carton, plastique, etc.) sont
assimilables aux déchets urbains solides. Les composants du produit (métal, cartes électroniques,
batteries, etc.) doivent être triés et diérenciés. Pour les modalités d'élimination, vérifier les normes
en vigueur sur le lieu d'installation.
NE PAS JETER DANS LA NATURE !
LE CONTENU DE CE MANUEL EST SUSCEPTIBLE DE SUBIR DES MODIFICATIONS À TOUT
MOMENT ET SANS AUCUN PRÉAVIS.
LES DIMENSIONS SONT EXPRIMÉES EN MILLIMÈTRES, SAUF INDICATION CONTRAIRE.
РУССКИЙ
Описание
Цепная передача для открывания ворот на угол до 180° при
максимальной ширине створки — 2 м.
Ограничения по применению
Ширина створки (м) 1,5 2,00
Масса створки (кг) 600 400
Рекомендуется предусмотреть электрозамок, если ширина створки
превышает 1,5 м.
Технические характеристики
Время открывания на 180°: 30 с.
Основные компоненты 󱵢

Зубчатое колесо

Рычаг с шестерней

Цепь

Штифт с резьбой

2 винта UNI 5739 M8 x 20
Соединительное звено
Монтаж 󱵣
Замените стандартный рычаг мотор-редуктора на зубчатое колесо. 
Зафиксируйте его штифтом с резьбой и винтами. 
Замените рычаг передачи на рычаг с шестерней. 󱯎
Установите цепь на шестерню рычага и затем слегка поверните рычаг.
󱯐
Соедините два конца цепи с помощью специального звена.
󱯒
Если цепь чрезмерно натянута, увеличьте отверстия крепления
мотор-редуктора к корпусу до 14 мм.
Нанесите на цепь тонкий слой смазки.
Техобслуживание
Периодически смазывайте цепь смазкой.
Изделие соответствует требованиям действующих нормативов.
УТИЛИЗАЦИЯ — Упаковочные материалы (картон, пластмасса и т. д.) могут быть
утилизированы как бытовые отходы. Материалы и компоненты изделия (металл, электронные
платы, элементы питания и т.д.) необходимо разделить перед утилизацией. Утилизацию
изделия необходимо проводить в соответствии с действующим законодательством местности,
в которой производилась его эксплуатация.
НЕ ЗАГРЯЗНЯЙТЕ ОКРУЖАЮЩУЮ СРЕДУ!
СОДЕРЖАНИЕ ДАННОГО РУКОВОДСТВА МОЖЕТ БЫТЬ ИЗМЕНЕНО В ЛЮБОЕ ВРЕМЯ БЕЗ
ПРЕДВАРИТЕЛЬНОГО УВЕДОМЛЕНИЯ.
ВСЕ РАЗМЕРЫ ПРИВЕДЕНЫ В МИЛЛИМЕТРАХ, ЕСЛИ НЕ УКАЗАНО ИНОЕ.

This manual suits for next models

1

Other CAME Garage Door Opener manuals

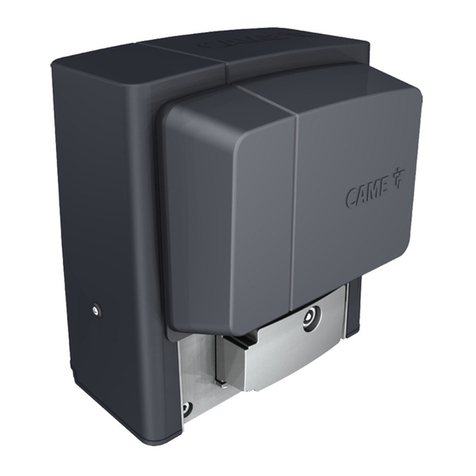
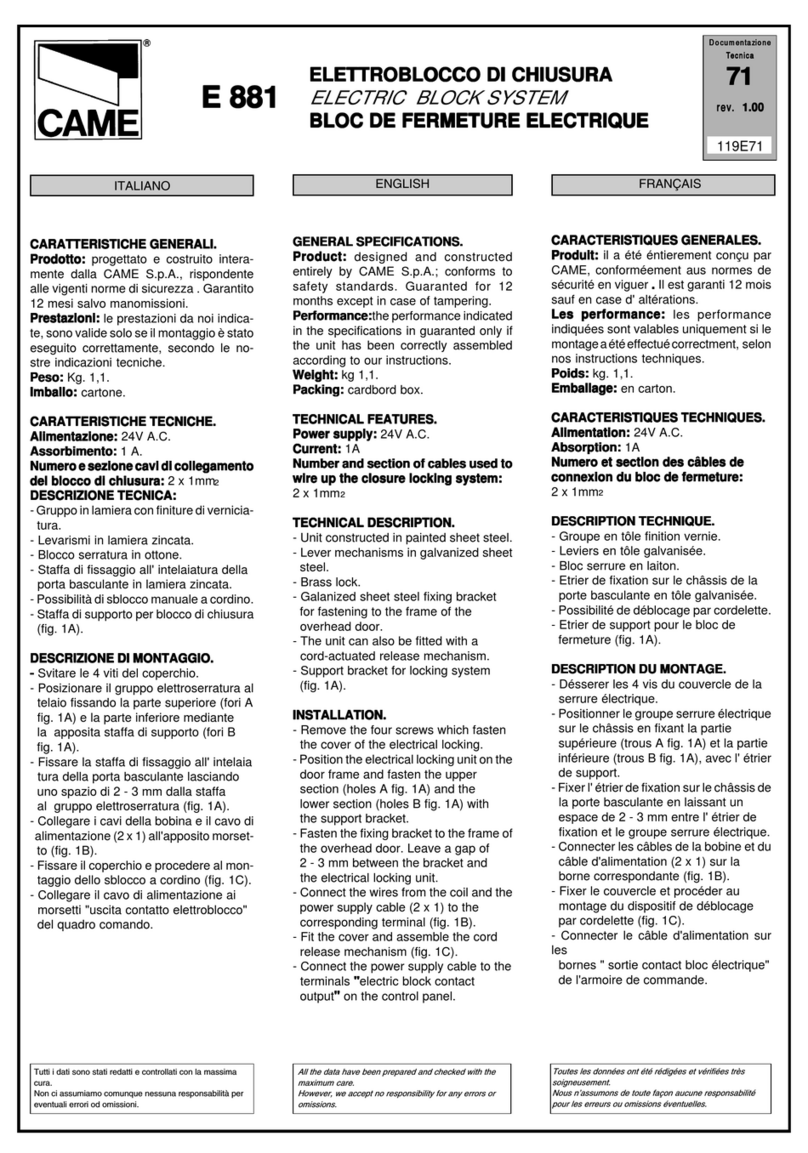
CAME E 881 User manual

CAME

CAME E 881 User manual

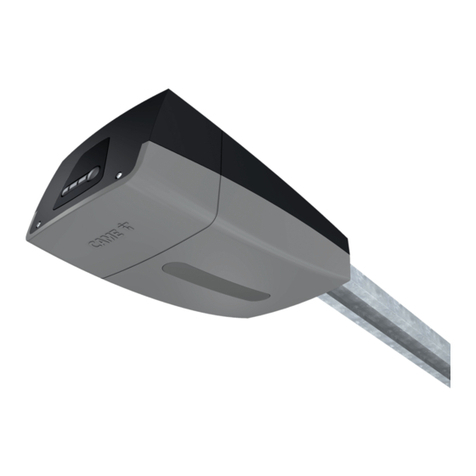
CAME V6000P User manual

CAME

CAME V6000P User manual

CAME BXE 241 User manual

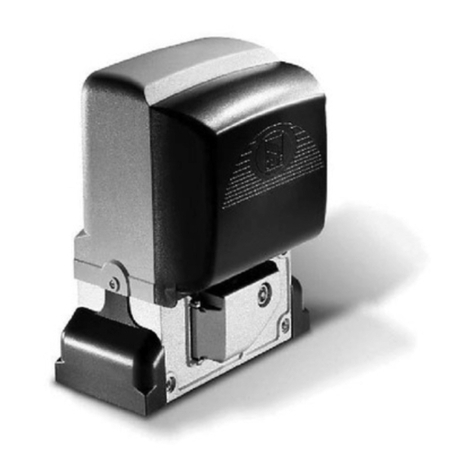
CAME

CAME BXE 241 User manual

CAME RIO SYSTEM User manual

CAME

CAME RIO SYSTEM User manual

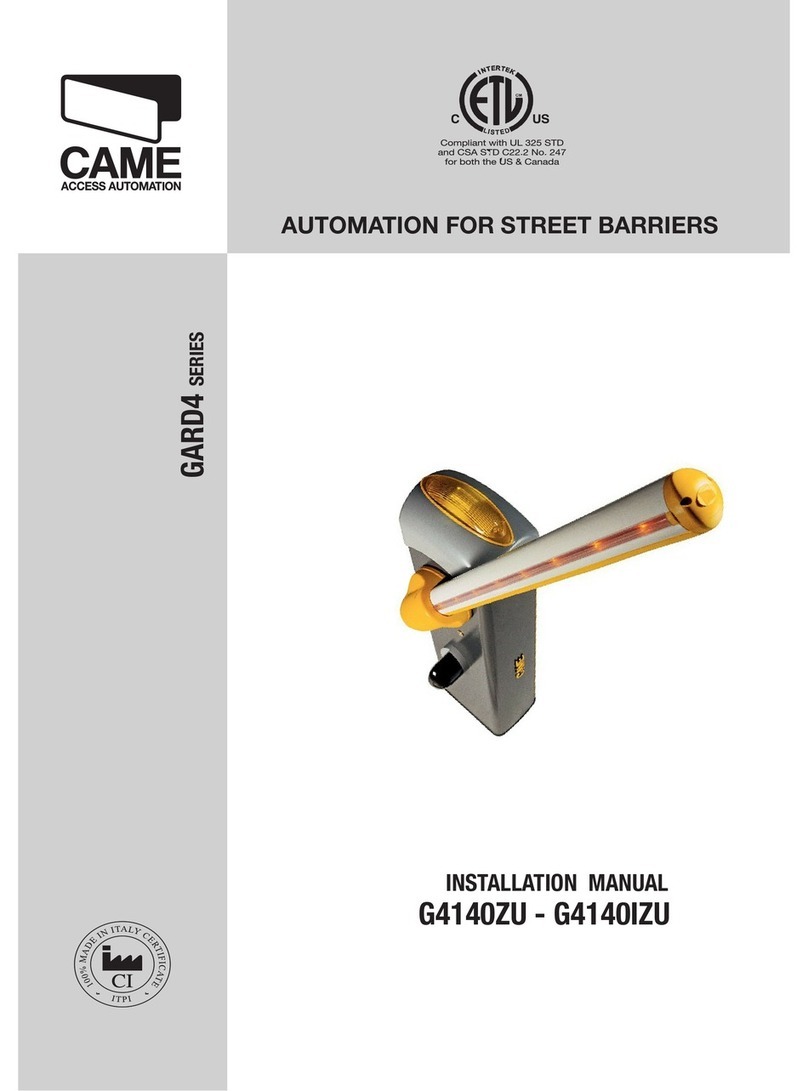
CAME G4140ZU User manual

CAME

CAME G4140ZU User manual

CAME MR8106 Assembly instructions

CAME

CAME MR8106 Assembly instructions

CAME EMEGA User manual

CAME

CAME EMEGA User manual

CAME BY Series User manual

CAME

CAME BY Series User manual

CAME v6000 Guide

CAME

CAME v6000 Guide

CAME KRONO User manual

CAME

CAME KRONO User manual

CAME V700E User manual

CAME

CAME V700E User manual

CAME BX-243V User manual

CAME

CAME BX-243V User manual

CAME ZBX7 User manual

CAME

CAME ZBX7 User manual

CAME BXV Series User manual

CAME

CAME BXV Series User manual

CAME BX10 User manual

CAME

CAME BX10 User manual

CAME AX5024 User manual

CAME

CAME AX5024 User manual

CAME VER-PLUS Series User manual

CAME

CAME VER-PLUS Series User manual

CAME VER Series User manual

CAME

CAME VER Series User manual

CAME 8K01MB-0576 STYLO KIT User manual

CAME

CAME 8K01MB-0576 STYLO KIT User manual

CAME MYTO ME User manual

CAME

CAME MYTO ME User manual

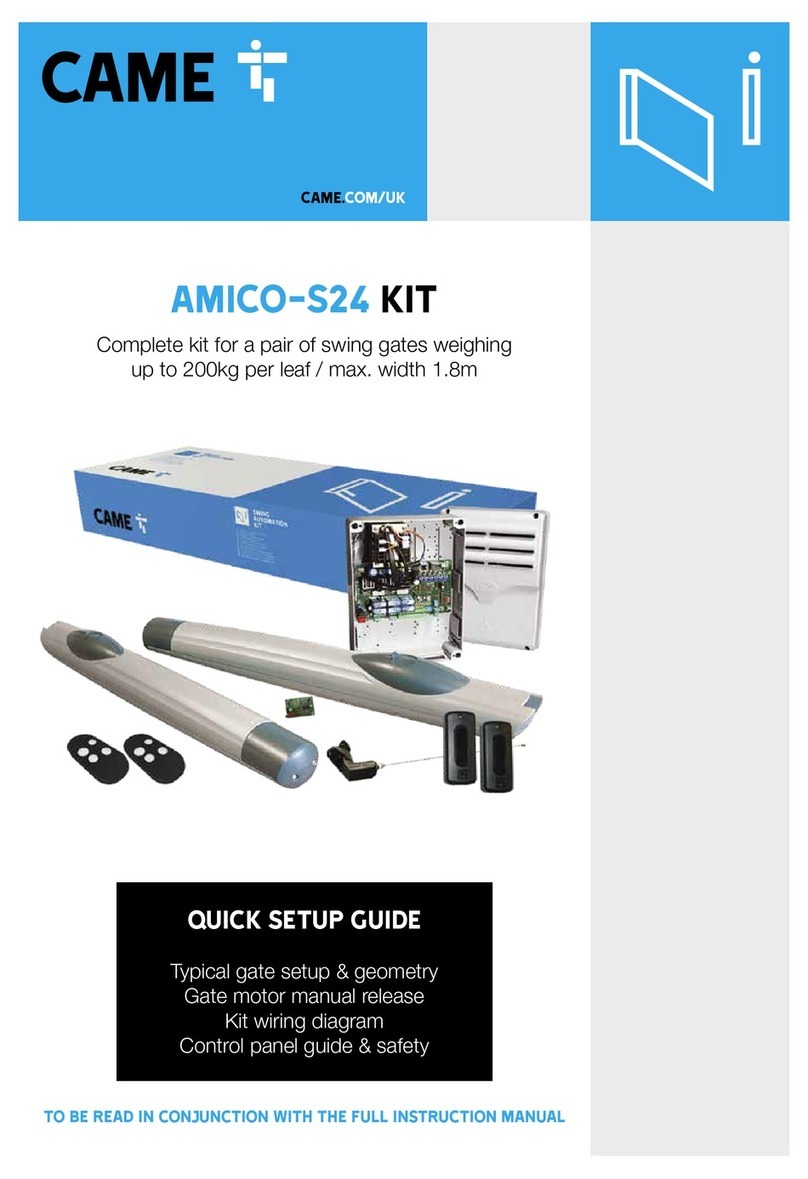
CAME AMICO-S24 User manual

CAME

CAME AMICO-S24 User manual

CAME V900E User manual

CAME

CAME V900E User manual

CAME BK-2200T User manual

CAME

CAME BK-2200T User manual

CAME RODEO User manual

CAME

CAME RODEO User manual

Popular Garage Door Opener manuals by other brands

ATA GDO-6 EasyRoller instruction manual

ATA

ATA GDO-6 EasyRoller instruction manual

Garaga SECURITY+ 3265GCM 1HP owner's manual

Garaga

Garaga SECURITY+ 3265GCM 1HP owner's manual

Chamberlain Whisper Drive SECURITY+ WD822K Series owner's manual

Chamberlain

Chamberlain Whisper Drive SECURITY+ WD822K Series owner's manual

Chase Doors DuraShield installation manual

Chase Doors

Chase Doors DuraShield installation manual

CSI Classic installation instructions

CSI

CSI Classic installation instructions

Chamberlain Elite 3575S owner's manual

Chamberlain

Chamberlain Elite 3575S owner's manual

Richmond GTR156 user manual

Richmond

Richmond GTR156 user manual

B&D Controll-A-Door 5 instruction manual

B&D

B&D Controll-A-Door 5 instruction manual

Chamberlain MyQ 940ESTD owner's manual

Chamberlain

Chamberlain MyQ 940ESTD owner's manual

Automatic Technology GDO-9V1 SecuraLift installation instructions

Automatic Technology

Automatic Technology GDO-9V1 SecuraLift installation instructions

Westfalia 19 36 07 instruction manual

Westfalia

Westfalia 19 36 07 instruction manual

Chamberlain HD520EVP manual

Chamberlain

Chamberlain HD520EVP manual

Cardin BL Series instruction manual

Cardin

Cardin BL Series instruction manual

Chamberlain 8355 - 1/2 hp installation instructions

Chamberlain

Chamberlain 8355 - 1/2 hp installation instructions

Bauer CROSS18 Application. Installation and Maintenance Manual

Bauer

Bauer CROSS18 Application. Installation and Maintenance Manual

Dorma ES 90 manual

Dorma

Dorma ES 90 manual

Wayne-Dalton 8124 Installation instructions and owner's manual

Wayne-Dalton

Wayne-Dalton 8124 Installation instructions and owner's manual

Chamberlain Merlin MS105MYQ Installation and operating instructions

Chamberlain

Chamberlain Merlin MS105MYQ Installation and operating instructions

manuals.online logo
manuals.online logoBrands
  • About & Mission
  • Contact us
  • Privacy Policy
  • Terms and Conditions

Copyright 2025 Manuals.Online. All Rights Reserved.