manuals.online logo
Brands
  1. Home
  2. •
  3. Brands
  4. •
  5. Camsat
  6. •
  7. Transmitter
  8. •
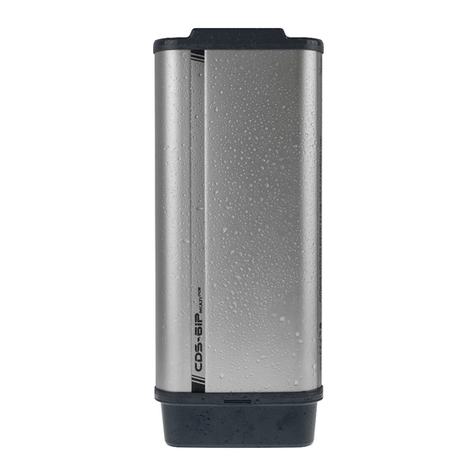
  9. Camsat CDS-6IP SMA User manual

Camsat CDS-6IP SMA User manual

www.camsat.com
Wireless video and audio transmission system for IP
cameras HD and UHD in the band 5.1 - 5.8 GHz with
internal antenna, and output to an external antenna.
QUICK START
ver. 1.1
LINK INFORMATION
It contains basic information about the settings of the radio eg. the name of the radio link,
signal strength and a list of connected radio transmitters.
CAMERA CONNECTION SETTINGS
Wireless – Contains settings of radio link such as transmission type (Master / Slave),
the frequency of the operating channel, the name of the link SSID, signal strength,
coding of transmission.
Network Settings – Contains settings of IP networks.
1. Menu tree panel Website
Time Zone Setting - set the time, the NTP server
System Log - an overview of recent developments and changes in the device CDS-6IP/SMA
Upgrade Firmware - Software Update
Backup/Restore - save / restore configuration of system
ADVANCED SETTINGS
6. The recommended configuration settings:
7. Test the radio link.
These steps must be repeated for each individual transmitter / receiver
subsequently connecting them to your computer.
EUEU
POLISH
MARK
POLISH
MARK
Password - change the password
Full instructions can be found at www.camsat.com and on the CD 14 Full instructions can be found at www.camsat.com and on the CD
2. Factory settings
a) Change the password to log on to the web panel (ADVANCED SETTINGS / PASSWORD)
b) Enter the password encryption of radio transmission - a recommended coding WAP2-PSK
(CAMERA CONNECTION SETTINGS / WIRELESS)
c) Scan free channels - set the Receiver in operating mode Slave.
Save and press Scan Masters to scan the busy channels.
With this information, you will learn which channels in a given area are free or at least occupied.
In the absence of free operating channels it is allowed to use multiple radios on the same channel,
then select the channel with the weakest signal (below <-65dB)
The last step is to check the correctness of transmission between devices. To check the information
regarding connected devices CDS-6IP/SMA such as signal strength, connection time, speed, IP
address, etc. you must enter the LINK INFORMATION.
To view an updated list of current connections, click the Refresh button at the bottom or press F5. The
appearance of the list of MAC addresses of transmitting units in the receiver indicates the correctness
of the radio configuration. To be sure, disconnect the computer from the transmitter unit and connect
the IP camera.
If the devices communicate with the receiver, this means that the radio connection is properly configu-
red and running. In the browser address bar enter the IP address of the camera and check the quality
of image transmission. You can assembly units at the facility.
Do not use AUTO channel settings. Be sure to select the channel number on a permanent
according to the current network bandwidth consumption.
Warning
!
NOTE: Before first use, it is necessary to check the full user manual
Full user manual can be found at: www.camsat-cctv.com
5. The necessary configuration settings - required:
a) Log on to the radio module CDS-6IP/SMA (default: 192.168.1.1,
Username: CAMSAT, Password: CAMSAT).
b) Set the IP address of the radio module.
c) Set the mode Master (Receiver-Recorder) or Slave (transmitter - camera).
d) In the receiver (Master), set the operating channel number
e) In the transmitter (Slave), press the Scan Masters to find name of
radio link SSID of a receiver. Select the name of the link SSID and press Connect. Repeat this step
for all transmitters (Slave) to be connected to the receiver (Master)
f) correctly connected transmitters should be visible in the list of linked devices in tab
System Information / Wireless clients
g) In the transmitters, set the real distance between the transmitter and receiver. In the receiver,
set the distance of the furthest transmitter.
h) Check the connection between the transmitter, the receiver in the tab, cameras and DVR by PING.
Plug the power cord with RJ45 to LAN connector in CDS-6IP/SMA module (A) and the other end to
the connector labeled POE in the supplied power adapter (B).
Connect the computer IP camera or recorder to the LAN connector on the AC adapter by network
cable.
CDS-6IP/SMA has an additional 12V DC power supply input (power socket 2.1 / 5.5 mm).
Most IP cameras are also supplied with 12V DC by which the devices can be easily supplied from the
buffer power supply 12V - 13.8V DC.
3. Connection of CDS-6IP/SMA radio module to power (three options).
Option 1- directly from the included AC adapter PoE24V.
Option 2 - Power supply for the camera and CDS-6IP / SMA from a single
source 12V.
Option 3- power supply for radio module and a camera with a PoE48V Switch
by additional PoER-24 converter (optional with an additional module
CAMSAT PoER-24, PoER-24h)
4. Connecting to a computer.
Connect the radio module to the computer LAN adapter with IP address set at 192.168.1.XX
(eg. 192.168.1.99)
QUICK START
Power
Socket
LAN
LAN
PoE 48V
LAN
PoE 48V + LAN PoE 24V + LAN
LAN LAN+PoE24V
12-24V DC
POE LAN
ANTENNA
SMA (H)
ANTENNA
SMA (V)
ANTENNA
SMA (H)
ANTENNA
SMA (V)
Power Socket
ANTENNA
SMA (H)
ANTENNA
SMA (V)
1234
PoE
C
C
AB
D
A
C
D
B
B
A
Connecting the CDS-6IP/SMA module without connecting an external antenna may result in
damage to the device, which is not covered by the warranty. If you use the CDS-6IP/SMA module
adjust the output power of the device, adjusting it to gain of used antenna. EIRP power must not
exceed the permissible power, as described in the regulation of the country, in which you are. If
you are not sure what settings to use, consult your supplier. Power adjustments can be made
through the web panel.
Connect the antenna cables gently to the antenna terminals on the unit and in the antenna.
Close the protective cover precisely and remember to cut out the holes for additional cables.
NOTE: Askew screwing the antenna cables may permanently damage the SMA socket.
NOTE: Please pay special attention to the type (male / female) of SMA connectors used in the RF
cable.
WARNING
Full instructions can be found at www.camsat.com and on the CD2 3Full instructions can be found at www.camsat.com and on the CD
www.camsat.com

Other Camsat Transmitter manuals

Camsat CDS-6IP 3PoE User manual

Camsat

Camsat CDS-6IP 3PoE User manual

Camsat CDS-6IP MULTI POE User manual

Camsat

Camsat CDS-6IP MULTI POE User manual

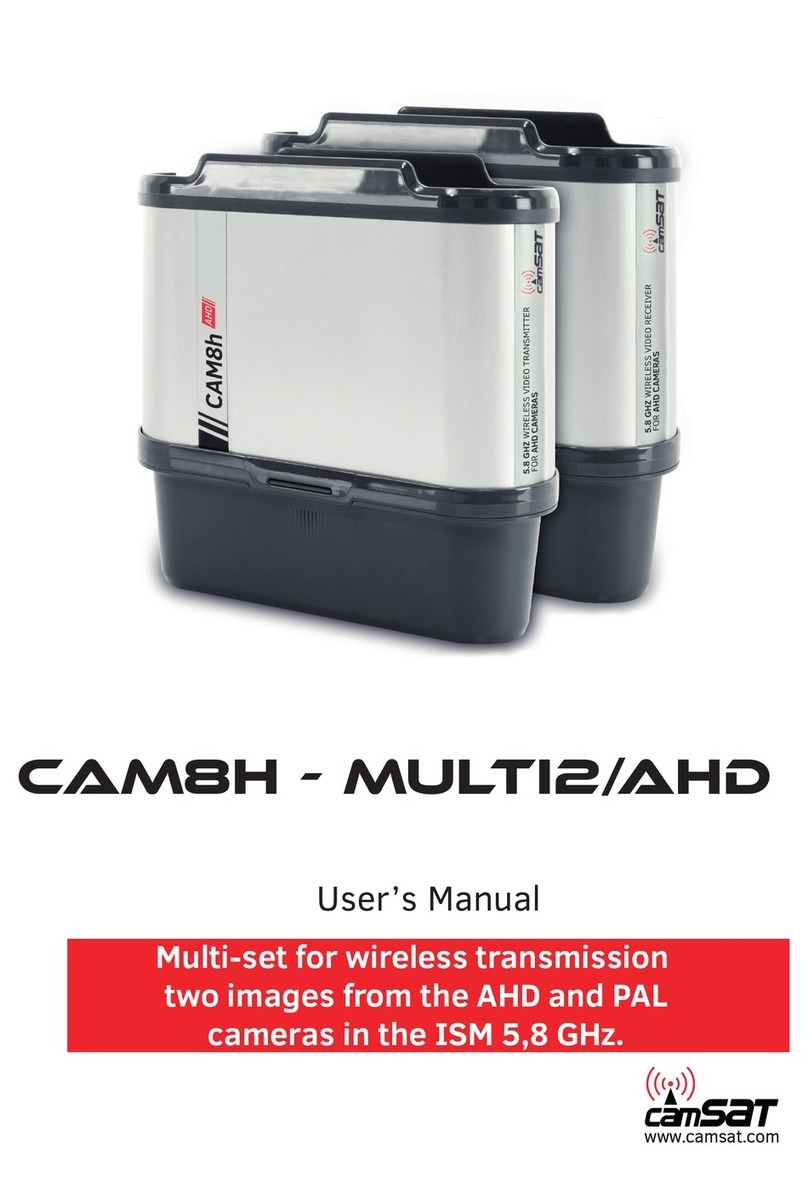
Camsat CAM8h-Multi2/AHD User manual

Camsat

Camsat CAM8h-Multi2/AHD User manual

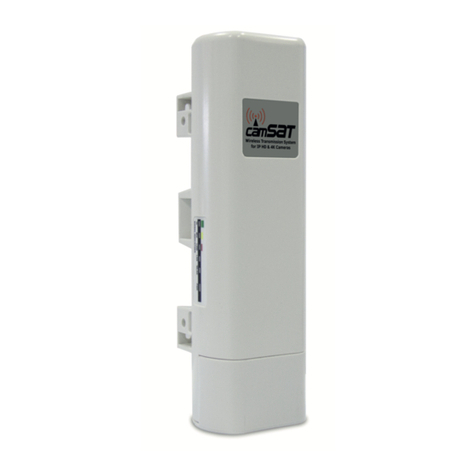
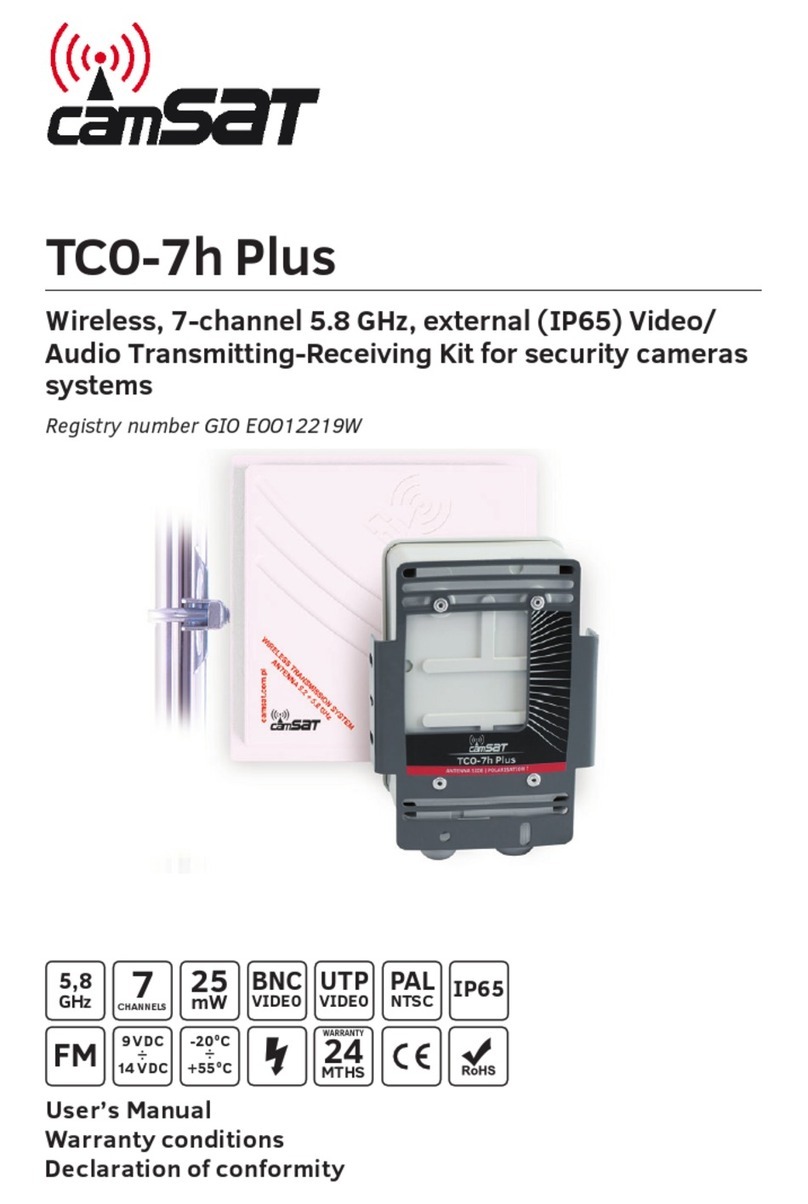
Camsat TCO-7h Plus User manual

Camsat

Camsat TCO-7h Plus User manual

Camsat CDS-LIFT IP User manual

Camsat

Camsat CDS-LIFT IP User manual

Camsat CDS-6IPeco Operator's manual

Camsat

Camsat CDS-6IPeco Operator's manual

Camsat CAM-9 User manual

Camsat

Camsat CAM-9 User manual

Camsat TCO 5807m User manual

Camsat

Camsat TCO 5807m User manual

Camsat CDS-5IPmini Operator's manual

Camsat

Camsat CDS-5IPmini Operator's manual

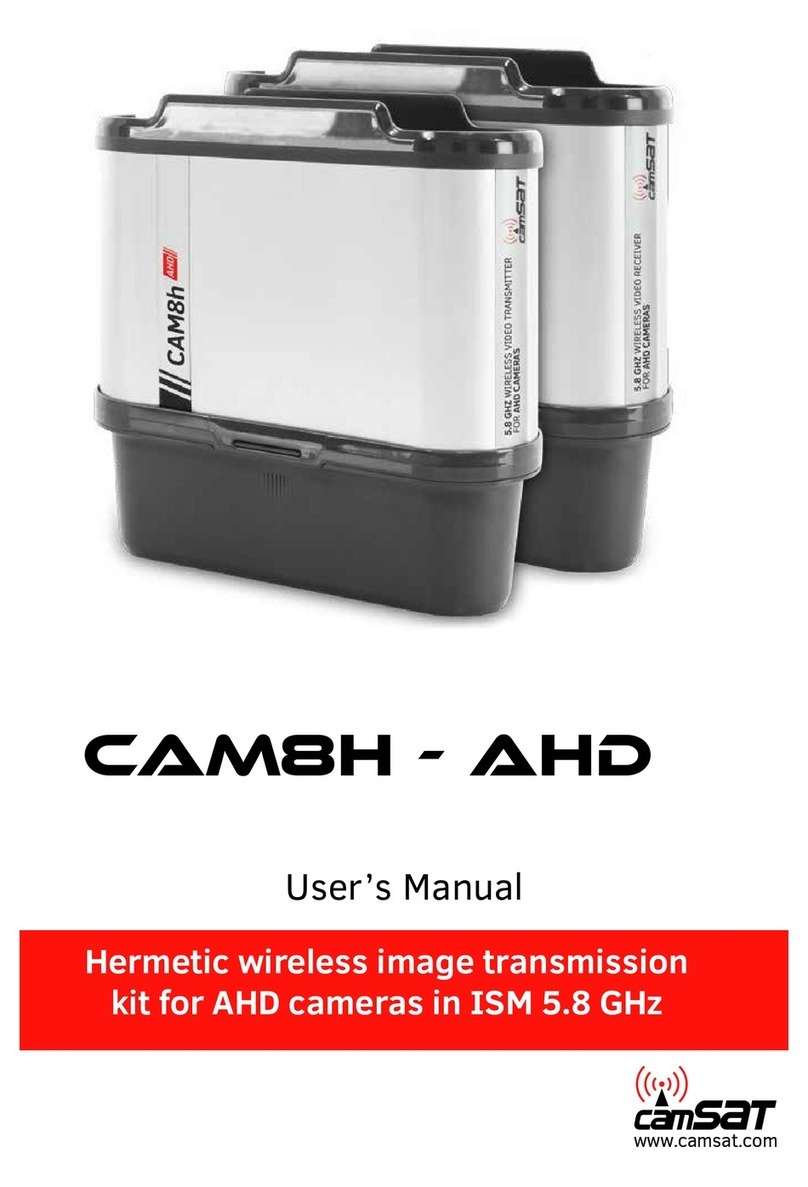
Camsat CAM8h-AHD User manual

Camsat

Camsat CAM8h-AHD User manual

Camsat GlobalCAM-LTE User manual

Camsat

Camsat GlobalCAM-LTE User manual

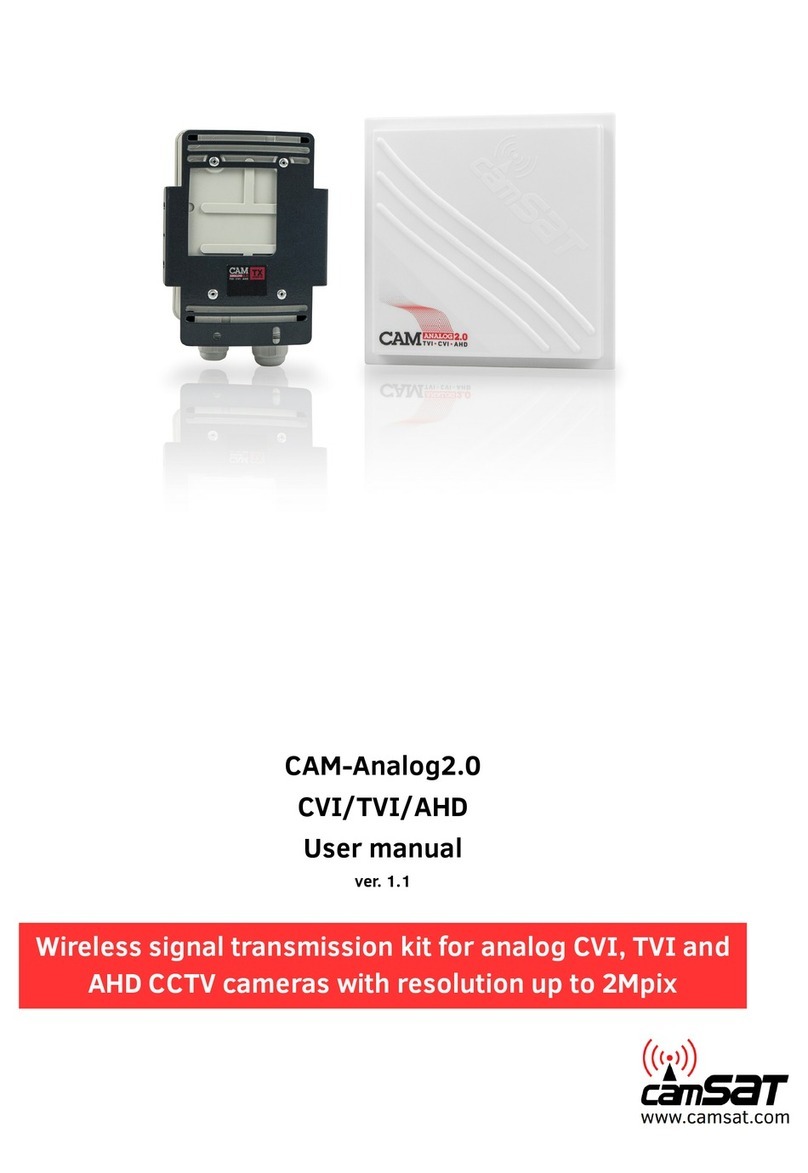
Camsat CAM-Analog2.0 User manual

Camsat

Camsat CAM-Analog2.0 User manual

Camsat VueNet EasyLink User manual

Camsat

Camsat VueNet EasyLink User manual

Popular Transmitter manuals by other brands

BWI Eagle AIR-EAGLE XLT 441AN/D-1000-120VAC Product information bulletin

BWI Eagle

BWI Eagle AIR-EAGLE XLT 441AN/D-1000-120VAC Product information bulletin

Williams Sound WIR TX90 Quick setup guide

Williams Sound

Williams Sound WIR TX90 Quick setup guide

Primex XR PERSONAL SERIES Install & user's guide

Primex

Primex XR PERSONAL SERIES Install & user's guide

YOKOGAWA SC202G (S) user manual

YOKOGAWA

YOKOGAWA SC202G (S) user manual

AMC SIR Series instruction manual

AMC

AMC SIR Series instruction manual

Vega VEGABAR 83 operating instructions

Vega

Vega VEGABAR 83 operating instructions

M-system F2MS instruction manual

M-system

M-system F2MS instruction manual

Volfoni ActivHub IR100 user manual

Volfoni

Volfoni ActivHub IR100 user manual

Lectrosonics UM400a instruction manual

Lectrosonics

Lectrosonics UM400a instruction manual

NVM NT1001 installation manual

NVM

NVM NT1001 installation manual

Lectrosonics DCHT instruction manual

Lectrosonics

Lectrosonics DCHT instruction manual

TKH Siqura VBS 2010 TX user manual

TKH

TKH Siqura VBS 2010 TX user manual

Kopp 8114.0102.9 manual

Kopp

Kopp 8114.0102.9 manual

ADEMCO 5802WXT installation instructions

ADEMCO

ADEMCO 5802WXT installation instructions

Signatrol SPYDAQ-1001-T quick start guide

Signatrol

Signatrol SPYDAQ-1001-T quick start guide

Bktel ES10L operating manual

Bktel

Bktel ES10L operating manual

Retekess TA001 user manual

Retekess

Retekess TA001 user manual

Ascon tecnologic H6 Series manual

Ascon tecnologic

Ascon tecnologic H6 Series manual

manuals.online logo
manuals.online logoBrands
  • About & Mission
  • Contact us
  • Privacy Policy
  • Terms and Conditions

Copyright 2025 Manuals.Online. All Rights Reserved.