manuals.online logo
Brands
  1. Home
  2. •
  3. Brands
  4. •
  5. Camsat
  6. •
  7. Transmitter
  8. •
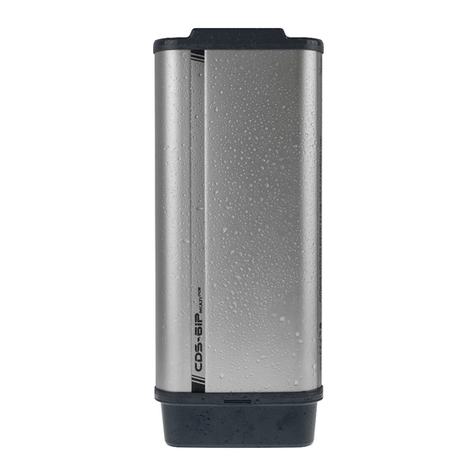
  9. Camsat CDS-6IPeco Operator's manual

Camsat CDS-6IPeco Operator's manual

TECHNICAL
SUPPORT
tel.+48 52 387 36 58
Mon–Fr 8.00 AM–4.00 PM
Economic wireless image and sound
transmission system for IP cameras HD and UHD in
the band 5.1 - 5.8 GHz.
QUICK START-UP
LINK INFORMATION
It contains basic information about the settings of the radio eg. the name of the radio link,
signal strength and a list of connected radio transmitters.
CAMERA CONNECTION SETTINGS
Wireless - Contains settings such as radio link eg.transmission type (Master / Slave),
operating channel frequency, the name of the link SSID, signal strength, transmission coding.
Network Settings – Contains settings for IP networks
1. Menu Structure - website panel
Time Zone Setting - set the time, the NTP server
System Log - an overview of recent developments and changes in the device CDS-6IPeco
Upgrade Firmware - Software Update
Backup/Restore - save / restore configuration system
ADVANCED SETTINGS
6. The recommended configuration settings:
a) Change the password to log on to the web panel (ADVANCED SETTINGS / PASSWORD).
b) Enter the radio transmission encryption password - a recommended coding WAP2-PSK
(CAMERA CONNECTION SETTINGS / WIRELESS).
c) Scan free channels - set Receiver the operating mode Slave. Save and press Masters
Scan to scan the busy channels.
With this information, you will learn which channels in a given area are free or the least
busy. In the lack of available operating channels is allowed to set multiple radios on the
same channel, then choose a channel of the weakest signal (below <-65dB).
7. Test the radio link.
The last step is to check the correctness of transmission between devices.
To check the information about connected CDS-6IPeco devices such as power
signal, connection time, speed, IP address, etc. you must enter the LINK INFORMATION.
To view an updated list of current connections, click the Refresh button at the bottom
or press F5. The presence of transmitters MAC addresses list in the receiver indicates
the correctness of the radio configuration. To be sure disconnect transmitting unit from
the computer and connect the IP camera.
If the devices communicate with receiver it means that the radio connection is
properly configured and running. In the browser's address bar enter the IP address
of the camera and check the quality of image transmission. You can start to assembly
units at the facility.
These steps must be repeated for each individual
transmitting / receiving unit subsequently connecting them to your computer.
EUEU
POLISH
MARK
POLISH
MARK
Password - changing the password
Newest processor 4K and UHD resolution Small size
Low power
consumption
High power
t
ransmission
Full instructions can be found at: http://camsat.com and on the CDFull instructions can be found at: http://camsat.com and on the CD
2. Factory settings.
3. Connecting CDS-6 IPeco radio module to power (3 options).
Option 1 - Directly from the included AC adapter PoE24V.
Plug the power cord from with RJ45 to LAN connector in CDS-6IPeco
module (A) and the other end to the POE labeled connector in the
supplied power adapter (B). Connect the computer, IP camera or
recorder to the LAN connector on the AC adapter.
Option 2 - Power the camera and CDS-6 IPECO from a single source 12V.
CDS-6IPeco has additional 12V DC power supply input (power socket
2.1 / 5.5 mm). Most IP cameras are also supplied with 12V DC so the
devices can be easily supplied from the buffer power supply 12V - 13.8V DC.
Option 3 - Power radio module and a camera with Switch PoE48V via an additional
converter PoER-24 (option with an additional CAMSAT module PoER-24, PoER-24h).
4. Connecting to a computer.
Connect the radio module to the LAN adapter in the computer setting IP address
of the family 192.168.1.XX. (Eg. 192.168.1.99).
5. The necessary configuration settings - required:
a) Log on to the radio module CDS-6IPeco (default: 192.168.1.1, User Name: camsat,
Password: camsat).
b) Set the destination IP address of the radio module.
c) Set the mode Master (Receiver-Recorder) or slave (transmitter - camera).
d) Set the operating channel number in the receiver (Master).
e) In the transmitter (Slave), press the Scan Masters to locate the name of the SSID
radio link of a receiver. Select the name of the SSID link and press Connect.
Repeat this step for all transmitters (Slave) to be connected to the receiver (Master).
f) Correctly connected transmitters should be visible in the list of linked devices
tab in System Information / Wireless clients.
g) Set the real distance between the transmitter and receiver in the transmitters.
In the receiver, set the distance of the furthest transmitter.
h) Check the connection between the transmitter, the receiver in the tab,
cameras and DVR by PING.
QUICK START-UP
www.camsat.com
Full instructions can be found at: http://camsat.com and on the CD Full instructions can be found at: http://camsat.com and on the CD
Other manuals for CDS-6IPeco

1

Other Camsat Transmitter manuals

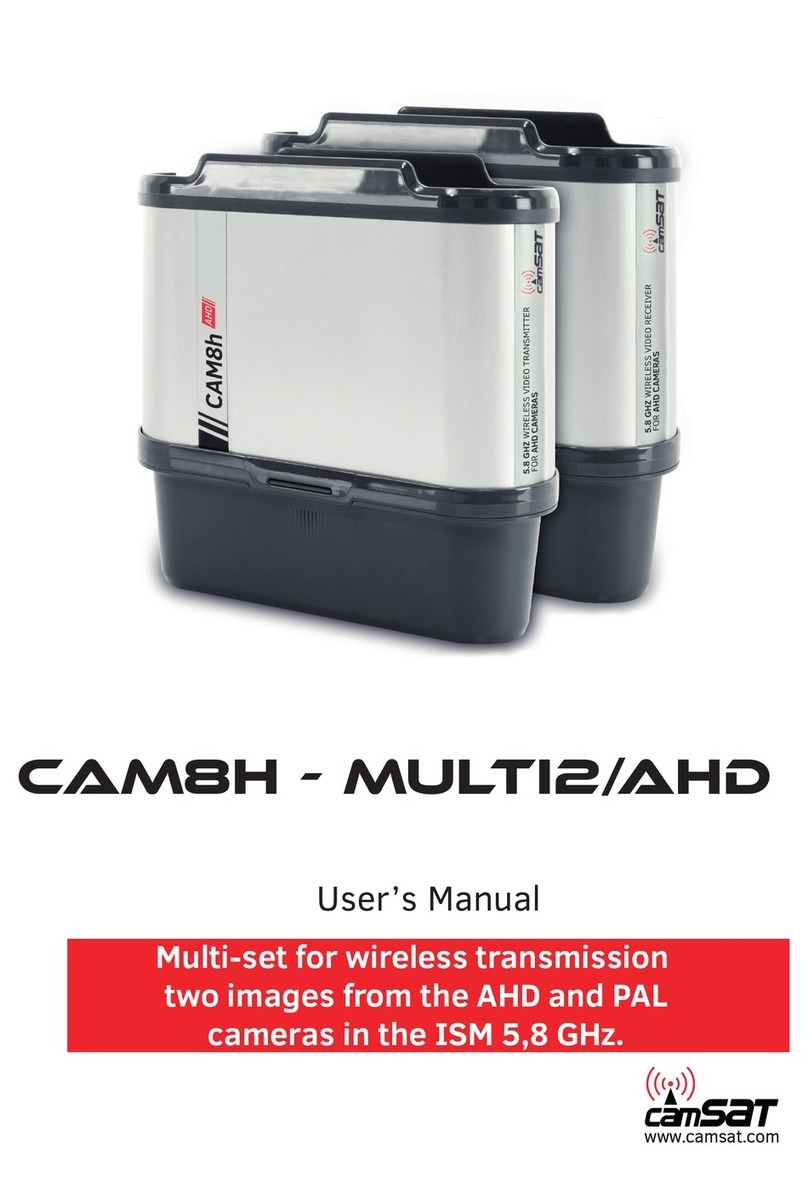
Camsat CAM8h-Multi2/AHD User manual

Camsat

Camsat CAM8h-Multi2/AHD User manual

Camsat CDS-LIFT IP User manual

Camsat

Camsat CDS-LIFT IP User manual

Camsat CDS-5IPmini Operator's manual

Camsat

Camsat CDS-5IPmini Operator's manual

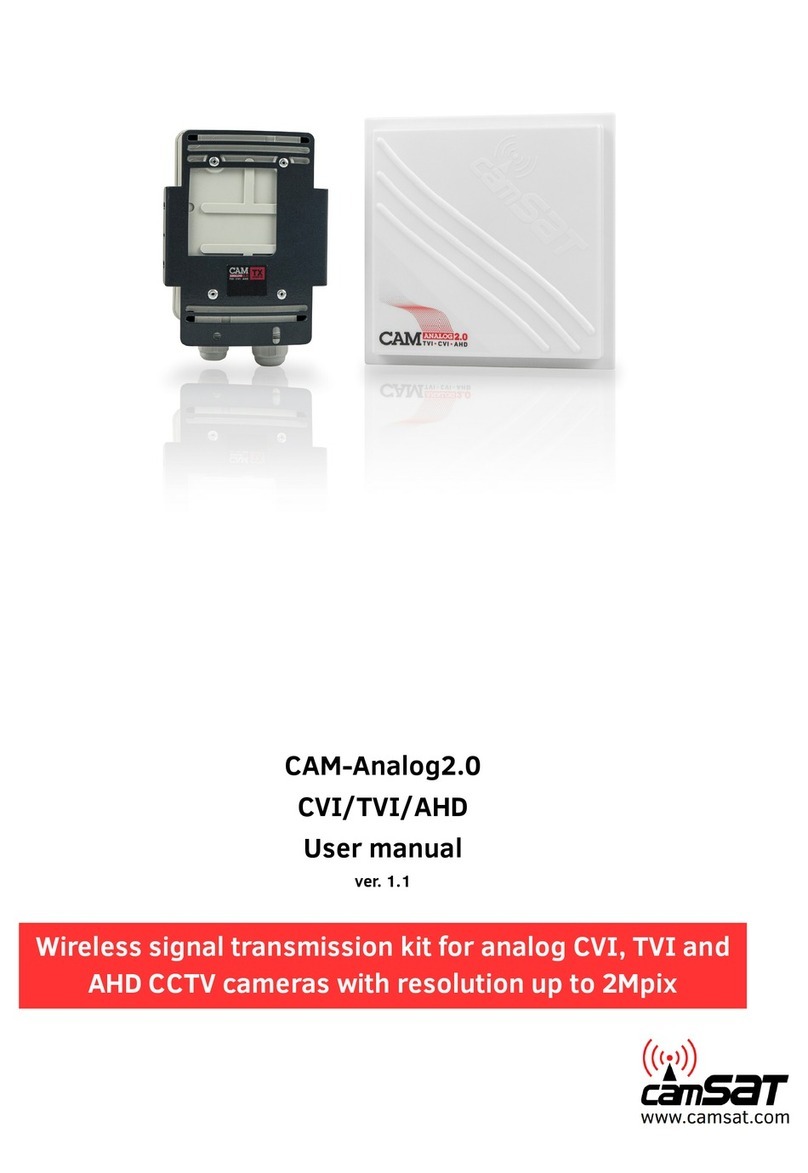
Camsat CAM-Analog2.0 User manual

Camsat

Camsat CAM-Analog2.0 User manual

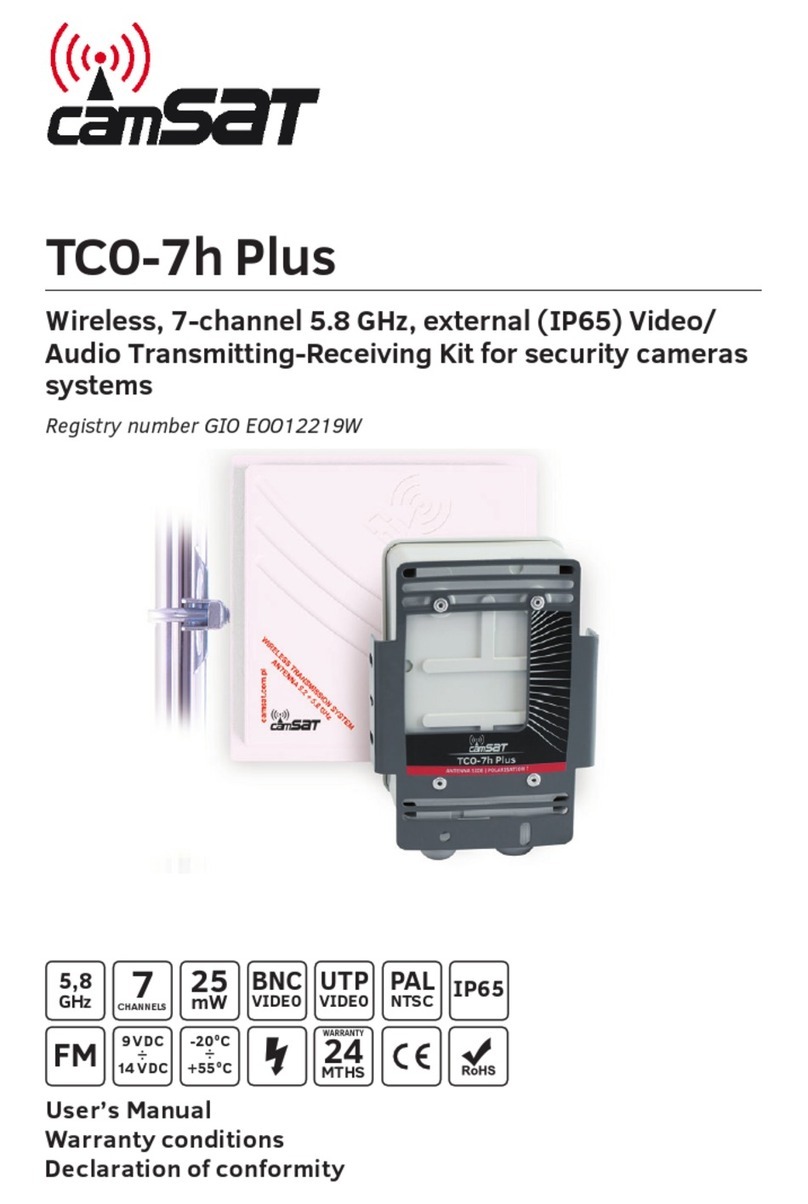
Camsat TCO-7h Plus User manual

Camsat

Camsat TCO-7h Plus User manual

Camsat GlobalCAM-LTE User manual

Camsat

Camsat GlobalCAM-LTE User manual

Camsat CAM-9 User manual

Camsat

Camsat CAM-9 User manual

Camsat CDS-6IP MULTI POE User manual

Camsat

Camsat CDS-6IP MULTI POE User manual

Camsat TCO 5807m User manual

Camsat

Camsat TCO 5807m User manual

Camsat CDS-6IP SMA User manual

Camsat

Camsat CDS-6IP SMA User manual

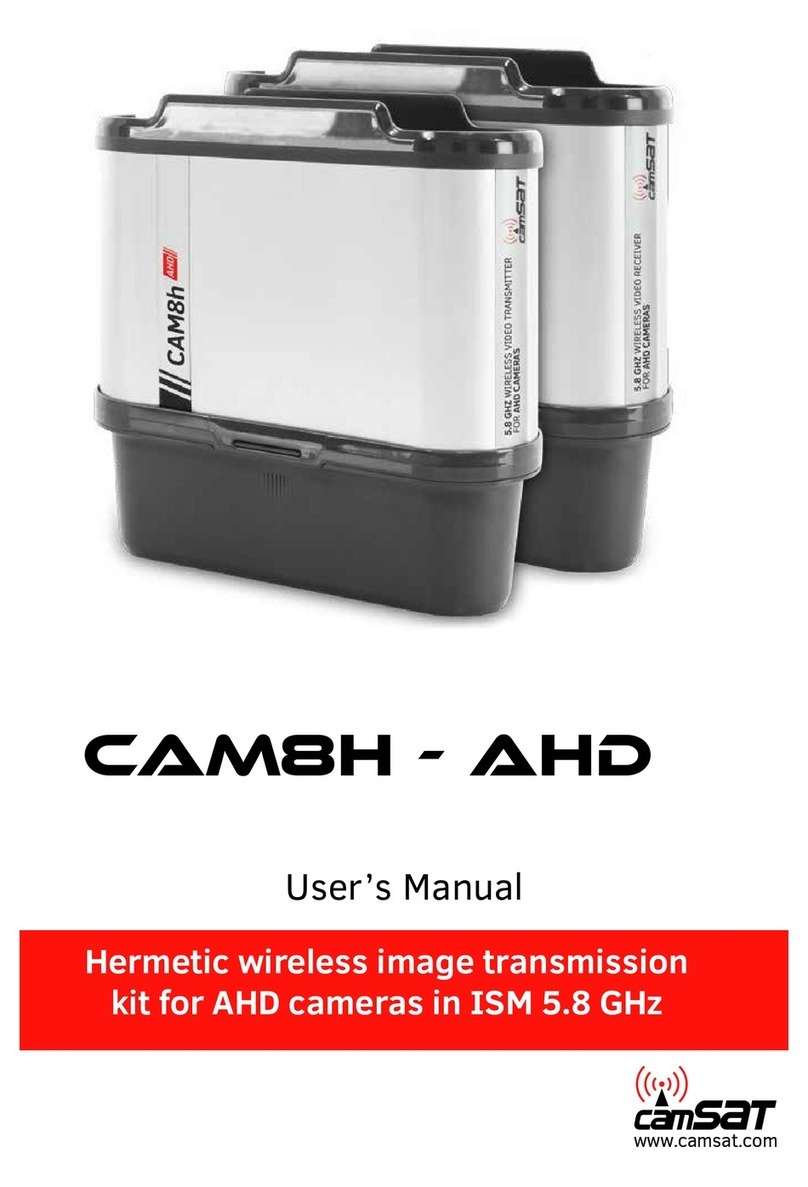
Camsat CAM8h-AHD User manual

Camsat

Camsat CAM8h-AHD User manual

Camsat CDS-6IP 3PoE User manual

Camsat

Camsat CDS-6IP 3PoE User manual

Camsat VueNet EasyLink User manual

Camsat

Camsat VueNet EasyLink User manual

Popular Transmitter manuals by other brands

Sennheiser SKP 500 G2 Instructions for use

Sennheiser

Sennheiser SKP 500 G2 Instructions for use

Listen Technologies LT-800-150 user manual

Listen Technologies

Listen Technologies LT-800-150 user manual

Belkin TuneCast II user manual

Belkin

Belkin TuneCast II user manual

Telefunken TF-FMT12 instruction manual

Telefunken

Telefunken TF-FMT12 instruction manual

ACS contsys Sonicont USN050 Technical manual

ACS contsys

ACS contsys Sonicont USN050 Technical manual

BYONICS MT-AIO manual

BYONICS

BYONICS MT-AIO manual

Optical Systems Design OSD8810 Operator's manual

Optical Systems Design

Optical Systems Design OSD8810 Operator's manual

Lectronics SMB/E01Series instruction manual

Lectronics

Lectronics SMB/E01Series instruction manual

SMAR TT303 Operation, maintenance & instruction manual

SMAR

SMAR TT303 Operation, maintenance & instruction manual

eks IOL-3000 manual

eks

eks IOL-3000 manual

LYNXTechnik Yellobrik OTT 1842 quick reference

LYNXTechnik

LYNXTechnik Yellobrik OTT 1842 quick reference

Dynisco MDT Series operating manual

Dynisco

Dynisco MDT Series operating manual

Moore Industries THZ2 user manual

Moore Industries

Moore Industries THZ2 user manual

RKI Instruments 65-2336RK Operator's manual

RKI Instruments

RKI Instruments 65-2336RK Operator's manual

Fukuda Denshi LX-7230 Operation manual

Fukuda Denshi

Fukuda Denshi LX-7230 Operation manual

AMG AMG4703E-SF instruction manual

AMG

AMG AMG4703E-SF instruction manual

TFA 30.3110 manual

TFA

TFA 30.3110 manual

BST BP-7 instruction manual

BST

BST BP-7 instruction manual

manuals.online logo
manuals.online logoBrands
  • About & Mission
  • Contact us
  • Privacy Policy
  • Terms and Conditions

Copyright 2025 Manuals.Online. All Rights Reserved.