manuals.online logo
Brands
  1. Home
  2. •
  3. Brands
  4. •
  5. Canon
  6. •
  7. All In One Printer
  8. •
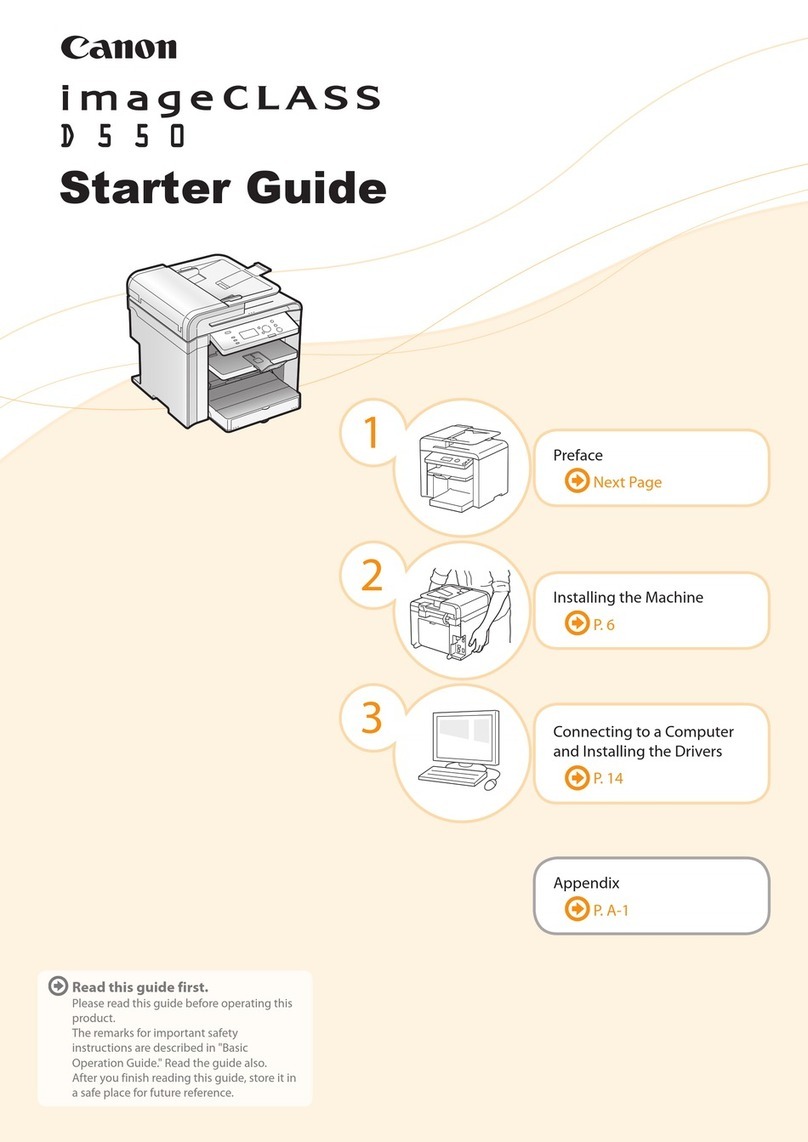
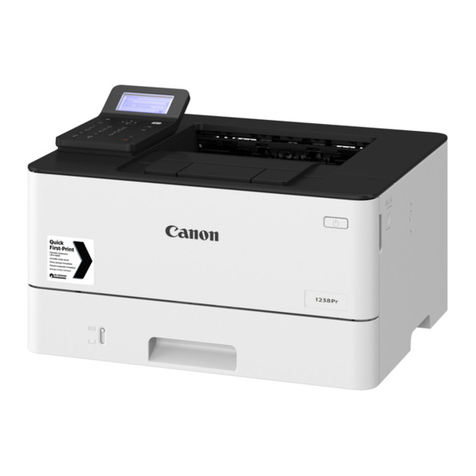
  9. Canon Color imageCLASS X LBP1127C User manual

Canon Color imageCLASS X LBP1127C User manual

Other manuals for Color imageCLASS X LBP1127C

1

Other Canon All In One Printer manuals

Canon PIXMA MP810 User manual

Canon

Canon PIXMA MP810 User manual

Canon PIXMA MP640 User manual

Canon

Canon PIXMA MP640 User manual

Canon PIXMA MG6120 Series User manual

Canon

Canon PIXMA MG6120 Series User manual

Canon PIXMA MP810 User manual

Canon

Canon PIXMA MP810 User manual

Canon PIXMA MX432 Manual

Canon

Canon PIXMA MX432 Manual

Canon MX450 series Setup guide

Canon

Canon MX450 series Setup guide

Canon FAXPHONE L80 User manual

Canon

Canon FAXPHONE L80 User manual

Canon ImageCLASS 2300 Manual

Canon

Canon ImageCLASS 2300 Manual

Canon imageRUNNER 1435P+ User manual

Canon

Canon imageRUNNER 1435P+ User manual

Canon PIXMA MP228 User manual

Canon

Canon PIXMA MP228 User manual

Canon FAXPHONE L75 Manual

Canon

Canon FAXPHONE L75 Manual

Canon PIXMA MX882 Series Manual

Canon

Canon PIXMA MX882 Series Manual

Canon iR3530 User manual

Canon

Canon iR3530 User manual

Canon imageRUNNER ADVANCE C2030 User manual

Canon

Canon imageRUNNER ADVANCE C2030 User manual

Canon 4204B019AA User manual

Canon

Canon 4204B019AA User manual

Canon PIXMA G2160 Setup guide

Canon

Canon PIXMA G2160 Setup guide

Canon imageCLASS MF7470 User manual

Canon

Canon imageCLASS MF7470 User manual

Canon imageCLASS D530 Assembly instructions

Canon

Canon imageCLASS D530 Assembly instructions

Canon Color imageCLASS MF8350Cdn Safety guide

Canon

Canon Color imageCLASS MF8350Cdn Safety guide

Canon ImageCLASS MF4570dw Service manual

Canon

Canon ImageCLASS MF4570dw Service manual

Canon IMAGEPRESS C7010VPS Owner's manual

Canon

Canon IMAGEPRESS C7010VPS Owner's manual

Canon MF7280 - ImageCLASS B/W Laser Safety guide

Canon

Canon MF7280 - ImageCLASS B/W Laser Safety guide

Canon MG5700 Series Setup guide

Canon

Canon MG5700 Series Setup guide

Canon PIXMA G7050 User manual

Canon

Canon PIXMA G7050 User manual

Popular All In One Printer manuals by other brands

Brother MFC-J220 Basic user's guide

Brother

Brother MFC-J220 Basic user's guide

Brother MFC-8510DN Basic user's guide

Brother

Brother MFC-8510DN Basic user's guide

Ricoh Aficio FX200 Service training

Ricoh

Ricoh Aficio FX200 Service training

Olivetti d-Copia 16W Operation manual

Olivetti

Olivetti d-Copia 16W Operation manual

Konica Minolta bizhub C3850FS user guide

Konica Minolta

Konica Minolta bizhub C3850FS user guide

Konica Minolta bizhub 758 manual

Konica Minolta

Konica Minolta bizhub 758 manual

Lexmark MX310 Series Service manual

Lexmark

Lexmark MX310 Series Service manual

Ricoh Aficio 3224C operating instructions

Ricoh

Ricoh Aficio 3224C operating instructions

Sagem MF 3625 user manual

Sagem

Sagem MF 3625 user manual

Epson Epson Stylus NX530 quick guide

Epson

Epson Epson Stylus NX530 quick guide

Brother MFC9800 - MFC 9800 B/W Laser owner's manual

Brother

Brother MFC9800 - MFC 9800 B/W Laser owner's manual

Konica Minolta 7033 instruction manual

Konica Minolta

Konica Minolta 7033 instruction manual

Ricoh Aficio MP 161F operating instructions

Ricoh

Ricoh Aficio MP 161F operating instructions

Epson WorkForce WF-2510 Basic guide

Epson

Epson WorkForce WF-2510 Basic guide

Epson Stylus Scan 2000 Product information guide

Epson

Epson Stylus Scan 2000 Product information guide

Epson PictureMate Snap PM 240 Start here

Epson

Epson PictureMate Snap PM 240 Start here

Brother MFC-J430w user guide

Brother

Brother MFC-J430w user guide

Konica Minolta BIZHUB 558 Quick reference guide

Konica Minolta

Konica Minolta BIZHUB 558 Quick reference guide

manuals.online logo
manuals.online logoBrands
  • About & Mission
  • Contact us
  • Privacy Policy
  • Terms and Conditions

Copyright 2025 Manuals.Online. All Rights Reserved.

Getting Started
Mise en Route
P.13
Quick Setup
Configuration Rapide
NEXT PAGE
https://oip.manual.canon/
LBP
PAGE 8
Quick Operation
Utilisation Rapide P.23
Please read "Important Safety Instructions" before operating this product. After you finish
reading this guide, store it in a safe place for future reference.
The information in this document is subject to change without notice.
Veuillez lire les «Consignes de sécurité importantes» avant d'utiliser ce produit. Après
avoir fini de lire ce guide, conservez-le dans un endroit sûr pour référence future.
Les informations contenues dans ce document peuvent être modifiées sans préavis.
En
Fr
Getting Started
Please read "Important Safety Instructions" before operating
this product.
P.16
After you nishr eading this guide, store it in a safe place for
future reference.
The information in this document is subject to change without
notice.
Mise en route
Prenez connaissance des "Consignes de sécurité importantes"
avant toute utilisation de ce produit.
P.26
Après en avoir pris connaissance, conservez ce guide dans un
endroit sûr en vue de consultations ultérieures.
Les informations contenues dans ce document peuvent être
modifiées sans avis préalable.
You can access
https://oip.manual.canon/ to read the User's Guide that
describes all functions of this machine.
Le guide de l'utilisateur,
qui décrit toutes les fonctions de cet appareil se trouve sur
https://oip.manual.canon/.
3
Quick Setup
Configuring the Method of
Connecting to a Computer
About Application Library*
Application Library is an application
that allows you to use useful functions
for routine jobs or other convenient
functions in a one-touch operation
without necessity of making functional
settings every time. You can access each
registered function by simply pressing
the appropriate button displayed in
the Home screen. For the respective
function, see the description displayed in
the Setup Guide.
* This function may not be available, depending
on the model of the machine.
1.
2. Pull out the paper drawer from the main unit
and insert it again.
• If the cassette feeding module (optional) is
installed, insert its paper drawer again.
3. Configure the initial settings, according to the
screen.
• Set the language and country/region.
• Set the time zone and current date/time.
• Configure the settings to prevent unauthorized
access.
• For the purpose of confirmation, enter the
same PIN twice.
• Configure the settings to automatically clean
the fixing assembly.
Configuring the Initial Settings of
the Machine
Before starting the configuration
• The machine cannot be connected to
both wired and wireless LANs at the
same time.
• If the machine is connected to an
unsecured network, your personal
information might be leaked to a third
party. Please be aware and careful of this.
• The machine does not come with a
router. Please have one ready, if necessary.
• Even in an environment without wireless
LAN router, you can use Access Point
Mode to make a wireless connection to
the machine directly from your mobile
device (Direct Connection).
User's Guide
Specifying the connection method
• To connect via wireless LAN : <Yes>
• To connect via wired LAN or USB : <No>
To connect via wireless LAN
1. Make sure that the computer is connected to a
router properly.
2. Check the network settings on the computer.
4
Configuring the Machine Configure the settings in the following order.
Quick Setup
En
For details
"Setting Up Using the Setup Guide" in the User's Guide
3. Take note of the SSID and network key.
• Check the label on the router. User's Guide
• The setting operation is easier if the router is
provided with a WPS mark. User's Guide
4. Set the access point and network key
according to the screen below.
1. Select <OK>.
2. Select <SSID Settings>.
3. Select <Select Access Point>.
4. Select the access point (SSID), and select
<Next>.
5. Select <OK>.
6. Enter a network key, and select <Apply>.
7. Select <Yes>.
• Wait until message <Connected.> is displayed.
8. Select <Close>.
• The IP address will be automatically
configured in a few minutes.
5. Install the driver and software.
P.6 "Installing the software"
Now you are finished with the
configuration of the initial settings.
To connect via wired LAN
The machine does not come with a LAN cable.
Please have one ready, if necessary.
1. Make sure that the computer is connected to a
router properly.
2. Check the network settings on the computer.
3. Connect the LAN cable.
• After connecting the cable, wait a few minutes
(until the IP address is set automatically).
• If a static IP address has been set on the
computer, set the machine's IP address manually.
4. Install the driver and software.
P.6 "Installing the software"
Now you are finished with the
configuration of the initial settings.
5
Quick Setup
En
6
Installing the software
• The procedure described here is only applicable
when your computer runs on the Windows OS.
For more details on the software installation
procedure, see the driver's manual.
• For the installation when your computer runs on
the macOS, see the driver's manual.
• Your machine may not come with the driver for
the macOS, depending on the time of purchase.
New drivers are uploaded to the Canon website,
and you can download and use the latest one.
1.
2.
If the screen is not displayed properly, re-
insert the CD-ROM/DVD-ROM or search for
"D:\MInst.exe" on the Windows platform (This
description assumes that "D:" is the CD-ROM/
DVD-ROM drive name).
To connect via USB
• The machine does not come with a USB cable.
Please have one ready, if necessary.
• Make sure that the USB cable you
use has the following mark.
• Do not connect the USB cable before installing
the driver. If you did, disconnect the USB cable
from the computer, close the dialog box, and then
perform the following procedure from step 1.
1. Install the driver and software.
P.6 "Installing the software"
• When a screen with instructions for connecting
the USB cable to the machine is displayed,
remove the cap that covers the USB port.
Now you are finished with the
configuration of the initial settings.
Configuring the Machine
Quick Setup
En
7
En
Configuration de la méthode
de connexion à un ordinateur
À propos d'Application Library
(Bibliothèque d'applications)
*
Application Library (Bibliothèque
d'applications) vous permet d'utiliser
des raccourcis associés à des
boutons 1touche pour les fonctions
fréquemment utilisées, pour ne pas avoir
à refaire tous les réglages correspondant
à chaque utilisation de ces fonctions.
Vous pouvez accéder à chaque fonction
enregistrée en appuyant sur le bouton
correspondant affiché sur l'écran
d'accueil. Pour une description de
chaque fonction, consultez le guide de
configuration.
* Cette fonction n'est pas disponible sur tous les
modèles de l'appareil.
1.
2. Retirez la cassette à papier de l'unité principale,
puis remettez-la en place.
• Si le module une cassette (en option) est
installé, réinsérez-y sa cassette à papier.
3. Configurez les réglages initiaux en suivant les
instructions à l'écran.
• Spécifiez la langue et le pays/région.
• Spécifiez le fuseau horaire et réglez la date et
l'heure.
• Configurez les réglages permettant
d'empêcher les accès non autorisés.
• Pour confirmation, saisissez le même code
PIN deux fois.
• Configurez les réglages pour que l'ensemble
de fixation soit automatiquement nettoyé.
Configuration des réglages
initiaux de l'appareil
Avant de commencer la configuration
• Il n'est pas possible de connecter
l'appareil à la fois à un réseau sans fil et
à un réseau filaire.
• Faites attention, si l'appareil est
connecté à un réseau non sécurisé, vos
données personnelles peuvent être
divulguées à un tiers.
• L'appareil n'est pas livré avec un routeur.
Vous devez vous en procurer un.
• Même dans un environnement sans
routeur de réseau sans fil, vous pouvez
utiliser le mode Point d'accès pour
établir une connexion sans fil entre
l'imprimante et votre appareil mobile
(connexion directe).
Guide de l'utilisateur
Spécification de la méthode de connexion
• Connexion par réseau sans fil: <Oui>
• Connexion par réseau filaire ou USB: <Non>
Connexion par réseau sans fil
1. Assurez-vous que l'ordinateur est correctement
connecté à un routeur.
2. Vérifiez les réglages réseau sur l'ordinateur.
8
Configuration de l'appareil
Configurez les réglages dans l'ordre suivant.
Conguration rapide
Fr
Pour en savoir davantage
voir "Conguration à l'aide du guide de conguration" dans le Guide de l'utilisateur
3. Notez le SSID et la clé réseau.
• Vérifiez l'étiquette sur le routeur. Guide de
l'utilisateur
• La procédure de configuration est plus facile si
le routeur prend en charge le protocole WPS
(indiqué par la marque WPS sur le routeur).
Guide de l'utilisateur
4. Spécifiez le point d'accès et la clé réseau
comme indiqué sur l'écran ci-dessous.
1. Sélectionnez <OK>.
2. Sélectionnez <Réglages SSID>.
3. Sélectionnez <Sélection du point d'accès>.
4. Sélectionnez le point d'accès (SSID) puis
<Suivant>.
5. Sélectionnez <OK>.
6. Saisissez une clé réseau, et sélectionnez
<Appliquer>.
7. Sélectionnez <Oui>.
• Attendez que le message <Connecté.>
s'affiche.
8. Sélectionnez <Fermer>.
• L'adresse IP est automatiquement configurée
en quelques minutes.
5. Installez le pilote et le logiciel.
P.10 "Installation du logiciel"
La configuration des réglages initiaux est
terminée.
Connexion par réseau filaire
L'appareil n'est pas fourni avec un câble réseau.
Vous devez vous en procurer un.
1. Assurez-vous que l'ordinateur est correctement
connecté à un routeur.
2. Vérifiez les réglages réseau sur l'ordinateur.
3. Branchez le câble réseau.
• Après avoir branché le câble, attendez
quelques minutes (le temps que l'adresse IP
soit automatiquement configurée).
• Si une adresseIP permanente a été attribuée à
l'ordinateur, attribuez une adresseIP à l’appareil
manuellement.
4. Installez le pilote et le logiciel.
P.10 "Installation du logiciel"
La configuration des réglages initiaux est
terminée.
9
Conguration rapide
Fr
10
Installation du logiciel
• La procédure ici décrite n'est applicable que
pour un ordinateur sous Windows OS. Pour en
savoir davantage sur la procédure d'installation
du logiciel, consultez le manuel du pilote.
• Pour l'installation sur un ordinateur sous macOS,
consultez le manuel du pilote.
• Selon sa date d'achat, il est possible que
l'appareil ne soit pas livré avec le pilote pour
macOS. Les nouveaux pilotes sont disponibles
sur le site Web Canon, vous pouvez y télécharger
la dernière version et l'utiliser.
1.
2.
Si l'écran ne s'affiche pas correctement,
réinsérez le CD-ROM/DVD-ROM ou cherchez
"D:\MInst.exe" dans Windows ("D:" étant le
nom du lecteur du CD-ROM/DVD-ROM.).
Connexion par USB
• L'appareil n'est pas fourni avec un câble USB.
Vous devez vous en procurer un.
•
Assurez-vous que le câble USB que
vous utilisez porte la marque suivante.
• Ne branchez pas le câble USB avant d'installer le
pilote. Si le câble est déjà branché, débranchez-le
de l'ordinateur, fermez la boîte de dialogue, puis
suivez la procédure suivante depuis l'étape1.
1. Installez le pilote et le logiciel.
P.10 "Installation du logiciel"
• Une fois qu'un écran comprenant des
instructions pour brancher le câble USB à
l’appareil est affiché, retirez le cache recouvrant
le port USB.
La configuration des réglages initiaux est
terminée.
Configuration de l'appareil
Conguration rapide
Fr
11
Note
Fr